

Page 1
LASERJET PRO 400 MFP
Quick Reference Guide
M425
Page 2
Optimize copy quality
The following copy-quality settings are available:
Auto Select: Use this setting when you are not concerned about the quality of the copy. This is the
●
default setting.
Mixed: Use this setting for documents that contain a mixture of text and graphics.
●
Text: Use this setting for documents that contain mostly text.
●
Picture: Use this setting for documents that contain mostly graphics.
●
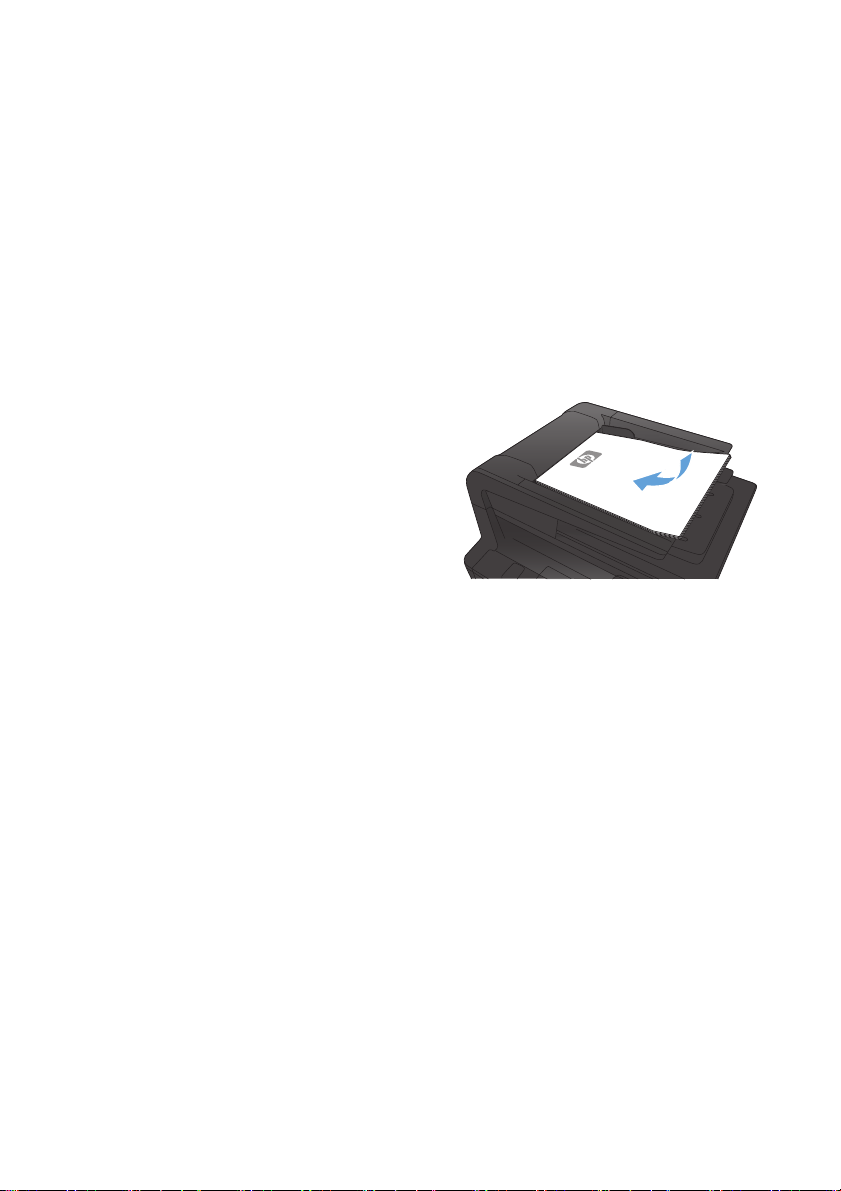
1. Load the document onto the scanner glass
or into the document feeder.
2. From the Home screen on the product
control panel, touch the Copy button.
3. Touch the Settings button, and then scroll to
and touch the Optimize button. Touch the
arrow buttons to scroll through the options,
and then touch an option to select it.
4. Touch the Start Copy button to start
copying.
2Quick Reference Guide ENWW
Page 3

Scan by using the HP Scan software (Windows)
1. Double-click the HP Scan icon on the computer desktop.
2. Select a scanning shortcut, and adjust the settings if necessary.
3. Click Scan.
NOTE: Click Advanced Settings to gain access to more options.
Click Create New Shortcut to create a customized set of settings and save it in the list of shortcuts.
ENWW
Scan by using the HP Scan software (Windows)
3
Page 4
Change the toner cartridge
When a toner cartridge approaches the end of useful life, you are prompted to order a replacement. You
can continue printing with the current cartridge until redistributing the toner no longer yields acceptable
print quality.
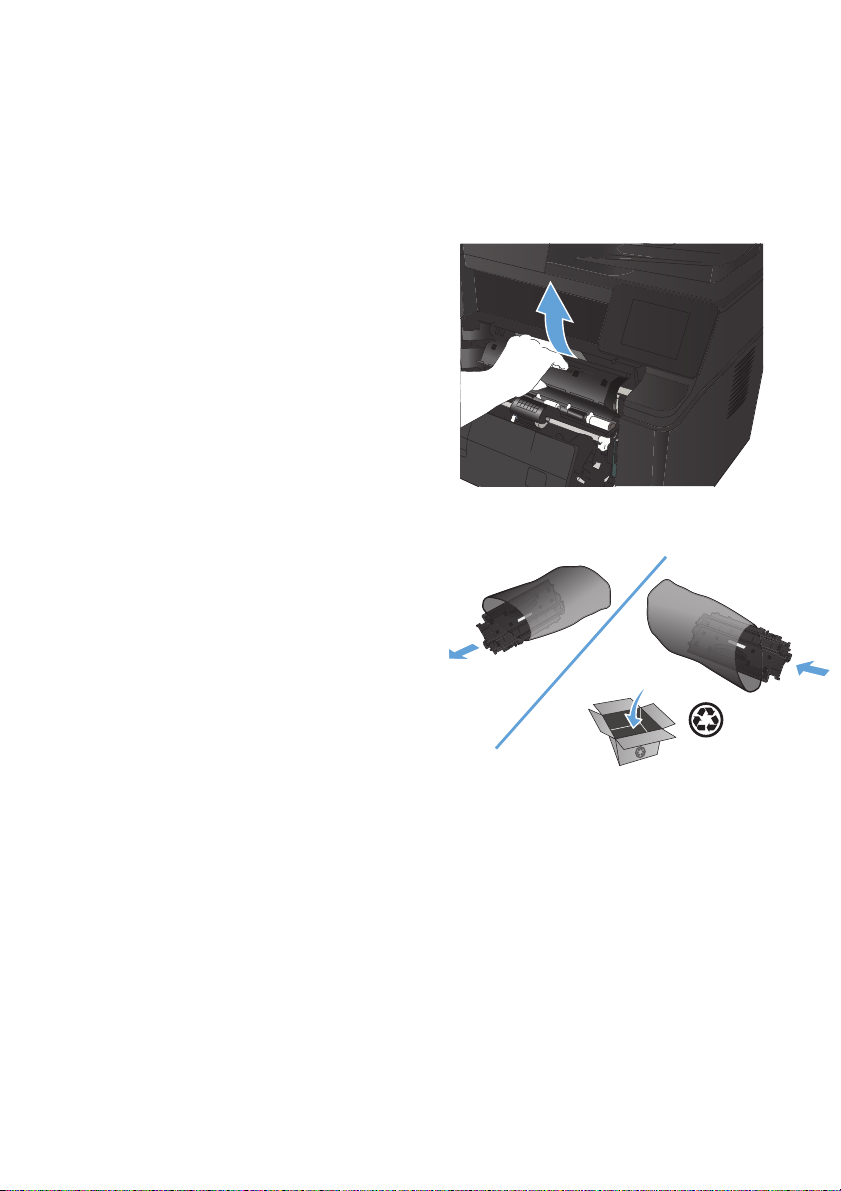
1. Open the toner cartridge door, and then
remove the toner cartridge.
2. Remove the new toner cartridge from the
bag. Place the used toner cartridge in the
bag for recycling.
4Quick Reference Guide ENWW
Page 5
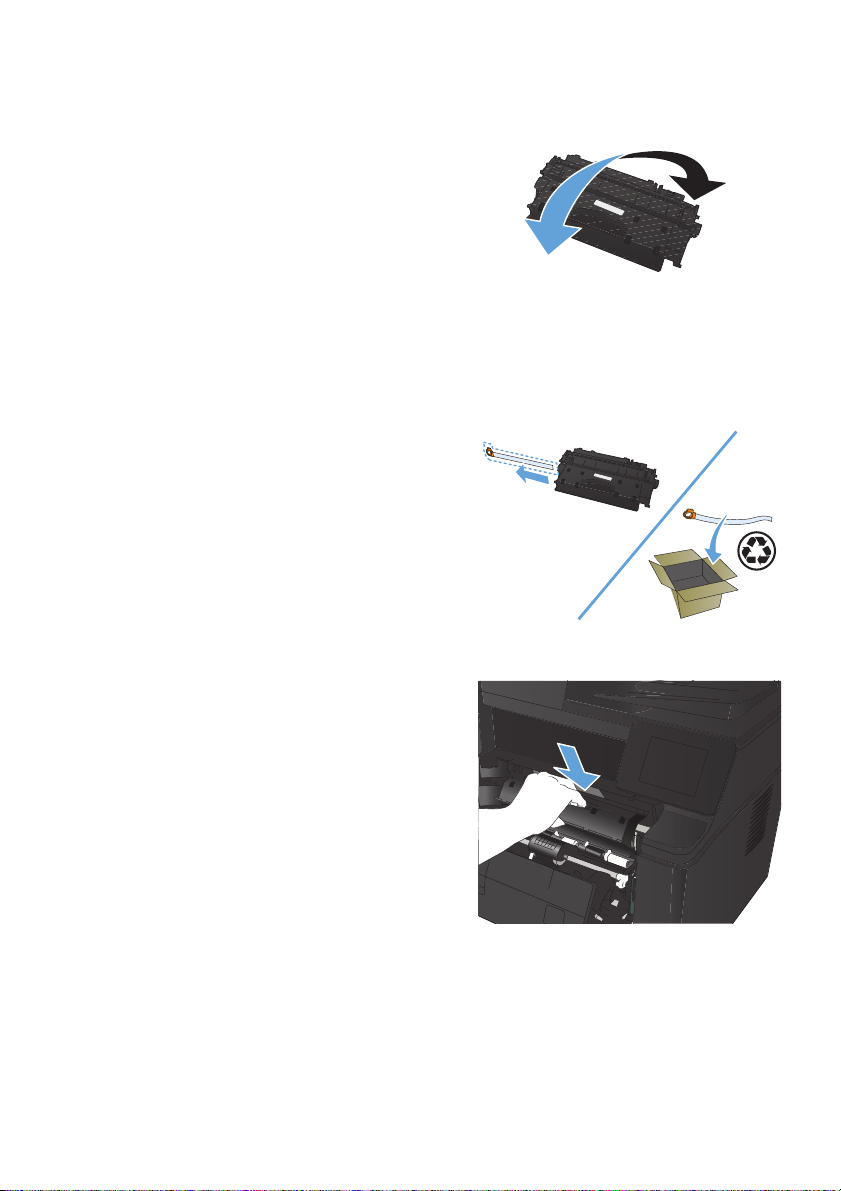
3. Grasp both sides of the toner cartridge and
distribute the toner by gently rocking the
cartridge.
CAUTION: Do not touch the shutter or the
surface of the roller.
4. Bend the tab on the left side of the cartridge
until the tab breaks loose. Pull the tab until
all the tape is removed from the cartridge.
Place the tab and tape in the toner
cartridge box to return for recycling.
5. Align the toner cartridge with the tracks
inside the product, insert the toner cartridge
until it is firmly seated, and then close the
toner cartridge door.
6. Installation is complete. Place the used toner
cartridge in the box in which the new
cartridge arrived. See the enclosed
recycling guide for recycling instructions.
ENWW
Change the toner cartridge
5
Page 6

Check the scanner glass for dirt and smudges
Over time, specks of debris might collect on the scanner glass and white plastic backing, which can affect
performance. Use the following procedure to clean the scanner.
1. Use the power switch to turn off the product,
and then unplug the power cord from the
electrical socket.
2. Open the scanner lid.
3. Clean the scanner glass, the document
feeder strips, and the white plastic backing
with a soft cloth or sponge that has been
moistened with nonabrasive glass cleaner.
CAUTION: Do not use abrasives,
acetone, benzene, ammonia, ethyl alcohol,
or carbon tetrachloride on any part of the
product; these can damage the product. Do
not place liquids directly on the glass or
platen. They might seep and damage the
product.
4. Dry the glass and white plastic parts with a
chamois or a cellulose sponge to prevent
spotting.
5. Plug in the product, and then use the power
switch to turn on the product.
6Quick Reference Guide ENWW
Page 7

Print a cleaning page
1.
From the Home screen on the product control panel, touch the Setup
2. Touch the Service menu.
3. Touch the Cleaning Page button.
4. Load plain letter or A4 paper when you are prompted.
5. Touch the OK button to begin the cleaning process.
The product prints the first side and then prompts you to remove the page from the output bin and
reload it in Tray 1, keeping the same orientation. Wait until the process is complete. Discard the
page that prints.
button.
ENWW
Print a cleaning page
7
Page 8

Automatically print on both sides with Windows
1. On the File menu in the software program,
click Print.
2. Select the product, and then click the
Properties or Preferences button.
8Quick Reference Guide ENWW
Page 9

3. Click the Finishing tab.
4. Select the Print on both sides check
box. Click the OK button to print the job.
NOTE: If the product is a duplex model
and only manual duplex appears, either the
duplex unit is not installed correctly in the
Device Settings tab of the Printer
Properties dialog box, or the media type
is not supported by the duplex unit.
ENWW
Automatically print on both sides with Windows
9
Page 10

Manually print on both sides with Windows
NOTE: This product includes an automatic two-sided printing feature. However, the product also can
print two-sided jobs manually if the paper is not supported by automatic two-sided printing, or if the duplex
unit has been disabled.
1. On the File menu in the software program,
click Print.
2. Select the product, and then click the
Properties or Preferences button.
3. Click the Finishing tab.
10 Quick Reference Guide ENWW
Page 11

4. Select the Print on both sides
(manually) check box. Click the OK
button to print the first side of the job.
5. Retrieve the printed stack from the output
bin and, maintaining the same orientation,
place it in Tray 1 with the printed side
down and the top of the pages toward the
product.
6. On the control panel, press the OK button
to print the second side of the job.
ENWW
Manually print on both sides with Windows
11
Page 12

12 Quick Reference Guide ENWW
Page 13

Page 14

Page 15

Page 16

© 2012 Hewlett-Packard Development Company, L.P.
www.hp.com
Edition 1, 4/2012
Part number: CF286-90986
Windows ® is a U.S. registered trademark of Microsoft Corporation.
Reproduction, adaptation or translation without prior written permission is
prohibited, except as allowed under the copyright laws.
The information contained herein is subject to change without notice.
The only warranties for HP products and services are set forth in the express
warranty statements accompanying such products and services. Nothing herein
should be construed as constituting an additional warranty. HP shall not be liable
for technical or editorial errors or omissions contained herein.
*CF286-90986*
*CF286-90986*
CF286-90986
 Loading...