


Important Safety Instructions.............................. |
2-3 |
Product Registration............................................... |
4 |
Normal Sounds....................................................... |
4 |
Unit Description...................................................... |
5 |
Accessories Included............................................. |
5 |
Installation Instructions....................................... |
6-7 |
Air Conditioner Features..................................... |
8 |
Operating Instruction...................................... |
8-16 |
Care and Cleaning............................................. |
17 |
Before You Call.................................................. |
18 |
Major Appliance Limited Warranty................. ... |
19 |

Important Safety Instructions
 NOTE:
NOTE:
NOTE: |
WARNING |


 WARNING

 WARNING


 WARNING

 SAFETY PRECAUTIONS
Important Safety Instructions

 SAFETY PRECAUTIONS
Provide ventilation per installation instructions.
Do not direct airflow at fireplaces or other heat related sources as this could cause flare ups or make units run excessively.

 NOTE:
NOTE:
fails
manufacturer.
 manufacturer.
Product Registration & Normal Sounds
Product Registration Record Your Model and Serial Numbers
Record in the space provided below the mode and serial numbers. On all models, the serial plate is located on the side of the cabinet.
Model No.
Serial No.
Register Your Product
The self-addressed PRODUCT REGISTRATION CARD should be filled in completely, signed and returned to the Frigidaire Company.
Normal Sounds
Sound of Rushing Air
At the top of the unit, you may hear the sound of rushing air being moved by the fan.
High pitched Chatter
Today’s high efficiency compressors may have a high pitched chatter during the cooling cycle.
Gurgle/Hiss
“Gurgling or hissing” noise may be heard due to refrigerant passing through evaporator during normal operation.
Vibration
Unit may vibrate and make noise because of uneven floor.

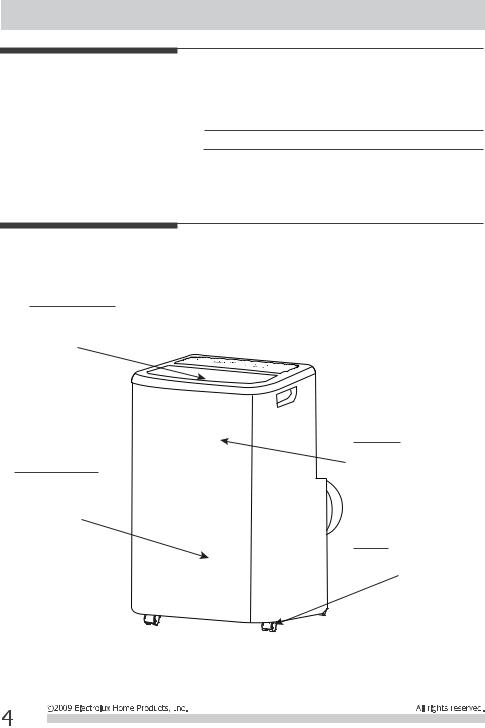
Unit Description & Accessories Included
Unit Description
Air Outlet Grill |
Control Panel |
|
Signal |
Carrying |
|
Handle |
||
Receiver |
||
|
||
Remote |
Air |
|
Exhaust |
||
Control |
||
|
Continuous |
Air Intake |
|
Drain Outlet |
||
|
||
Power |
|
|
Cord |
|
|
Bottom |
|
|
Drain Outlet |
|
|
Castor |
|
Accessories Included
PARTS: |
PARTS NAME: |
QUANTITY: |
Window Kit Connector A
Exhaust hose connector B
Window Kit
Exhaust Hose
Screws |
( |
+ |
) |
|
( |
) |
|||
|
|
Safety Lock
Bolts
Foam seal A
Foam seal B
Remote Control
Battery
Drain hose

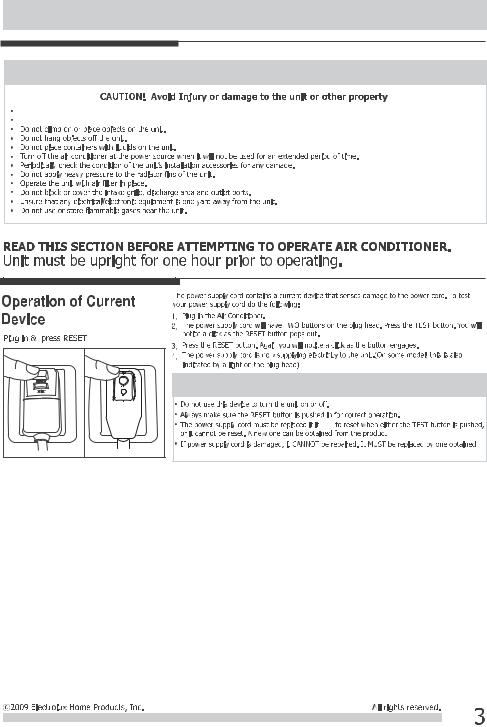
Installation Instructions
Installation Instructions
EXHAUSTING HOT AIR
In the Cool Mode the appliance must be placed close to a window or opening so that the warm exhaust air can be ducted outside.
First position unit on a flat floor and is within the vicinity of a single circuit outlet power source. Make sure there’s a minimum of 23.6" clearance in the front/back of the unit, and a minimum of 19.7" clearance in the left/right sides of the unit.
1.Extend both side of the exhaust hose(Fig.1)
2.Install the connector B into the unit (Fig.2).
3.Affix the connector A into the window slider kit and seal. (Fig.3&4)
Vertical |
window |
Window Slider Kit |
Minimum:26.6Ǝ(67.5cm) |
Maxmum:48.5Ǝ(123cm) |
Fig.3 |
Extend the side of hose |
Fig.1 |
1 Slide onto
2 Lock


Fig.2 |
|
Horizontal |
|
window |
|
Window Slider Kit |
|
Minimum:26.6Ǝ(67.5cm) |
|
Maxmum:48.5Ǝ(123cm) |
Fig.4 |
7KH KRVH FDQ EH H[WHQGHG IURP LWV RULJLQDO OHQJWK RI ƎuS WR Ǝ,but it is the best to keep the length to minimum required. Also make sure that the hose does not have any sharp bends or sags.(Fig.5)
Fig.5 |
 Loading...