

FLORABEST FUV 2000 A1 User Manual
FUV 2000 A1
GB│IE│NI
│
1 ■
Contents
Introduction ......................................................2
Intended use ................................................................ 2
Features ................................................................... 2
Package contents ............................................................ 2
Technical data .............................................................. 2
General Power Tool Safety Warnings ................................3
Safety instructions for the hot air blower .......................................... 4
Safety information for solid fuel lighters ........................................... 4
Additional safety instructions ................................................... 4
Operation .......................................................5
Before Operation ............................................................ 5
Operation .................................................................. 5
Shutting down. . . . . . . . . . . . . . . . . . . . . . . . . . . . . . . . . . . . . . . . . . . . . . . . . . . . . . . . . . . . . . . 6
Using nozzles ............................................................... 6
Additional usage examples for house, car and garden ............................... 6
Cleaning. . . . . . . . . . . . . . . . . . . . . . . . . . . . . . . . . . . . . . . . . . . . . . . . . . . . . . . . . 7
Disposal .........................................................7
Disposal of the appliance. . . . . . . . . . . . . . . . . . . . . . . . . . . . . . . . . . . . . . . . . . . . . . . . . . . . . . 7
Kompernass Handels GmbH warranty ...............................7
Service ..........................................................8
Importer ........................................................8
Translation of the original Conformity Declaration ......................9
IB_275925_FUV2000A1_LB6.indb 1 03.02.17 08:46

FUV 2000 A1
■ 2 │ GB
│IE│
NI
THERMAL WEED KILLER
FUV 2000 A1
Introduction
Congratulations on the purchase of your new appliance. You have selected a high-quality product.
The operating instructions are part of this product.
They contain important information about safety,
usage and disposal. Before using the product,
please familiarise yourself with all operating and
safety instructions. Use the product only as described and for the specified areas of application.
Please also pass on these operating instructions to
any future owner.
Intended use
The appliance is suitable for the removal of wild
growth between paving slabs, on brick-paved areas, on walling, in flowerbeds and in lawns during
the growth periods, for the removal of paintwork,
for heating (e.g. of heat-shrinkable tubing) and for
the deformation and welding of plastics. It can also
be used for separating glued joints, thawing frozen
pipes and lighting barbecues. Any other usage of
or modification to the appliance is deemed to be
improper and carries a significant risk of accidents.
The manufacturer accepts no responsibility for
damage(s) attributable to misuse. The appliance
is not intended for commercial use.
Features
Ergonomic handle
Strain relief
Power cable
ON/OFF switch
Air intake opening
Stand
Housing with heating element and ventilator
Heat shield
Cone nozzle
Spatula nozzle
Flat nozzle
Reducer nozzle
Barbecue nozzle
Package contents
1 thermal weed killer FUV 2000 A1
1 cone nozzle (pre-fitted)
1 spatula nozzle
1 flat nozzle
1 reducer nozzle
1 barbecue nozzle
1 stand
Mounting screws
1 set of operating instructions
Technical data
Rated voltage: 230 V ~ 50 Hz
(alternating current)
Rated input power: 2000 W
Temperature
(nozzle outlet): approx. 650 °C
Protection class: II /
(double insulation)
IB_275925_FUV2000A1_LB6.indb 2 03.02.17 08:46
FUV 2000 A1
GB│IE│NI
│
3 ■
General Power Tool
Safety Warnings
WARNING!
► Read all safety warnings and all
instructions. Failure to follow the
warnings and instructions may
result in electric shock, fire and/or
serious injury.
Save all warnings and instructions
for future reference.
The term "power tool" in the warnings
refers to your mains-operated (corded)
power tool or battery-operated (cordless) power tool.
■ Do not expose power tools to rain
or wet conditions. Water entering
a power tool will increase the risk
of electric shock.
■ Do not abuse the cord. Never use
the cord for carrying, pulling or
unplugging the power tool. Keep
cord away from heat, oil, sharp
edges or moving parts. Damaged
or entangled cords increase the risk
of electric shock.
■ If operating a power tool in a
damp location is unavoidable, use
a residual current device (RCD)
protected supply. Use of an RCD
reduces the risk of electric shock.
■ Do not use the power tool if the
switch does not turn it on and off.
Any power tool that cannot be controlled with the switch is dangerous
and must be repaired.
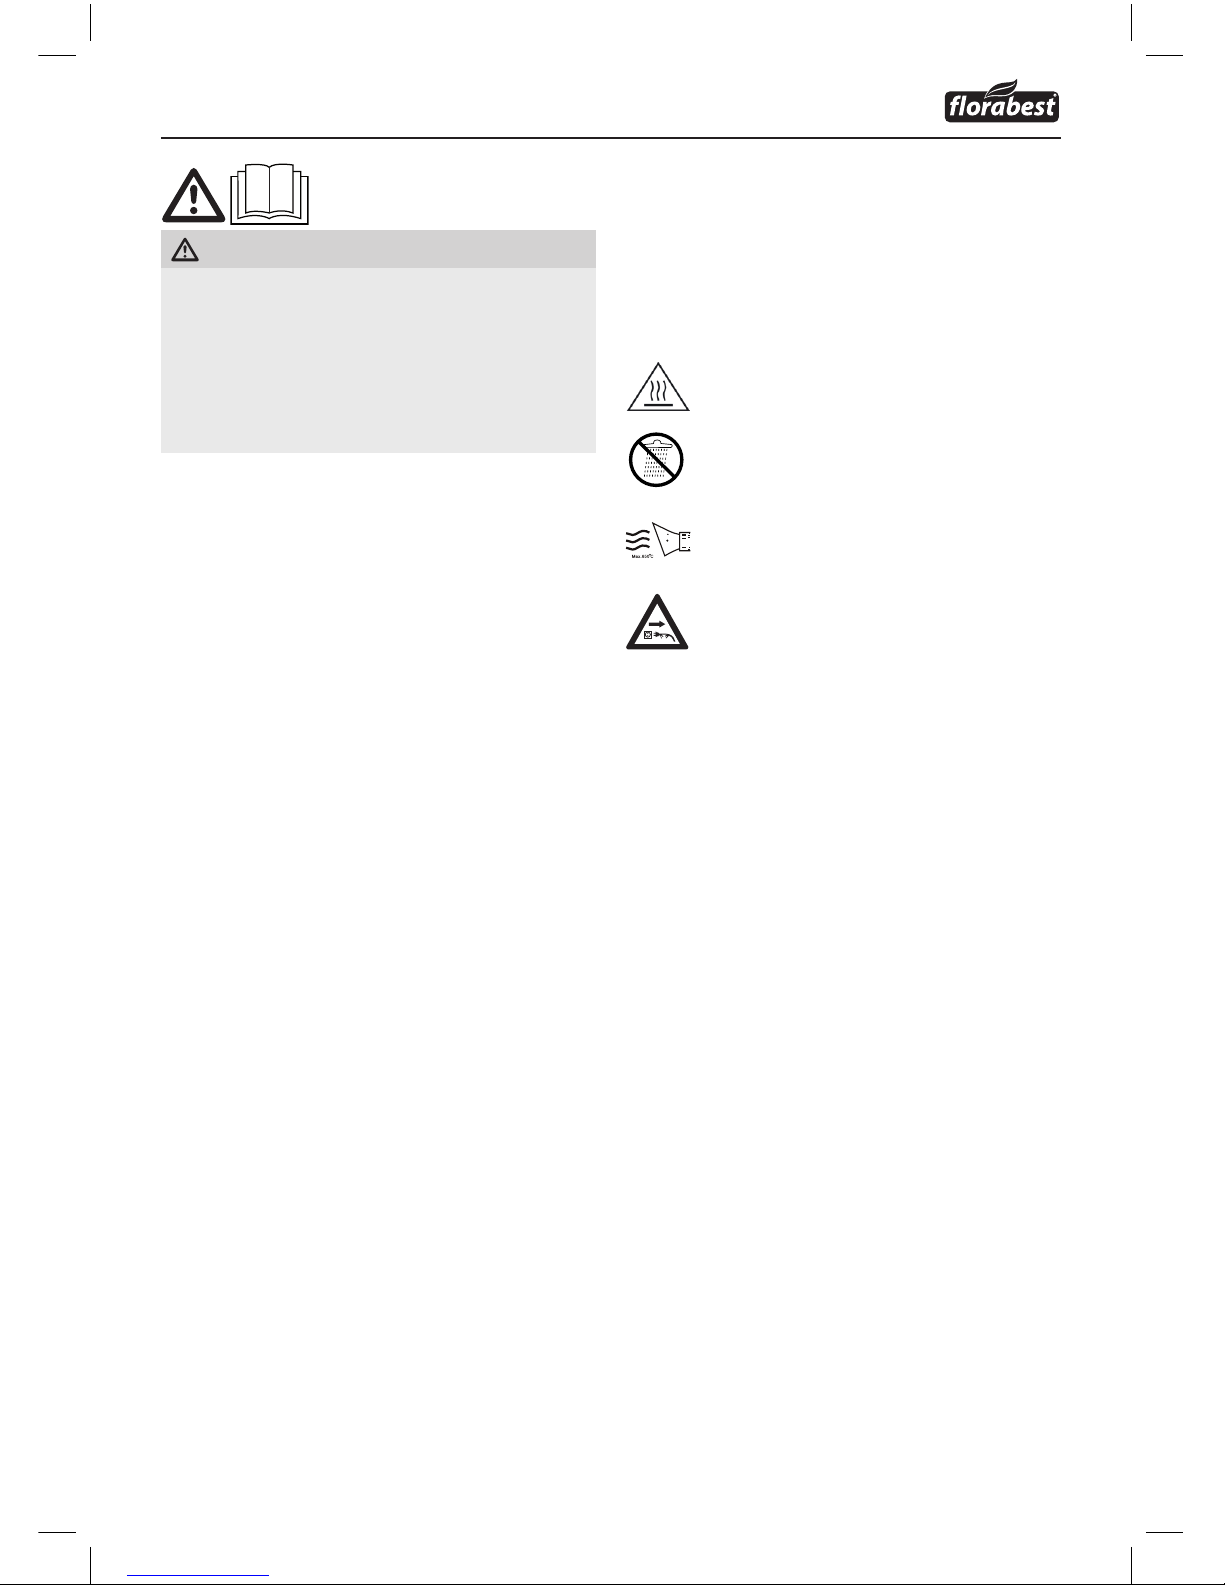
Risk of burns caused by hot surfaces!
Do not touch!
Protect from rain and moisture!
Outlet temperature at the nozzle
max. 650 ° C!
Unplug the appliance immediately if the
cable is damaged or has been cut.
General instructions for hot air
blower
■ This appliance may be used by
children aged 8 years and above
and by persons with limited physical, sensory or mental capabilities
or lack of experience and knowledge, provided that they are under
supervision or have been told how
to use the appliance safely and
are aware of the potential risks.
Children may not play with the
appliance. Cleaning and user maintenance tasks may not be carried
out by children unless they are supervised.
IB_275925_FUV2000A1_LB6.indb 3 03.02.17 08:46
FUV 2000 A1
■ 4 │ GB
│IE│
NI
■ To avoid potential risks, damaged
mains cables should be replaced by
the manufacturer or the manufacturer’s customer service department or
a similarly qualified person.
NOTE
► Spare parts not listed (such
as switches and replacement
nozzles) can be ordered via our
call centre.
Safety instructions for the hot
air blower
NOTICE!
► This tool must be placed on its stand when
not in use.
■
Careless use of the appliance can
cause a fire.
■ Take care when using the appliance
in the vicinity of inflammable materials.
■ Do not aim at the same place for a
prolonged period of time.
■ Do not use in the presence of an
explosive atmosphere.
■ Heat can be transferred to combus-
tible materials which are hidden
from view.
■ Replace on stand after use and al-
low to cool before putting it away.
■ Do not leave the appliance unat-
tended while it is in operation.
Safety information for solid
fuel lighters
■ Check that the solid fuel lighter is
in the correct position.
■ Disconnect from mains before re-
moving from fire.
■ Allow solid fuel lighter to cool down
before packing away.
■ The power cable or other flamma-
ble materials may not come into
contact with hot components of the
solid fuel lighter.
Additional safety instructions
CAUTION! Avoid the risk of injury
or fire as well as health risks:
■ In case of danger, remove the plug
from the socket immediately.
CAUTION!
RISK OF INJURY!
► Never use the appliance as a hair
dryer.
■ Never aim the hot air stream at
people or animals.
■ Never look directly into the nozzle
opening at the outlet .
CAUTION!
RISK OF BURNS!
► Do not touch the hot nozzle.
■ Wear protective gloves.
■ Wear safety goggles.
IB_275925_FUV2000A1_LB6.indb 4 03.02.17 08:46
FUV 2000 A1
GB│IE│NI
│
5 ■
■ Always remove the plug from the
power socket during work breaks,
when adjusting the appliance (e.g.
changing nozzles) and when it is
no longer in use.
■ Keep the nozzle at a distance from
the workpiece or the area being
processed. A build-up of hot air can
result in damage to the appliance.
■ The appliance must always be
kept clean, dry and free from oil or
grease.
■ Never use the appliance for purpos-
es other than the ones for which it
was designed.
Operation
Before Operation
Mount the device
HINWEIS
► The cable must be routed in the device as
shown in figure A. Insert the cable with a
loop into the unit. It must not exceed the
housing of the appliance. The cover of the
housing must be easy to install. Make sure
that the cable is not pinched.
♦ Place the cover on the device and screw it with
the supplied mounting screws (see Fig. A).
Mount the stand
♦ Attach the stand to the unit (see Fig. B).
Operation
♦ Push the loop of the extension cable into the
provided strain relief in the handle and
fix it to the bar provided.
♦ Connect the appliance to a power socket (230
V alternating current) using an extension cable.
♦ Switch the appliance on by pressing the ON/
OFF switch
. The full operating temperature is
reached after approx. 1 minute.
♦ To kill weeds, now place the cone nozzle
onto the plant to be treated for around 5-10
seconds depending on the type of plant.
♦ For taller plants, first only heat the upper section
of the plant briefly and then place the cone nozzle
against the shrunken plant for approx.
5-10 seconds.
NOTE
► This appliance is particularly suitable for
removing weeds.
► Weedkilling is most effective at an early
stage of vegetation growth.
► The most suitable time is during spring.
► The treatment is at its most intensive the
younger the plant is. However, the success
of the measure is not immediately visible.
The visible section of the plant can also be
burnt off with a longer exposure time/treat-
ment.
► Plants do not react immediately to the heat ra-
diation with the recommended treatment time.
The following applies as a basic principle:
young, soft-leaved plants react most sensit-
ively to treatment. They are subsequently no
longer capable of survival.
► Older plants with hard leaves such as thistles
must be treated more frequently at an interval
of between 1 and 2 weeks in order to make
them dry out.
Winter-green grasses are extremely robust
and require longer treatment.
► To begin with, overgrown areas must be
treated several times at short intervals in
order to produce long-term success. After this,
treatment at longer intervals is sufficient.
► Burning the plants off completely is not essen-
tial. During heating, the leaf cells dry out and
the weed will die.
► Repeated treatment of certain types of weed
may be necessary.
IB_275925_FUV2000A1_LB6.indb 5 03.02.17 08:46
FUV 2000 A1
■ 6
│
GB
│IE│
NI
Shutting down
♦ Release the ON/OFF switch .
♦ Always replace the appliance on the stand
after use on a level, fi reproof underlay until the
hot components have cooled down.
Using nozzles
WARNING!
► Before changing the nozzle, you must ensure
that the nozzle has cooled down to avoid
burns.
Remove the cone nozzle
♦ Loosen the locking screw of the cone nozzle
and pull it out of the outlet.
Spatula nozzle
– removing paints or var-
nish:
♦ Push the spatula nozzle
onto the outlet.
♦ The spatula shape of the nozzle is designed for
targeted hot air delivery. Use it together with a
separate spatula to remove paint and coatings.
Flat nozzle
– separating glued joints, sof-
tening paints:
♦ Push the fl at nozzle
onto the outlet.
♦ Avoid prolonged exposure to heat, since
burned paint can be very diffi cult to remove.
Many adhesives can be softened with heat. The
glued joints can be separated and excess
glue removed.
Reducer nozzle
– welding plastics:
♦ Push the reducer nozzle
onto the outlet.
♦ Use the reducer nozzle
with heat-shrinkable
tubing and fi lms.
Additional usage examples for
house, car and garden
Defrosting water pipes:
NOTE
► PVC piping must not be thawed out.
► Water and gas pipes are often indistinguish-
able from the outside. If in doubt, always ask
a professional.
► Copper pipes are soldered and may not be
heated to above 200°C.
Slackening screwed joints:
♦ Heat screwed joints carefully with hot air and
the screws can then usually be removed easily.
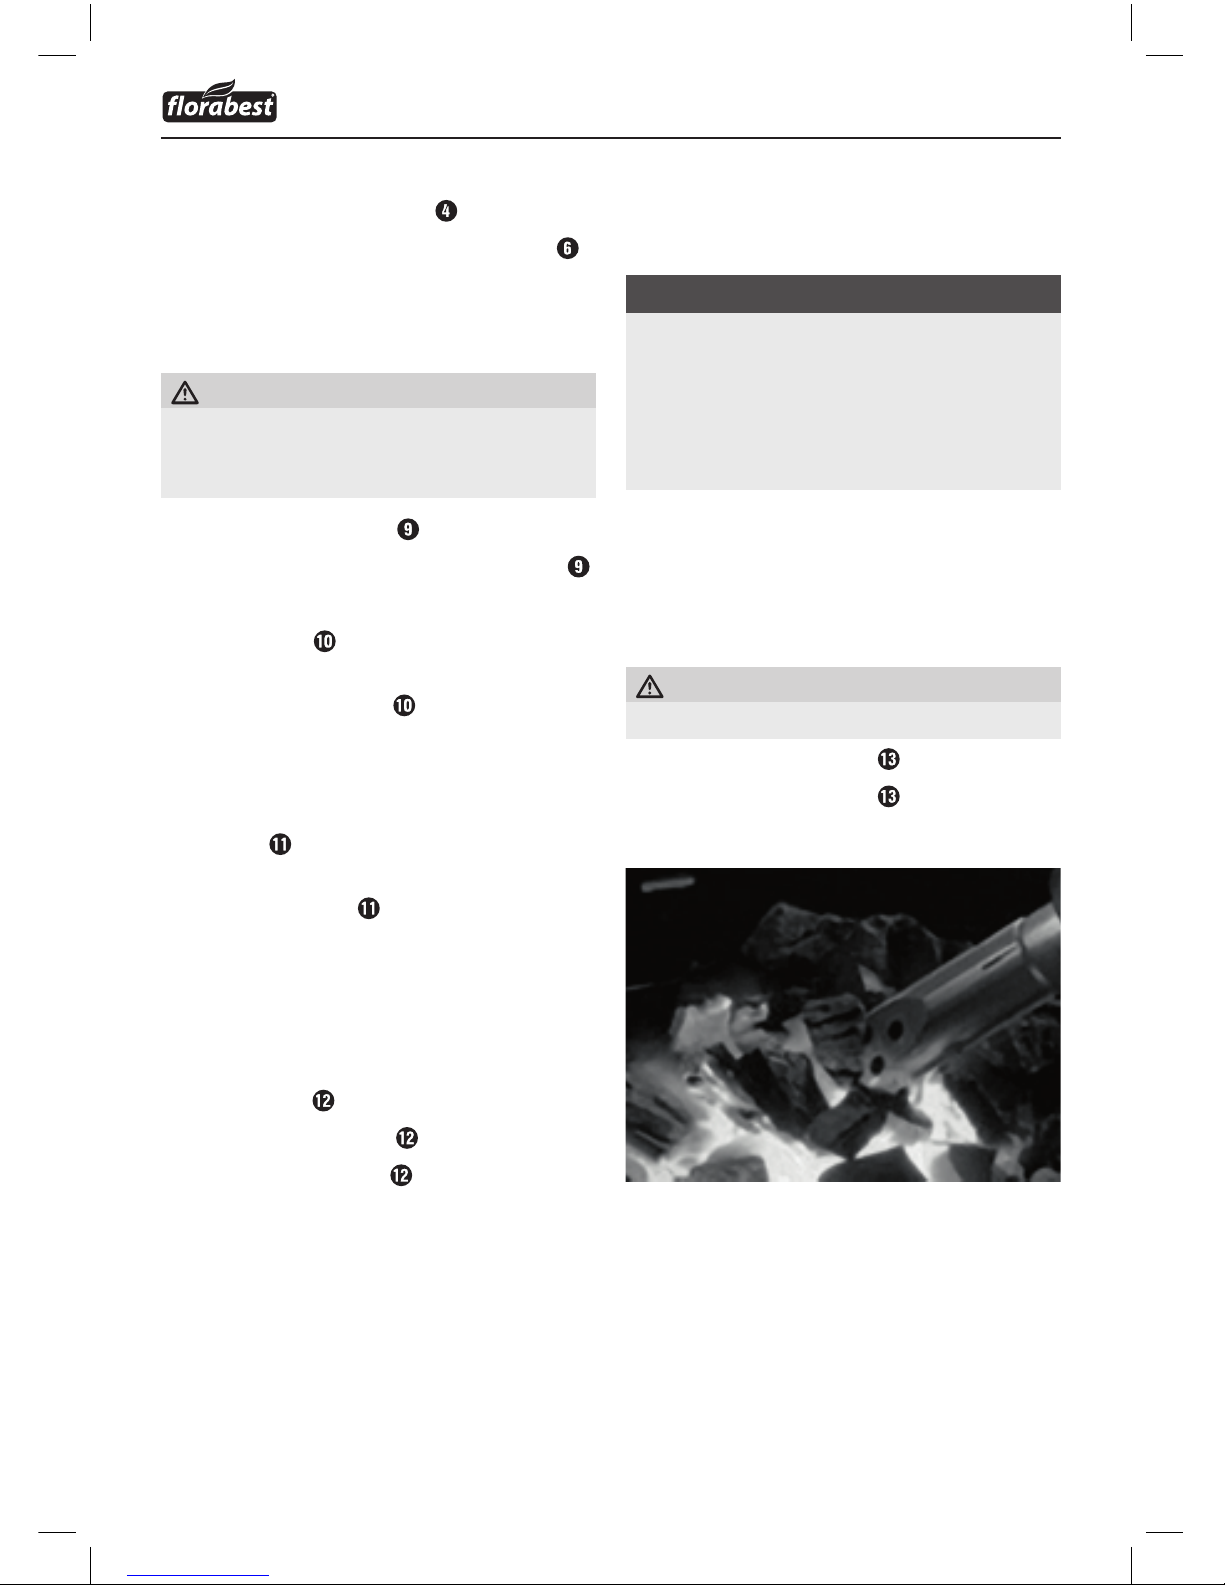
Lighting charcoal:
WARNING!
► Do not use any lighter fl uid.
♦ Push the barbecue nozzle
onto the outlet .
♦ Push the barbecue nozzle
into the charcoal.
When doing so, ensure that the last three barbecue nozzle holes remain free.
♦ As soon as the charcoal has started to glow,
remove the appliance from the charcoal.
De-waxing:
♦ Use the product with suitable caution to remove
residual wax from skis/snowboards or candle
holders.
IB_275925_FUV2000A1_LB6.indb 6 03.02.17 08:46
 Loading...