

Page 1
Google Cloud Print Setup for Chromebooks
Follow these instructions to quickly connect your printer to your network and set up
Google Cloud Print
TM
.
Add your printer to your wireless network
Before connecting your printer to your network, follow the instructions on the Start Here
sheet to unpack your printer, install the ink cartridges, and load paper.
1. Press the button on your printer’s control panel, if necessary.
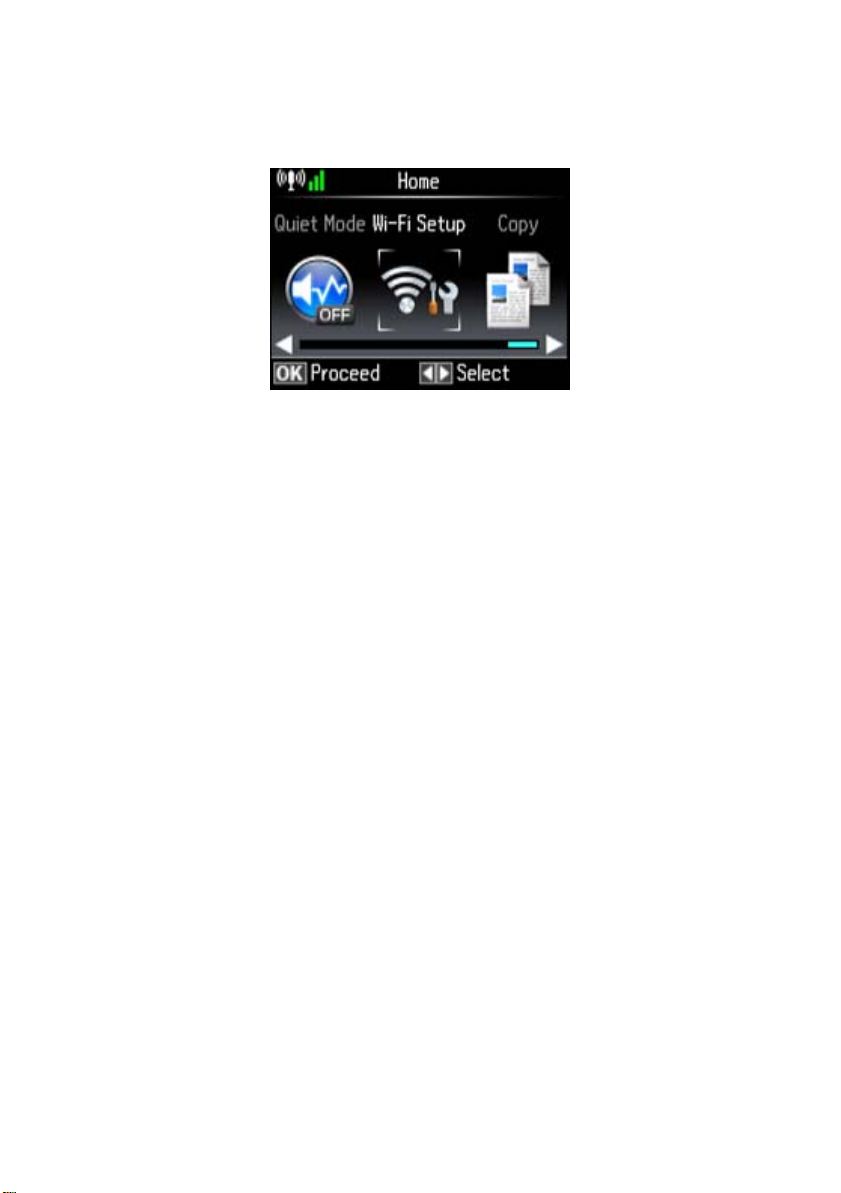
2. Press l on the printer until you see
3. Press
OK to select Wi-Fi Setup Wizard.
4. Press d until you see the name of your wireless network, then press
Note: If you don’t see your network’s name, select Other Networks and press
OK. Enter your network name as described in the next step.
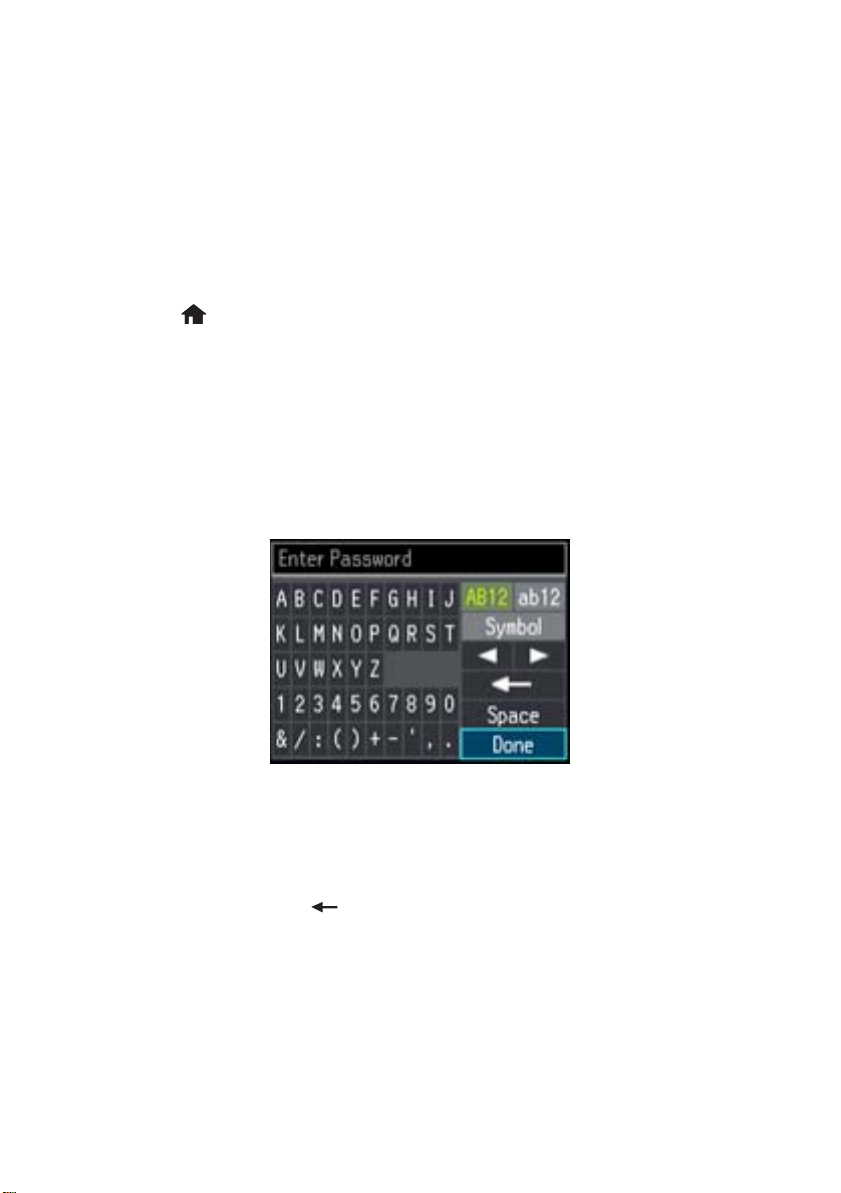
5. Enter your wireless password (or network name and then password).
Wi-Fi Setup, then press OK.
OK to select it.
Press u, d, l, or r on the printer to highlight a letter or function button.
OK to select it.
Press
Note: Passwords must be entered in the correct case. Use the function buttons to
select uppercase (AB12), lowercase (ab12), symbols (Symbol), or spaces (Space),
and to delete characters (
6. Highlight
7. Press
Done and then press OK.
OK to confirm the Wi-Fi settings.
).
Google Cloud Print Setup for Chromebooks 1
Page 2
8. Select Yes if you want to print a network status report, or No if not, and then press
OK.
You should see Wi-Fi signal bars in the corner of the screen:
Note: If you don’t see any Wi-Fi signal bars, you may have selected the wrong
network name or entered the password incorrectly. Repeat these steps to try
again.
Add your printer to Google Cloud Print
Once you’ve connected your Epson printer to your wireless network, you can add your
printer to the Google Cloud Print service.
1. Turn on your Chromebook and connect it to the same network as your printer.
Note: See your Chromebook’s documentation for details on connecting your
Chromebook to your network.
2 Google Cloud Print Setup for Chromebooks
Page 3

2. Click
Add to Cloud Print in the notification that appears in the corner of your
Chromebook’s screen.
If you don’t see a notification, check to see if a number appears in the status area in the
lower-right of your Chromebook’s screen.
Click this number to open the notifications menu, then click
3. Click
Add Device.
Add to Cloud Print.
4. Click the Register button that appears next to your product.
5. Click
Register on the confirmation screen. Your printer’s LCD screen displays a
confirmation message.
6. Press the
OK button on your printer to confirm the Google Cloud Print connection
and print a test page.
Your printer now linked to your Google Account and can be accessed from any
Chromebook, iPhone
®
, or Android® phone with internet access. For more information on
using Google Cloud Print, visit www.epson.com/support/googlecloudprint.
Solving setup problems
If you aren’t able to set up Google Cloud Print, check the following:
■ Check that your printer shows the Wi-Fi signal bars in the corner of the LCD screen
and that your Chromebook shows Wi-Fi bars in the lower-right corner of the screen.
■ Make sure that your printer and Chromebook are connected to the same wireless
network.
Google Cloud Print Setup for Chromebooks 3
Page 4

■
If you don’t see a notification that your printer is detected on your network, follow
these steps:
1. Open a new browser window on your Chromebook.
2. Type
3. Click the
chrome://devices into the address bar and hit Enter.
Register button that appears next to your product.
4. Click
Register on the confirmation screen. Your printer’s LCD screen displays a
confirmation message.
5. Press the
OK button on your printer to confirm the Google Cloud Print
connection.
■ Verify that your router or access point is operating correctly by connecting to it from
your computer or another device.
■ You may need to disable the firewall and any anti-virus software on your wireless
router or access point.
■ Make sure that that port 5222 (TCP) is open on your router or access point.
■ If your router or access point does not broadcast its network name (SSID), follow the
instructions to enter the wireless network name manually.
■ If your router or access point has security enabled, determine the kind of security it is
using and any required password or passphrase for connection. Then make sure to
enter the exact WEP key or WPA passphrase correctly.
General Notice: Other product names used herein are for identification purposes only and may be
trademarks of their respective owners. Epson disclaims any and all rights in those marks.
© 2013 Epson America, Inc. 10/13
4 Google Cloud Print Setup for Chromebooks
CPD-40147
 Loading...