

Page 1
REVIEWER’S GUIDE
Page 2
Artwork by Michelle Webb
Contents
Introducing Corel Painter 2018 . . . . . . . . . . . . . . . . . . . . . . . . . . . . .3
Artist profiles . . . . . . . . . . . . . . . . . . . . . . . . . . . . . . . . . . . . . . . . . . . .5
What’s included? . . . . . . . . . . . . . . . . . . . . . . . . . . . . . . . . . . . . . . . . .8
Minimum system requirements . . . . . . . . . . . . . . . . . . . . . . . . . . .9
Key features . . . . . . . . . . . . . . . . . . . . . . . . . . . . . . . . . . . . . . . . . . . .10
Thick Paint . . . . . . . . . . . . . . . . . . . . . . . . . . . . . . . . . . . . . . . . . . . . . . . 10
Drip and Liquid Brush technologies . . . . . . . . . . . . . . . . . . . . . . . . . . 14
Thick Texture Brushes . . . . . . . . . . . . . . . . . . . . . . . . . . . . . . . . . . . . . . 16
Natural-Media brush library . . . . . . . . . . . . . . . . . . . . . . . . . . . . . . . . 18
Random Grain Rotation . . . . . . . . . . . . . . . . . . . . . . . . . . . . . . . . . . . . 18
Selection Brush tool and Selection brushes . . . . . . . . . . . . . . . . . . . 19
Cloning workflow . . . . . . . . . . . . . . . . . . . . . . . . . . . . . . . . . . . . . . . . 21
Texture Synthesis . . . . . . . . . . . . . . . . . . . . . . . . . . . . . . . . . . . . . . . . . 23
Page 3
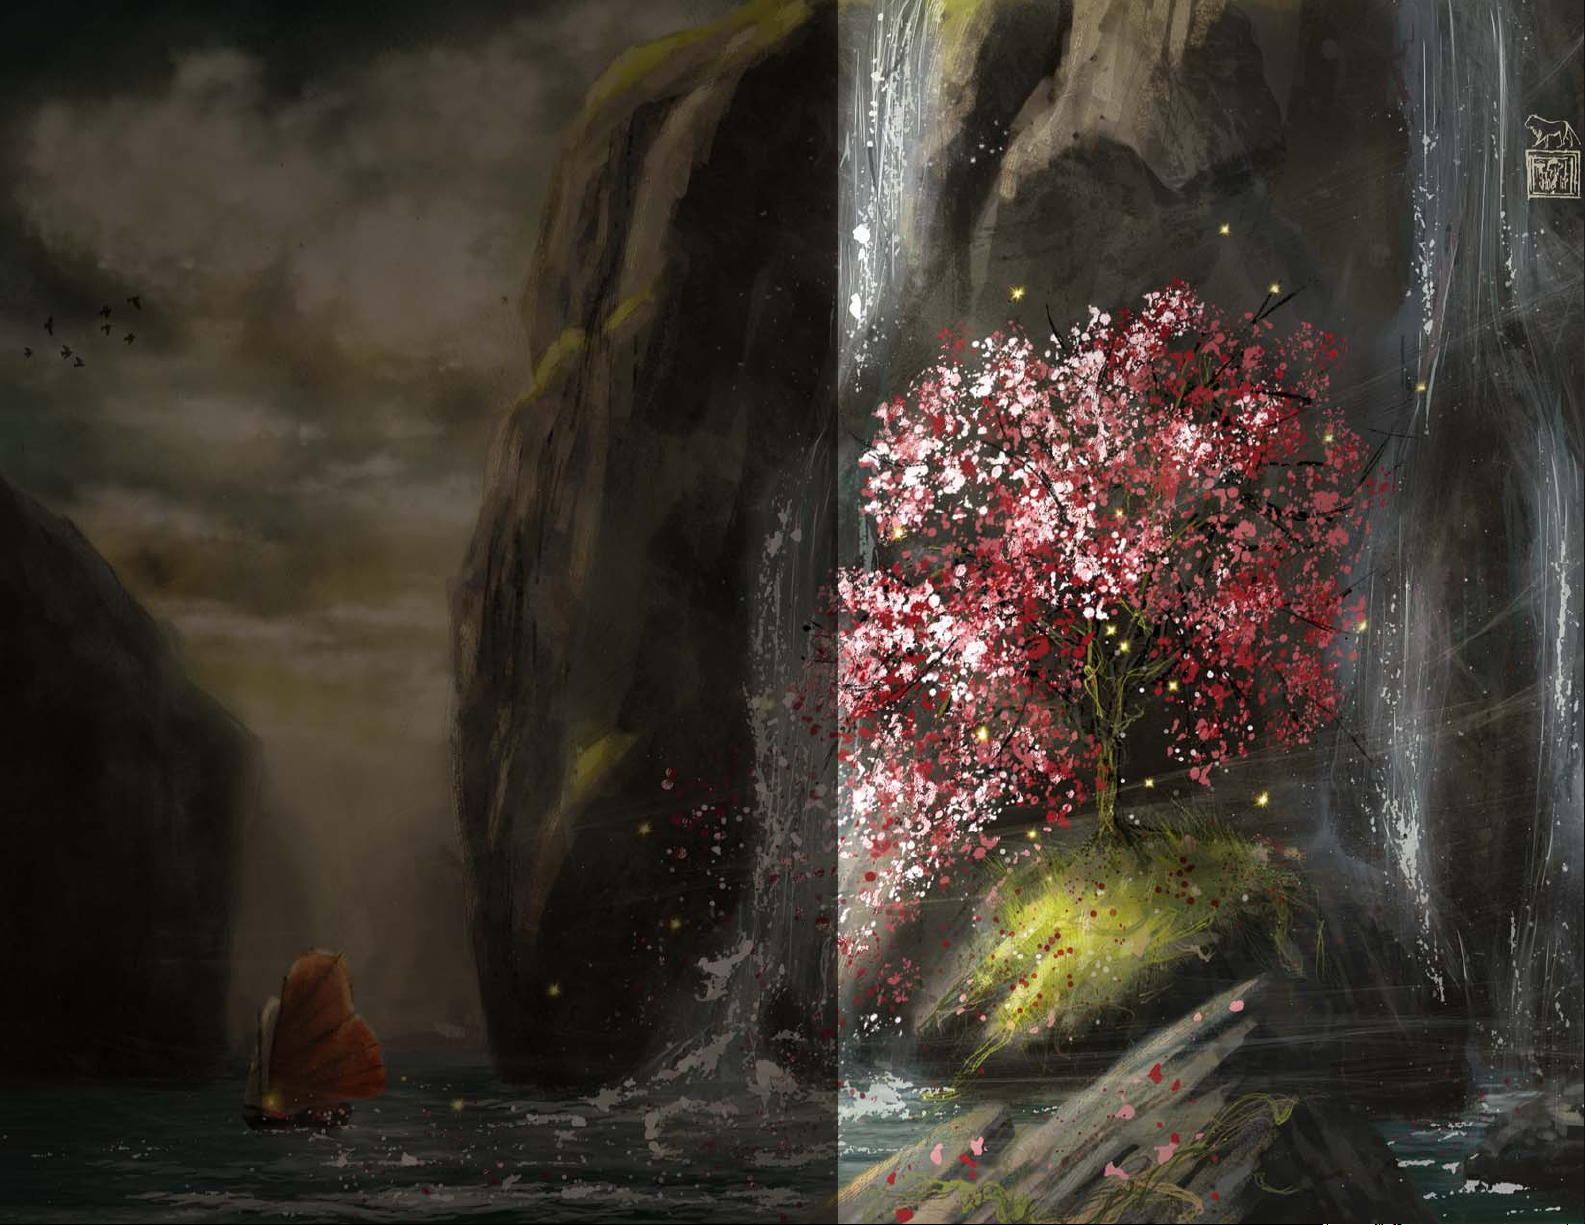
Artwork by Sidney Muniz
Introducing Corel® Painter® 2018
Corel® Painter® 2018 is the world's most realistic digital art studio. There are
many reasons why creative professionals and digital artists have chosen to
make Corel Painter an integral part of their design process, but two really
stand out — painting tools and workflow features.
A loyal and passionate user base actively participates in Painter's
development by offering constructive feedback, and sharing their work, tools
and methods. These insights and suggestions drive so many of these
painting and workflow innovations.
The power and diversity of its revolutionary digital painting tools is what
makes Corel Painter the paint program that all others are measured against.
Its expansive collection of painting tools not only offers an unrivaled ability to
emulate traditional art, but also gives users the power to redefine what's
possible in digital art.
Each version of Corel Painter has pushed the envelope by consistently
adding new tools and features that quickly became the benchmark in the
digital art world — Texture Painting, Particle Brushes, and Dynamic Speckles
to name just a few from recent releases. Corel Painter 2018 continues this
push to deliver groundbreaking features that are incredibly powerful in a
range of creative sectors and workflows.
The addition of Thick Paint offers artists a digital painting experience like no
other. It mimics the look and feel of thick paint with remarkable fidelity and
has a concise set of brushes inspired by traditional tools. Some of our most
popular brushes have been made more versatile with new options for
blending with underlying brushstrokes or transparency.
Page 4
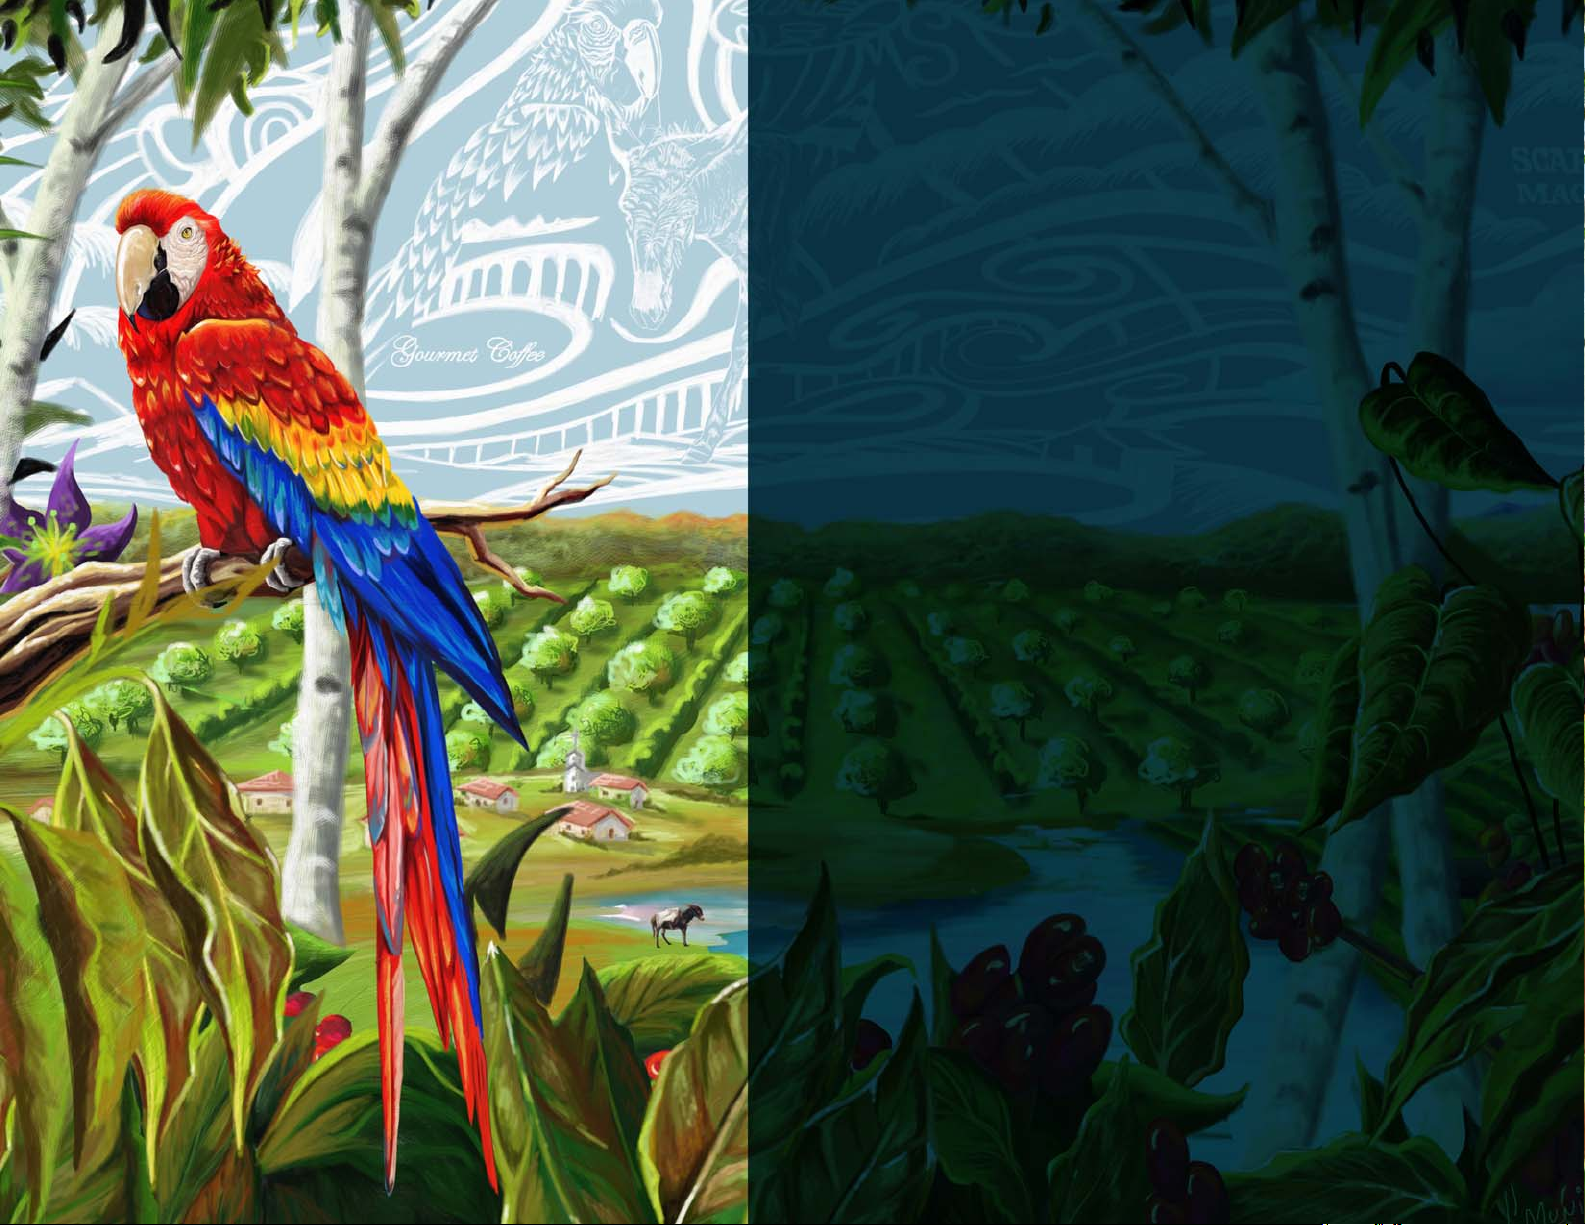
Artwork by Harvey Bunda
Texture Painting, one of the most popular recent additions to Painter, is made
even more dynamic with new Thick Texture brushes that apply 2.5D strokes.
Features that accelerate artistic workflows and simplify the creative process
are another reason why Corel Painter is like no other paint program on the
market. Creating photo art and composites is easier than ever with revamped
UI and new clone-source options. The new Texture Synthesis feature gives
digital artists of all stripes the ability to create dynamic, one-of-a-kind
textures. And the new time-saving Selection Brush tool makes protecting
image areas as easy as applying a brushstroke.
Give it a try, and we're sure you’ll agree — Corel Painter 2018 is changing
what’s possible in digital art.
Page 5
Artwork by Harvey Bunda
Artist profiles
Concept artists
Corel Painter 2018 offers concept artists a powerful and versatile feature set
for every stage of their workflow. The ability to add randomness to brush
variants gives concept artists the freedom to discover a world of creative
possibilities as they paint with tools that have a traditional look and feel.
Once the right look has been pinpointed, Corel Painter 2018 has the tools
that they need to quickly refine even the most minute detail of every
element of their concepts.
Illustrators
Illustrators count on Painter because of the power and diversity of a toolset
that lets them work with precision, speed, and confidence. Whether creating
a character or publishing an illustration, package design, or promotional
piece, Corel Painter 2018 has the art tools illustrators need to bring their
vision to life and immerse their audience in the story. It’s the perfect medium
for visually capturing and expressing their ideas, from initial sketches to fully
rendered designs. No other program allows them to transition seamlessly
from traditional methods to the world of digital art quite like Corel Painter.
Whatever real-world medium they’ve counted on before, there’s a Painter
equivalent that lets them create just like they always have, only faster.
Page 6
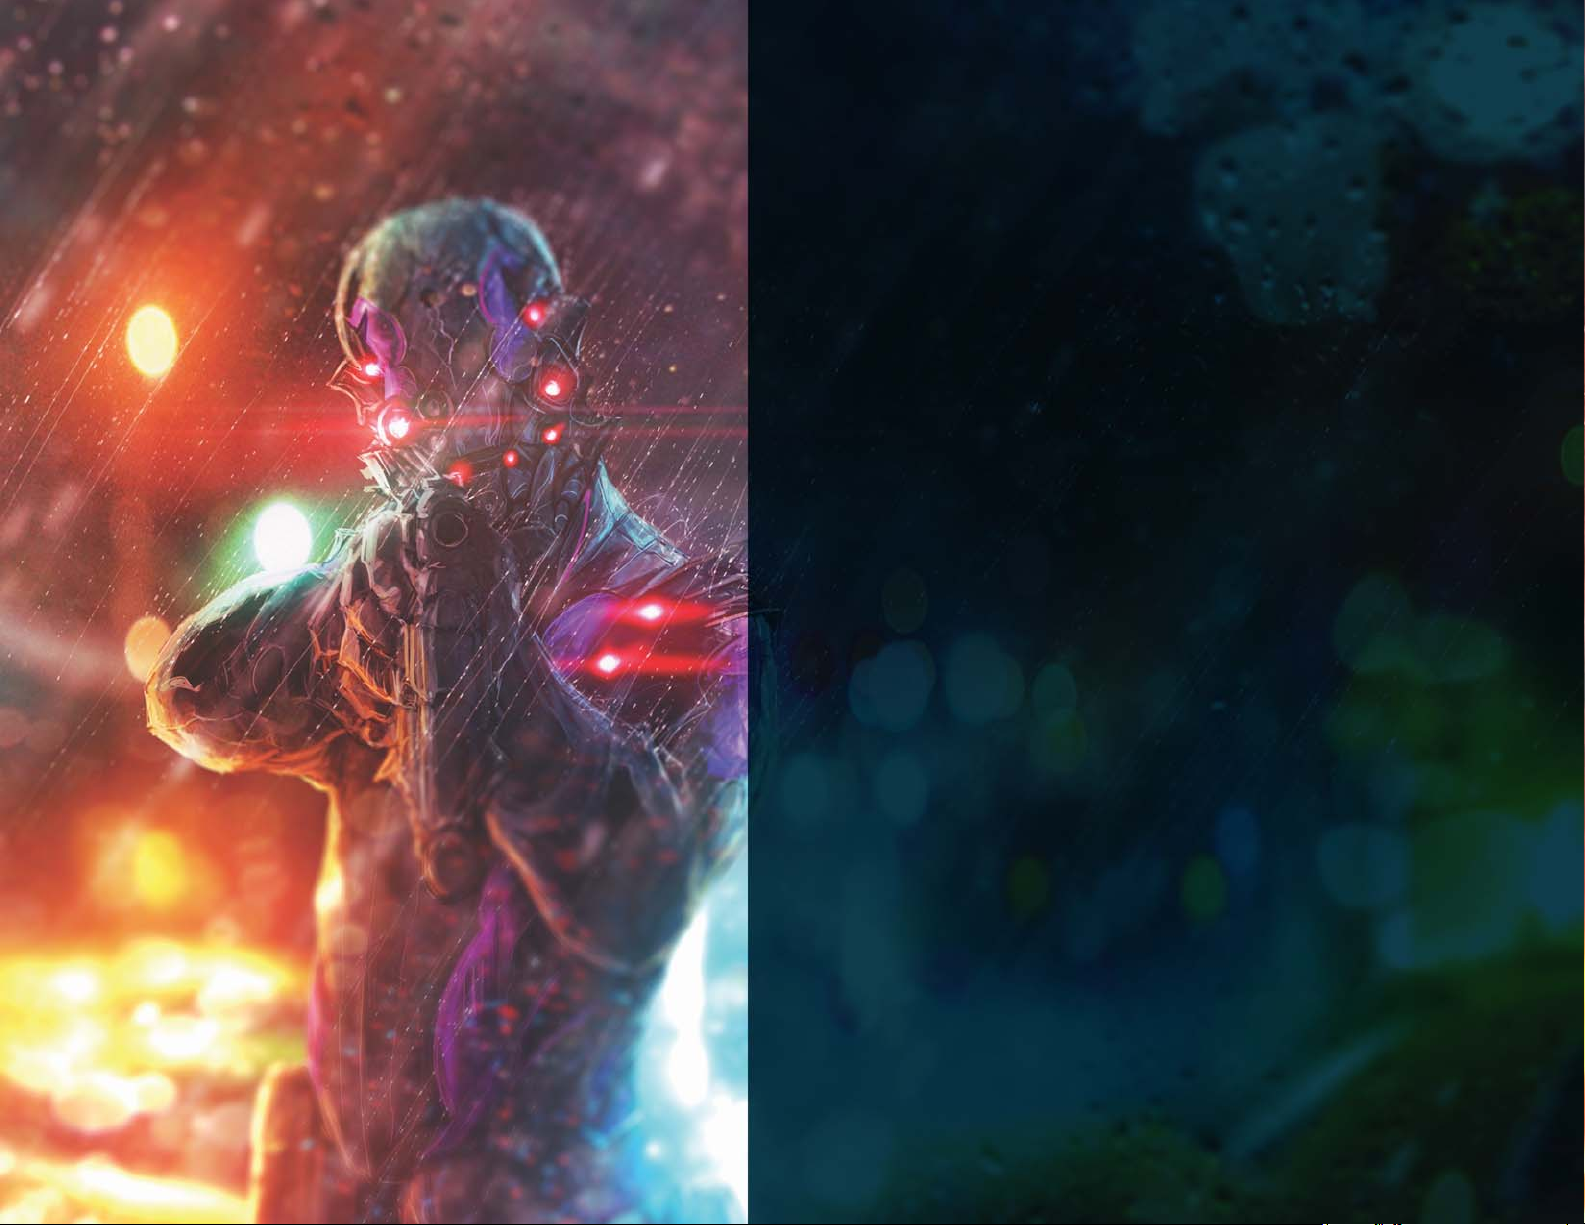
Artwork by Hector Sevilla
Manga and Comic artists
A wide range of sketching, drawing and inking tools make Corel Painter 2018
the best digital art program for manga and comic artists to develop a personal
style that stands out. So much of their work calls on traditional methods that
Painter is renowned for emulating, from watercolor to oil to liquid ink. Painter
has the tools that they need to create clean, crisp lines, bold effects, and subtle
shading. Often working to aggressive deadlines, they know they can count on
a comprehensive set of composition and symmetry tools and intuitive color
management features. There’s no other tool on the market that gives them the
power to build up a concept and then bring it to life in living color with such
impact.
Fine artists
Corel Painter 2018 provides the most natural way to transition from traditional
to digital art on the market. Fine artists can easily combine classic art practices
and time-honored techniques with state-of-the-art Natural-Media technology
to create digital art that’s just as impressive as what they can create on a
physical canvas. Corel Painter 2018 can save them valuable time thanks to the
ability to undo mistakes in a way that only a digital art studio allows. What's
more, there's no toxic fumes or costly art supplies.
Page 7
Artwork by Lamar Smart
Photo artists
With powerful Auto-Painting and Cloning tools, plus one-of-a-kind image
painting features found only in Corel Painter 2018, photo artists can capture a
moment and easily transform the image into a digital work of art. They have
everything they need to produce visually stunning painted keepsakes and
sellable works of photo art in no time.
Students and teachers
Painter is a vital asset for all budding artists and an essential component for
any art-related curriculum. It has digital tools that mimic the look and feel of
their real world counterparts, and perspective and composition features that
simplify some of the fundamentals of art. Corel Painter 2018 offers a natural
way for students to learn traditional art techniques in an environment that’s
very conducive to experimentation — without the cost and mess associated
with traditional art supplies.
Page 8

Artwork by Davey Baker
What’s included?
Main application
• Corel Painter 2018, macOS® and Windows® versions
Content
• Libraries of unique brushes, gradients, nozzles, patterns,
textures, and paper textures
Documentation
• HTML Help (Windows) and Apple Help (Macintosh®) files
• Online User Guide and Getting Started Guide (PDF)
• Welcome Screen
• youtube.com/paintertutorials
•painterartist.com
Page 9

Artwork by Pat Watson
Minimum system requirements
macOS® version:
•macOS® X 10.12, 10.11 or 10.10 (with latest revision)
• Multi-core Intel® with 64-bit support
(4 logical cores or higher recommended)
• 2 GB of RAM (8 GB or higher recommended)
• 750 MB of hard disk space for application files
(Solid-state drive recommended)
• 1280 800 screen resolution (1920 1080 recommended)
• Mouse or tablet
• DVD drive (required for box installation)
Windows® version:
•Microsoft
®
Windows® 10 (64-bit), Microsoft Windows 8.1 (64-bit), or
Windows 7 (64-bit), with the latest Service Packs
•Intel® Core 2 or AMD Athlon™ 64 processor (2 GHz or faster)
(4 logical cores or higher recommended)
• 2 GB of RAM (8 GB or higher recommended)
• 1 GB of hard disk space for application files
1
• 1280 800 screen resolution (1920 1080 recommended)
• Mouse or tablet
• DVD drive (required for box installation)
•Microsoft
®
Internet Explorer® 11 or higher, with the latest updates
To activate your product on either operating system, you must connect to the
Internet and register it first.
Upgrade eligibility:
Painter users of previous versions can take advantage of
special discount pricing when upgrading to Painter 2018. Please note that
upgrade eligibility excludes Trial, Academic, OEM and Not for Resale (NFR)
versions.
1. Additional space may be required for Microsoft .NET Framework 4.6
Page 10

Artwork by Karen Bonaker
Key features
Corel Painter 2018 is the world’s most authentic digital art studio.
Painting Tools
Painter is famous for an expansive collection of painting tools that inspire
artists and give them the freedom to create without boundaries.
New!
Ask a digital artist to list off the things that make Corel Painter so different
from every other paint program, and one thing always comes up — the ability
to easily combine classic art practices and time-honored techniques with
state-of-the-art Natural-Media technology. And this tradition continues in
Corel Painter 2018 with the introduction of Thick Paint, which mimics the look
and feel of thick paint with remarkable fidelity.
Thick Paint has brushes inspired by traditional tools that you'd instantly
recognize in any art supply store. There are a range of bristle brushes and
palette knives carefully crafted to deliver the feel and behavior you'd expect.
These new brushes use paint that has pigment and volume that behaves just
like real paint. This means you can blend, build up, push, pull and scrape the
paint using the pressure, tilt, and rotation of your stylus. These variants deliver
versatile, scalable brush loading, so you can spend more time focusing on
your work and less on the UI. Using a quick keyboard shortcut and dragging,
you can precisely load the brush on the fly, thanks to a cursor that displays the
amount of paint you've loaded and the color.
Thick Paint
Page 11

Artwork by Collin Chan
Just like in the real world, you can create strokes that have ridges of paint
within. But what really makes the ridging pop, of course, is shadows in the
canyons of the stroke.
With that in mind, Painter lets you adjust the shadow strength and ambient
lighting to get depth in a brushstroke like never before. What's more, the
ability to tweak the transparency of brushstrokes and control how paper
texture interacts with the paint opens up a world of creative possibilities.
The Thick Paint property bar offers presets for painting technique, as well as
quick access to settings that allow you to prevent the brush from running out
of paint and control how new brushstrokes blend with existing ones. This
makes it easy to jump in and get stunning results right away. Or if you'd rather
tinker and experiment to get a certain look, there are new Thick Paint panels
where you can modify controls.
Thick Paint brushes offer a natural-media experience with the look
and feel of thick paint and traditional impasto.
Page 12

Artwork by Cher Pendarvis
Give it a try
Working with Thick Paint
1
Choose
2
Click the Brush Selector, click the
category, and choose the
brush variant.
3
Apply a single continuous brushstroke on the canvas until
the palette knife starts running out of paint to reveal the
paper texture.
You can adjust the amount of paint loaded between
brushstrokes by clicking the
dragging in the document to load the brush. If you’re using
a mouse, set the paint load to 15%.
4
On the property bar, click the
choose a new paper texture.
5
Apply more brushstrokes to see how the new paper texture
changes the interaction with the paint.
6
Increase the paint loading, and apply brushstrokes on the
canvas building up a large amount of paint varying depth.
7
Choose
File
Canvas
New
to create a new document.
Thick Paint
Grainy Loaded Palette Knife
Paint Load
Paper Selector
Surface Lighting
.
brush
button , and
button , and
Grainy Loaded Palette Knife (left), revealing paper texture (center),
comparing lighting effects (right)
8
In the Surface Lighting dialog box, experiment with how
lighting interacts with Thick Paint by moving the
slider in the Ambient Lighting area and the
Strength
slider.
Brightness
Shadow
Page 13

Artwork by Cher Pendarvis
Give it a try
Working with Thick Paint
1
Choose
2
Choose the
Thick Paint
3
Apply a few brushstrokes to the canvas.
4
Choose a new color on the Color panel, and paint over the
existing brushstrokes to blend the colors.
5
On the property bar, click the
panel
6
On the Thick Paint - Brush panel, move the
0%
7
Paint over the existing brushstrokes.
Note how the new brushstrokes don’t blend with the
existing ones when using a lower bleed setting.
8
On the property bar, click the
the brush.
9
On the property bar, click the
choose the
fluid brushstrokes.
10
Apply a few brushstrokes to the canvas.
11
Now, click the
Thin
lightly cover existing strokes and can reveal some paper
texture.
File
New
to create a new document.
Grainy Real Bristle Oils Flat
brush category in the Brush Selector.
Show Thick Paint - Brush
button .
.
Reset Tool
Technique
Soft
preset, which lets you paint smooth, flat,
Technique
preset, which lets you paint thin brushstrokes that
button again, and choose the
variant from the
Bleed
slider to
button to reset
button , and
12
Apply a few brushstrokes to the canvas.
Note the differences between brushstrokes created using
different Technique presets.
Grainy Real Bristle Oils Flat – high bleed (left), no bleed (center),
Thin Technique preset (right)
Page 14

Artwork by Kari Nanstad
Enhanced!
Drip and Liquid Brush technologies
Brushes that use drip or liquid technologies are even more versatile in Painter
2018.
Take, for example, the Sargent Brush, one of most popular Painter brush
variants ever. Loved by artists for its rich brushstrokes, the Sargent Brush can
now be used on an empty layer to blend the currently selected color with an
oil-like transparency. Alternatively, you can use variants that use drip or liquid
technologies to pick up color from underlying layers. What's more, this step
forward in brush technology offers artists of all stripes a range of fresh
brushes, opening up a world of possibilities.
Page 15

Artwork by Jack Whitney
Give it a try
Using enhanced drip and liquid brush technologies
1
Choose
New Layer
layer.
2
Click the Brush Selector, click the
and select the
3
Click the
4
On the property bar, click the
Texture
enable
5
Paint over the texture. Then, click the
the Layer panel to create a new layer.
6
Click the
color cloning.
7
Paint another area of the document. Then, click the
Layer
8
On the Layers panel, click the
button .
9
Click the
Clone Source
another texture.
10
Paint over both sets of brushstrokes that you've applied.
File
New
to create a new document, and click the
button on the Layer panel to create a new
Sargent
Real Bristle Soft
Clone Color
from the
Show Texture
Clone Color
button on the Layer panel to create a new layer.
Clone Color
picker on the property bar, and choose
button in the Color panel.
Source
list box, choose a texture, and
check box.
button in the Color panel to turn off
button in the Color panel, click the
variant.
Clone Source
Pick Up Underlying Color
brush category,
picker, choose
New Layer
button on
New
11
On the property bar, click the
disable
12
On the Layers panel, turn layers on and off to see the
results.
Notice how painting on an empty layer blends with
underlying colors without affecting the underlying layer.
13
Click the
Show Texture
Pick Up Underlying Color
check box.
Clone Source
button again to disable it.
picker, and
Page 16

Artwork by Aaron Rutten
New!
Thick Texture Brushes
Concept artists and character designers love Texture Painting for its ability it
to deliver powerful realism, and Painter 2018 takes the experience to a whole
new level.
New 2.5D Thick Texture brushes apply strokes that feel like they’re jumping
off the canvas. Do you need to make a character authentically reptilian? You
can paint thick, exotic scales that look like they're rising off the canvas. Or
when you need to make skin more lifelike, Thick Texture brushes let you paint
cavernous pores and amplify them by adjusting the directional lighting and
appearance of depth.
Page 17

Model by Cris Palomino
Give it a try
Painting with Thick Texture brushes
1
Open the sample file
2
Click the Brush Selector, click the
brush category, and select the
brush variant.
3
Click the
Peeling Paint
4
On the property bar, type 25 in the
the
5
Paint the 3D model.
6
Choose
7
Click on the lighting sphere where you want to add a new
light source. A new light indicator (small circle) appears
where you click.
8
Experiment by dragging a light indicator to a new position
on the sphere.
Texture Selector
.
Show Texture
Canvas
3Dmodel.png
Stencil Soft Emboss 2.5D
on the property bar, and click
button.
Surface Lighting
.
Texture Source Blending
Visibility
.
box, and click
Page 18

Artwork by Deborah Kolesar
New!
Natural-Media brush library
The new Natural-Media brush library makes it easy for artists transitioning
from traditional to digital art. It gives quick, one-stop access to brushes that
mimic traditional media, from pencils and pastels to oils and acrylics, and
much more. If you've used it in the real world, chances are you'll find the
digital equivalent in the Natural-Media brush library. You can access the new
collection by opening the Brush Selector and choosing Natural Media
Brushes from the Brush Library list box.
New!
Random Grain Rotation
Another user request in Painter 2018 is random grain rotation. This new
feature slightly rotates the paper grain in each stroke, giving brushstrokes a
more natural, organic look.
:
Page 19

Artwork by Joe Kulka
Workflow Tools
A series of workflow tools and enhancements help tailor the workspace to
your needs and streamline how you paint.
New!
Because selections are critical to so many digital-art workflows, Corel Painter
2018 gives you more choices when you need to isolate an area of an image.
How much time could you save if you could create a selection as easily and
precisely as you can apply a brushstroke? The new Selection Brush tool lets
you do just that. To make it easier to distinguish between selected and
protected areas, you can display a color overlay when you apply a stroke. You
can fine-tune the overlay to make it suit the document that you're working
in.
There's a new Selection brush category with new variants designed
specifically for creating selections when working with a complex shape or
image area. There's also the option of turning any stamp-based brush variant
into a selection tool, giving you even more flexibility.
What's more, you can tweak a brush just as if you were using it to paint, then
save it as a custom selection variant for reuse. And in response to artist
feedback, there are a series of selection improvements in Painter 2018.
Selection Brush tool and Selection brushes
Page 20

Artwork by Aaron Rutten
Give it a try
Creating a selection by painting
1
Open an image.
2
In the toolbox, click the
3
Drag in the document to select an area.
4
In the toolbox, click the
5
On the property bar, click the
choose a dab profile.
6
Click the
and paint any areas you want to add to the oval selection.
7
Click the
selection in the Save Selection dialog box, and click OK.
The saved selection will appear in the Channels panel.
8
Click the Brush Selector, click the
category, and experiment with a variety of variants.
9
In the toolbox, click the
drag in an active selection to apply the gradient.
Add To Selection
Save Selection
Oval Selection
Selection Brush
Dab Options
button on the property bar
on the property bar, name the
Interactive Gradient
tool .
tool .
button , and
Selection Brush
tool , and
brush
Page 21

Artwork by Sandy Oman
Enhanced!
Cloning Workflow
It's easier to create compelling photo composites in Painter 2018. A range of
cloning enhancements let photo artists to do more, in less time. You can
increase the sophistication of your photo composites in Painter 2018 with
new cloning transparency support. You can now use transparent and semitransparent clone sources when creating a collage, so all elements in a
composite interact naturally. And for even more accurate transparency
cloning, there's a precise cloning option that picks up colors from the center
of the brush dab. Photo artists can now use a texture as a clone source.
Transformations can be applied to texture clone sources, so you can resize
and shape them to easily and intuitively craft a composite. The UI has been
streamlined to simplify switching between clone sources. The revamped
cloning controls give you more space to work, but not at the expense of easy
access to the settings you need most. All critical cloning controls are easily
accessible from a flyout on the property bar. Whatever your favorite cloning
workflow is, Painter 2018 has you covered. Whether tracing paper or a
crosshair cloning cursor works best for you, the choice is yours. And when
you find or create a clone source that you want to reuse, you can save it with
the image as an embedded source or as a texture in the Texture library so it's
always at your fingertips. There's also an option that lets you embed a clone
source in a document, saving you time finding the source when you get back
to work and simplifying sharing with other photo artists.
Page 22

Artwork by Karen Bonaker
Give it a try
Cloning with texture
1
Choose
width of 1800 pixels and a height of 1000 pixels.
2
Click the Brush Selector, click the
and select the
3
On the property bar, click the
button .
4
On the
list box, choose the
Photo Art section), and enable the
5
Click the
6
Brush over the texture. Then, switch variants, and clone
some more.
Particle Spring Oil Mop 2
7
On the
box.
8
Click the
9
In the toolbox, click the
File
New
, and create a new document with a
Cloners
Camel Impasto Cloner 2
Show or hide Cloning panel
Clone Source
New Layer
Bristle Blender, Particle Flow Bristle Fine,
Clone Source
Canvas
panel, choose
Japanese Magnolia
button on the Layer panel.
are good variants to try out.
panel, disable the
layer on the Layer panel.
Interactive Gradient
Texture
Show Texture
brush category,
brush variant.
texture (in the
Show Texture
from the
check box.
tool .
Source
check
Experience the new freedom of painting from transparent clone
sources that seamlessly blend into your composition.
10
On the property bar, click the
Jungle Leaf Greens
gradient.
11
On the property bar, click the
choose an auto-painting style.
12
Click the
13
Click the Brush Selector, click the
select the
flowers.
14
On the Texture Libraries panel, click the panel options
button , and click the
Image
Window
Once you save the image, the texture is automatically
available for cloning the next time the file is opened.
Commit Gradient
Drippy Jellyfish
. If the Texture Libraries panel isn’t open, click
Media Library Panels
and drag in the document to apply the
Embed Texture as Clone Source
Gradient Selector
Express Paint
button on the property bar.
Sargent
variant, and paint stems on the
Texture s
, choose
button , and
brush category,
.
Page 23

New!
The limitless creative possibilities that made Texture Painting an instant
favorite with concept artists and character designers just got even more
powerful thanks to the addition of the Synthesis feature. It allows you to
capture and synthesize an area of a texture or document and reproduce it on
a larger scale, using all the visual elements of the input sample. During the
synthesis process, properties of the selected area are randomized, creating a
new texture based on settings that you've chosen. You can then paint with it
to give every texture brushstroke even more depth and detail.
Texture Synthesis gives digital artists of all stripes the ability to create vibrant,
one-of-a-kind textures. Because you can also use part of an image, you can
use favorite brushstrokes as the DNA of a new texture, offering infinite
possibilities. The synthesized texture can then be used just like any other
texture or it can be exported to a layer.
And in Painter 2018 you can fill with texture, whether you created it using the
Texture Synthesis feature, imported it to use with a Texture Painting brush, or
found it in the Texture library.
Texture Synthesis
Page 24

Artwork by Michael Pierre Price
Give it a try
Creating a texture using Texture Synthesis
1
Create a new document with a height and width of 500
pixels.
2
Click the Brush Selector, click the
and select the
3
Paint on the canvas.
4
Choose the
and select an area of the canvas that you painted.
5
Choose
open the Texture Synthesis panel.
6
On the Texture Synthesis panel, select
Source
area, and type
7
Click the
to a new layer in the document.
8
Create another document with a height and width of 500
pixels.
9
Click the Brush Selector, click the
category, and select the
10
Paint on the canvas.
11
Choose the
and select an area of the canvas that you painted.
12
On the Texture Synthesis panel, select
Source
Send To
13
Click the
name the new texture 2018, and click OK.
Window
list box, enable the
list box, enable the
area, and type
Coarse Spray Jitter
Rectangular Selection
Media Control Panels
New Layer
500
in the
Start
button. The new synthesized texture is sent
Rectangular Selection
Start
button. In the Save Texture As dialog box,
Width
Gauzy C hroma 2.5D
Texture Librar y
500
in the
Airbrush
brush variant.
tool from the Toolbox,
and
Height
Texture C over
tool from the Toolbox,
Width
brush category,
Synthesis
Document
option in the
Document
option in the
and
from the
boxes.
brush
brush variant.
Height
to
Send To
from the
boxes.
2018 becomes the active texture in the Texture library.
14
Create a new document, select the
the Texture Cover brush category, and paint in the
document with the texture you created.
Concept 2.5D
variant of
Page 25

Artwork by Simon Haiduk
About Corel
Corel is one of the world's top software companies providing some of the industry's best-known graphics, productivity and digital media products. Boasting the most comprehensive portfolio of
innovative software, we've built a reputation for delivering solutions that are easy to learn and use, helping people achieve new levels of creativity and productivity. The industry has responded with
hundreds of awards for innovation, design, and value.
Used by millions of people around the world, our product lines include CorelDRAW® Graphics Suite, Corel DESIGNER®, CorelCAD™, Corel® Painter®, Corel® PaintShop® Pro, Corel® VideoStudio®,
and Corel® WordPerfect® Office. For more information on Corel, please visit www.corel.com.
Media Contact
Alex Brazeau
Public Relations Manager
Corel Corporation
613.366.3765
alex.brazeau@corel.com
Copyright © 2017 Corel Corporation. All rights reserved.
Corel® Painter® 2018 Reviewer's Guide
Layout designed in CorelDRAW Graphics Suite 2017
Protected by U.S. Patents 5652880; 5347620; 5767860; 6195100; 6385336; 6552725; 6657739; 6731309; 6825859; 6633305; Patents Pending.
Product specifications, pricing, packaging, technical support and information ("specifications") refer to the retail English version only. The specifications for all other versions (including other language
versions) may vary.
INFORMATION IS PROVIDED BY COREL ON AN "AS IS" BASIS, WITHOUT ANY OTHER WARRANTIES OR CONDITIONS, EXPRESS OR IMPLIED, INCLUDING, BUT NOT LIMITED TO, WARRANTIES OF
MERCHANTABLE QUALITY, SATISFACTORY QUALITY, MERCHANTABILITY OR FITNESS FOR A PARTICULAR PURPOSE, OR THOSE ARISING BY LAW, STATUTE, USAGE OF TRADE, COURSE OF DEALING OR
OTHERWISE. THE ENTIRE RISK AS TO THE RESULTS OF THE INFORMATION PROVIDED OR ITS USE IS ASSUMED BY YOU. COREL SHALL HAVE NO LIABILITY TO YOU OR ANY OTHER PERSON OR ENTITY
FOR ANY INDIRECT, INCIDENTAL, SPECIAL, OR CONSEQUENTIAL DAMAGES WHATSOEVER, INCLUDING, BUT NOT LIMITED TO, LOSS OF REVENUE OR PROFIT, LOST OR DAMAGED DATA OR OTHER
COMMERCIAL OR ECONOMIC LOSS, EVEN IF COREL HAS BEEN ADVISED OF THE POSSIBILITY OF SUCH DAMAGES, OR THEY ARE FORESEEABLE. COREL IS ALSO NOT LIABLE FOR ANY CLAIMS MADE
BY ANY THIRD PARTY. COREL'S MAXIMUM AGGREGATE LIABILITY TO YOU SHALL NOT EXCEED THE COSTS PAID BY YOU TO PURCHASE THE MATERIALS. SOME STATES/COUNTRIES DO NOT ALLOW
EXCLUSIONS OR LIMITATIONS OF LIABILITY FOR CONSEQUENTIAL OR INCIDENTAL DAMAGES, SO THE ABOVE LIMITATIONS MAY NOT APPLY TO YOU.
Corel, the Corel logo, CorelDRAW, Corel DESIGNER, CorelCAD, PaintShop Pro, Painter, VideoStudio, and WordPerfect are trademarks or registered trademarks of Corel Corporation and/or its subsidiaries
in Canada, the U.S., and/or other countries.
Other product, font, and company names and logos may be trademarks or registered trademarks of their respective companies.
 Loading...