


RM6/RM9
Boston Rally™
Speaker Systems
Installation Manual

Specifications
|
Boston Rally |
Boston Rally |
|
RM6 System |
RM9 System |
|
|
|
Maximum Music Power |
200 watts |
220 watts |
|
|
|
Peak Input Power |
100 watts |
110 watts |
|
|
|
Continuous Music Power |
50 watts |
55 watts |
|
|
|
Sensitivity (1 watt/.5m) |
95dB |
95dB |
|
|
|
Nominal Impedance |
4Ω |
4Ω |
|
|
|
Frequency Response |
50–20,000Hz |
35–20,000Hz |
|
|
|
Mounting Hole Cutout |
5" |
6" x 8 11⁄16" |
|
|
(ellipse) |
|
|
|
Mounting Depth |
2 1⁄2" |
3" |
|
64mm |
76mm |
|
|
|
Mounting Depth w/Spacer |
2" |
3 1⁄2" |
|
51mm |
89mm |
|
|
|

Table of Contents
Specifications |
2 |
Table of Contents |
3 |
|
|
Notice |
3 |
|
|
Tools Required |
4 |
|
|
Before You Begin |
4 |
|
|
Planning the Installation |
5 |
|
|
Speaker Wiring |
6 |
|
|
Routing the Wires |
6 |
|
|
Installing Speakers In Factory Cutouts |
7 |
|
|
Installation Options |
8 |
|
|
Installing Speakers In Nonstandard Locations-RM6 |
10 |
|
|
Installing Speakers In Nonstandard Locations-RM9 |
13 |
|
|
Warranty |
16 |
|
|
Notice
Installation of automotive stereo systems requires experience with a variety of mechanical and electrical procedures. This manual explains the installation flexibility of the Boston Rally Series speaker systems, not the exact installation methods to be used in any given case.
If you do not have the experience that these procedures require, we strongly suggest you consult your Boston Acoustics dealer about professional installation.
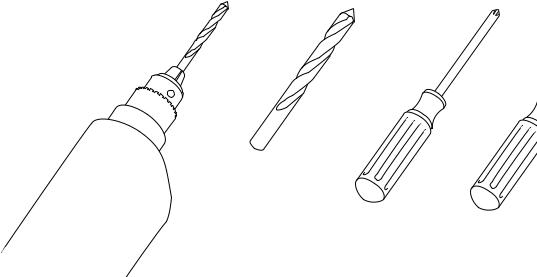
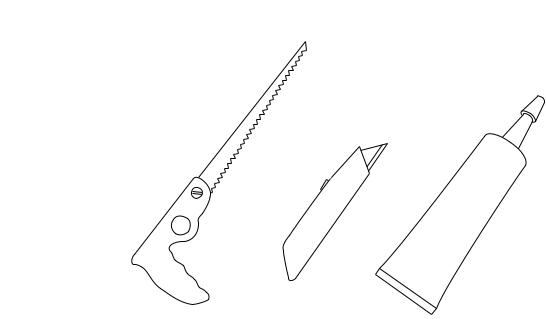
Tools Required |
Before You Begin |
|||
These are the tools required |
Familiarize yourself with the location of fuel lines, hydraulic brake lines |
|||
to complete the basic instal- |
and electrical wiring. Use extreme caution when cutting or drilling around |
|||
lation of the Boston Rally |
these parts. |
|||
Series speakers. Additional |
Shut off all stereo and other electrical devices before you start. |
|||
tools are necessary for more |
Protect the speakers by keeping them in their plastic bags until final |
|||
custom work. |
installation. Speakers attract metal chips and filings. Always rest the |
|||
1. |
Electric drill with 1⁄8" (3mm) |
speakers with their cones and tweeters facing up. |
||
and 1⁄4" (6mm) bits |
Never use force when installing any speaker. |
|||
2. |
Phillips screwdriver |
Check clearances on both sides of a mounting surface before drilling |
||
3. |
Saber saw, hole saw or |
any holes or installing any screws. Some screws require over an inch of |
||
nibbler |
clearance behind the mounting surface. |
|||
4. |
Utility knife |
Use a utility knife to cut fabric away from hole locations before you |
||
5. |
Silicon sealant or weather |
drill or cut. Fabric is easily snagged by drill bits and hole saws. |
||
stripping (optional) |
Always wear protective eyewear when cutting and drilling holes or |
|||
6. |
Pliers or 7mm wrench (RM9 |
when using power tools. |
||
only) |
|
|
|
|
|
|
|
|
|
|
|
|
|
|
|
|
|
|
|
4
Planning the Installation
Read all instructions carefully before you attempt any installation procedures. Make sure all operations are clear to you.
Make sure you have adequate time and shelter to complete the installation. Many installations require multiple days to complete.
Examine the Boston Rally Series speakers and hardware so that you are familiar with them before you start the installation.
1.Decide on speaker placement.
2.Run the speaker wires.
3.Install the speakers and complete the wiring.
5
 Loading...