

Page 1
On receiving your Flojet diaphragm pu mp
check that the pump and model number and
motor volts/phase/Hz correspond to your
purchase order. Notify your supplier
immediately in the event of any error, or of
damage to the pump on receipt. Delay may
cause difficulty with warranty claims.
Installation. Locate the pump in a dry
place above or below the liquid supply. The
pump will self-prime when wetted to a height
not exceeding 2 metres. The pump may be
mounted in any attitude. If mounted
vertically, the motor should be uppermost.
The drain holes in the pump body should face
downwards: if necessary, undo the 4 body
screws and rotate the pump head through 90º
or 180º. Attach the pump to a firm surface
with fixing screws through the mounting feet.
Connections. Port adapters available are
13mm (½”) hose barb and ½” NPT threaded.
Use hose clips for hose connections and
PTFE tape for threaded connections.
Flexible hose is recommended. Inlet hose
should be at least 13mm (½”) bore, of the
reinforced type that will not deform or
collapse under suction conditions.
A ‘Pumpguard’ strainer is recommended to
prevent solid debris from entering the pump.
The strainer should be checked at intervals
and cleaned when necessary. See Cleghorn
Waring’s data sheet for details of
‘Pumpguard’ strainers and port fittings.
Make sure that the inlet and discharge pipes
and connections are airtight, to ensure
prompt self-priming and no leaks.
Electrical connecti on. The unit is
complete with a standard European single
phase 3 wire lead. Check the motor pl ate for
the correct electrical supply and full load
current. Make sure that the motor (and
adjustable pressure switch, if fitted) are
earthed. A starter with thermal overload
protection should be used to protect the
motor. A COMPETENT ELECTRICIAN
SHOULD DO THE WIRING.
Controlling the dischar ge pre s s ure.
The maximum recommended discharge
pressure is 3.0 bar (45 p.s.i.). The pump is a
positive displacement type that can be
damaged by excessive back pr ess ur e.
Installation,
Operating,
Maintenance and
Safety
INSTRUCTIONS
for
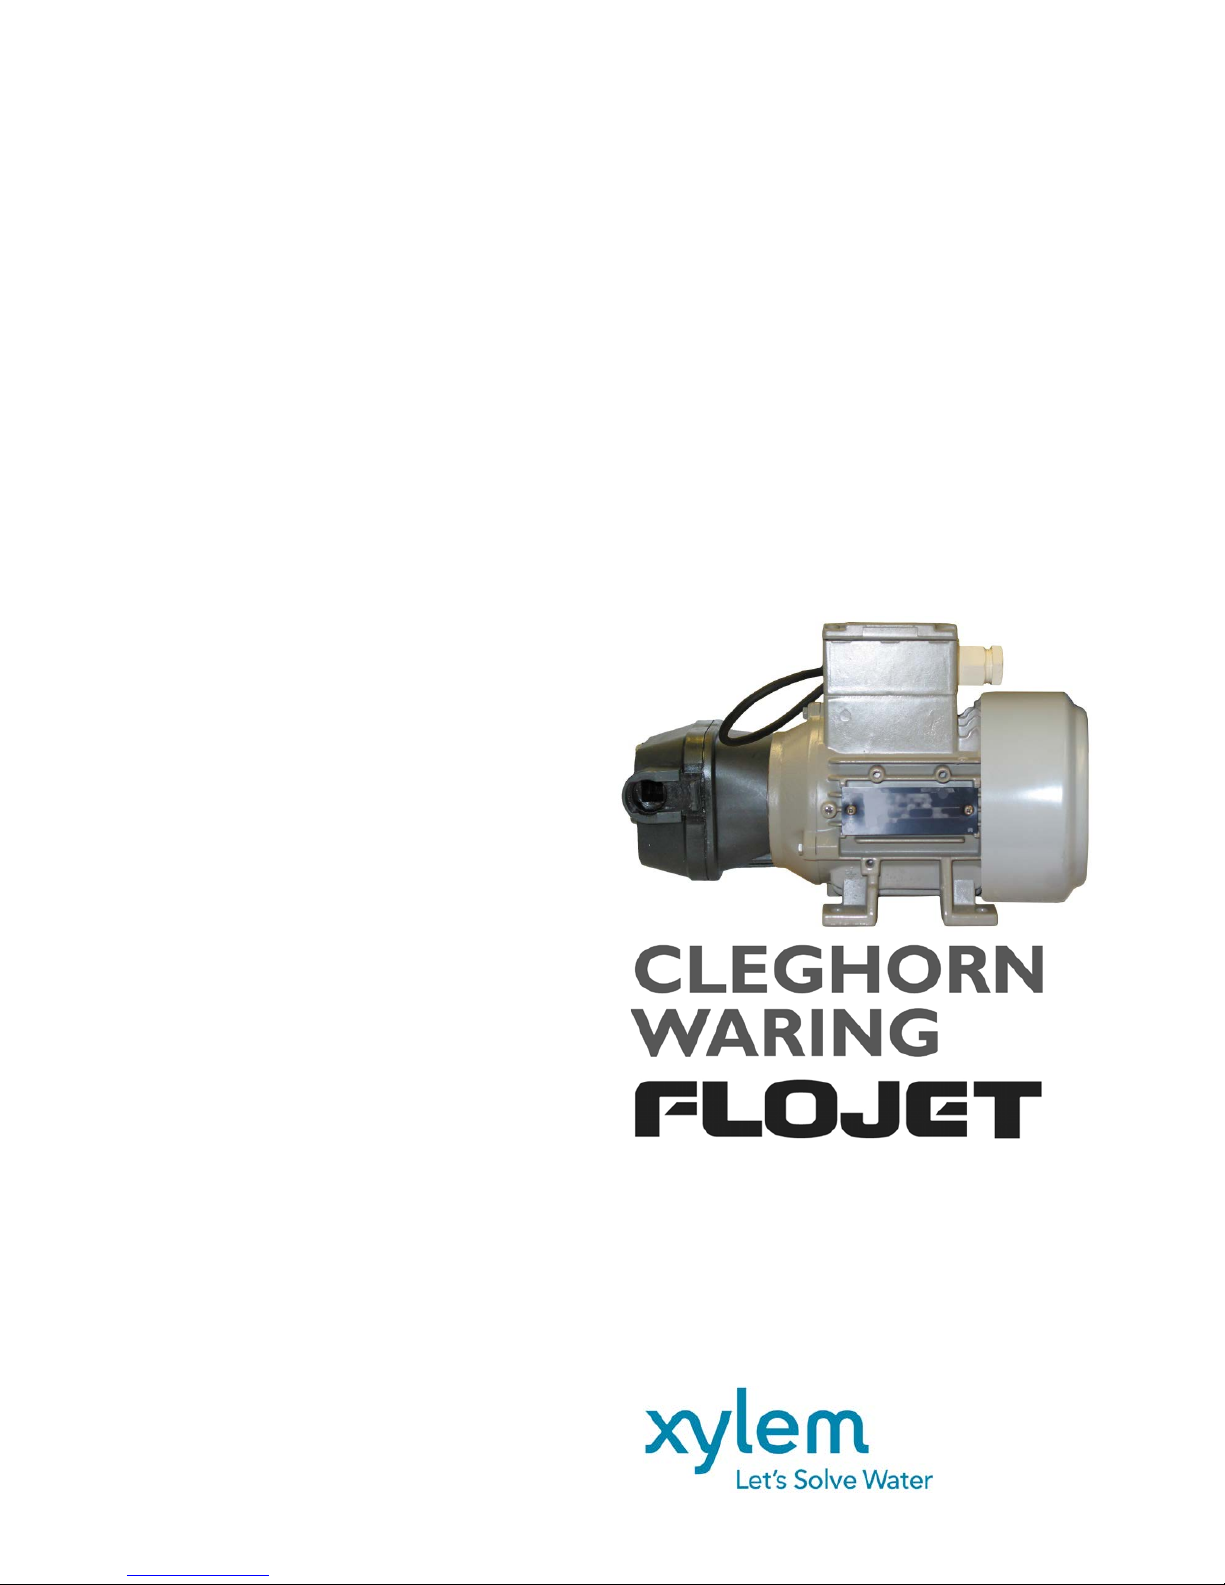
CW474 - series
DIAPHRAGM PUMP
with a.c. motor
Xylem Water Solutions UK Ltd
Bingley Road
Hoddesdon
Hertfordshire • EN11 0BU • UK
Tel: +44 (0)1462 480380
Fax: +44 (0)1462 482422
mail@cleghorn.co.uk
www.jabscoshop.com
Doc610/12
Page 2

2
Operating temperature. The recommended liquid temperature range for this pump is -
minimum 7ºC (45ºF), maximum 54ºC (129ºF).
Liquid viscosit y. Check that the liquid viscosity (at pumping temperature) does not exceed
250 centipoise.
Duty cycle. Motor and pump are designed for continuous operation at a maximum ambient
temperature of 40ºC (104ºF).
Starting the pump. Check the liquid level in the supply tank. Open all valves in the
system. Switch the pump on. After a short period while air is displaced from the pipework, a
steady flow of liquid will be established.
If the pump is fitted with a pressure switch, close the discharge valve progressively. The pump
should stop as soon as the cut-out pressure is reached. The pump is now ready for automatic
operation.
If the pump is not in use for an extended period, flush it out with clean water, disconnect the
electrical supply and open discharge outlets to release pressure.
Before re-starting the pump make sure that residual pressure in the discharge pipework is
released, or the pump may have difficulty in re-priming itself. If necessary, fit a non-return valve
in the base of the inlet pipe, to maintain the pump’s prime when it is not running.
Dry running. Dry running will not damage this diaphragm pump.
SAFETY
1. Do not pump petrol/gasoline, solvents, thinners or other flammable liquids with flash points
below 37ºC (99ºF). Motor is not flameproof, explosion and personal injury or death can
occur.
2. Earthing (ground) connection must always be securely fitted.
3. You are strongly recommended to fit a ‘Residual current circuit breaker’ (RCCB) in the
electric supply to the pump.
4. The pump is designed to handle clean water and other non-aggressive, free-flowin g liquids.
If in doubt, check with your pump supplier first.
SERVICE TIPS
Disassembly: Remove four pump head screws (4).Rotate bearing cover (9) so drain notch is
aligned with cam/bearing assembly (10) grub screw (A). Loosen grub screw with 1/8” Allen key
and slide pump head off shaft.
NOTE: Factory fitted pressure switches are pre-
adjusted. Check with your pump supplier, if
necessary, before making adjustments.
IMPORTANT NOTE
Never restrict the inlet line to the pump. Low inlet
pressure can cause the pump to cavitate, leading
to noisy running, unreliable flow, accelerated wear
and tear and premature failure.
Page 3

3
Assembly: Install single piece outer piston (B) into bearing cover (9) with piston tops pointing
away from motor (See picture on parts list). Slightly bend outer piston (B) along pre-moulded
crease to aid assembly. Place diaphragm in Bearing cover (9) with the moulded o-ring seals
facing away from the motor. Insert each inner piston through the diaphragm into the outer
piston. Turn each piston unit fully seated. Align cam/bearing kit (10) with outer piston (B).
Secure with cam/piston screws using 2Nm of torque.
Assemble lower housing (8, 9 &10) to motor. Set screw MUST be positioned over shaft
indentation and securely tightened.
Reassemble pump upper housing (4, 5 & 7). Check that rubber ferrules are installed in the
upper housing and the O-ring is properly seated before inserting the valve assembly (7) into the
upper housing assembly (5). Align pump assembly to motor and tighten pump head screws
evenly to 3Nm torque.
PRESSURE SWITCH CONTROL.
This may be used to create an automatic pressure system and must be used in conjunction with
an accumulator tank to avoid rapid on-off cycling of the pump. This type of control may be used
to avoid over-pressurisation of the pump on other applications. A pressure relief by-pass
version is also available as a pump safety feature.
Setting the Large Adjustable Pressure Switch (if fitted).
This procedure should be carried out with care by a competent technician. Disconnect the
electrical supply, remove the switch cover and check that there are no exposed electrical
connectors before re-connecting the supply.
NOTE: Factory fitted pressure swi tc hes are p r e-adjusted. Check with your pump supplier, if
necessary, before making adjustments.
1. Loosen the differential nut (D) completely
2. Adjust the range nut (R) to the required cut-in pressure, using a suitable pressure gauge in
the discharge pipework close to the pump.
3. Tighten the differential nut (D) to give the required cut-out pressure.
Fixed Setting Pressure Switches
These are not adjustable. These switches are not IP55 and require protecti o n fro m liq ui ds and
mechanical damage. The complete unit should be fitted in an enclos ur e. Not e: Encl osur e
should allow heat to dissipate and keep the motor pump ambient temperature below 40oC.
(D) Adjusting screw -
differential
(R) Adjusting screw -
range
Page 4

4
Problem Possible cause Solution
Pulsating flow – pump
cycles on & off (this
applies to pumps fitted
with pressure switches)
Restricted discharge line
Check for blockages and restr ic ti ons
including undersized valves & fittings.
Replace with larger bore fittings if
necessary
Leak in discharge line
Check outlets for leaks. Fit an
accumulator tank (pressure buffer) in
the discharge line if necessary. Contact
your pump supplier for advi ce
Motor does not run Electric supply failure Check electric supply
Motor runs but no flow
from pump
Air leak in suction line is
preventing self-priming
Check inlet line for air leaks
Punctured diaphragm
Check diaphragm and replac e if
necessary
Debris under valves Clean valves
Cracked pump casing
Check casing for damage and replace if
necessary
Pump runs, but flow
and/or pressure are low
Air leak in inlet line Check for air leaks
Debris in pump or
pipework
Check pump, pipework and inlet strainer
Air trapped in pump
and/or discharge
pipework
Open discharge valve fully to purge
system. Follow the recommended re-
start procedure
Pump is noisy
Punctured diaphragm Check diaphragms, replace if necessary
Worn pump bearing Replace bearing
Low inlet pressure
Check inlet line and strainer for
blockage
Under-sized inlet
pipework and/or fittings
Use larger bore pipe and fittings
Motor runs abnormally
hot, cuts out
Excessive discharge
pressure
Defective motor
Reduce discharge pressure
Check motor, replace if necessary
TROUBLE SHOOTING
Page 5

5
PARTS LIST
Key Description Qty Part No.
1 Adjustable Pressure Switch 1 CW4-A
2 Adjustable Pressure Switch adapter 1 CW3
3 Adjustable Pressure Switch Threaded switch cover 1 Z/20244-020
4
Fixed Pressure Switches
1 bar ( 15psi ) Cut-out
2 bar ( 30psi ) Cut-out
3 bar ( 45psi ) Cut-out
1
1
1
2090-108
2090-117
2090-103
5
Upper Housing Assy.
For Pump that uses EPDM valve kit
For Pump that uses Nitrile valve kit
For Pump that uses Viton valve kit
1
1
1
20404-004
20404-005
20404-019
6
Port Kit
1 Refer to separate leaflet.
7
Valve Kit
EPDM
Nitrile
Viton
1
20407-030
20407-010
20407-020
8
Diaphragm Kit
Santoprene
Geolast
1 20403-040
20403-050
9 Bearing Cover 1 20401-000
10
Cam/Bearing Kit
Low Flow
High Flow
1
20400-002
20400-003
11
Motor
230v/1/50Hz 2 Pole IP55
MFB12-120
 Loading...