


Digital PostageMeter
Quick Install Guide
US English Version
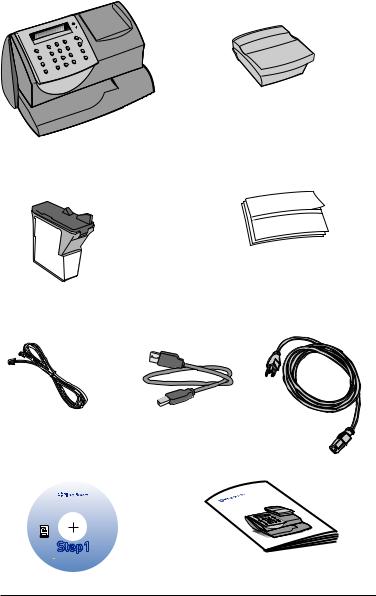
Contents
mailstation 2™ |
Scale |
|||
|
|
|
|
|
|
ABC |
DEF |
Review |
|
|
|
|
||
|
_ |
MNO |
|
|
|
*# |
|
|
|
Lock |
JKL |
no |
|
|
|
GHI |
WXYZ |
|
|
Class |
TUV |
Enter yes |
|
|
|
PQRS |
Shift |
|
|
|
Funds |
Space . |
|
|
|
Back |
|
|
|
|
Menu |
|
|
|
Ink Cartridge
Reorder #797-M Sample Pack of
Tape Sheets
|
|
Reorder #612-9 |
Phone Cord |
USB Cord |
Power Cord |
Installation CD |
Quick Install Guide |
|
Meter |
|
PostageGuide |
|
Digital |
|
Operating |
mailstation 2™
K700081 Rev. X
 PC Meter Connect™
Copyright
©
20XX
1-800-468-8454 www.pb.com
Pitney BowesInc. All
Reserved Rights
System Requirements:
Windows 2000 or Windows XP, Vista - latest Service Packs 1.2 GHz processor
512 Mb RAM
Set-up: Using PC
NOTE:THE METER IS SHIPPED WITHOUT POSTAGE.
You transfer funds to the meter as part of the setup process
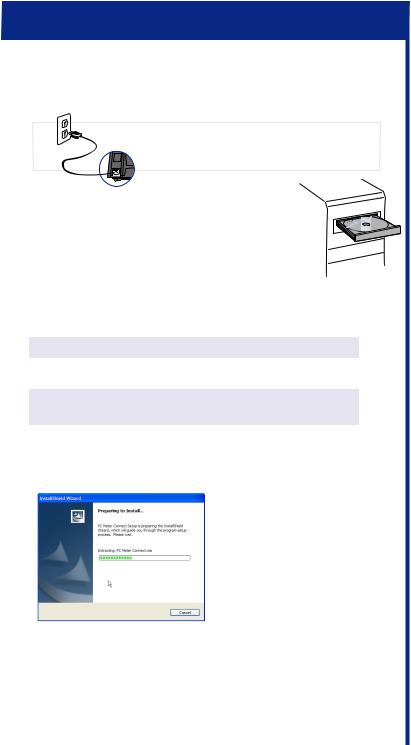
1mailstation 2™ CD Installation
|
Please do not apply power to your |
mailstation 2™ until instructed to. |
If your PC has an Internet connection:
Place the mailstation 2™ CD into the CD ROM drive.
Follow the instructions on your computer.
NOTE:Administrative privilages may be required before you can install the software on your system.
If you do not have a PC with an internet connection
Turn to Set-up for Analog Phone Line Use on page 11.
If you cannot use the installation CD:
Download the software from:
http://support.pb.com/K7M0
2Preparing your computer
First the mailstation 2™ Quick Install Software checks your system for two things:
-Does it meet the minimum requirements
-Does it have the software components needed to run PC Meter Connect™. The Quick Install Software will then add any missing components. This process may take several minutes to complete.
1
Set-up: Using PC
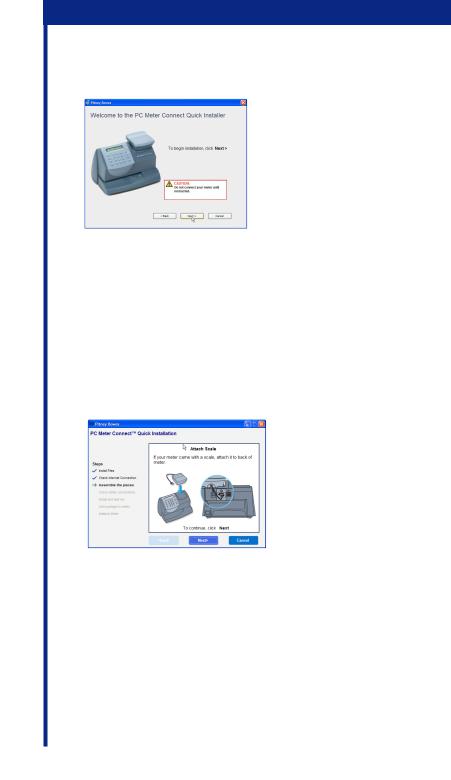
3Follow the instructions presented on your computer screen
Next, the mailstation 2™ Quick Install Software will guide you through the installation. Respond to the prompt on each screen, then click Next.
4Install optional scale
Position the scale on top of the meter as shown.
Connect the scale cable to the scale connector on the back of the mailstation 2™ at the scale icon.
Tighten the screws to ensure a secure connection.
If you want to place the scale in a different location, an optional four-foot scale cable (#978-6) can be purchased by contacting Pitney Bowes.
2
Set-up: Using PC
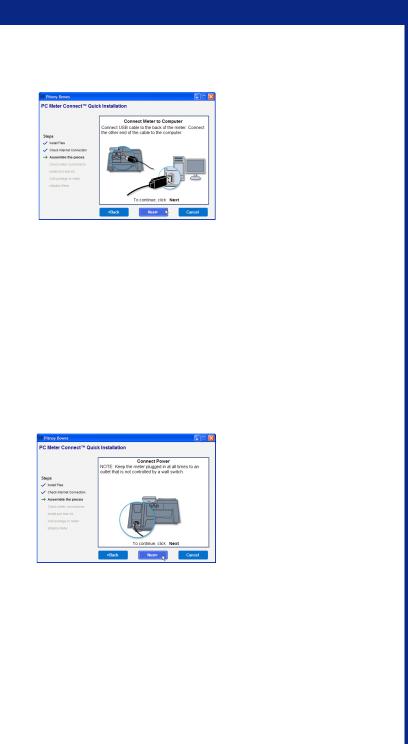
5Connect the Meter to the Computer
Connect the USB cable to the back of the meter. Connect the other end of the cable to the PC.
NOTE:For printing postage, the mailstation 2™ does not have to be connected to a computer.However,if you add funds frequently, we recommend you keep it connected.
6Connect Power
Plug the power cord into the unit as shown and into a convenient outlet that is not controlled by a switch or power strip.
There is no On/Off switch on your meter.
The meter takes a few moments to start up. Then the computer tells you when it can communicate with the meter.
3
Set-up: Using PC
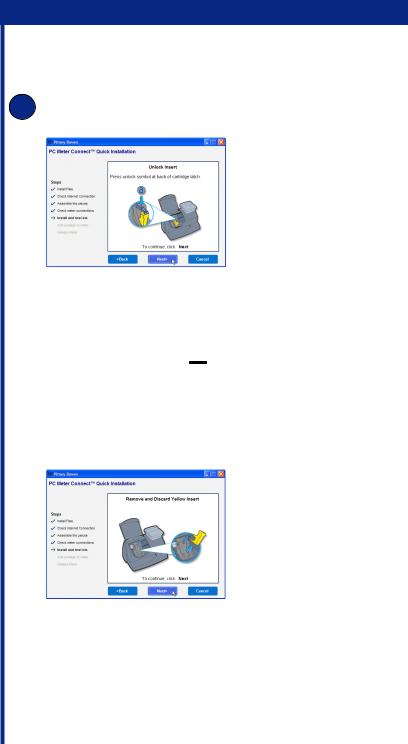
7Install Ink Cartridge
A1. Click Next on the screen to begin installing the ink cartridge.
2. Lift the cover.
Note: If the cartridge is not visible, close the cover, and on the postage meter press the Enter key.
3.Press unlock symbol  to open ink cartridge latch.
4.Remove and discard the yellow insert.
4

Set-up: Using PC
7Install Ink Cartridge
B |
Remove new cartridge |
C |
Remove silver foil strip from |
|
from plastic bag. |
|
bottom of ink cartridge. |
D Install new cartridge into machine.
EPress the front edge of the ink latch to lock the cartridge in place.
5
Set-up: Using PC
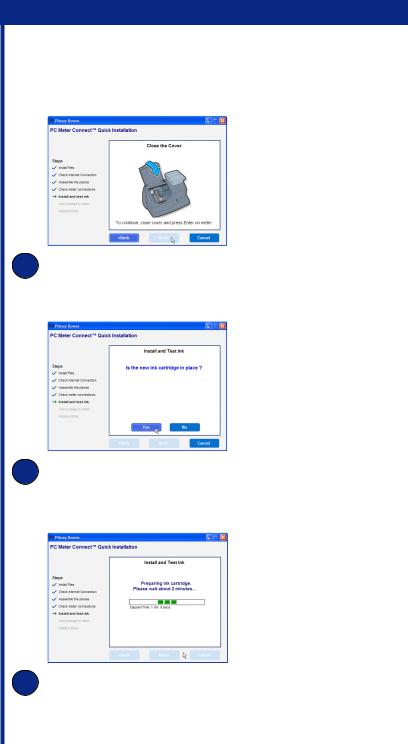
7Install Ink Cartridge (continued)
F To continue, close the cover and on the meter press Enter.
G If the new ink cartridge is in place, click Yes.
HInk preparation takes about 2 minutes to complete.
6
 Loading...