

Page 1
MTS TestSuite
Multipurpose Elite Getting Started Guide
100-222-007 F be certain.
Page 2

© 2013 MTS Systems Corporation. All rights reserved.
Trademark Information
MTS is a registered trademark of MTS Systems Corporation within the United States. This trademark may
be protected in other countries.All other trademarks or service marks are property of their respective owners.
Proprietary Software
Software use and license is governed by MTS’s End User License Agreement which defines all rights
retained by MTS and granted to the End User. All Software is proprietary, confidential, and owned by MTS
Systems Corporation and cannot be copied, reproduced, disassembled, decompiled, reverse engineered,
or distributed without express written consent of MTS.
Software Verification and Validation
MTS software is developed using established quality practices in accordance with the requirements detailed
in the ISO 9001 standards. Because MTS-authored software is delivered in binary format, it is not user
accessible. This software will not change over time. Many releases are written to be backwards compatible,
creating another form of verification.The status and validity of MTS’s operating software is also checked
during system verification and routine calibration of MTS hardware. These controlled calibration processes
compare the final test results after statistical analysis against the predicted response of the calibration
standards. With these established methods, MTS assures its customers that MTS products meet MTS’s
exacting quality standards when initially installed and will continue to perform as intended over time.
Manual Part Number—Publication Date—Release
100-222-007 F—August
2013—TestSuite MP 2.6 or later
100-222-007 E—September
2012—TestSuite MP 2.3
Page 3

Contents
1.0 Introduction 5
1.1.0 Getting Started in Simulation..........................................................................................................6
1.2.0 Getting Started Tasks.......................................................................................................................6
1.2.1.0 Perform the Checklist to Run in Simulation....................................................................6
1.2.2.0 Install the Simulation Software........................................................................................6
1.2.3.0 Launch the Simulation Software......................................................................................7
1.2.4.0 Familiarize Yourself with the MTS TestSuite Environment............................................8
1.2.5.0 Run the Example LCF Test ...........................................................................................10
1.2.6.0 View the Example LCF Test Report...............................................................................12
1.2.7.0 Run More Tests and Explore the Software (Optional)...................................................13
1.2.8.0 Exit the Multipurpose Elite Application........................................................................14
1.2.9.0 Exit the Station Manager Application............................................................................14
1.2.10.0 Find More Information.................................................................................................14
MTS TestSuite 3
Page 4

Page 5

1.0 Introduction
Topics:
•
Getting Started in Simulation...................................................................................................................6
•
Getting Started Tasks..............................................................................................................................6
MTS TestSuite 5
Page 6
1.0 Introduction
1.1.0 Getting Started in Simulation
This guide gets you started using MTS TestSuite software by running an example test in simulation mode.
This allows you to familiarize yourself with the software without applying power to your test station.
Installation of the simulation software consists of launching two separate self-e xtr acting executables, one f or
the MTS TestSuite software and one for the Series 793 simulation software.
Note:
Completing the tasks in this guide requires about 30 minutes.
Series 793 Simulation self-extracting executable
This file installs a simulated version of MTS Series 793 software, including configuration and support files
used with this guide.This software provides simulated real-time control of a test station.
1.2.0 Getting Started Tasks
1.2.1.0 Perform the Checklist to Run in Simulation
Perf orm the tasks in the follo wing chec klist to run the software in simulation and vie w an e xample test report.
For More Information
Install the Simulation Software on page 6
Launch the Simulation Software on page 7
Familiarize Yourself with the MTS TestSuite Environment on page 8
Run the Example LCF Test on page 10
View the Example LCF Test Report on page 12
Run More Tests and Explore the Software (Optional) on page 13
Exit the Multipurpose Elite Application on page 14
Exit the Station Manager Application on page 14
1.2.2.0 Install the Simulation Software
Important:
Install the MTS TestSuite application first and then install the MTS Series 793 Simulation software.
Access the installation instructions by clicking the Simulation Help link on the MTS Series 793 Simulation
Software Setup window.
6 MTS TestSuite
Page 7
1.0 Introduction
1.2.3.0 Launch the Simulation Software
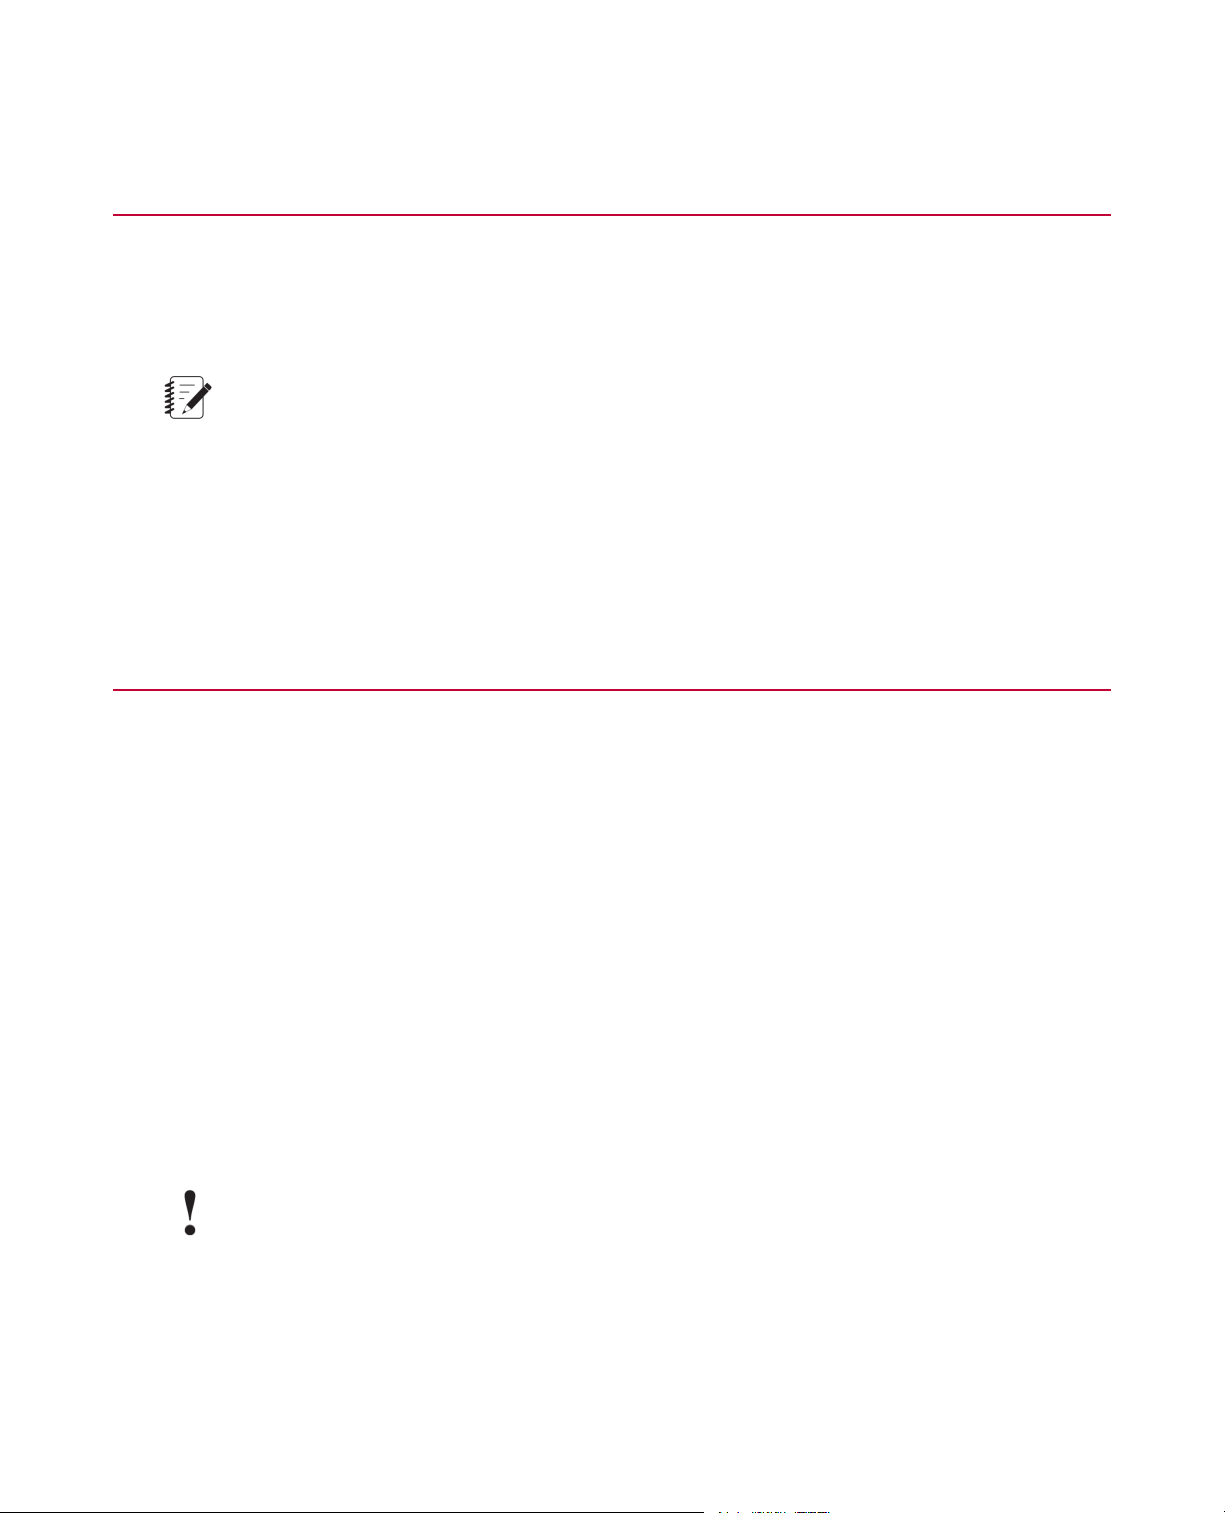
1. Launch the MTS Series 793 Station Manager application:
• Double-click the Station Manager icon located on your desktop, or
• Click Start > Programs > MTS 793 Software > Station Manager.
Station Manager Icon
2. In the Select Project window, select Project1 and click Open.
This step may not be necessary if Project1 was selected as the default when the software was installed.
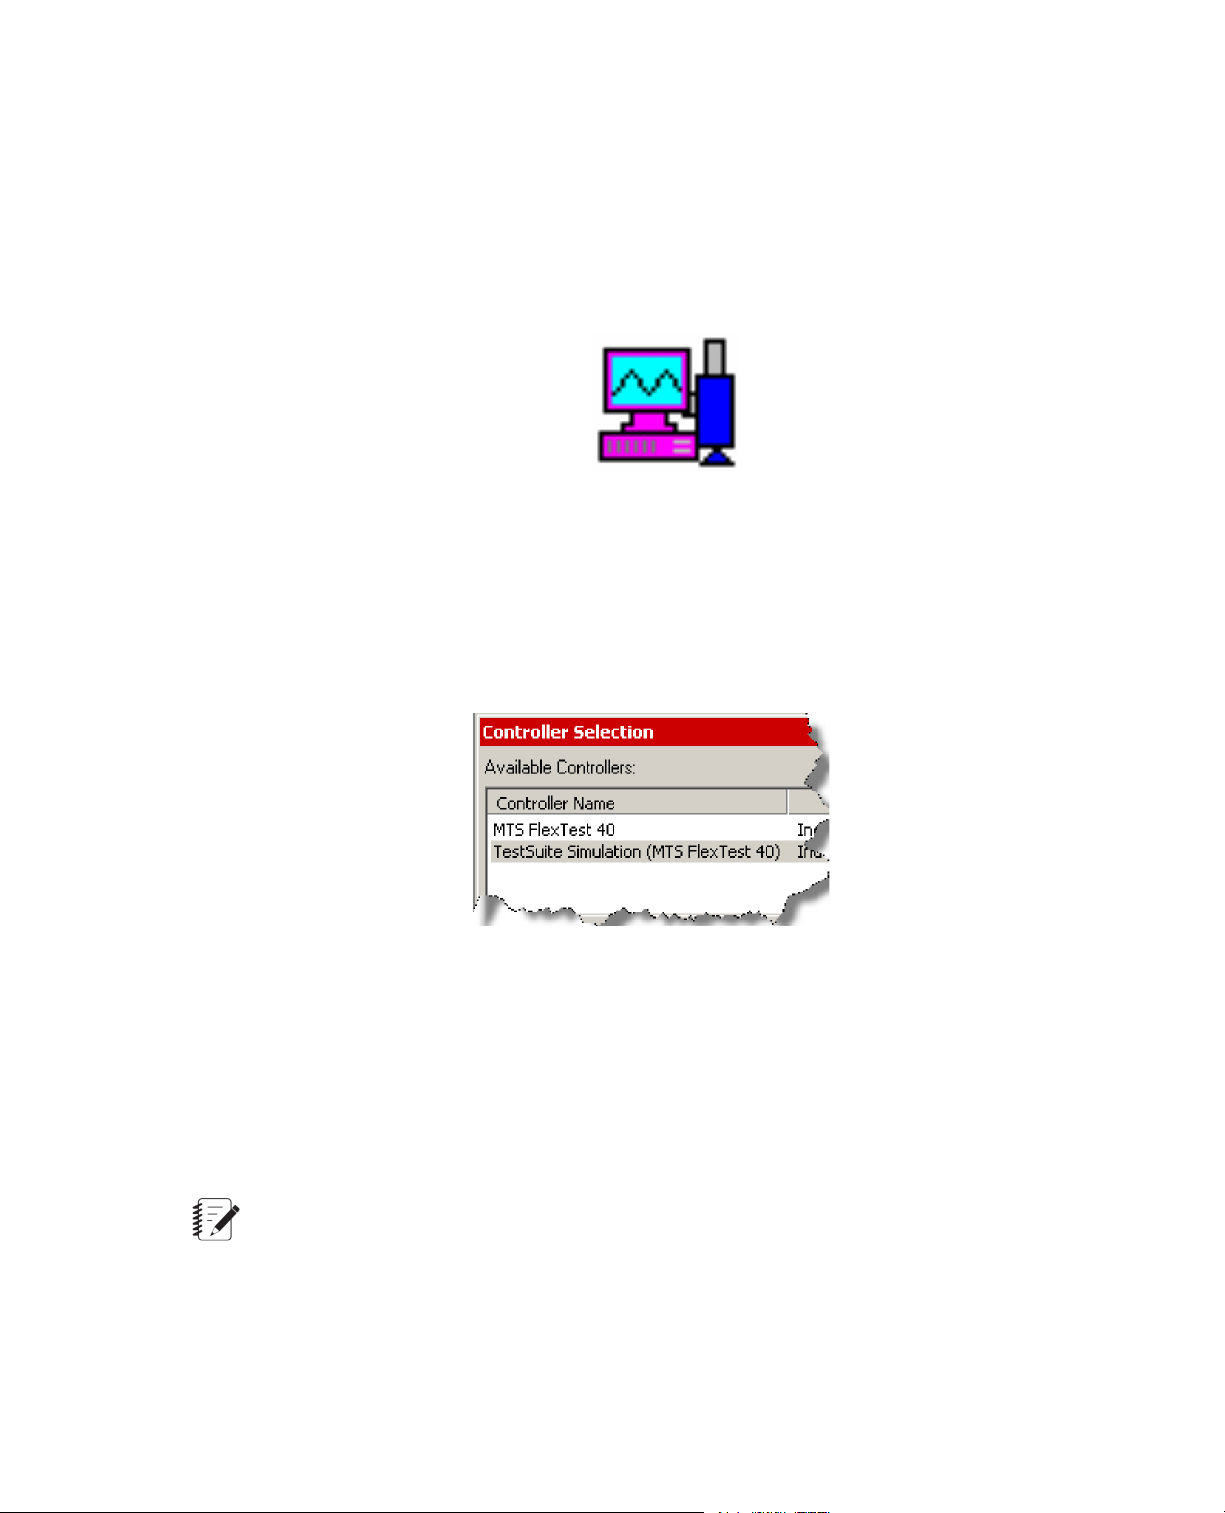
3. Select TestSuite Simulation (MTS FlexTest 40), and then click OK.This step selects the controller used
by the station configurations in this guide.
MTS TestSuite Simulation Selection
4. In the Open Station window, select Virt_3-02_CF_LCF.cfg and click Open.
This opens the station configuration that was used to create the example test file provided with your
software.
5. Minimize the Station Manager application.
At this point, the station configuration is loaded and the Station Manager application is providing real-time
control of the simulated test station.You perform all other tasks with the Multipurpose Elite application.
Note:
With the Station Manager main window minimized, close all other Station Manager windows, such
as the Scope, Meters, and Display Setup windows.
6. Start the Multipurpose Elite application:
• Double-click the Multipurpose Elite icon on your desktop, OR
MTS TestSuite 7
Page 8

1.0 Introduction
• Click Start > Programs > MTS TestSuite > Multipurpose Elite.
MPE Icon
The application opens and connects to the station configuration.The controller and station configuration
are shown in the title bar, which is labeled Multipurpose (MTS TestSuite Simulation (MTS FlexTest
40):Virt_3-02_CF_LCF.cfg).
1.2.4.0 Familiarize Yourself with the MTS TestSuite Environment
1. On the File menu, click Open Test.
2. In the Open Test window, select Example LCF Strain Test, and then click Open.
3. On the Explorer panel, click the Procedure node to display a graphical view of the test.
Explorer Procedure Node
4. In the Procedure tab, select the Flowchart View and click each test activity and observe its associated
properties.
Note:
A test is created by dragging test activities from the Toolbo x panel into the Pr ocedure tab and then
defining the properties for the activities.
5. Review the features in the main window as shown in the following figure, which shows the Multipurpose
Elite application with the Example LCF Strain Test open.
8 MTS TestSuite
Page 9

1.0 Introduction
Main Window Options
1
Menu bar and Quick Access
panel
Test Run Status panel3
Multipurpose Elite Application Main Window
DescriptionItemItem
Provides menus and quick-access icons that allow you to
perform tasks such as opening projects, running tests, and
saving the project.
Allows you to reset interlocks and manage station pressure.Control panel2
Note:When control is provided by a handset, the
application controls will be locked and overlaid by the
handset exclusive control icon:
Shows test run information, including name, status, and
running time.
Explorer panel4
The Explorer panel shows a hierarchical view of all the
information related to the test.The Toolbox panel contains
components you can drag into procedures and displays.
MTS TestSuite 9
Page 10

1.0 Introduction
DescriptionItemItem
Toolbox panel5
Workflow panel6
Properties panel7
The contents of the Toolbox panel change depending on the
node selected in the Explorer panel:
• When you select the Procedure node on the Explorer
panel, the Toolbo x panel contains components that pertain
to test activities such as commands, data acquisition, test
flow control, and program actions.
• When you select the Test-Run Display node on the
Explorer panel, the Toolbox panel contains components
that pertain to the display of test data, such as cycle,
variable, and signal views.
When you click the Procedure tab, the workflow panel
appears. On the workflow panel, you can choose to display
the workflow contents using either the Flowchart View or
the Outline View.The workflow panel provides a work area
to create tests.Y ou drag test activities from the Toolbo x panel
to the workflow panel to build tests.This area changes
according to the currently selected Explorer node.
Allows you to define or change the information,
characteristics, and appearance of the selected procedure
activities and runtime display components. F or e xample, y ou
can use the Properties panel to change the amplitude of a
cycle command test activity in a procedure, or the Y-axis
signal selection on a signal scope in a runtime display.
Error List8
Application Log9
Shows error and warning messages that describe both critical
and noncritical conditions in the test definition.The Error List
is dynamic and changes according to the part of the
application you are using. Double-click the error message to
show the source of the error in the Resources tab.
Shows status information about ev ents , such as logging into
the application, defining and setting up projects, and loading
and running tests.The application stamps each message
with the generation date and time.You can type notes into
the Application Log. Messages persist from one session to
another.
1.2.5.0 Run the Example LCF Test
The Example LCF Strain test is a simplified low-cycle fatigue test that yields realistic test data when run in
simulation.
1. On the Control panel, click Reset to reset the simulated interlock condition.
10 MTS TestSuite
Page 11
1.0 Introduction
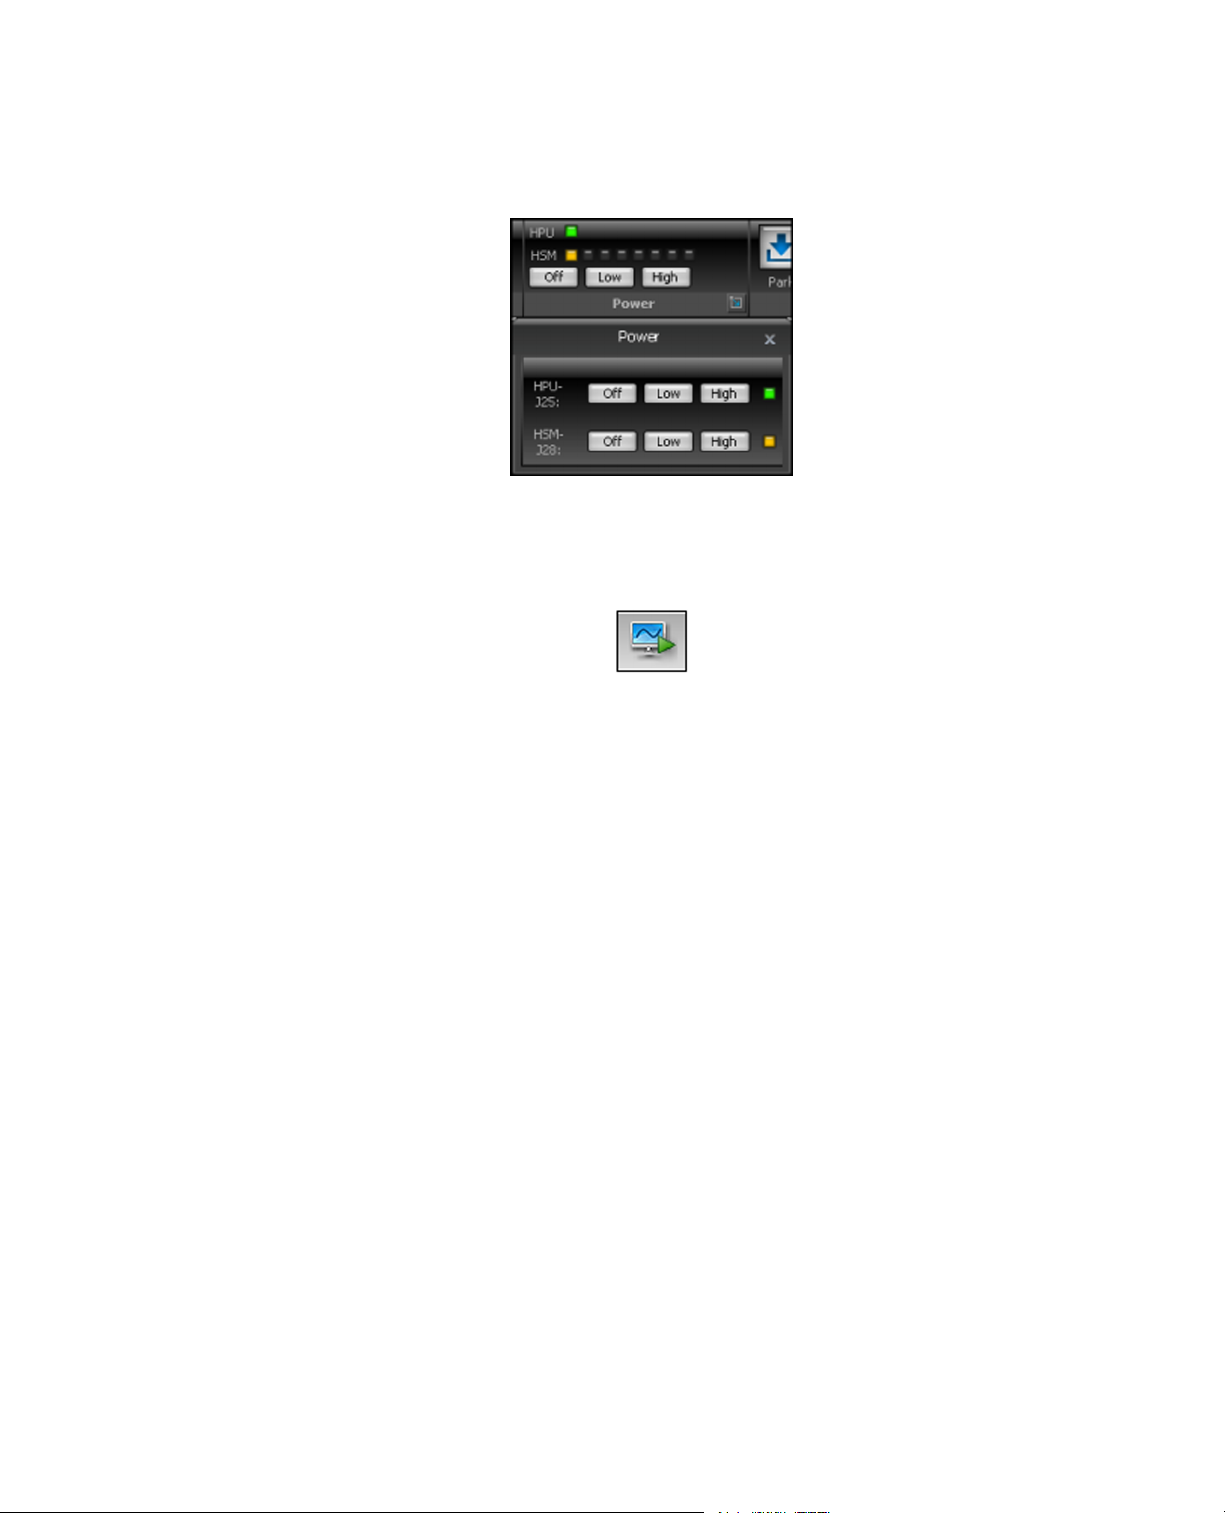
2. Click the Power icon to open the Power Panel. Click Low then High for the Hydraulic Power Unit (HPU).
Repeat for the Hydraulic Service Manifold (HSM), which simulates applying hydraulic pressure to the
system.
Power Panel
3. On the Quick Access panel, click the New Test Run button; or, click File > New > New Test Run.
New Test Run Button
A test run is the record of a test performed on a single, selected specimen.Test runs are stored with the
test.
4. The Specimen Selection window is shown.The specimens listed were created using the Specimen Editor.
Select Virt_3-02_CF_LCF and click OK.
5. The Setup Variables window is shown.You can change the values and set the order of the variables.
Click OK.
6. In the Enter Control Parameters window, make the following changes and then click OK.
• Number of Cycles: 100
• Frequency: 5 Hz
• End Level 1: 0.01 mm/mm
• End Level 2: -0.01 mm/mm
The test designer defines the parameters listed in this window in the properties for the Operator Control
Input test activity. In this example, the operator must enter values before the test run can start.
7. (Optional) In the work area, click the Pre-Test Variables and the Runtime Values tabs to verify the
test-run settings.
8. In the work area, click the Monitor tab.
The test designer can use the Monitor tab to create displays that communicate inf ormation to the operator
during test runs.The design can have one or more tabbed sections with charts, counters, and other status
indicators.
9. On the Control Panel, click Run (green arrow button).
MTS TestSuite 11
Page 12

1.0 Introduction
Run Button
The test executes for approximately 20 seconds.While the test runs, a Hysteresis and History graph
shows runtime data.When 100 cycles are complete, a Creating Report progress bar appears, followed
by a test report in Microsoft Excel.
10. (Optional) In the work area, click the Results tab to view the results of the test run.
1.2.6.0 View the Example LCF Test Report
A test report has been configured to appear automatically at the end of the test run. The elements in this
report were defined in a report template designed with the MTS TestSuite Report Add-In for Excel.
12 MTS TestSuite
Page 13

Note:
After reviewing the test report, exit Microsoft Excel.
1.0 Introduction
Example LCF Test Report
1.2.7.0 Run More Tests and Explore the Software (Optional)
Perf orm additional test runs and change input values to see how the results change in the test report. Examine
the test design in the Test Editor and Properties panel, and explore the software as desired.
Additional simulation tests
MTS provides a number of sophisticated test templates that provide realistic data in simulation.You can
import, open, and run these tests from the MTS TestSuite application.These tests are located in the following
locations:
• On the MTS TestSuite Controller Simulation CD-ROM in the TestArchives folder
MTS TestSuite 13
Page 14

1.0 Introduction
or
• After installation, on your computer in the C:\MTS TestSuite\TestArchives folder.
Instructions on how to run these tests are found in the MPE Simulation Help portion of the Multipurpose Elite
online help and the Simulation Help in the MTS Series 793 Simulation Software Installation window.
1.2.8.0 Exit the Multipurpose Elite Application
To exit the MP Elite application:
1. On the Control Panel, click Off to remove simulated station pressure.
2. On the File menu, click Close Test, save as desired, and then click Exit.
1.2.9.0 Exit the Station Manager Application
To exit the Station Manager application:
1. Maximize the Station Manager application.
2. On the File menu, click Exit.
1.2.10.0 Find More Information
Online help
MTS TestSuite software provides online help that describes how to use the features of the software. Click
Help > Contents or press F1 to open a help file.
Related documentation
After installation, see the Multipurpose Simulated Testing User Guide (available through the Windows Start
> Programs > MTS TestSuite > Documentation menu) for instructions on running simulated tests.
14 MTS TestSuite
Page 15

100-222-007 F
Page 16
 Loading...