

Page 1
Care and Maintenance
- Your product must be stored dry. One of the easiest ways to damage your product
is storing it while it is wet. Storing a wet tent as briefly as 24 hours in warm weather
is likely to cause mildew on the fabric coatings. If you must close camp in the rain,
open your product and set it up to allow it to dry as soon as possible. Allow dirt to
dry on the fabric after a rainfall before lightly sweeping it off with a brush. For
tougher stains, spray the area with water and lightly wipe it off with a few strokes.
Do not use washer or dryer. DO NOT SCRUB THE FABRIC. ALWAYS MAKE SURE TENT
IS COMPLETELY DRY BEFORE REPACKING.
- Do not leave your tent set up for weeks at a time. Exposure to ultraviolet rays from
the sun can damage and/or discolor the material.
- Clean the poles with a cloth and lubricate them with a silicone spray to help
prevent corrosion and keep from becoming gritty. This is especially important after
using the tent around salt water.
- Store the stakes in a separate storage bag. Do not pack the stakes inside the tent.
Warranty Information
This product has been manufactured under the highest standards of quality and
workmanship. We warrant to the original consumer purchaser that all aspects of this
product will be free of defects in material and workmanship for one year from the
date of purchase. A replacement for any defective part will be supplied free of
charge for installation by the consumer. Defects or damage caused by the use of
Instruction Manual
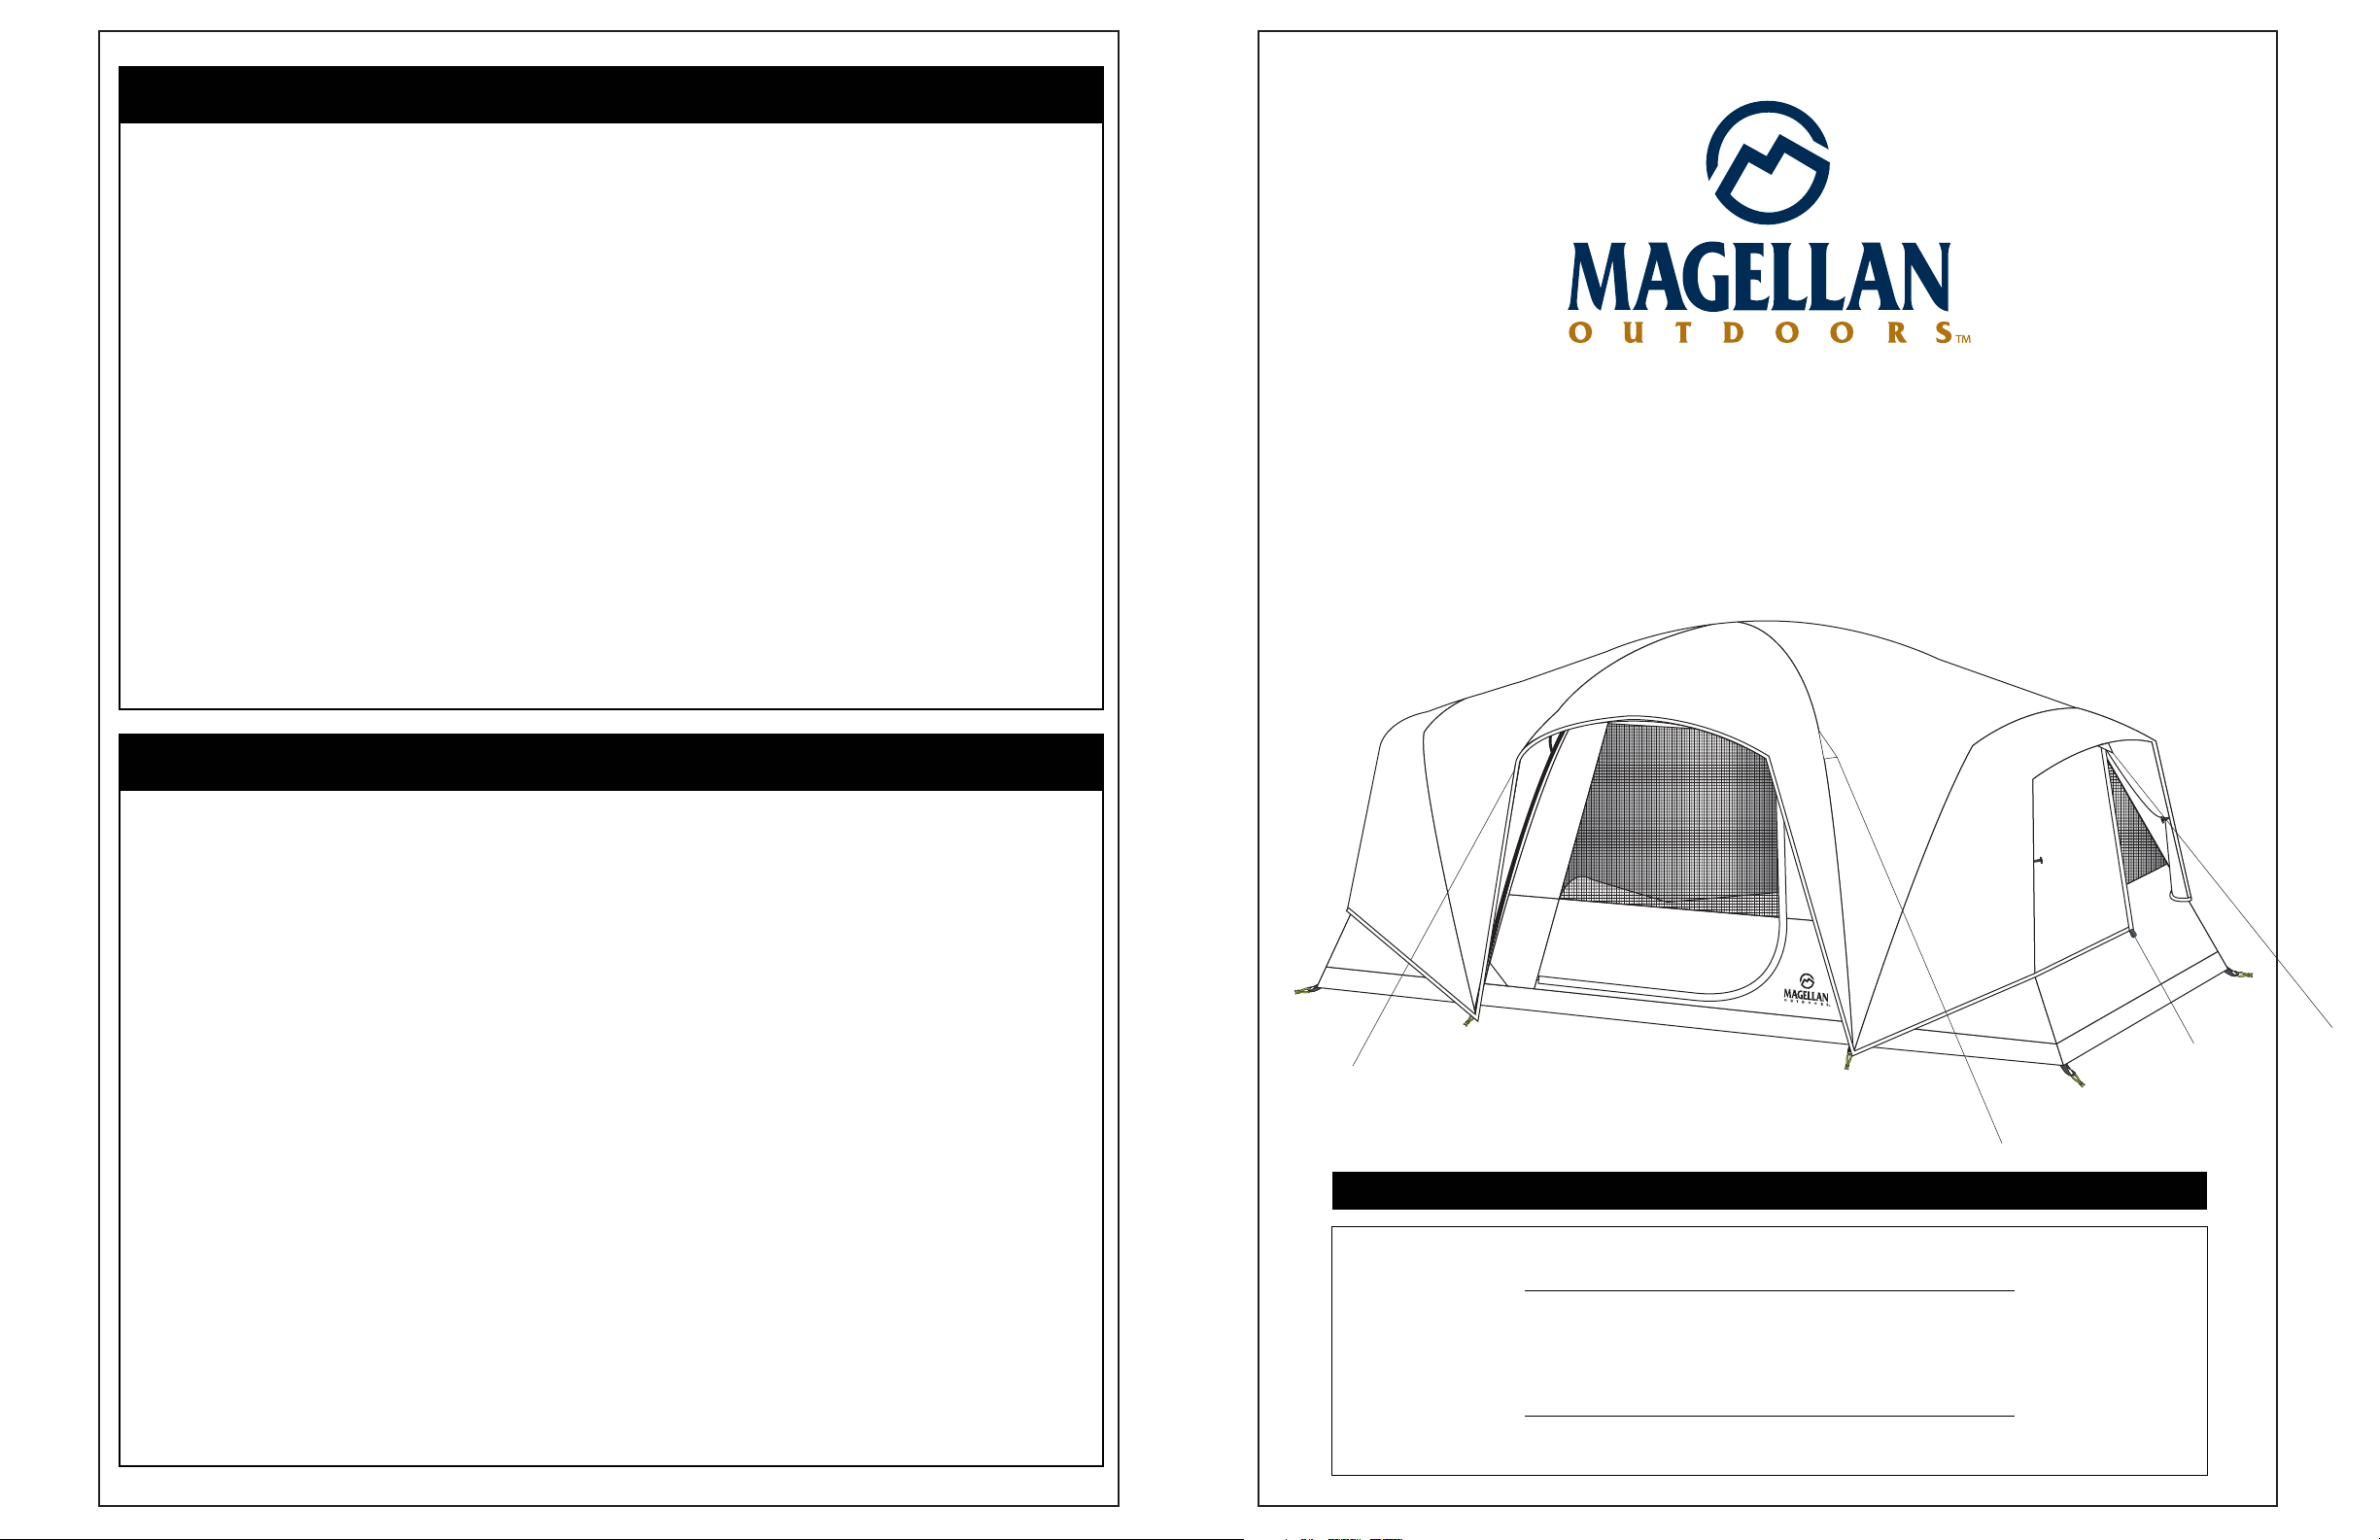
EL OCHO FAMILY TENT
Magellan Style #: 155803
other than genuine parts are not covered by this warranty. This warranty shall be
effective from the date of purchase as shown in the purchaser receipt.
This warranty is valid for the original consumer purchaser only and excludes
industrial, commercial or business use of the product, product damage due to
shipment or failure which results from alteration, product abuse, or product misuse,
whether performed by a contractor , service company , or consumer. We will not be
responsible for labor charges and/or damage incurred in installation, repair or
replacement nor for incidental or consequential damage.
Please keep this instruction manual for future reference
Customer Service: (888) 922-2336
7:00 am to 12:00 am CST (daily)
Live Chat at: www.academy.com
Email: customerservice@academy.com
(Made in Bangladesh)
Page 2

Parts List
No. Part Name Image
Quantity
Assembly Instructions
Step 1: Assemble Poles Spread Tent and
Insert Roof Poles
Seven poles are provided
2 each (A) Main pole
1 Tent 1 each
2 Rainfly
(A) Main - 2 each
1 each
1) Assemble the tent poles by placing
fiberglass sections into the metal ferrules.
Step 2: Spread Tent and Insert Poles
1) Spread out the tent flat (1), floor side down.
2) Using the diagram as a guide, slide the
main pole (A) through the pole sleeve on
either side of the door (fig: 1).
3) Slide each side pole (B) through the side
pole sleeves.
2 each (B) Side poles (Yellow)
2 each (C) Fly side pole
1 each (D) Fly pole
B
(fig: 1)
A A
B
3 Poles
4 Tent Stakes
Step 3: Raise the Tent
(B) Side (Yellow) - 2 each
7 total
1) Starting at the front of the tent, have one
person place and hold a main tent pole
(A) onto the pin located at the side of the
(C) Fly Side Pole - 2 each
door (fig: 2).
2) The second person at the rear of the tent
takes hold of the other end of the same
pole. The pole is then flexed into an arch
(D) Fly - 1 each
and carefully placed onto the corresponding
pins.
16 each
3) Repeat this process for remaining main pole
and each of the side poles (B).
3 4
(fig: 2)
Page 3

Warnings
Assembly Instructions
Step 4: Stake the Tent and Fasten Hooks
1) Secure the tent by inserting a stake
through the stake loops located along the
perimeter of the tent.
2) Make certain the tent floor is pulled out
evenly and tightly.
3) Hammer the stakes into the ground at a
45
4) Clip the plastic hooks on the tent to the
fiberglass pole frame (fig: 4).
Step 5: Attach Fly
1) Unfold the fly (2) and stretch out all corners.
2) Place the fly over the tent, making certain
O
angle using a hammer or mallet (fig: 3).
(fig: 3)
(fig: 4)
DANGER!
Stoves, lanterns, candles, grills, heaters and other fuel burning
devices produce carbon monoxide and will consume the
available oxygen in this tent. Use of such devices in this tent
will cause asphyxiation, carbon monoxide poisoning, and
death or serious and permanent injuries. For this reason:
- DO NOT use fuel burning devices inside or near this tent
- Your failure to follow this warning will cause death or serious
and permanent injury to you or others using this tent.
WARNING!
the fly awning is over the front door.
3) Insert the fly side pole (C) through the sleeve
found at the side of the fly at both sides.
4) Flex the pole and insert each end into the
reinforced metal gromets located at each
of the tent (fig: 4.1).
5) Attach the fly to the tent by hooking the
plastic s-hooks on the fly corners to the
corresponding o-ring located at the stake
loops (fig: 5).
Step 6: Secure Fly Pole and Fasten the Fly
1) Insert the fly pole (D) through the sleeve
found at the edge of the fly awning over
side
(fig: 4.1)
(fig: 5)
(fig: 6)
- KEEP ALL FLAME AND HEAT SOURCES AWAY FROM THIS FABRIC.
This product is made with flame resistant fabric which meets CPAI-84
specifications.
IT IS NOT FIREPROOF!
The fabric will burn if left in continuous contact with any flame source.
The application of any foreign substance to the fabric may render the
flame resistant properties ineffective.
- Anchor properly at all times and carefully consider campsite choice.
Be aware of possible falling rocks or tree limbs, lightning strikes, flash-
floods, strong winds and other hazards which may cause damage to
this product or injury to it’s occupants.
- Minimum of two adults for recommended assembly. During
assembly poles are under tension. If not held firmly in place during
the front door (fig: 6).
2) Flex the pole and insert each end into the
hole on the pole clip located on either
side of the door (fig: 7).
assembly, poles could break or flip up possibly causing serious injury.
- Safety glasses may be worn throughout the assembly process as an
(fig: 7)
5 2
additional precaution.
- Exercise care when using electric devices in and near tents.
Page 4

Table of Contents
Warnings . . . . . . . . . . . . . . . 2
Assembly Instructions
3) Wrap the hook & loop fasteners, sewn on the
under side of the fly, around the fiberglass
tent poles (fig: 8).
(fig: 8)
Step 7: Secure Guy Lines
1) Secure tent using all guy lines and stakes
(Fig: 9).
Parts List . . . . . . . . . . . . . . . 3
Assembly Instructions . . . 4-6
Care and Maintenance . . . . 7
*Owner’s Manual attached
inside carry bag
Tent must be secured for proper function.
(Fig: 9)
Step 8: Fully Assembled
Tent appears as shown.
Step 9: Disassembly Step 10: Packing the Tent
1) To take down the tent, disassemble in
reverse order.
2) Remove and fold fly.
3) Be sure to leave doors and windows
1) Spread tent flat, distribute evenly.
2) Fold into quarters not to exceed the
length of pole bag.
Fold tent into a
rectangular shape.
Dimension A should
be close to but not
A
exceed the length
of the pole bag.
unzipped to avoid zipper damage.
4) Remove stakes with hammers or stake
puller. DO NOT pull on tent.
5) Carefully disengage poles from pins. Push
poles away from you through the sleeves
to minimize risk of damage to tent or poles.
6) Keep poles and stakes together in bags
provided.
1 6
3) Lay pole bag at opposite end from door.
Tightly roll bag, skin and fly forcing air
through unzipped door.
Front of tent
(door unzipped)
4) Secure with ties and place in carry bag
with stakes and accessories.
5) Tent must be clean and dry before storage.
Store off concrete floor.
 Loading...