


D1484W Series
LG D1484W Series, D1485WLB, D1485WLF, D1485WLU, D1485WMF Owner's Manual
...
OWNER’S MANUAL
WASHING MACHINE
WM0642H*
P/NO : MFL31245123
Please read this manual carefully before operating
your set and retain it for future reference.
DISHWASHER
OWNER'S MANUAL
Before beginning installation, read these instructions carefully.
This will simplify installation and ensure that the dishwasher is installed
correctly and safely. Leave these instructions near the dishwasher
after installation for future reference.
D1485W(L,M,T,B,C)F(B,U)
D1484W(L,M,T,B,C)F(B,U)
P/No. : MFL66281463
www.lg.com
CONTENTS ................................
2
IMPORTANT SAFETY
INSTRUCTIONS
Important safety instructions .............. 3
Read all instructions before use ........4
Save these instructions ......................5
INSTALLATION INSTRUCTIONS
Prepare cupboard opening ................7
Preparation for electrical wiring ........7
Preparing the dishwasher for
installation .......................................... 8
Installing the dishwasher in
cupboard ............................................ 8
Installation of drain hose .................... 9
Installation of water inlet hose .........10
Final check and assembling ............10
How to level the dishwasher ............ 10
PARTS NAME ..........................
11
FUNCTION OF CONTROL
BUTTON ...................................
12
BEFORE USING FOR THE
FIRST TIME
Check and find water hardness
level .........................................15
Setting up the softening system
level of your dishwasher ..................15
Salt Filling ........................................16
Adding Rinse Aid ............................. 16
INFORMATION FOR ENERGY
TEST ........................................
17
HOW TO USE AND OPERATE
Daily use load ..................................18
Cutlery Rack ....................................19
Cutlery Basket .................................20
Lower Rack ...................................... 20
Upper Rack ...................................... 21
Adding Detergent ............................. 23
Relling ............................................ 24
Drying ..............................................25
OPERATING SEQUENCE ......
26
PROGRAMME .........................
27
USER MAINTENANCE
INSTRUCTIONS
Keeping the dishwasher ..................28
Filters ............................................... 28
Lower Spray Arm ............................. 28
Upper Spray Arm ............................. 28
Water Inlet........................................28
TROUBLE SHOOTING GUIDE
Before calling for service .................29
Using SMARTDIAGNOSIS™ ..........32
SPECIFICATION .....................
33
CONTENTS
2
Thank you for buying a LG Dishwasher.
Please read your owner’s manual
carefully, it provides instruction on safe
installation, use and maintenance.
Retain it for future reference.
Record the model and serial number of
your Dishwasher.
Model No.
Serial No.
Date of Purchase
For your safety, the information in this manual must be followed to minimize the risk of fire or
explosion, electric shock, or to prevent property damage, injury to persons, or death.
READ ALL INSTRUCTIONS AND EXPLANATION OF THE INSTALLATION
BEFORE USE
WARNING
You can be killed or seriously injured if you don’t follow instructions.
Your Safety and the safety of others are very important.
We have provided many important safety messages in this manual and on your appliance.
Always read and obey all safety messages.
This is the safety alert symbol.
This symbol alerts you to potential hazards that can kill or hurt you and others.
All safety messages will follow the safety alert symbol and either the word DANGER,
WARNING or CAUTION.
These words mean:
WARNING
You may be slightly injured or cause damage to the product,if you do not follow instructions.
All safety messages will tell you what the potential hazard is, tell you how to reduce the chance
of injury, and tell you what can happen if the instructions are not followed.
CAUTION
You will be killed or seriously injured if you don’t immediately follow instructions.
DANGER
IMPORTANT SAFETY INSTRUCTIONS
3

4
• Please read this manual carefully
before using the dishwasher for the
first time.
• This manual contains very important notes
regarding the installation, use and
maintenance of your dishwasher.
• The manufacturer can not be responsible
for problems caused by ignoring these
safety and caution instructions.
• This dishwasher is designed for normal
household use.
• Do not use the dishwasher for
industrial and commercial use, or other
purpose.
• The appliance is not intended for use
by young children or infirm persons
without supervision.
• Check packaging and dishwasher
immediately for signs of transport
damage. If the appliance is damaged,
do not put it into use but contact your
supplier without delay.
• This appliance is intended to be used in
household and similar applications such
as;
- Staff kitchen areas in shops, offices and
other working environments;
- Farm houses;
- By clients in hotels, motels and other
residential type environments;
- Bed and breakfast type environments.
• If this product is used for commercial
purpose, it is not warranted.
(Example: Public places such as
restaurant, lodging house, training center,
dormitory)
If the product is installed outside the
normal service area, any cost of
transportation involved in the repair of the
product, or the replacement of a defective
part, shall be borne by the owner.
IMPORTANT SAFETY INSTRUCTIONS
Read all instructions before use
WARNING
To reduce the risk of fire, electric shock, or injury to persons when using the dishwasher,
follow basic precautions, including the following:
• Electrical connection must be in
accordance with the rating label.
• Electrical safety is only guaranteed when
the earth system of your house is in
accordance with the related local
regulations. (Do not use an extension
cable or cord.)
• If the hot water exceeds 65ºC, adjust the
water heater setting. If the hot water
temperature can not be maintained below
65ºC, the dishwasher must be connected
to cold water.
• If power supply cord is damaged, it must
only be replaced by the manufacturer or
its service agent or a similar qualified
person in order to avoid a hazard.
• This appliance must be positioned so that
the plug is accessible.
• The appliance is to be connected to the
water mains using new hose-sets and that
old hose-sets should not be reused.
During installation
• Only suitable household utensils
should be placed in the dishwasher.
(Please avoid utensils; that are nonheat-resistant, metal decorated, etc.)
During use

5
IMPORTANT SAFETY INSTRUCTIONS
Read all instructions before use
WARNING
To reduce the risk of fire, electric shock, or injury to persons when using the dishwasher,
follow basic precautions, including the following:
• Do not use any kinds of solvent in your
dishwasher. They may cause an
explosion or fire.
• Do not spray water on the appliance.
It may cause the failure of electric parts
or electric shock.
• Do not push down or sit on the inner
door when the door is opened. It may
cause the deformation or failure of your
dishwasher.
• Do not use the detergent for hand
washing.
The detergent for dishwasher should
be used for normal operation.
• This appliance is fitted with a safety
function that automatically stops the
operation of the dishwasher when it is
exposed to heavy disturbance on its
mains.
• Dishwasher detergents are strongly
alkaline.They can be extremely dangerous
if swallowed.
Avoid contact with skin and eyes and
keep children away from the
dishwasher when the door is open.
Check that the detergent receptacle is
empty after completion of the wash cycle.
• Controls may be locked using Child Lock
mode to prevent all the settings from being
changed by a child.
• Keep children away from detergents
and rinse-aids.
• Do not allow children to operate the
dishwasher.
• Young children should be supervised
to ensure that they do not play with the
appliance.
Child Safety
GROUNDING INSTRUCTIONS
This appliance must be grounded. In the event of malfunction or breakdown, grounding will
reduce the risk of electric shock by providing a path of least resistance for electric current.
This appliance is equipped with a cord having an equipment-grounding conductor and
grounding plug. The plug must be plugged into an appropriate outlet that is properly installed
and grounded in accordance with all local codes and ordinance.
• Do not use an adapter this will defeat the grounding plug.
• If you don’t have the proper outlet, consult an electrician.
Save these instructions
All batteries (whether installed or attached) should not be exposed to excess heat like
sunlight or similar source.
6
IMPORTANT SAFETY INSTRUCTIONS
CAUTION
The instructions shall state the substance of the following :
This appliance is not intended for use by persons (including children) with reduced
physical, sensory or mental capabilities, or lack of experience and knowledge, unless they
have been given supervision or instruction concerning use of the appliance by a person
responsible for their safety.
Children should be supervised to ensure that they do not play with the appliance.
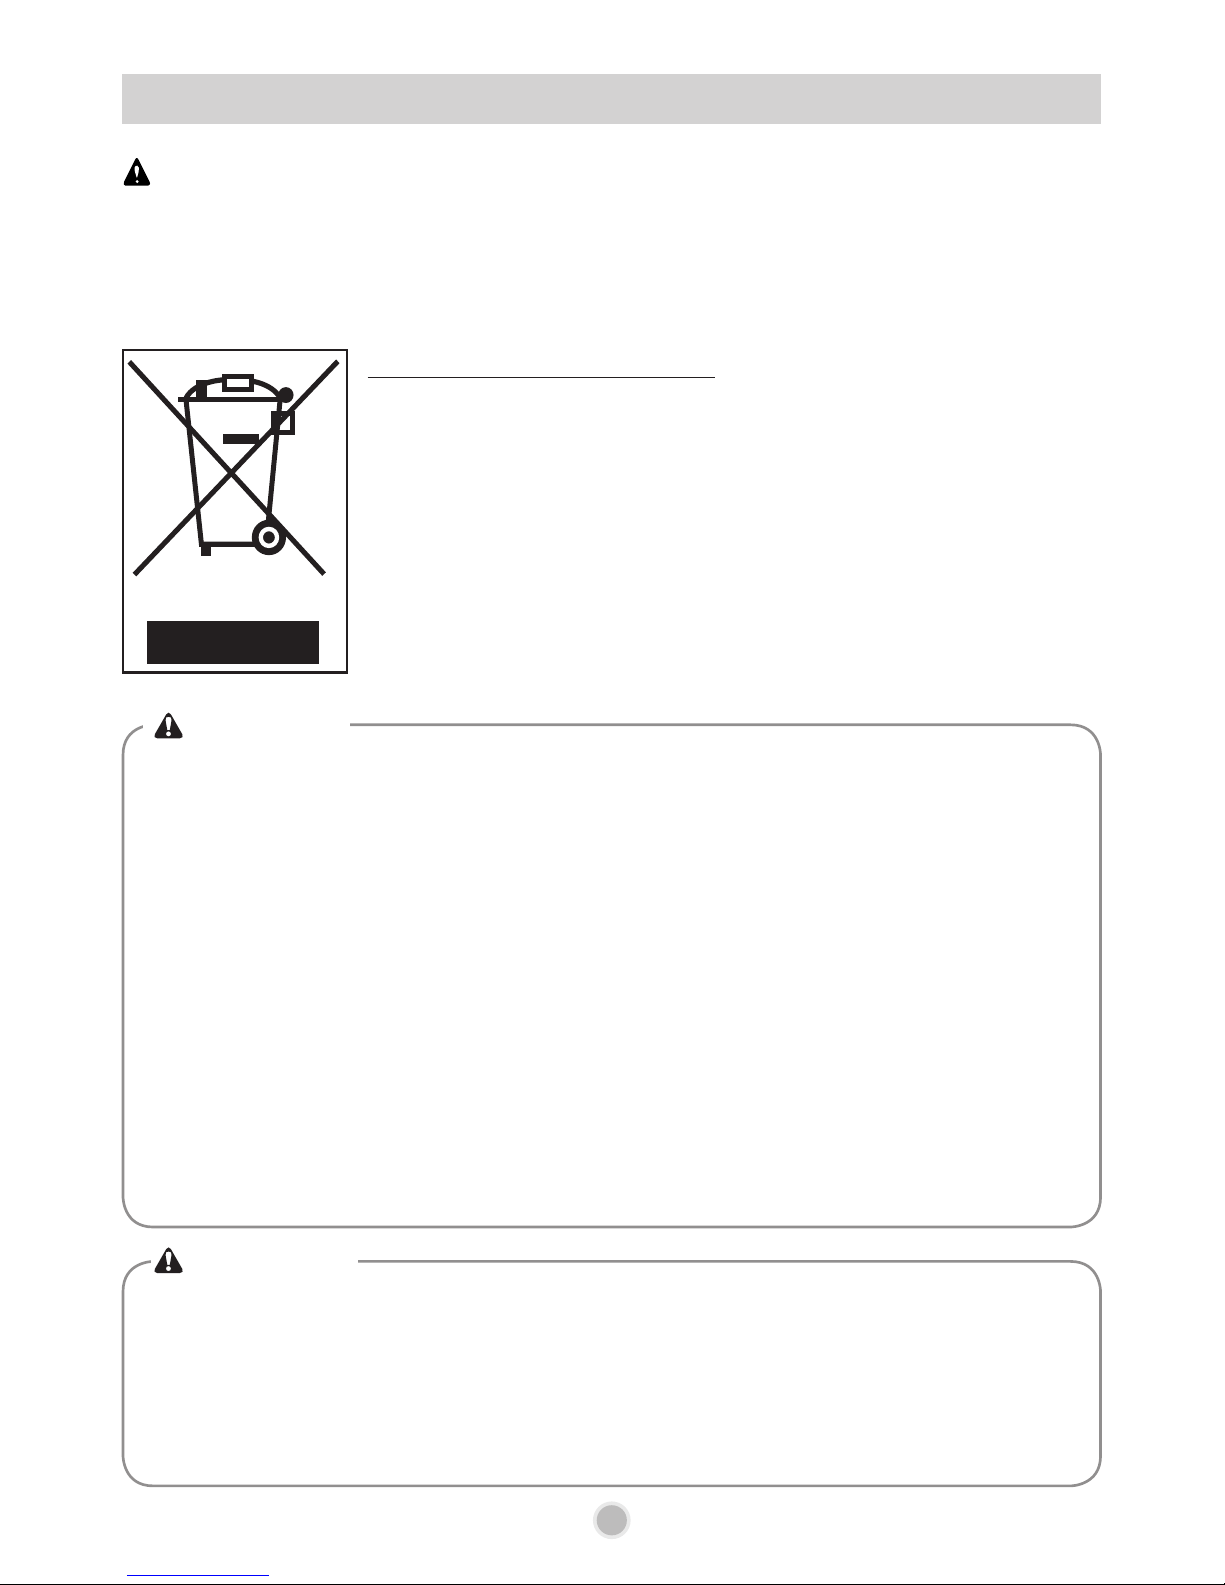
Disposal of your old appliance
1. When this crossed-out wheeled bin symbol is attached to a product it
means the product is covered by the European Directive 2002/96/EC.
2. All electrical and electronic products should be disposed of separately
from the municipal waste stream via designated collection facilities
appointed by the government or the local authorities.
3. The correct disposal of your old appliance will help prevent potential
negative consequences for the environment and human health.
4. For more detailed information about disposal of your old appliance,
please contact your city office, waste disposal service or the shop
where you purchased the product.
CAUTION
CAUTION concerning the Power cord
• Most appliances recommend they be placed upon a dedicated circuit; that is, a single
outlet circuit which powers only that appliance and has no additional outlets or branch
circuits. Check the specification page of this owner's manual to be certain.
• Do not overload wall outlets. Overloaded wall outlets, loose or damaged wall outlets,
extension cords, frayed power cords, or damaged or cracked wire insulation are
dangerous. Any of these conditions could result in an electric shock or fire.
• Periodically examine the cord of your appliance, and if its appearance indicates
damage or deterioration, unplug it, discontinue use of the appliance, and have the cord
replaced with an exact replacement part by an authorized servicer.
• Protect the power cord from physical or mechanical abuse, such as being twisted,
kinked, pinched, closed in a door, or walked upon. Pay particular attention to plugs, wall
outlets, and the point where the cord exits the appliance.
If the appliance is supplied from a cord extension set or an electrical portable outlet device,
the cord extension set on electrical portable outlet device must be positioned so that it is
not subject to splashing or ingress of moisture.
WARNING
Improper connection of the equipment-grounding conductor can result in electric shock.
Check with a qualified electrician or serviceman if you are in doubt as to whether the appliance
is properly grounded. Do not modify the plug provided with the appliance - if it does not fit the
outlet, have a proper outlet installed by a qualified electrician.

•
A qualified electrician/plumber or competent person should carry out any electrical/
plumbing work required to install this appliance.
WARNING
1. This appliance must be supplied with
correct rating voltage and hertz as shown on
instruction manual, and connected to an
individual, properly earthed branch circuit,
protected by a minimum 15 amp circuit
breaker or time delay fuse.
Wiring must be 2 wires with Earth.
2. The power plug must be in a accessible
location adjacent to and not behind the
dishwasher and within 1.2 meters of the
dishwasher side.(See page 9 Fig.A)
3. The power plug must be correctly earthed, if
in doubt, have it checked by a qualified
Electrician. No other appliance should be
connected to the same plug outlet by a
double adapter or similar plug.
Dangerous voltage
To indicate hazards arising
from dangerous voltages.
Note- in case of an application
warning sign, the rules
according to ISO 3864 should
be adhered to.
1. This dishwasher is designed to fit the size
shown as below.
2. Select a location as close to sink as possible
for ease of connection to the water and drain
pipes.
3. To ensure good drainage, the dishwasher
should not be installed more than 3 meters
away from the sink.
4. If dishwasher is installed in a corner, a
minimum of 5cm of space is required
between the washer and an adjacent cabinet
or wall.
7
Unit:mm
INSTALLATION INSTRUCTIONS
•
For personal safety, remove house
fuse or open circuit breaker before
installation.
•
Do not use an extension cord or
adapter plug with this appliance.
Electrical and earthing connections must
comply with the national electrical code/
provincial and municipal code and/or
other local codes.
CAUTION
•
Any bare wood surrounding the
dishwasher should be sealed with a
waterproof paint or sealant to prevent
swelling.
CAUTION
Prepare cupboard opening
Preparation for electrical wiring

•
If the height of the cupboard is below
850mm, you should remove the top table
by unscrewing the 2 screws.
(Two from rear)
CAUTION
1. Lay the dishwasher on its back.
2. Adjust the legs to the required height
as shown in below figure.
1. Before sliding the dishwasher into the
cupboard opening, all necessary height
and balancing adjustments should be
made using a spanner.
2. Slide the dishwasher into the cabinet,
opening carefully. Make sure that the
drain hose inside the cabinet is not kinked
or stretched.
Adjust
leg
8
3. To reduce noise attach the strip to the
machine base.
Remove the adhesive
cover and attach the strip
to the machine base,
hiding the legs.
Trim the edges if desired.
The bottom of the strip
should touch the floor.
INSTALLATION INSTRUCTIONS
Preparing the dishwasher for
installation
Installing the dishwasher in
cupboard

1. If the end of drain hose does not fit to
the drain line, use a rubber connector(not
supplied) that is resistant to heat and
detergent.
2. This should be available from a plumbing
shop or DIY merchants.
3. There are two typical connections as shown
in Figure A, B.
The S trap spigot must be drilled out cleanly
and free of obstruction to its maximum
internal diameter, if used for drainage.
When the drain hose is connected to a sink
S trap or waste disposal unit, the hose must
be looped up to the underside of the bench
top and secured.
Drain hose Extension
Extend drain hose as shown below.
Fig. A
When the drain hose is connected to a
separate standpipe, it is essential that an
airtight connection be made.
Refer to Fig.B
Fig. B : Drainage connection - stand pipe.
9
INSTALLATION INSTRUCTIONS
Installation of drain hose
•
When you connect or extend drain hose,
make sure that drain hose is not
kinked.
(Bends should have a 40 mm radius.)
CAUTION
Check the waste spigot when initially installing.
An “OE” error can occur when the waste spigot
below the sink is not drilled out properly.
Please ensure the waste spigot connection to this
drain hose has been completely drilled out before
connecting and securing.
Connection to Waste spigot
To prevent siphoning, one of the following
methods must be used:

10
• This dishwasher may be fed with either hot or
cold water. If the water can not be maintained
below 65ºC, the dishwasher must be connected
to cold water.
• When connecting, you may use sealant tape or
sealing compound to avoid water leaks.
• Make sure that the line is not kinked or sharply
bent.
• It is recommended that the new inlet hose be
used and not the existing or old hose.
Final check and assembling
1. Securely hand tighten supply hose to the
water supply.
Plug the power supply cord into an earthed
electrical point and switch on.
2. After installing and prior to using the
dishwasher with crockery, we recommend
that you use the dishwasher on Quick mode
to rinse through. At this stage it is useful to
ensure that there are no operating problems or
water leaks.
When the dishwasher is used for the first
time, there may be a loud noise, if this
happens, turn off the power and restart the
dishwasher.
After installing the dishwasher, you may notice a
slight sticking of the door to the dishwasher,
when you open or close the door. If this does
happen you need to adjust the level of the
dishwasher.
• If the door slants to the right, see fig. C and
follow these instructions:
1) Unscrew(counter-clockwise) the left leg of
the back side and correct the level.
2) Check the opening of door and repeat if
necessary until the door opens and closes
properly.
• When the product is correctly leveled, there
should be no slant, stickiness or friction sound.
Fig. C
Case 1. In case the door is slanted to the right
• If the door slants to the left, see fig. D and
follow these instructions:
1) Check the opening of door if there still
remains sticky or friction sound.
2) Check the opening of door and repeat if
necessary until the door opens and closes
properly.
• When the product is correctly leveled, there
should be no slant, stickiness or friction sound.
Fig. D
Case 2. In case the door is slanted to the left
Fig. A
Fig. B
Connect the water supply hose to the water tap.
(Fig. A)
Some models consist of an inlet valve and hose.
(Fig. B)
After connecting the inlet hose to the tap, turn on
the tap to flush out foreign substances (dirt, sand
or sawdust) in the water lines. Let water drain
into a bucket, and check the water temperature.
Connect the supply hose to the water inlet valve.
INSTALLATION INSTRUCTIONS
Installation of water inlet hose How to level the dishwasher

PARTS NAME
11
1. Control Panel
2. Door Handle
3. Front Cover
4. Lower Cover
5. Display Window
6. Power Button
7. Drain Hose
8. Inlet Hose
9. Power Cord
10. Adjustable Leg
11. Upper Rack
12. Cutlery Basket
13. Detergent And Rinse Aid Dispenser
14. Vapor Vent Cover
15. Upper Spray Arm
16. Lower Spray Arm
17. Filter ASM
18. Lower Rack
19. Salt Container Cap
20. Cutlery Rack
21. Steam Nozzle
※ The appearance and specifications may vary without notice.
Funnel Noise Strip
 Loading...