

Konica Minolta BIZHUB 130F User Manual
User Manual (PCL)
130f


1 Getting ready
1.1 System Requirements ..................................................................1-1
2Installation
2.1 Local install: Windows USB port.................................................2-1
2.1.1 For Windows 98 and Windows Me users ...................................2-3
Activating the optional second paper cassette ...........................2-5
2.1.2 For Windows 2000 professional users .......................................2-6
Activating the optional second paper cassette ...........................2-8
2.1.3 For Windows XP users ...............................................................2-9
Activating the optional second paper cassette .........................2-11
2.1.4 Installing both PCL5e and PCL6 driver ....................................2-12
For Windows XP user...............................................................2-12
For Windows 2000 user............................................................2-13
For Windows 98/Me user..........................................................2-14
2.2 Local install: Windows Parallel port (option) ...........................2-15
2.2.1 Parallel port connection............................................................2-15
2.2.2 Installing the driver ...................................................................2-16
Activating the optional second paper cassette .........................2-17
2.3 Network install: TCP/IP (option) ................................................2-18
2.3.1 Making connection....................................................................2-18
2.3.2 The IP Address.........................................................................2-18
2.3.3 Installing the drivers..................................................................2-19
Configuring the printer port.......................................................2-19
Activating the optional second paper cassette .........................2-20
2.3.4 Configuring the printer port.......................................................2-21
For Windows 2000/XP user......................................................2-21
For Windows NT 4.0 user.........................................................2-22
Installing Microsoft TCP/IP Printing service in Windows NT 4.0 ..223
2.4 Uninstalling the driver ................................................................2-24
For Windows® 98 and Windows® Me......................................2-24
For Windows® 2000 Professional ............................................2-24
For Windows® XP ....................................................................2-24
3 Configuring printer driver settings
3.1 Open the printer properties..........................................................3-1
3.1.1 From the application software ....................................................3-1
130f PCL driver

3.1.2 From the printer icon.................................................................. 3-1
3.2 Paper tab ....................................................................................... 3-2
3.2.1 Zoom.......................................................................................... 3-2
3.2.2 Copies........................................................................................ 3-4
3.2.3 Paper Size ................................................................................. 3-4
To add a custom paper size....................................................... 3-5
To delete a custom paper size................................................... 3-5
3.2.4 Paper Source............................................................................. 3-6
3.2.5 Paper Type ................................................................................ 3-6
3.2.6 Sort ............................................................................................ 3-6
3.3 Page Layout tab............................................................................ 3-7
3.3.1 Combine..................................................................................... 3-7
3.3.2 Watermark ................................................................................. 3-9
To edit a watermark ................................................................. 3-10
To create a new watermark ..................................................... 3-10
3.4 Quality tab................................................................................... 3-11
3.4.1 Toner Saving............................................................................ 3-11
3.4.2 Resolution ................................................................................ 3-11
3.4.3 True Type Mode....................................................................... 3-12
3.4.4 Print Density............................................................................. 3-12
3.5 Device Option tab ....................................................................... 3-13
3.5.1 Installed Options ...................................................................... 3-13
4 Cancelling a print job
4.1 Canceling on Windows ................................................................ 4-1
4.2 Canceling on the machine........................................................... 4-1
5 Troubleshooting
5.1 Error Messages............................................................................. 5-1
6 Specifications
6.1 Printer............................................................................................ 6-1
6.2 Acceptable paper size.................................................................. 6-2
6.3 The printable area......................................................................... 6-2
130f PCL driver
Getting ready
1Getting ready
1.1 System Requirements
The following operating environment is required in order to use the printer
driver.
Item Requirements
Operating System • Windows XP
CPU and Memory Depends on the operating system
Disk space 10 MB for driver install
Interface port USB Revision 2.0
CD-ROM CD-ROM drive
• Windows 2000 professional
• Windows NT 4.0 workstation
• Windows Me
• Windows 98
• Windows 95
• or an optional IEEE 1284 (Nibble-compatible)
• or an optional network port (1 0/100 base-Tx)
1
Note
Windows® 95 and Windows NT® 4.0 workstation are available only
when using an optional network interface or a parallel interface.
Windows® 2000 professional and Windows® XP are available only
when using an USB port or optional Network interface port.
130f PCL driver 1-1

1
Getting ready
1-2 130f PCL driver

Installation
2 Installation
2.1 Local install: Windows USB port
2
Note
An USB interface will only operate on Windows
Windows® 2000 and Windows® XP.
Windows® 95 and Windows NT® 4.0 do not support USB.
For Windows® 2000 and Windows® XP, you must be logged in as the
Administrator.
®
98, Windows
®
Me,
Note
If you have previously installed the KONICA MINOLTA 130f driver,
you will first have to uninstall it (see page 2-24.)
1 Turn on your computer, but do not connect your machine to the USB
port yet.
2 Insert the supplied CD into your CD-ROM drive.
The driver installation window will appear automatically.
If not appears, run the “setup.exe” located on the root directory of the
supplied CD-ROM.
3 Choose your language, then click [Next].
The Software License Agreement appears.
4 After reading and accepting the License Agreement click [Yes].
The connection type screen appears.
5 Select the “USB”, and then click [Next].
The destination folder screen appears.
6 Click [Next].
The install components screen appears.
130f PCL driver 2-1

2
Installation
7 Select the driver you want to install, then click [Next].
Note
Both PCL6 and PCL5e drivers cannot be installed simultaneously.
If you want to install both drivers, first finish the installation of one
driver and go to the other through “Add New Printer Wizard” (see
“Installing both PCL5e and PCL6 driver” on page 2-12).
8 Click [Next] to start installing on your computer.
9 Follow the instructions that appears on your screen until you can click
[Finish].
Windows® 98 and Windows® Me users % Go to page 2-3.
Windows® 2000 professional users % Go to page 2-6.
Windows® XP users % Go to page 2-9.
2-2 130f PCL driver
Installation
2.1.1 For Windows 98 and Windows Me users
Note
Make sure that you followed the installation step 1 to 9 described on
page 2-1.
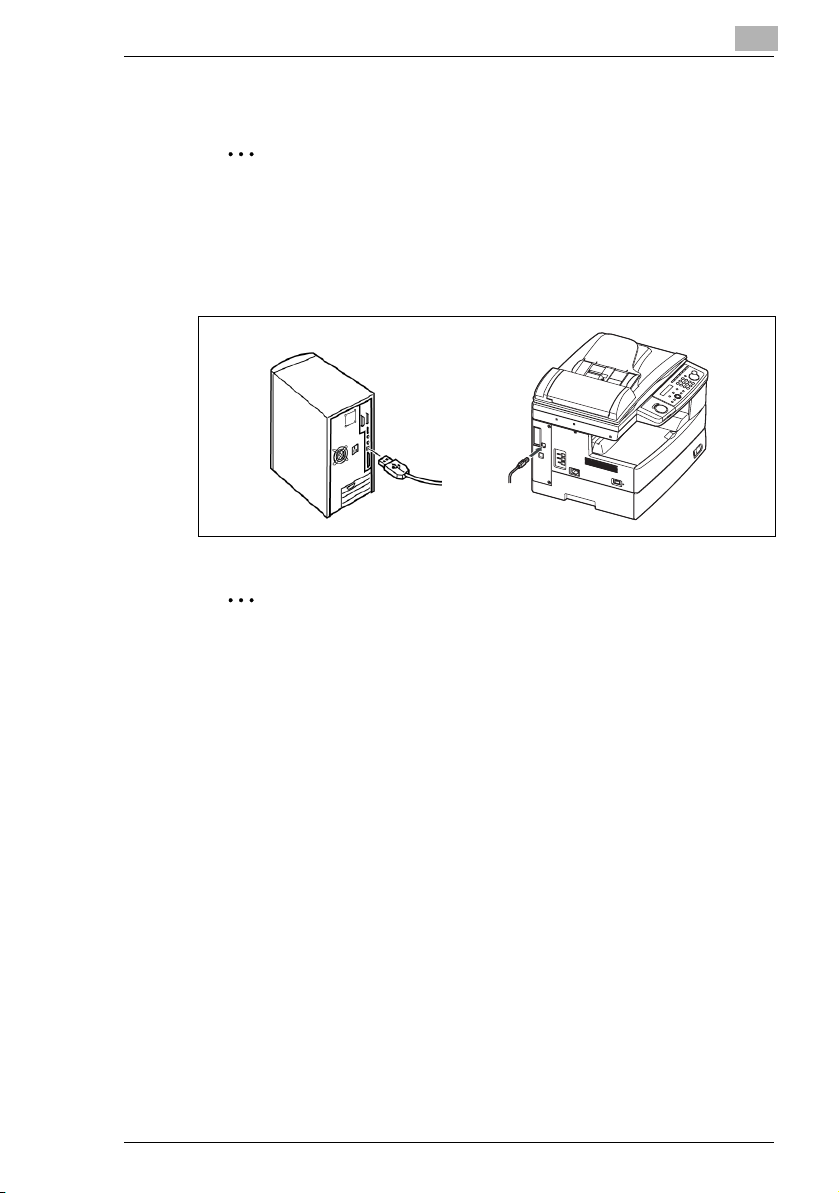
1 Plug the USB cable to your machine and then connect it to your
computer.
Note
Be sure to use a shielded USB cable. Use of an unshielded cable may
result in radio interference.
2
2 Turn on your machine and computer.
3 The “Add New Hardware Wizard” will appear.
Select “Specify the location of the driver” and click [Next].
4 Select “Specify a location” and clear any other choices. Click [Browse]
to navigate your hard disk: “C:\KONICA_MINOLTA_130f_PCL”, and
then click [OK].
5 Follow the instructions that appear on the screen until you can click
[Finish].
6 The “Add New Hardware Wizard” appears again, repeat same
procedures from step 3 to 5.
130f PCL driver 2-3

2
Installation
Note
Repeat steps 3 through 5 three more times until the installation is
completely finished. This completes the installation of the driver.
The KONICA MINOLTA 130f printer and scanner drivers have been
installed.
If your machine has an optional second cassette installed, you must
enter the driver and activate it. See “Activating the optional second
paper cassette” on page 2-5 for instructions on how do this.
2-4 130f PCL driver

Installation
2
Activating the optional second paper cassette
If your machine has an optional second cassette installed, you must enter
the driver and activate it.
To activate the optional device:
1 Click [Start] % [Settings] % [Printer].
2 Right click the “KONICA MINOLTA 130f PCL6 (or PCL5e)” icon, then
click [Properties].
3 Click [Device Option] tab.
4 Select [2nd paper cassette].
5 Click [OK], then close the printer.
130f PCL driver 2-5
2
2.1.2 For Windows 2000 professional users
Note
Make sure that you followed the installation step 1 to 9 described on
page 2-1.
1 Plug the USB cable to your machine and then connect it to your
computer.
Note
Be sure to use a shielded USB cable. Use of an unshielded cable may
result in radio interference.
Installation
2 Turn your machine on.
3 The “Found New Hardware Wizard” will appear. Click [Next].
4 Select “Search for a suitable driver for my device (recommended)” and
click [Next].
The “Locate Driver Files” dialogue box appears.
5 Select “Specify a location” and clear any other choices, then click
[Next].
6 Click [Browse] to navigate your hard disk:
C:\KONICA_MINOLTA_130f_PCL, and then click [OK].
7 Click [Next]. If the “Digital Signature Not Found” dialogue box appear,
click [Yes] to install the driver.
2-6 130f PCL driver

Installation
2
8 Follow the instructions that appear on your screen until you can click
[Finish].
9 The “Add New Hardware Wizard” appears again. Repeat same
procedures from step 3 to 8.
This completes the installation of the driver.
The KONICA MINOLTA 130f printer and scanner drivers have been
installed.
If your machine has an optional second cassette installed, you must
enter the driver and activate it. See “Activating the optional second
paper cassette” on page 2-8 for instructions on how do this.
130f PCL driver 2-7

2
Installation
Activating the optional second paper cassette
If your machine has an optional second cassette installed, you must enter
the driver and activate it.
To activate the optional device:
1 Click [Start] % [Settings] % [Printer].
2 Right click the “KONICA MINOLTA 130f (or PCL5e)” icon, then click
[Printing Preference].
3 Click [Device Option] tab.
4 Select [2nd paper cassette].
5 Click [OK], then close the printer.
2-8 130f PCL driver

Installation
2.1.3 For Windows XP users
Note
Make sure that you followed the installation step 1 to 9 described on
page 2-1.
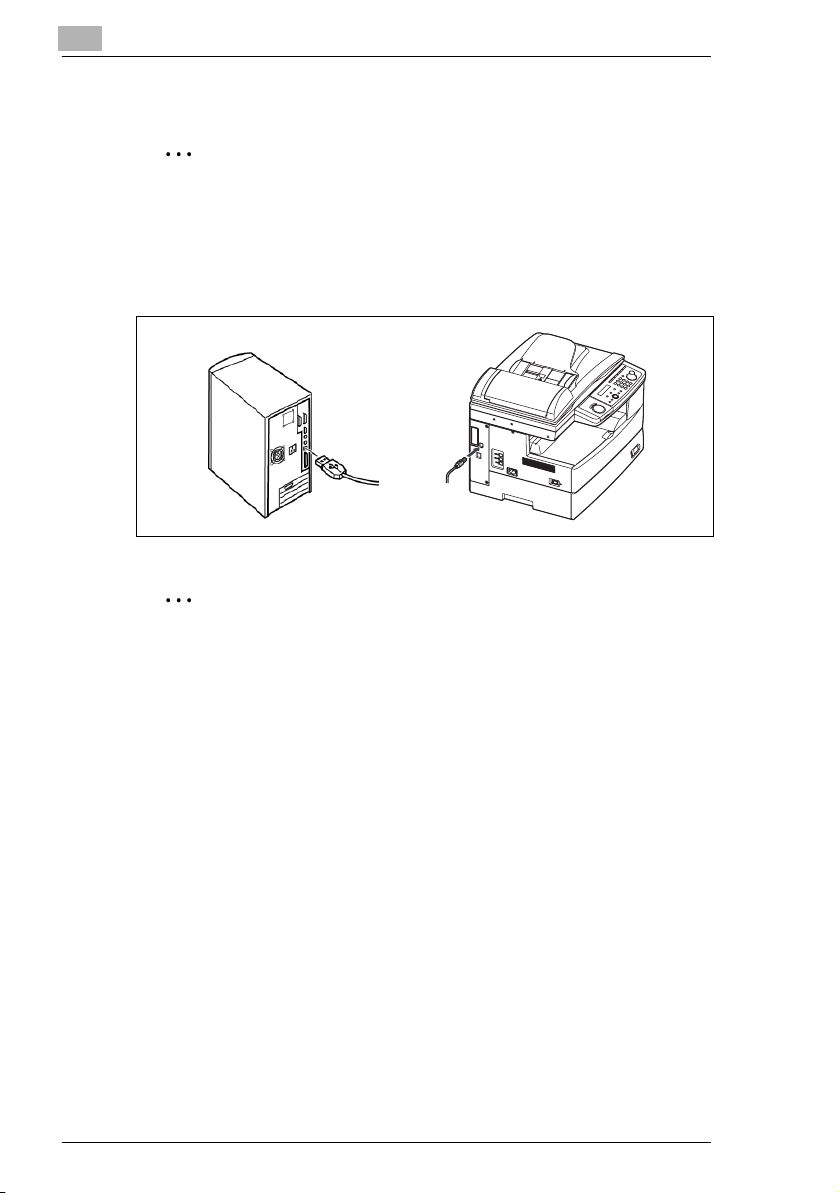
1 Plug the USB cable to your machine and then connect it to your
computer.
Note
Be sure to use a shielded USB cable. Use of an unshielded cable may
result in radio interference.
2
2 Turn your machine on.
3 The “Found New Hardware Wizard” will appear.
4 Select “Install from a list or specific location (Advanced)” and click
[Next].
5 Select “Include this location in the search:” and clear any other
choices. Click [Browse] to navigate your hard disk:
C:\KONICA_MINOLTA_130f_PCL, and then click [OK].
6 Click [Next]. If the “Windows Logo testing” dialogue box appear, click
[Continue Anyway] to install the driver.
7 Click [Finish].
130f PCL driver 2-9
 Loading...