

406TH
Step 1
Bolt “Partition Door Assy.” To “Partition Side Panel” (Boxed as 40651) using 1/4x3/4 Carriage bolts, using 2 flat washers
between them for clearance if you are planning to have a “pass though” door.
1
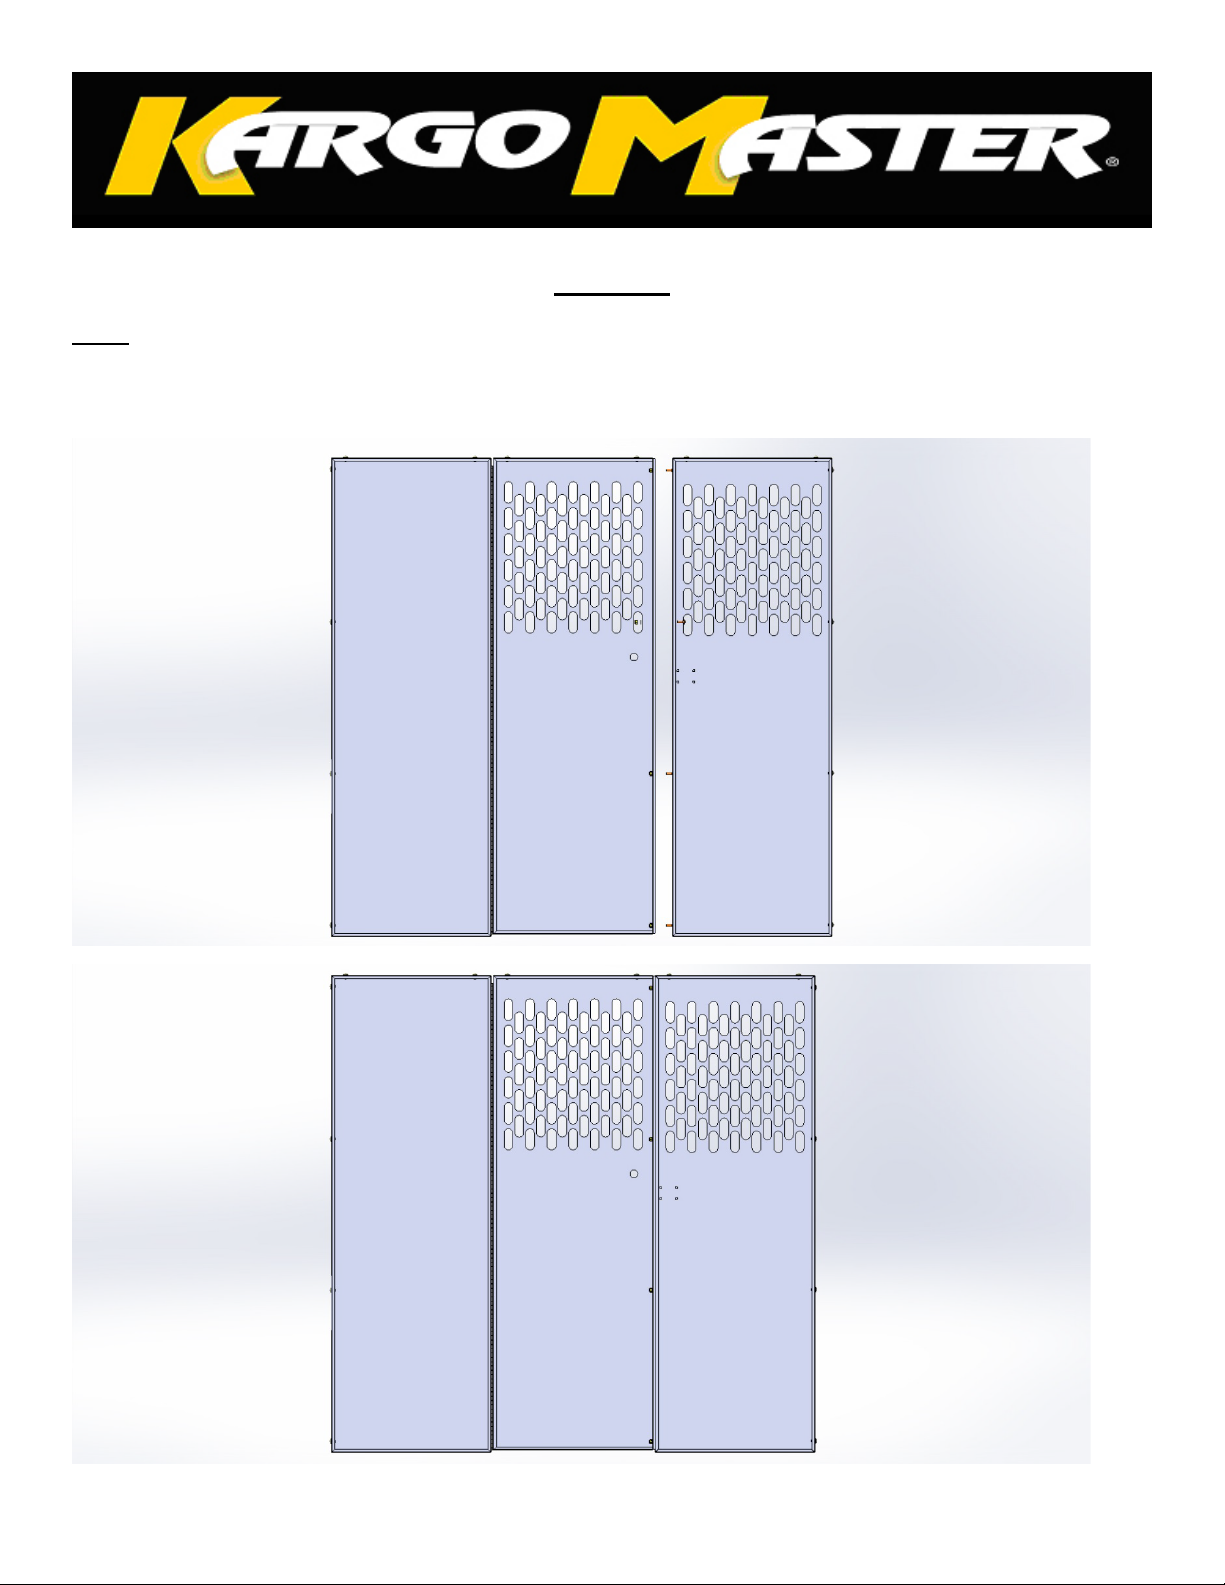
Step 2
Bolt “Wing Panels”(Box 406TH) to the “Partition Door Assy.” Using 1/4x1/2 Carriage bolts with flat washers and nyloc
nuts as shown. Be sure to use flat washers as spacers on the door panel between the “Top Wing Panel” and the door so
it will open properly. Shown below in the Transit Mid-Roof configuration (100” Roof).
2

Step 2A
Now you can bolt the upper bracket in place using the ¼”x3/4”carriage bolts, DO NOT tighten at this point.
Transit Mid-Roof Assembly (100”)
3

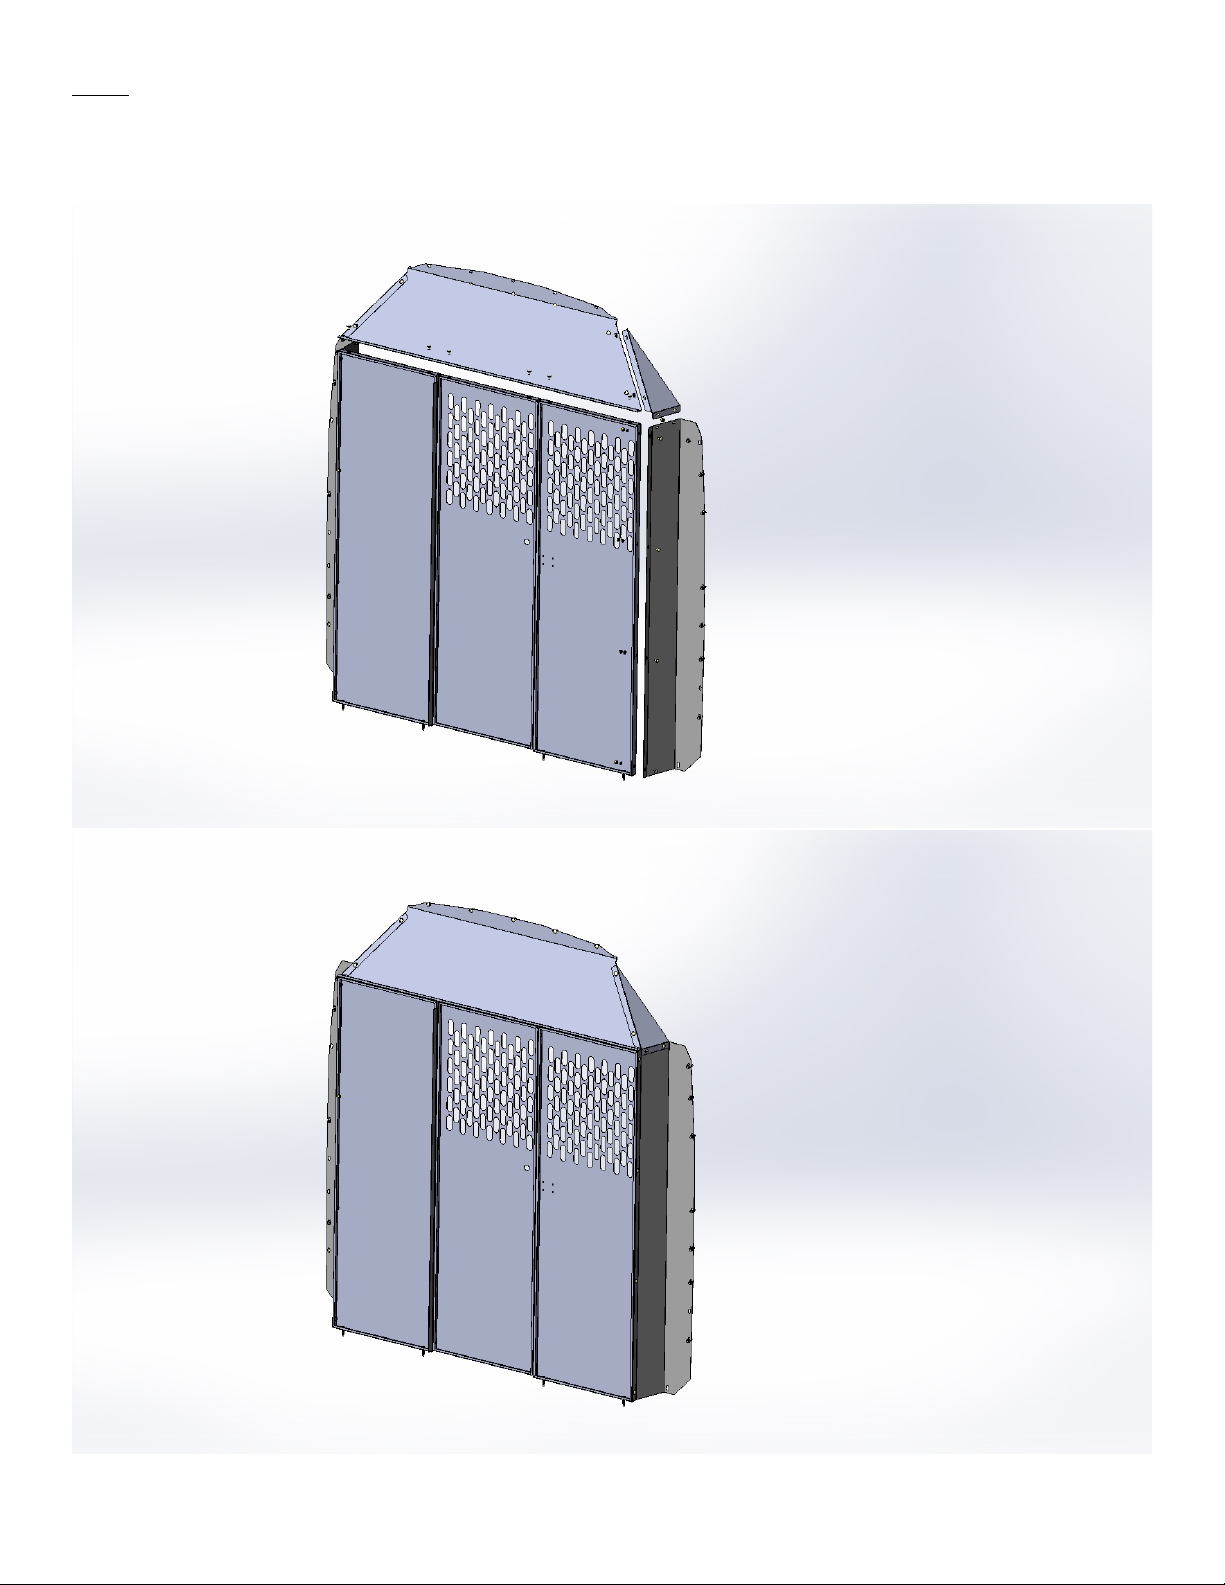
Step 2B (High Roof)
Shown below for a High-Roof Transit configuration (110” Roof). Add Top Panel extension and corner wing extensions as
shown below.
Transit High Roof Assembly (110”)
4

Step 3
On the driver’s side install the 2 M6 U-nuts in the “B” pillar as shown below (Some of the Van body parts are excluded
for clarity). If your van has the factory interior panels (it’s an option) loosen the 2 bolts that hold the panel to the ”B”
pillar and slide the wing behind the bracket. Next use the 5/16”x1” self tapping screws on the driver’s side wing panel,
one in the top hole and one in the 3
rd
from the bottom and use the M6x25 bolt on the passenger side wing panel. Now
you can bolt the upper bracket in place using the 5/16”x1” self tapping screws and ¼”x3/4” Carriage bolts. Put a straight
edge along the bottom to keep it straight and use the 5/16”x1 ¼” self tapping screws into the floor. There are 5/16”x 1”
self tapping screws for mounting the “Top Panel” if wanted, but NOT necessary. You can now re-install the factory “D”
rings. Be sure to go back and tighten all the hardware at this point.
5

Transit-Driver Side Upper View
Transit-Passenger Side Upper View
6
 Loading...