

Garmin GPSMAP 5212 (Multiple Station Display), GPSMAP 5012 (Multiple Station Display) Quick Reference
Finding a Marine Service and Navigating to It
Marking a Waypoint
To nd and navigate to a marine service from your current location:
1. From the Home screen, touch Where To? > Offshore Services.
2. Touch the marine service category to which you want to navigate. The chartplotter shows the
list of the 50 nearest locations and the distance and bearing to each.
3. Touch the marine service item to which you want to navigate. A screen containing information
about the selected marine service appears.
4. Touch Navigate To > Go To to navigate directly to the location. (Or, touch Route To to create
a specic route to the location.)
5. Follow the colored line on the screen to the destination.
List of Marine Service Items
Go to Destination
Navigating to a Destination on the Chart
To mark your current location as a waypoint:
1. From any screen, touch Mark.
2. Touch Edit to designate a specic name, symbol, water depth, water temperature, or add a
comment.
To create a new waypoint:
1. From the Home screen, touch Charts > Navigation Chart.
2. Touch the location you want to save as a waypoint.
3. Touch Create Waypoint.
Navigation Chart
Editing or Deleting a Waypoint
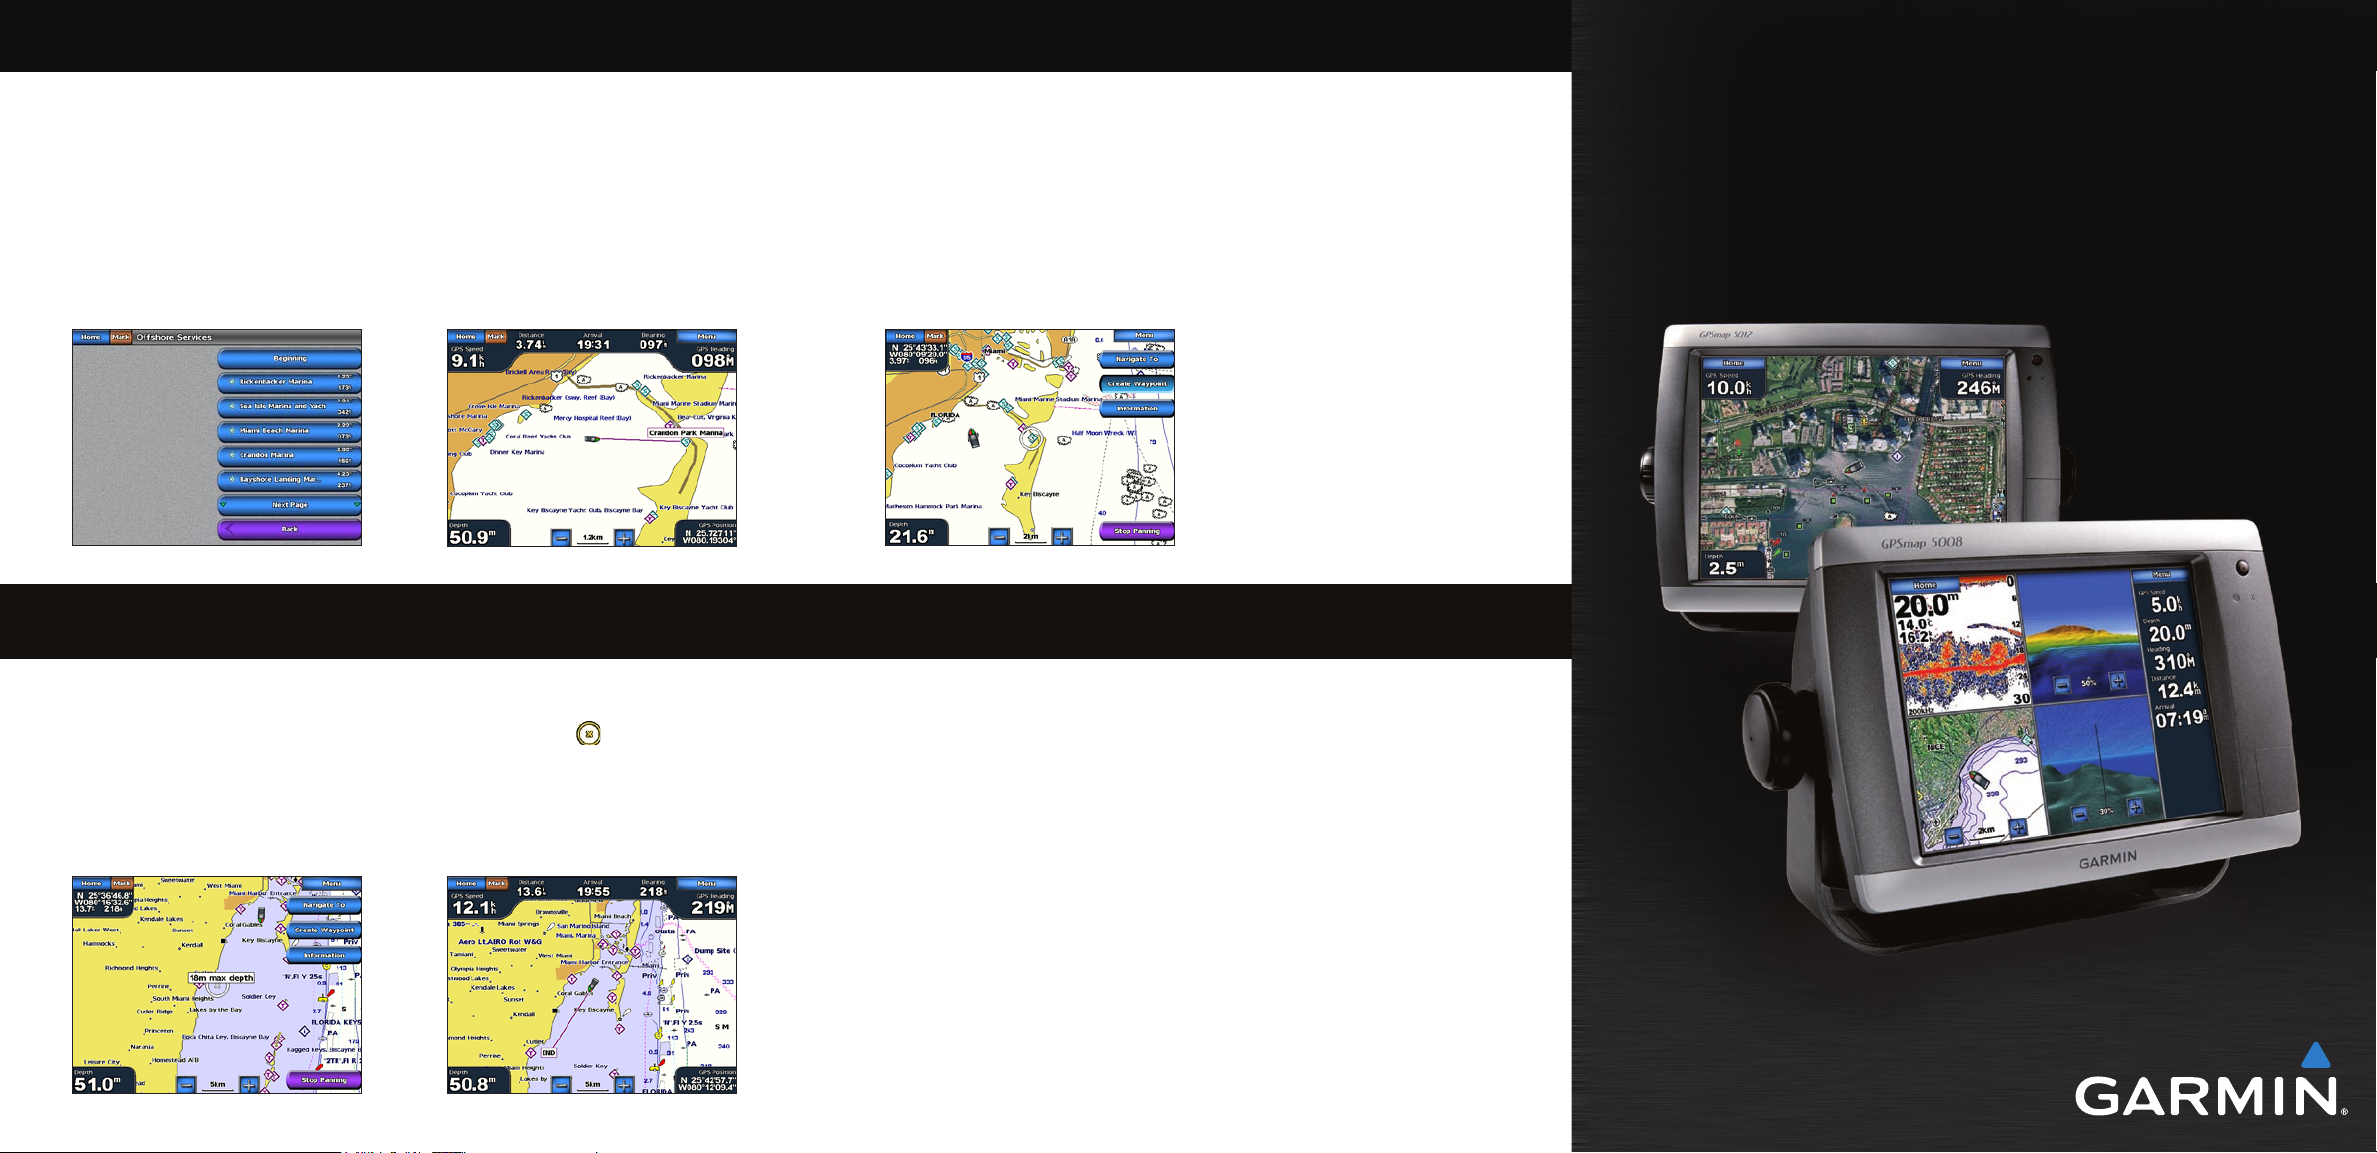
GPSMAP® 5000 Series
quick reference guide
To navigate to a destination on the chart:
1. From the Home screen, touch Charts > Navigation Chart.
2. Touch the point on the chart to which you want to navigate. A pointer ( ) marks the point.
3. Touch Navigate To.
4. Touch Go To to navigate directly to the location.
5. Follow the line on the Navigation Chart to the destination.
Navigation Chart
Go to Destination
To edit a waypoint:
1. From the Home screen, touch Charts > Navigation Chart.
2. Touch the waypoint on the Navigation chart.
3. Touch the button for the waypoint you want to edit.
4. Touch Edit.
5. Touch the waypoint attribute you want to change (Name, Symbol, Depth, Water Temp, or
Comment).
To delete a waypoint:
1. From the Home screen, touch Information > User Data > Waypoints.
2. Touch the waypoint you want to delete.
3. Touch Review > Delete.
Turning the Unit On and Off Creating and Editing Routes
Using the Man OverBoard Feature
To turn on the chartplotter:
1. Press and release the Power key.
2. When the warning screen appears, touch I Agree.
To turn off the chartplotter:
1. Press and hold the Power key.
2. If one chartplotter is connected, the chartplotter shuts down. If multiple chartplotters are
connected, a prompt asks if you want to turn off the entire system. Touch Yes to turn off the
entire network, or touch No to put the chartplotter in sleep mode.
See the Important Safety and Product Information guide in the product box for product
warnings and other important information.
Adjusting the Backlight and Color Mode
To adjust the backlight level:
1. While the chartplotter is on, press and quickly release the Power key.
2. Touch Backlight.
3. Select an option to adjust the backlight:
To allow the chartplotter to automatically adjust the backlight based on ambient light, touch
•
Auto.
To manually adjust the backlight, touch and hold Up or Down, or touch and drag the
•
brightness bar.
Brightness bar
To adjust the color mode:
1. Press and release the Power key.
2. Touch Color Mode.
3. Touch Day Colors, Night Colors, or Auto.
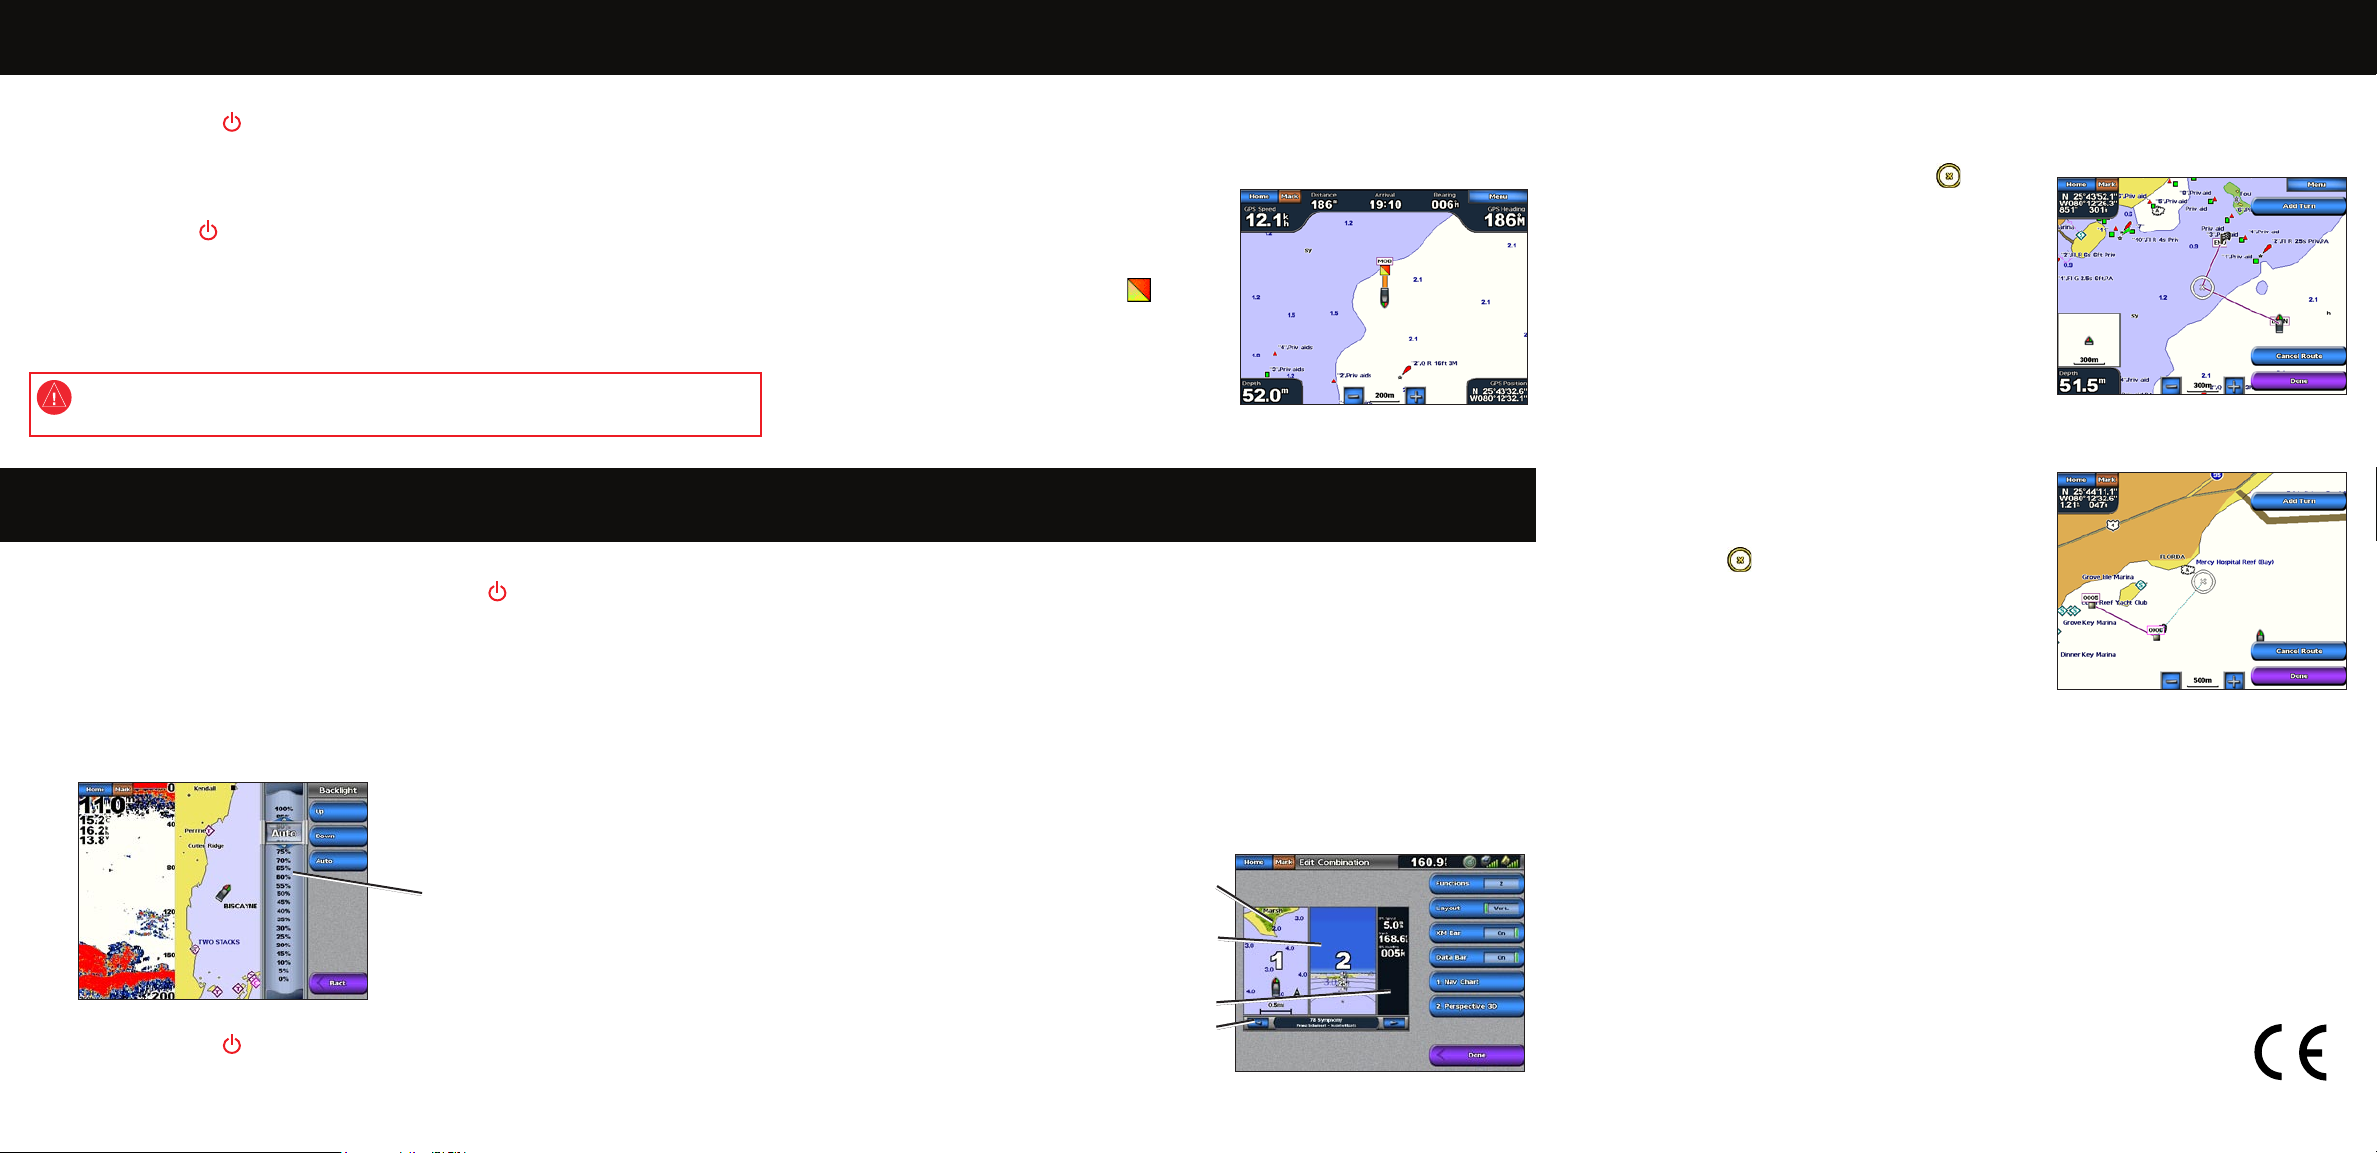
To mark and navigate to a Man Overboard (MOB) location:
1. From the Home screen, touch Man Overboard.
2. Touch Yes to begin navigating to the MOB location.
To delete an MOB location:
1. From the Home screen, touch Information >
User Data > Waypoints.
2. Touch the MOB location you want to delete.
MOB locations are marked with the symbol.
3. Touch Review > Delete.
Man Overboard
Using Combination Screens
To access and change screen combinations:
1. Complete one of the following actions to access the Edit Combinations screen:
While viewing a combinations screen, touch Menu > Change Combination.
•
From the Home screen, touch Combinations > Unused Combo (if one is available).
•
2. Select an option to customize the Combinations screen. If you have a BlueChart®
g2 Vision® SD card or are connected to network devices such as sonar and radar, more
combination screen options will be available.
Touch Functions to select the number of combination screens.
•
Touch Layout to change to vertical or horizontal layout.
•
Touch XM Bar to toggle the XM® bar on or off.
•
Touch Data Bar to toggle
•
the data bar on or off.
Touch a numbered option,
•
such as 1. Nav Chart or
2. Perspective 3D in the
example, to select the
combination screen to
view.
Combination
Combination
screen 1
screen 1
Combination
Combination
screen 2
screen 2
Data bar
Data bar
XM bar
XM bar
To create a route from your present location:
1. From the Home screen, touch Charts > Navigation Chart.
2. Touch your destination on the Navigation chart. Touch and drag the Navigation screen to pan
the map. The destination is indicated by .
3. Touch Navigate To > Route To.
4. Touch the location at which you want to make the last
turn toward your destination.
5. Touch Add Turn.
6. To add additional turns, continue to touch the location
at which you want to make a turn (working backward
from the destination), and then touch Add Turn.
7. Touch Done to nish the route, or touch Cancel Route
to delete the route.
To create a route in another location:
1. From the Home screen, touch Information > User
Data > Routes > New Route > Use Chart.
2. Touch the route starting point. The starting point is
indicated by .
3. Touch Add Turn.
4. Touch the location of the rst turn.
5. Touch Add Turn. Repeat until the route is complete.
To edit a route:
1. From the Home screen, touch Information > User Data > Routes.
2. Touch the route to edit.
3. Touch Review > Edit Route. You can edit the route name or turns, or delete the route.
Go to www.garmin.com for additional documentation and information.
Garmin®, the Gamin logo, GPSMAP®, BlueChart®, and g2 Vision® are trademarks of Garmin Ltd. or its subsidiaries,
registered in the USA and other countries. These trademarks may not be used without the express permission of Garmin.
XM® is a registered trademark of XM Satellite Radio Inc.
© 2010 Garmin Ltd. or its subsidiaries
June 2010 Part Number 190-00803-01 Rev. D Printed in Taiwan
 Loading...