

Page 1
This product contains drivers that work with the
following operating systems: Windows XP,
Windows 2000, and Windows Me
DCM-201
D-Link Cable Modem
Before You Begin
Decide which setup mode (Ethernet NIC or USB) you want to use and follow the
installation process for that setup mode.
Local Cable Network Service
Before installing the cable modem, contact your local cable service provider to
check the availability of Internet/Cable network access. Read this Quick Installation
Guide thoroughly before attempting to install the cable modem.
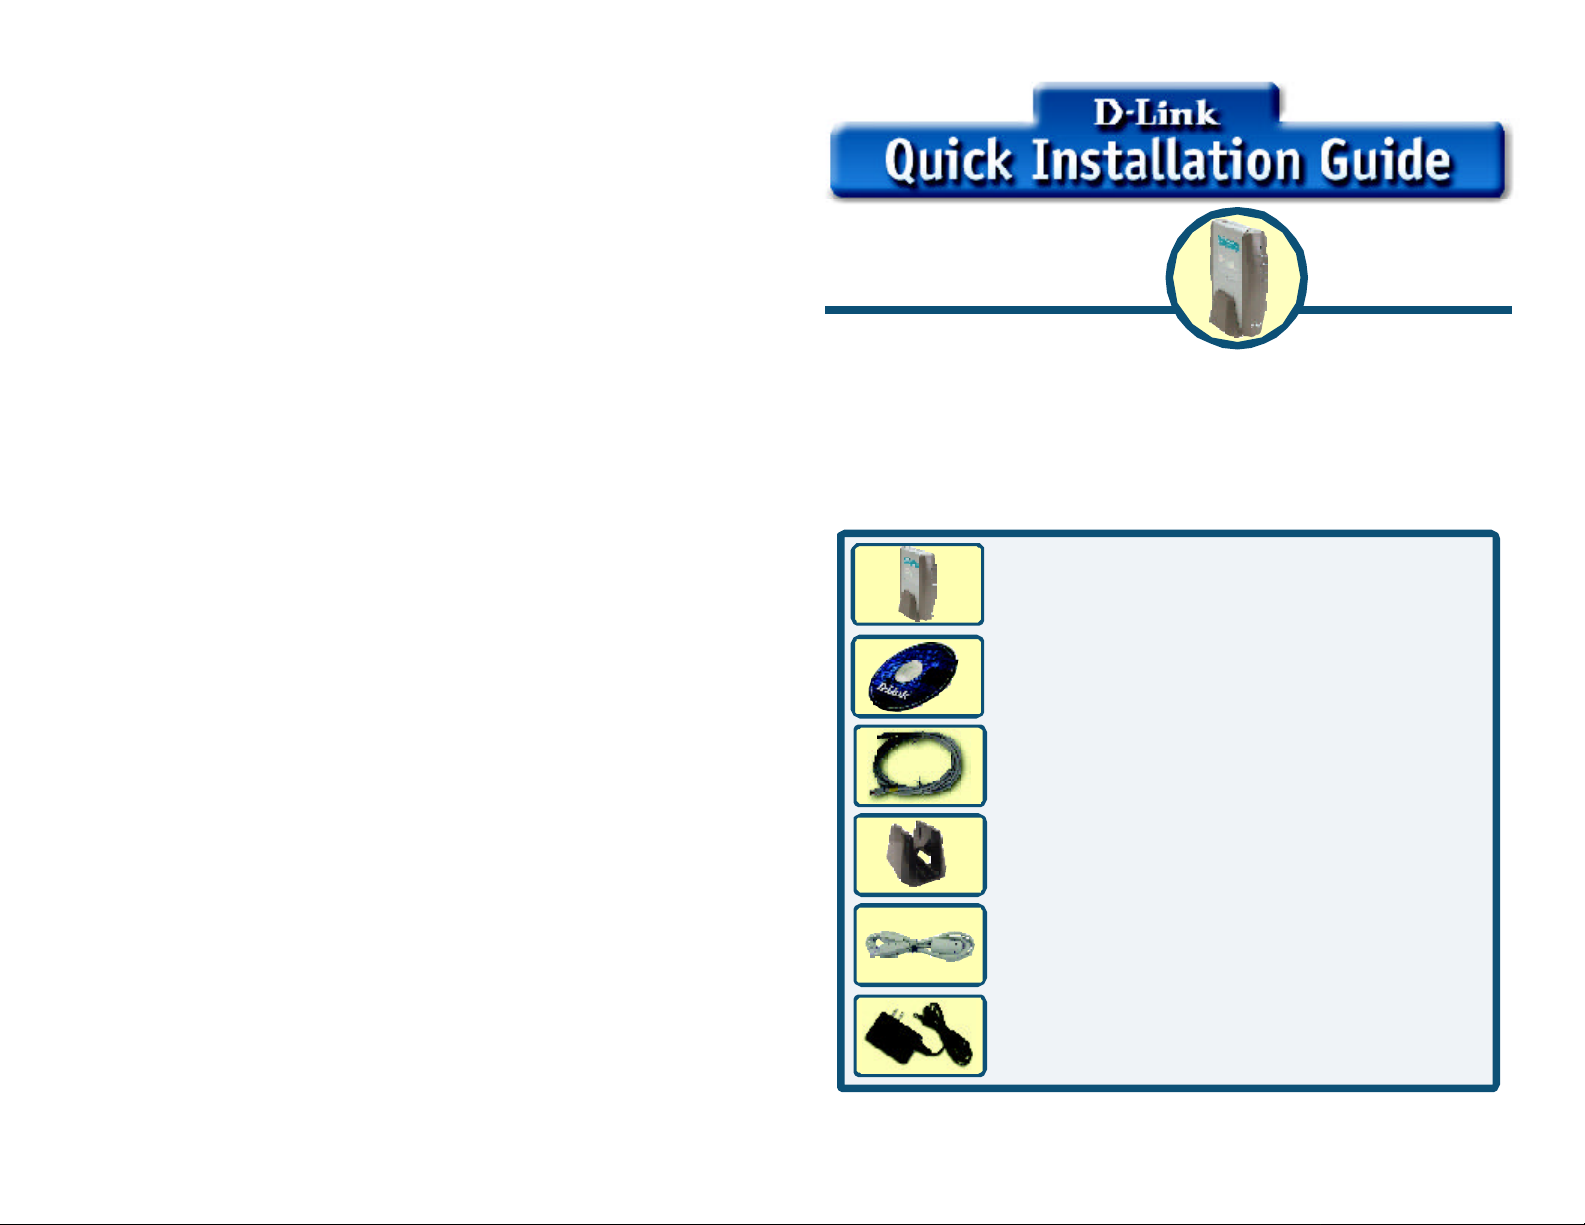
Check Your Package Contents
These are the items included with your DCM-201 purchase:
D-Link Cable Modem DCM-201
CD-ROM (containing USB Drivers, Manual,
and Warranty)
Ethernet (CAT5 UTP/Straight Through) Cable
Device Stand
USB Cable
12V DC, 1.25A Power Adapter
If any of the above items are missing, please contact your reseller.
©2003 D-Link Systems, Inc. All rights reserved. Trademarks or registered trademarks are the property of their respective holders. Software and
specifications subject to change without notice. DCM-201.05052003
1
Page 2
Requirements
USB Installation Process (optional)
RF coaxial cable:
• One section of coaxial cable if you are not using a cable line-splitter.
• Three sections of coaxial cable if you are using a cable line-splitter.
• A cable line-splitter, if you wish to connect the cable modem and a television to the
same wall cable outlet (optional).
• An active two-way cable line installed by your local cable operator.
Please contact your local cable company and subscribe to cable modem
service and register this cable modem on their network. The Cable Internet
provider will need the following modem information
§ Modem Make and Model i.e. D-Link DCM-201
§ Modem Serial Number i.e. 202102XXXXXXX (normally found on the label
on the bottom of the modem)
§ Modem MAC (CMAC) Address i.e. 0050BAXXXXXX (found on the rear of
the modem)
Computer System Requirements:
• Pentium processor equivalent (Pentium 166MHz or higher recommended).
• The original Windows Operating System CD-ROM or diskettes.
• TCP/IP protocol installed (see the “Configuring the TCP/IP Protocol on Your PC”
section for more information about TCP/IP installation).
• An active Ethernet port or network interface card (NIC) installed in your computer.
The cable modem is OS-independent and can be connected to any computer equipped
with an active standard RJ-45 10BaseT Ethernet port.
For USB connectivity:
• A computer must have Windows XP, 2000,or ME operating
system.
• An active USB port on your computer.
For Ethernet connectivity:
• A PC running Windows, Macintosh, or Linux operating system.
• An active Ethernet adapter installed in your computer such as the DFE-530TX+
The DCM-201 USB/Ethernet Cable Modem will work only with
the Ethernet port and/or the USB port connected.
The USB connection can only be used for computers running
Microsoft Windows XP, 2000, or ME
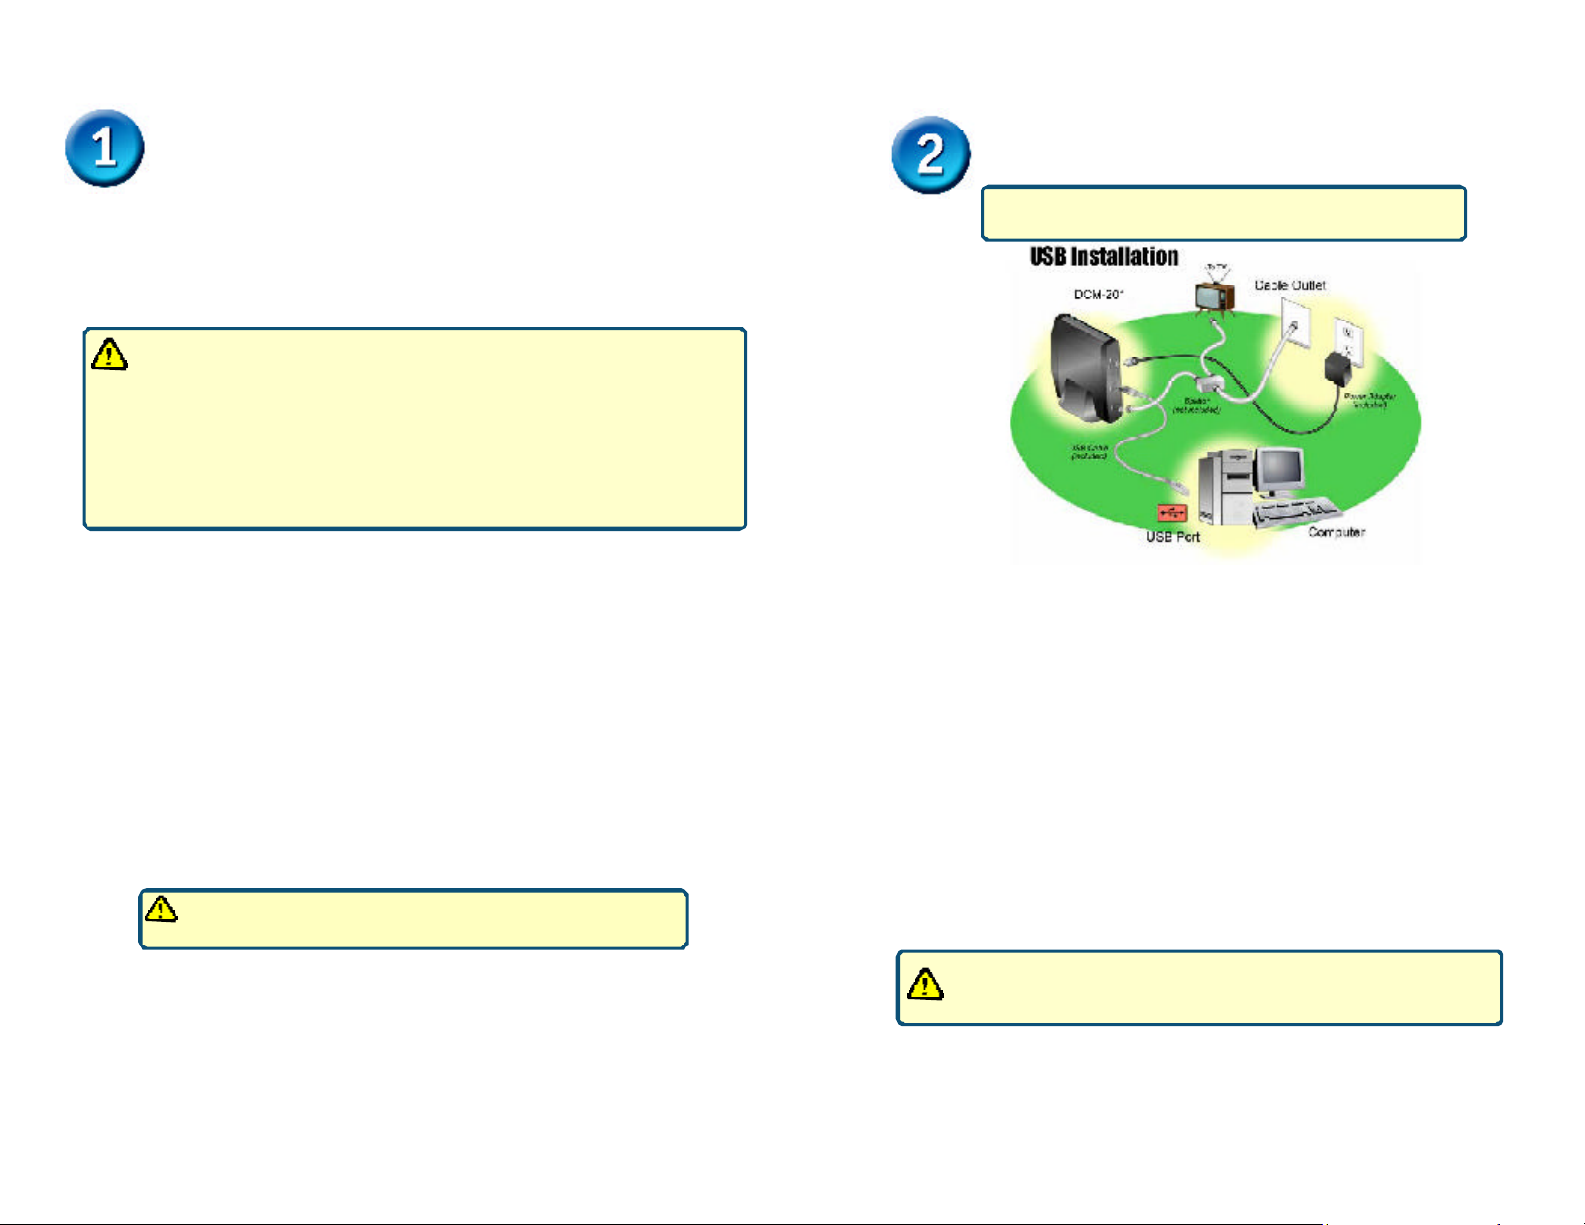
Connect the Cables and Power Adapter
To use the computer’s USB interface to connect to the Internet, use the provided USB
cable to connect the computer and the cable modem.
A. Power off the computer.
B. Unplug the computer’s power cable.
C. Connect the RF coaxial cable (not included) to the back of the cable modem labeled
“CATV”, connect the other end to the wall cable outlet.
Note: If you are using a cable line-splitter (not included) to connect the computer and a
television to the same wall cable outlet, you will use three lengths of coaxial cable.
As shown in the Ethernet NIC illustration (see above), a cable line-splitter has three
connectors. Use the illustration to make the appropriate coaxial cable connections.
D. Plug the USB cable into the cable modem’s USB port and the other end of the
cable to the computer’s USB port.
E. Connect the 12VDC/1.25A power adapter to the back of the cable modem labeled
“Power”.
Be sure to use only the 12VDC/1.25A power adapter that came with
the cable modem. Using the wrong power adapter can damage the
cable modem.
F. Plug the power adapter into a surge protector or an electrical outlet.
G. Power on the computer. Within a few minutes, the computer detects the cable
modem.
2
3
Page 3
USB Installation Process (optional)
USB Installation Process (optional)
If the D-Link DCM-201 Welcome screen appears, click Close to
return to the cable modem installation process. Leave the CD in
the CD-ROM drive so that Windows can access the software driver
files required for the USB adapter.
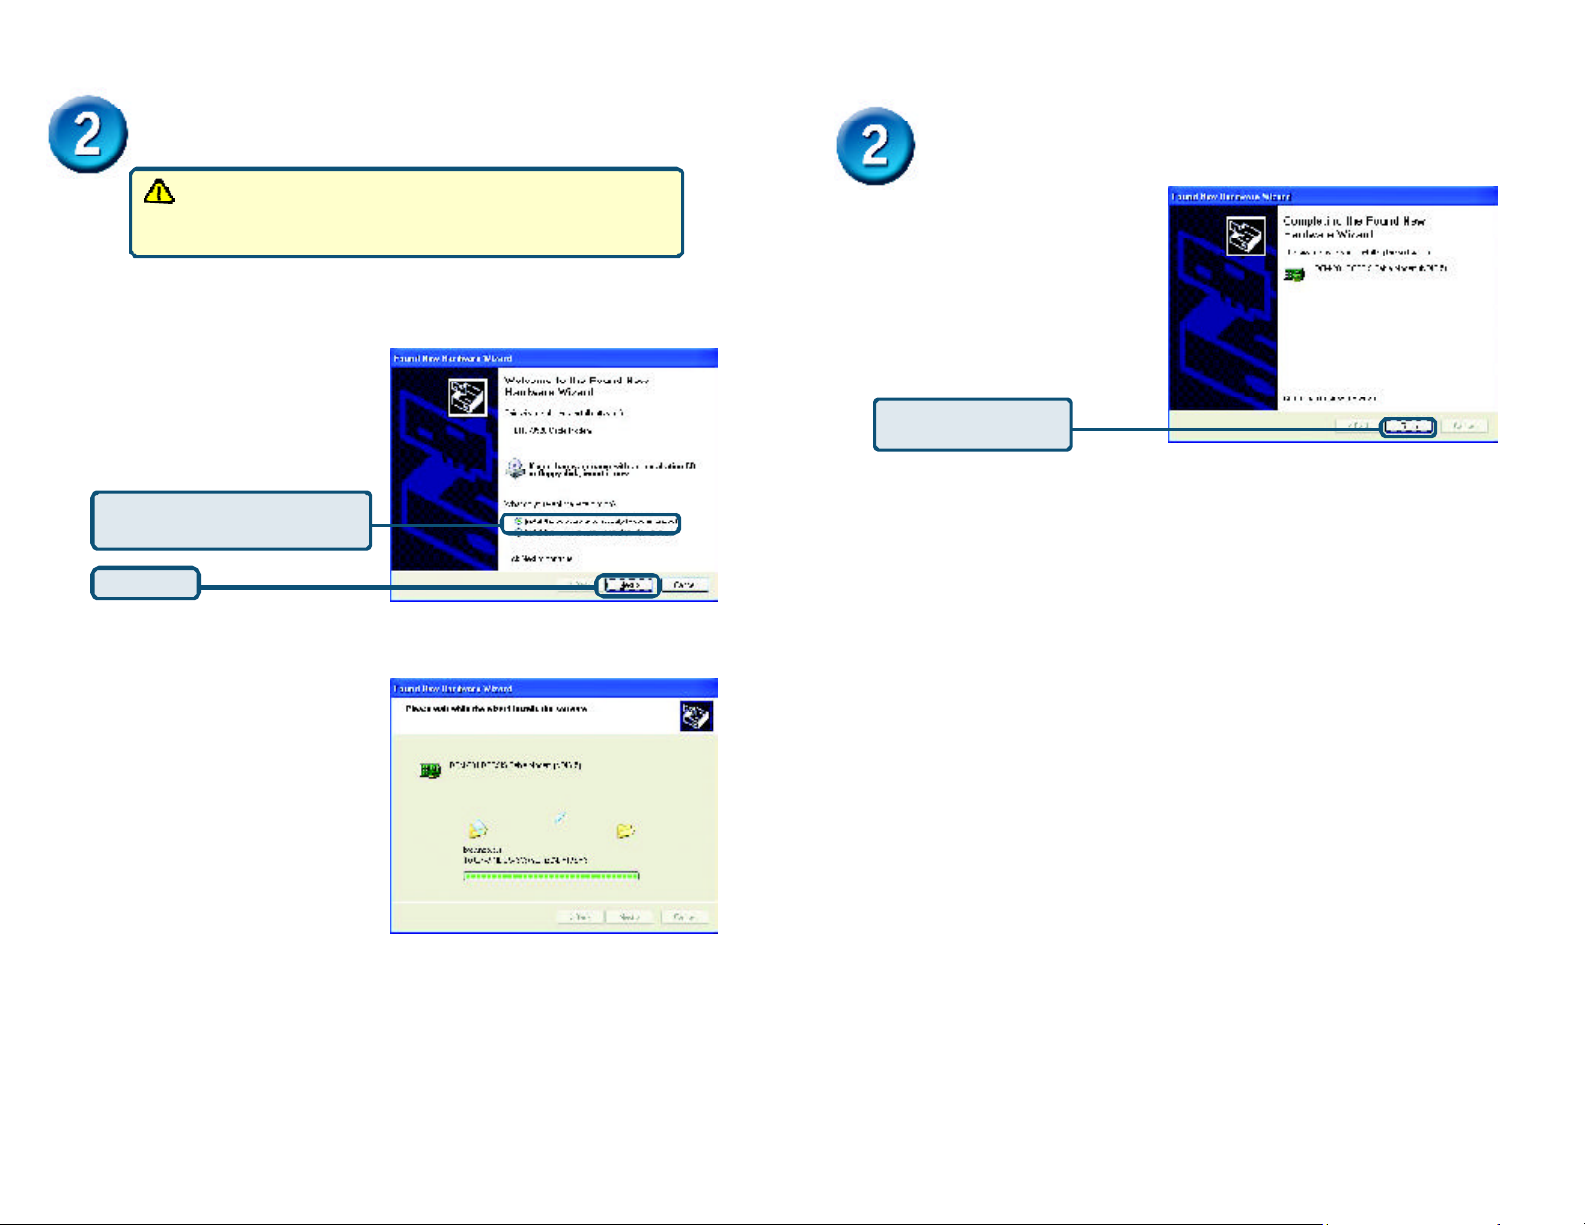
Windows XP: The Found New Hardware Wizard screen appears.
Select Install the Software
Automatically (Recommended)
Select Install the software
automatically (Recommended)
Click Next
4
B. When the Found New Hardware
Wizard completes the installation,
click Finish.
C. You can now go to “Check the
LEDs”.
Click Finish to finalize
the installation.
Windows 2000: The Found New Hardware Wizard screen appears.
1 Insert the D-Link Installation and Documentation CD into the computer’s
CD-ROM drive.
USB Port on the computer.
2 Power on the computer. After the computer boots up:
3 Select Search for a suitable driver for my device (recommended) and
click Next.
4 Check the CD-ROM Drives check box and click Next to search for the
necessary driver files.
5 When the correct location of the driver file appears, click OK.
6 The Found New Hardware Wizard displays the search results.
7 Click Next to install the driver files for the cable modem.
8 Click Finish to continue.
9 The Found New Hardware Wizard screen appears.
10 Select Search for a suitable driver for my device (recommended) and click
Next.
11
necessary driver files.
12 When the correct location of the driver file appears, click OK.
13 The Found New Hardware Wizard displays the search results.
14 Click Next to install the driver files for the cable modem.
15
Windows ME: The Add New Hardware Wizard screen appears.
A. Select Automatically search for a better driver (Recommended) and click Next.
B. When Windows locates the driver files click Next to install the necessary files.
C. Click Finish. The system Settings Change dialog box appears.
D. Click Yes to reboot your computer.
E. You can now go to “Check the LEDs”.
a Shut down the computer.
b Connect the USB cable between the DCM-201 and an available
a Windows detects the cable modem.
b The Found New Hardware screen appears.
c The Found New Hardware Wizard screen appears.
Check the CD-ROM Drives check box and click Next to search for the
Click Finish.
5
Page 4

USB Installation Process (optional)
Ethernet Installation Process
Install the USB Software Drivers
When the computer detects the cable modem, insert the D-Link Installation and
Documentation CD into the computer’s CD-ROM drive and follow the on-screen
prompts to install the necessary driver files. Follow the instructions for your specific
operating system.
Ethernet Installation Process
The Ethernet connection is OS-independent and can be used to
connect any computer that has a pre-installed Ethernet adapter.
Configure the TCP/IP Protocol on Your PC
Before installing the cable modem in the Ethernet mode, you must verify that your
computer has the TCP/IP protocol installed. Follow the procedure for your computer’s
operating system to verify or install the TCP/IP protocol.
Windows 95, Windows 98, or Windows ME Operating System:
If TCP/IP is NOT listed, you must complete the following steps:
1. Click Add.
2. Click Protocol, and then click Add.
3. Click Microsoft in the “Manufacturers” list and then click the
“Network Protocols” list.
4. Click OK. You are prompted to restart your computer.
D. Click Yes. You can now go to “Install the Cable Modem”.
Windows XP or 2000 Operating System
A. Right-click My Network Places icon on the Windows desktop.
B. Right-click Local Area Connection and click Properties. Search for an
entry containing TCP/IP. If you see TCP/IP listed next to your Ethernet
hardware device, you can now go to “Install the Cable Modem”.
Install the Cable Modem
Refer to the Ethernet NIC illustration (previous page) when making the following
connections:
A. Power off the computer.
B. Unplug the computer’s power cable.
C. Connect the RF coaxial cable (not included) to the back of the cable modem labeled
“CATV”, connect the other end to the wall cable outlet.
Note: If you are using a cable line-splitter (not included) to connect the computer and a
television to the same wall cable outlet, you will use three lengths of coaxial cable.
As shown in the Ethernet NIC illustration (see previous page), a cable line-splitter
has three connectors. Use the illustration to make the appropriate coaxial cable
connections.
D. Connect one end of the Ethernet cable to the cable modem labeled “ETH” and the
other end to the Ethernet NIC installed on your computer.
E. Connect the 12VDC/1.25A power adapter to the back of the cable modem labeled
“Power”.
A. Click Start, point to Settings, and then click Control Panel .
B. Double-click the Network icon. The screen displays a list of installed network
components.
C. Search for an entry containing TCP/IP, followed by the NIC hardware device installed in
your computer. If you see TCP/IP listed next to your Ethernet hardware device, you may
now go to “Install the Cable Modem”.
6
Be sure to use only the power adapter that came with the cable modem.
Using the wrong power adapter can damage the cable modem.
F. Plug the power adapter into a surge protector or an electrical outlet.
G. Plug in power cable and turn on the computer.
H. Verify that the proper LED lights are correctly showing on the DCM-201.
7
Page 5

Check the LEDs
Appendix
After installation is complete, the cable modem is operating properly if the
Power, Cable and Status LED lights are solid green
LED LABEL COLOR DESCRIPTION
Power
Cable
Status
ETH
USB
Green
Orange-
Blinking
Orange
Green
Green-Blinking
Green
Green
Green-Blinking
Green
Green-Blinking
Cable modem is plugged in to an electrical outlet
and is receiving power
The modem is searching for the DOWNSTREAM
frequency
DOWNSTREAM frequency is locked. Searching
for UPSTREAM frequency
UPSTREAM frequency is locked
Modem is registering with the cable company’s
head-end
Modem is ready for data transfers
Valid Ethernet link status
Cable modem is transmitting/receiving data
through the Ethernet port
USB interface is connected
Data is being sent/received through the USB port
Product Specifications
Dimensions: 142 x 120 x 30mm
5.6 x 4.7 x 1.2in
Net Weight: 345g +/- 10g (0.76lb)
DC Input Voltage: 12VDC/1.25A
Power Dissipation (Max): 8 Watts
Operating Temperature: O° C ~ 40° C
32° C ~ 104° F
Operating Humidity: 10%~90%
Cable Network Interface: F Type RF Connector
LAN Access Point: 10/100 Mbps Ethernet MAC
USB Interface (Max): 12Mbps
DOWNSTREAM transmission speed (MAX): 38Mbps
UPSTREAM transmission speed (MAX): 10Mbps
Back Panel Interface
• RESET -
• Power -
• ETH - RJ-45 female socket for connection of Ethernet cable.
• USB -
• CATV -
Restores factory default settings.
Socket to connect the power adapter included in the product package.
USB “B” -type socket. Connects through USB cable to a computer’s
USB “A” -type port.
RF connector to attach the cable for broadband Internet access.
8
9
Page 6

Troubleshooting
If the cable modem is not working properly, please follow the procedures below to solve
the problem.
1. Check to verify that all equipment is powered “ON” and the cable connections
are secure.
2. Check the cable modem to see if the LED lights function properly.
n Power LED not lit
Action: Check both ends of the power adapter to make certain that they are
securely connected to the power jack on the cable modem and the power
outlet.
If both ends of the power adapter are properly connected and there is still no
power, the cable modem might have a faulty power adapter or electrical outlet.
Try plugging the power adapter into a different electrical wall outlet.
Be sure to use only the power adapter that came with the
cable modem. Using the wrong power adapter can damage
the cable modem and will void your warranty.
n Status LED is on, but the computer fails to get the IP address and cannot
connect to the Internet
Possible reasons: The driver for the network interface card has not been
installed or was not installed properly. Please refer to the instruction of the
operating system (Windows 95, Windows 98/98SE, Windows NT, Windows
2000, Windows Me, NetWare, etc.) and the user documentation of the network
interface card to have the network interface card installed properly.
Troubleshooting (continued)
n Cable LED is not lit or keeps blinking Orange
Possible reason: The cable modem cannot detect any carrier or
valid data channel from the coaxial cable.
Action: Make sure the connectors at each end of the coaxial cable are
securely seated. If the problem persists, please contact your cable
modem service provider for further assistance. The quality of CATV
coaxial cable and installation can affect the connection dramatically.
n Cable LED not lit or stays Orange
Possible reason: The cable modem can not range the upstream signal
properly with the Cable Headend system.
Action: Please make sure the connectors at each end of the
coaxial cable are securely seated. If the problem still persists, contact
your cable modem service provider for further assistance.
n USB LED not lit
Possible reason: The USB cable is not connected properly or the USB
driver is not installed properly.
Action: Check if the device being connected is powered “ON”, operating
correctly and properly connected. Make sure your operating system does
support USB device and installed with the driver provided by D-Link
Systems Inc.. Right now the supported operation systems include
Windows XP, 2000, and ME.
In order to access the Internet through the CATV Headend, which acts as an
ISP (Internet Service Provider), your computer must have the right TCP/IP
setting. Set the TCP/IP setting of the network interface card to get the IP
address from the ISP automatically using DHCP protocol. For more
information, please contact your local cable modem service provider.
n The Ethernet port LED of the connected device is not lit
Action: Check if the device being connected is powered “ON”, operating
correctly and properly connected. Also check if the cable is [straight-through]
for an end device like a PC/notebook. If the cable will be connecting to a hub
or switch port, you should use [crossed] wire instead. Make sure the
connectors at both ends of the cable are securely seated. If the problems
continue, it is possible that the cable you are using is not compliant with
specifications, or is improperly connected or damaged.
10
11
Page 7

Technical Support
You can find software updates and user documentation on the D-Link
website.
D-Link provides free technical support for customers within the United
States and within Canada for the duration of the warranty period on this
product.
U.S. and Canadian customers can contact D-Link technical support
through our website, or by phone.
Tech Support for customers within the United States:
D-Link Technical Support over the Telephone:
(877) 453-5465
24 hours a day, seven days a week.
D-Link Technical Support over the Internet:
http://support.dlink.com
email:support@dlink.com
Tech Support for customers within Canada:
D-Link Technical Support over the Telephone:
(800) 361-5265
Monday to Friday 8:30am to 9:00pm EST
D-Link Technical Support over the Internet:
http://support.dlink.ca
email:support@dlink.ca
12
 Loading...