


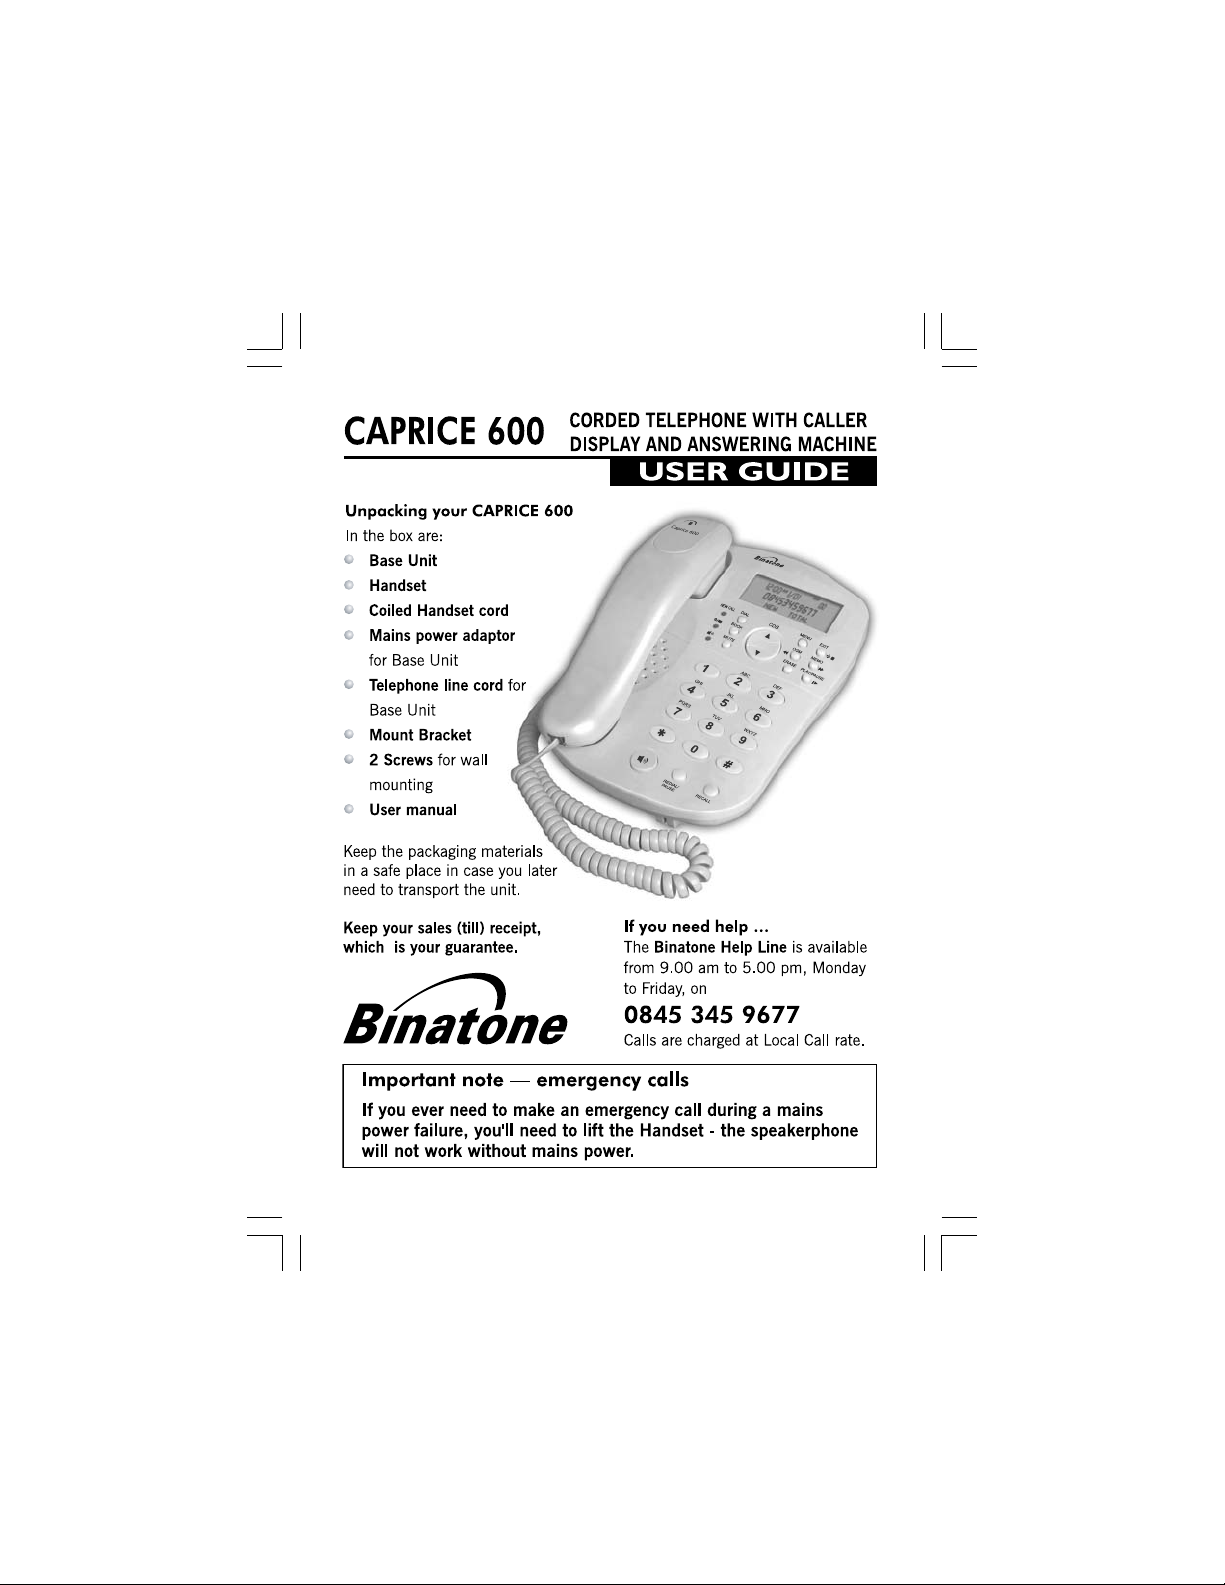
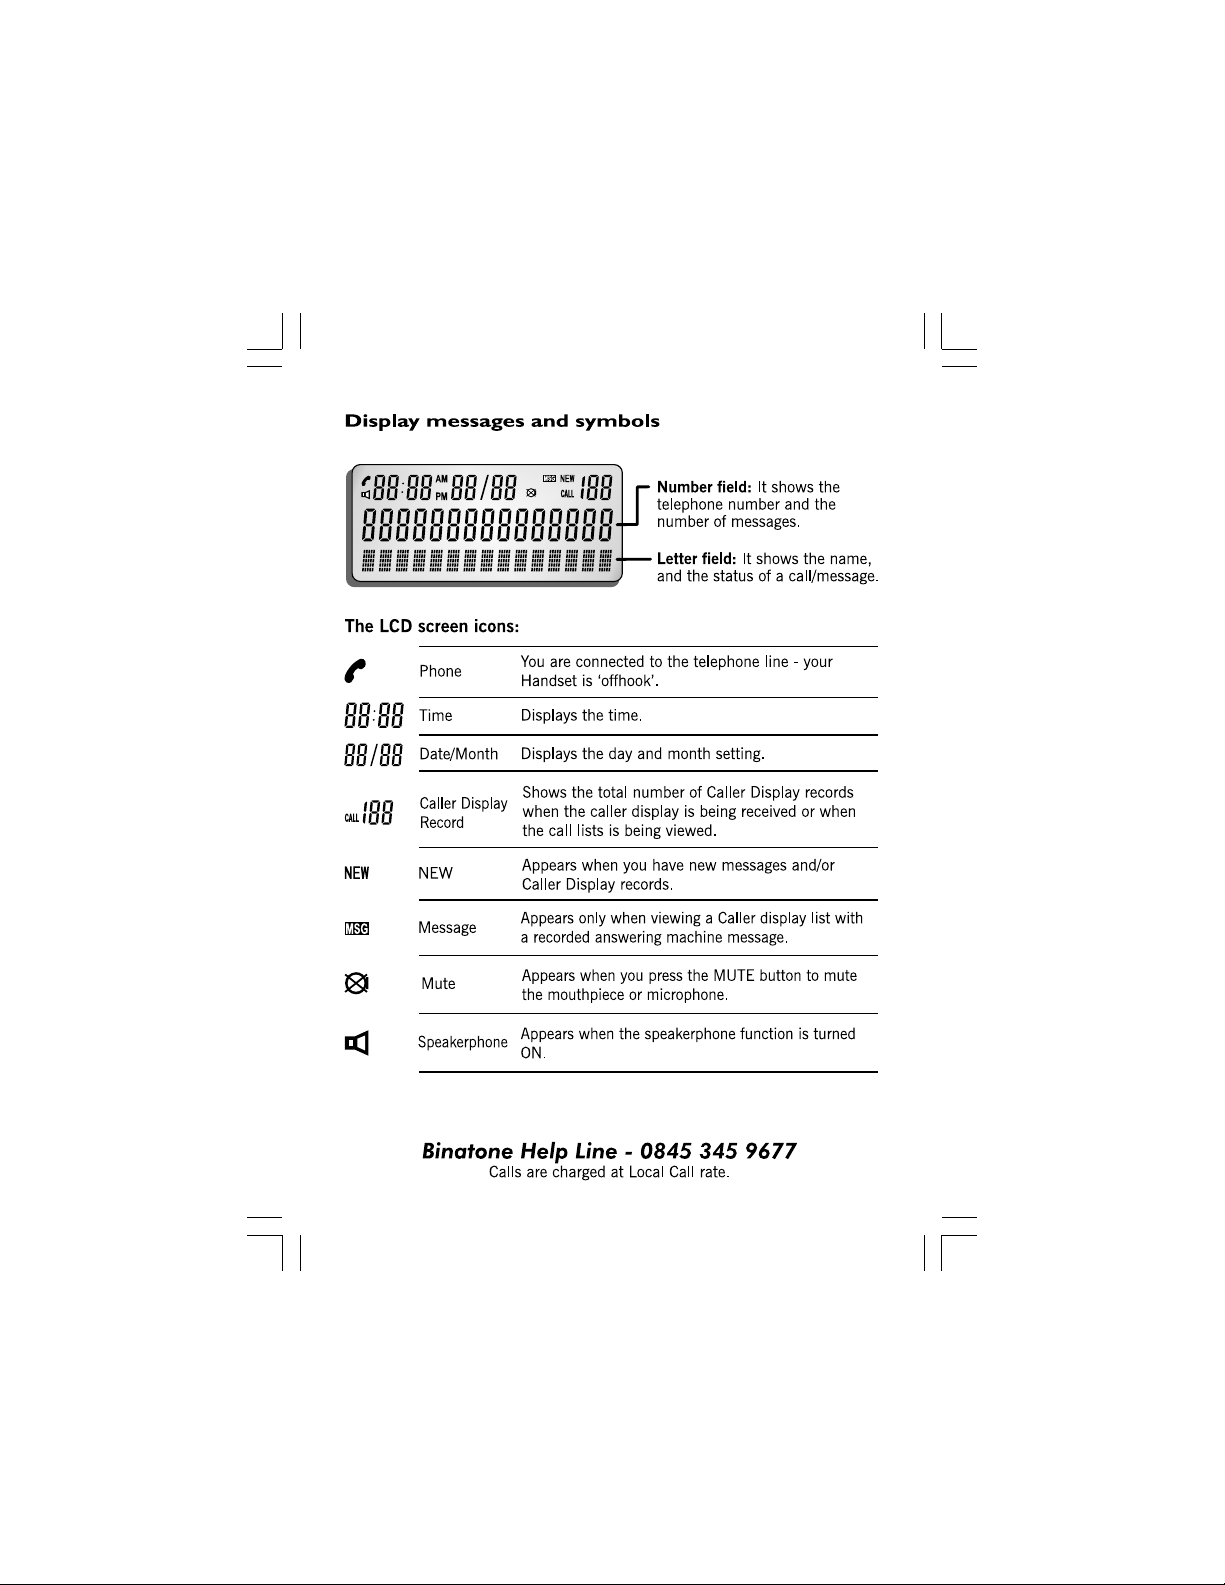
CAPRICE 600
123
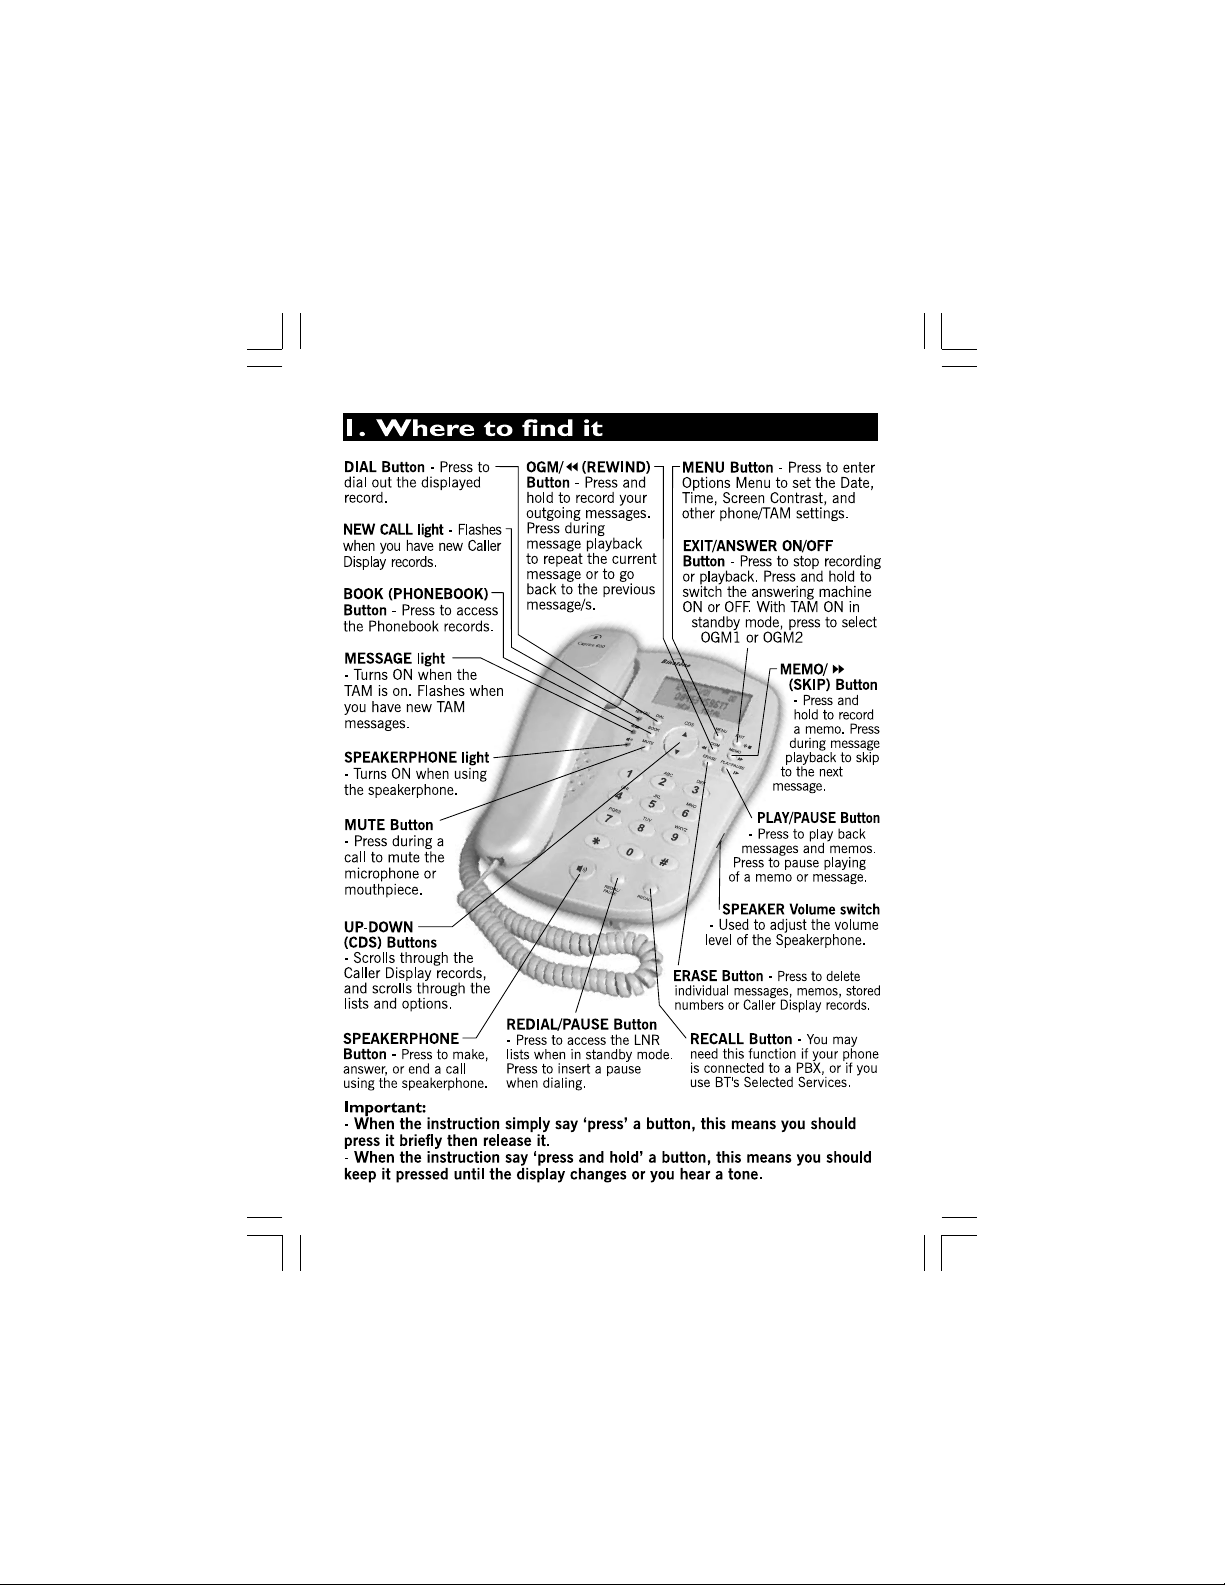
2. Installation
1. Locating the Base unit
The Base unit should be placed on a level surface, in a position where:
the mains adapter plug will reach an easily accessible 230-V AC
switch mains supply socket - never try to lengthen the mains power cable.
the telephone line cable will reach your telephone line socket or
extension socket.
it is not close to a sink, bath or shower, or anywhere else where it
might get wet.
it is not close to other electrical equipment - fridges, washing
machines, microwave ovens, TVs, fluorescent lights, etc.
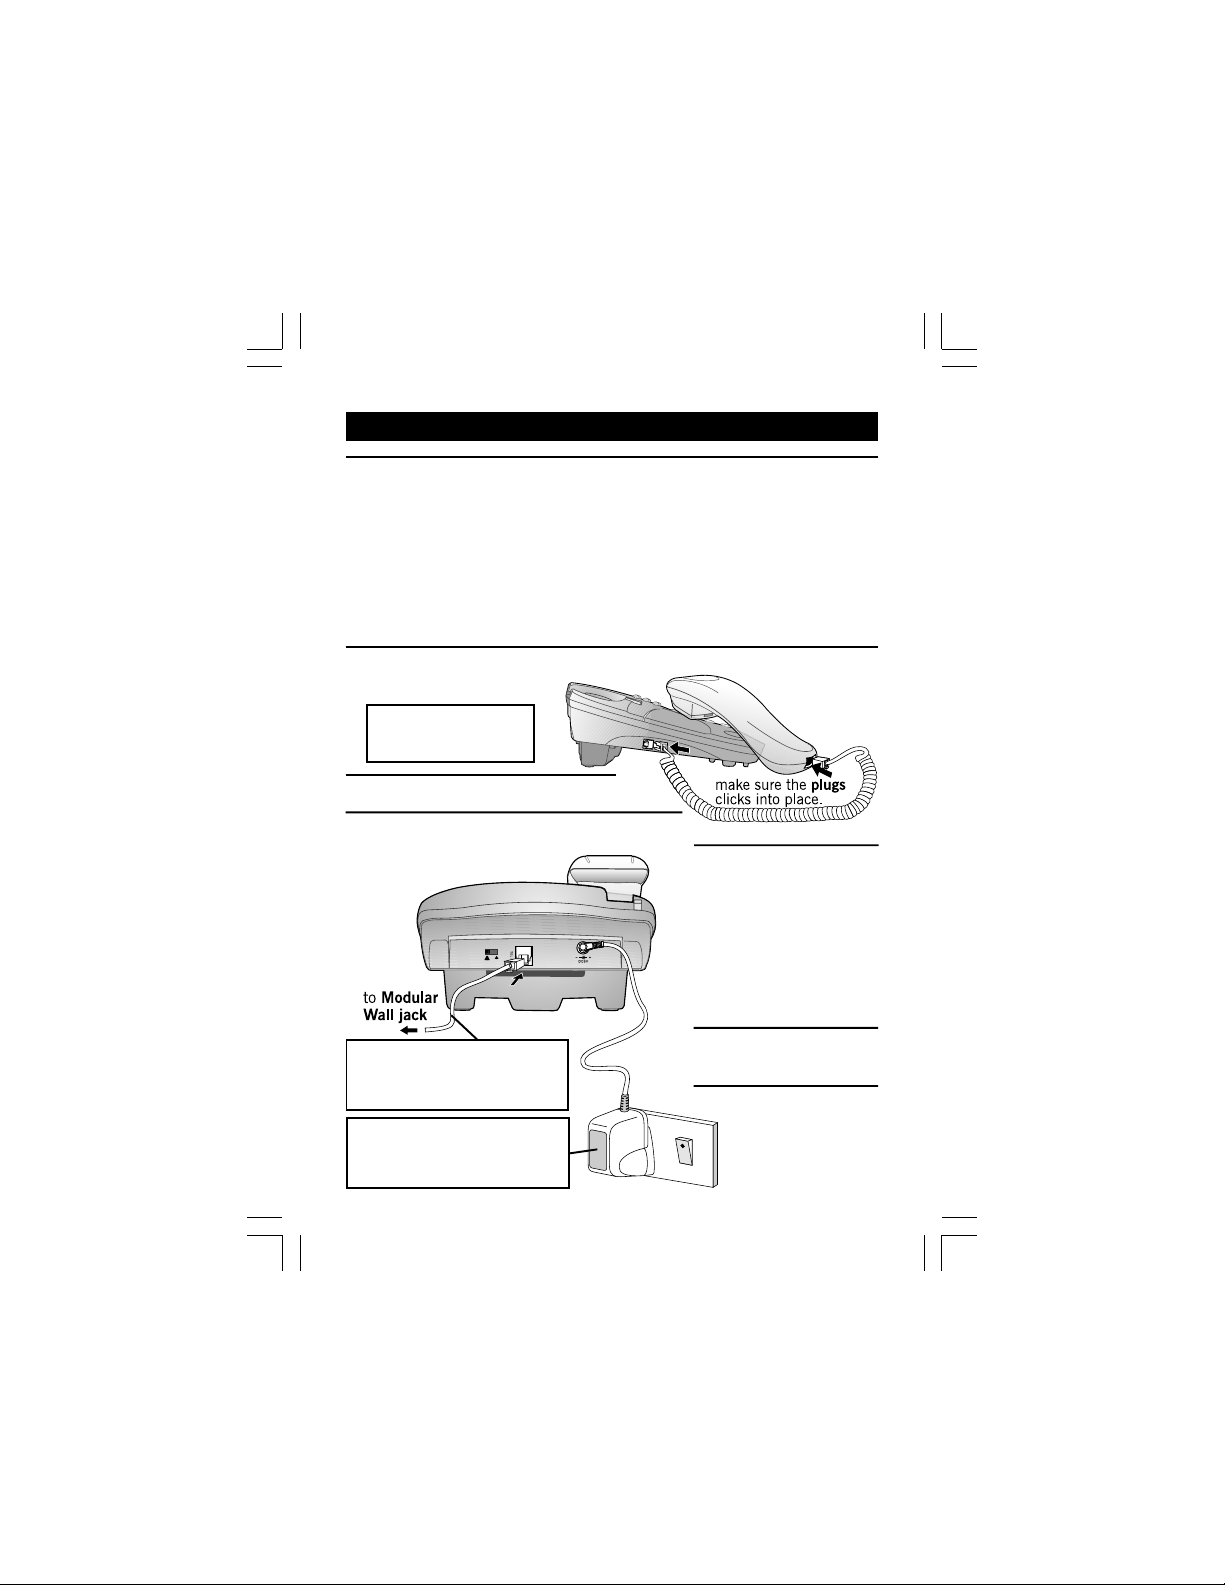
2. Plug the coiled handset cord into the Handset. Plug the other end into
the jack on the left side of
the Base unit.
Note: The Base unit
does not require a
battery.
3. Place the Handset in the Base unit.
4. Plug the telephone line cord into the PHONE
LINE jack at the back of the Base unit.
Plug the other end into a
modular wall
jack.
5. Plug the power supply
cord into the POWER
jack at the back of the
Base unit. Plug the
other end to a 230 V
AC, 50 Hz mains
socket, with the switch
on the socket set to
OFF.
Always use the telephone line
cord supplied with your Caprice
600. Other telephone line cords
may not work.
The Caprice 600 Base unit must
be used only with the supplied
mains adapter. Using any other
adapter may damage the unit.
6. Switch ON the mains
power at the socket.
7. Lift the Handset and
check for Dial tone
in the earpiece.
4
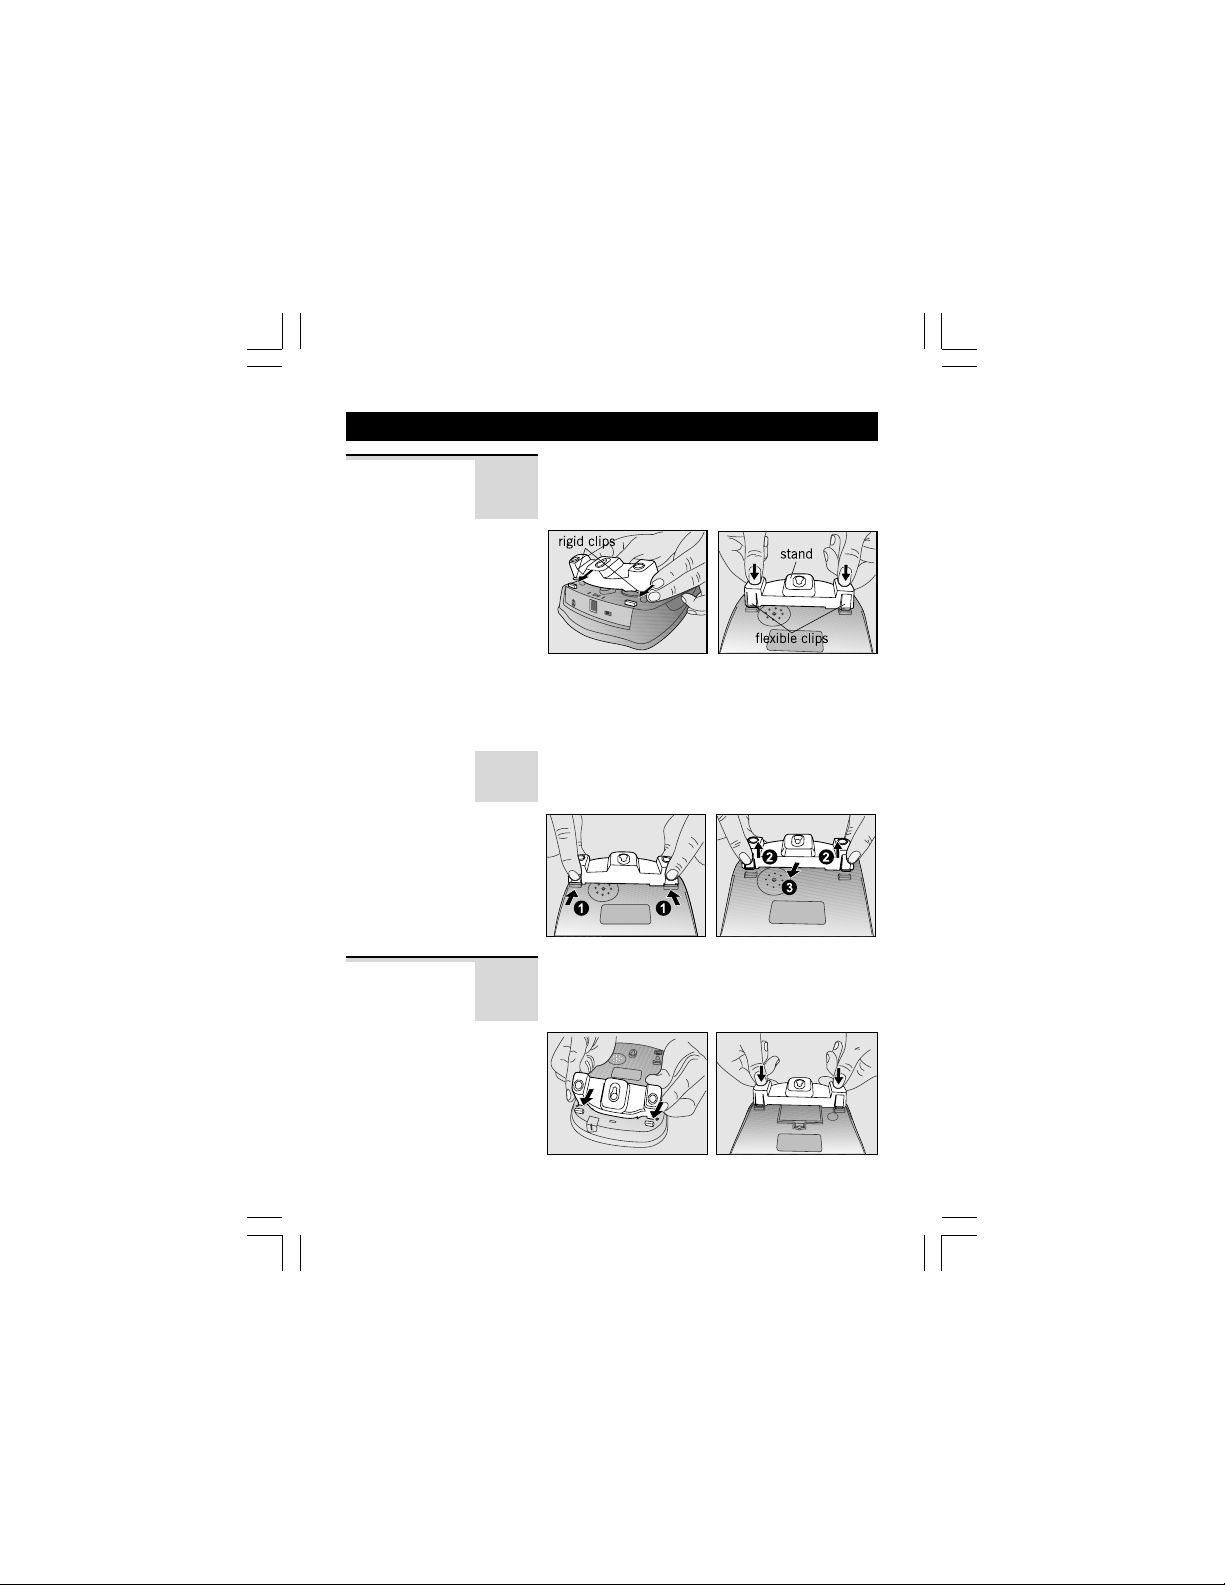
3. Desk/Wall mount installation
Desk Mount
Wall Mount
To place the Caprice 600 on a desk, connect
the stand to the bottom of the phone in the
slots near the ringer cover as shown below.
Insert the rigid clips of the stand into the slots
on the bottom of the phone (near the ringer
cover). Press down firmly until the flexible
clips clicks into place.
To remove the stand, (1) pinch the flexible
clips, (2) pull back the stand, and then (3)
slide up and forward (3) as shown below.
To place the Caprice 600 on a wall, connect
the stand to the bottom of the phone in the
slots near the battery cover as shown below.
Binatone Help Line - 0845 345 9677Binatone Help Line - 0845 345 9677
Binatone Help Line - 0845 345 9677
Binatone Help Line - 0845 345 9677Binatone Help Line - 0845 345 9677
Calls are charged at Local Call rate.
5
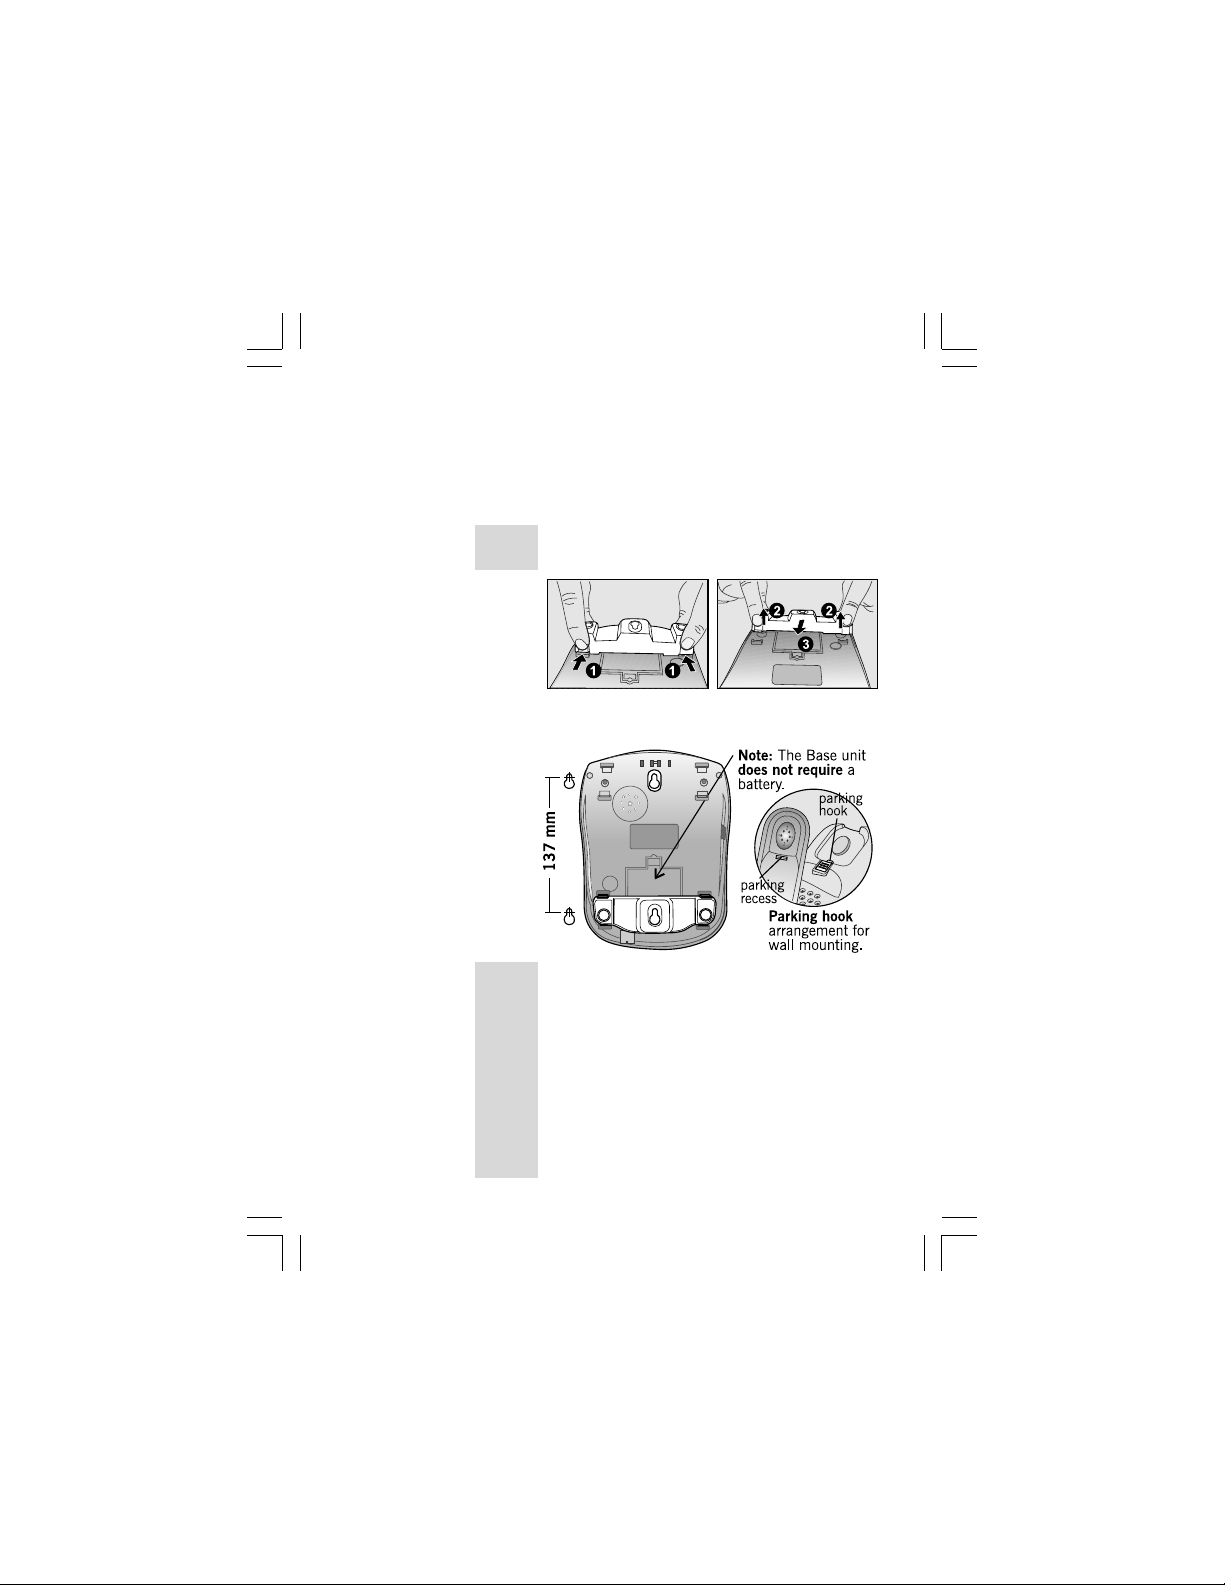
Desk/Wall mount installation continue...
Insert the rigid clips of the stand into the slots
on the bottom of the phone (near the battery
cover). Press down firmly until the flexible
clips clicks into place.
To remove the stand, (1) pinch the flexible
clips, (2) pull back the stand, and then (3)
slide up and forward as shown below.
Mark two points on the wall that are 137mm
apart to lay the fixing centers as shown below.
BE CAREFUL to check that there are no
electrical wires hidden in the wall.
Fix two screws (supplied with the unit) at the
marked locations, leaving approximately 7mm
between the wall and the the screw head.
Hang the cradle unit on the screws using the
wall mount slots. You may need to remove the
telephone from the wall and tighten the
screws so that the cradle is securely fixed and
does not wobble. Place the Handset on the
cradle with the parking hook on the cradle
arranged to fit in the parking recess under the
earpiece on the Handset.
6
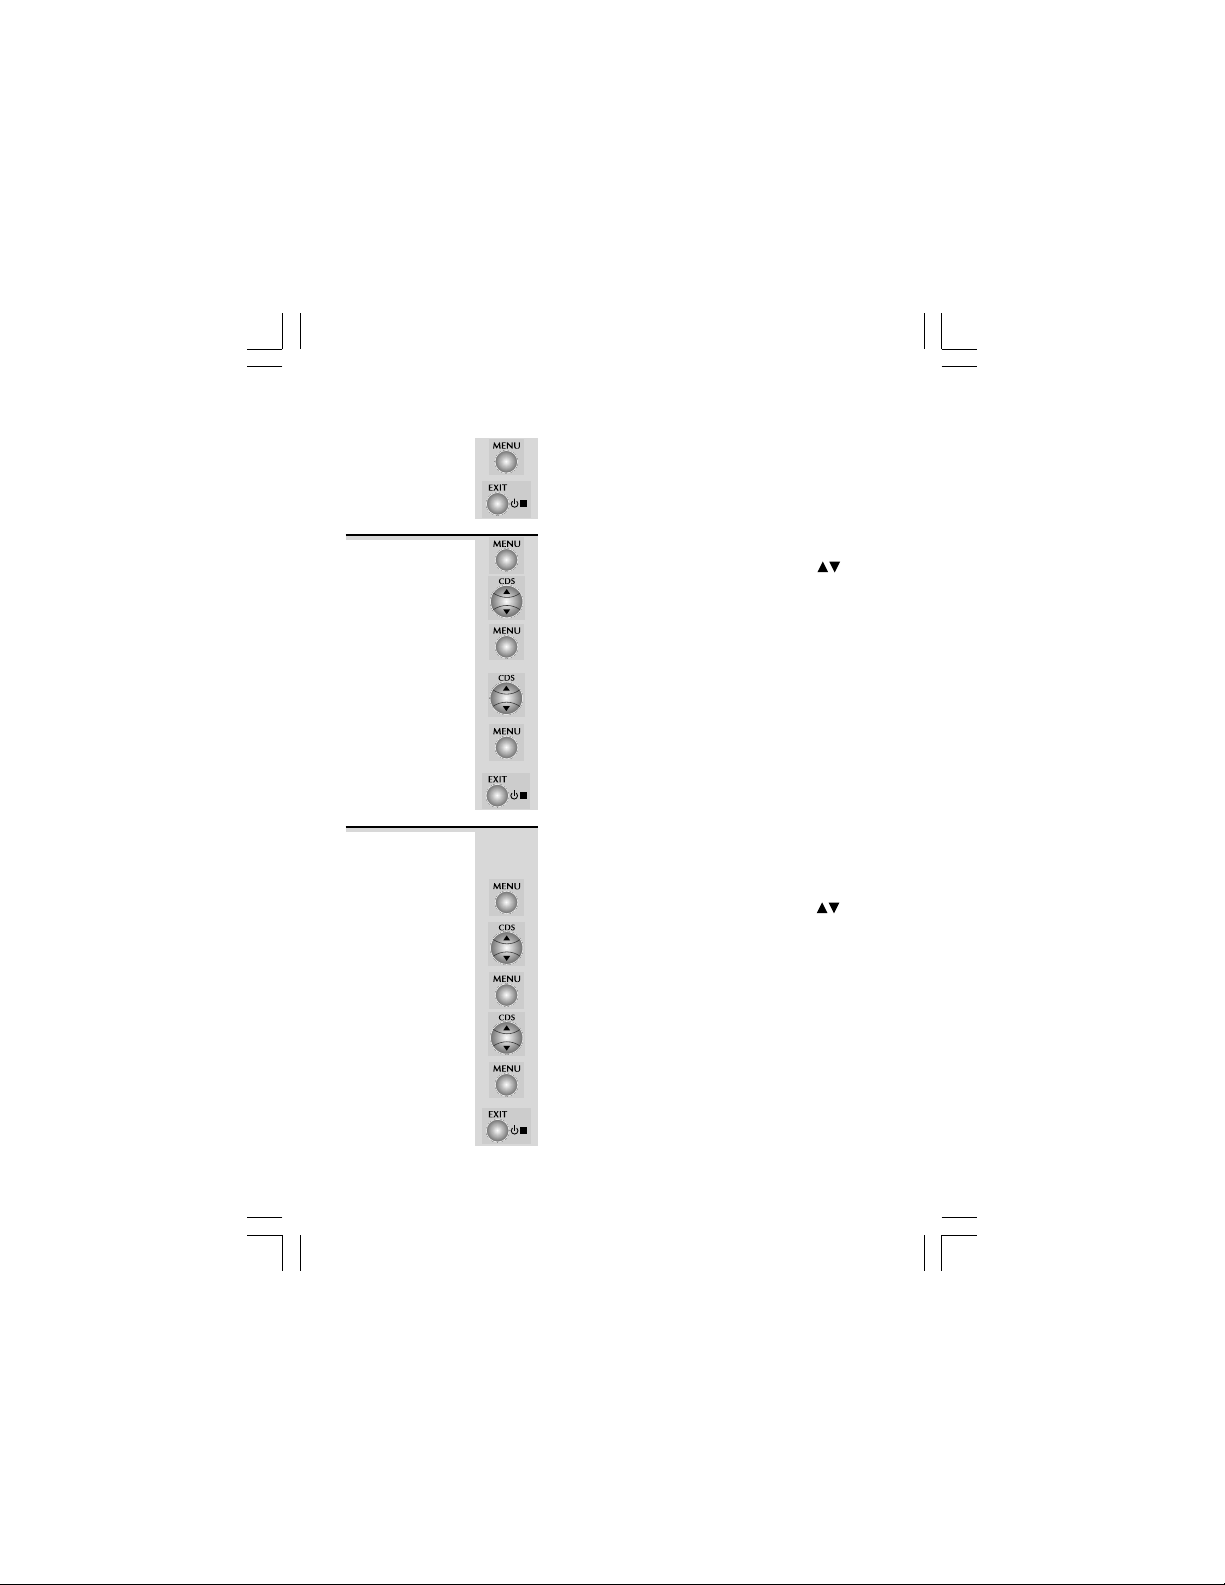
4. Setting up the Caprice 600
The following section details how to set up your
telephone. Press the MENU button to enter the
Options menu and then use the UP or DOWN
buttons to cycle through the following options:
SET LANGUAGE
SET TIME/DATE
SET FLASH TIME
LCD CONTRAST
MESSAGE LENGTH
RINGS TO ANSWER
REMOTE ACCESS
EXIT OPTION
Note: The system will time out if you leave
!
more than 15 seconds between key presses.
SET
LANGUAGE
SET TIME/
1 Press MENU button.
2 Press UP button to go to the language setting.
3 Press MENU button to confirm.
4 Press UP or DOWN button to select ENGLISH
5 Press MENU button to confirm.
6 Continue with programming, or press EXIT
1 Press MENU button.
DATE
2 Press UP or DOWN button until the display
3 Press MENU button to confirm.
Binatone Help Line - 0845 345 9677Binatone Help Line - 0845 345 9677
Binatone Help Line - 0845 345 9677
Binatone Help Line - 0845 345 9677Binatone Help Line - 0845 345 9677
With the phone in standby mode;
Ö The display shows
Ö The display shows
(default), FRANCAIS, or ESPANOL.
button to return to standby mode.
Ö The display shows
shows
Ö The ‘year’ icon will be blinking.
SET TIME/DATESET TIME/DATE
SET TIME/DATE
SET TIME/DATESET TIME/DATE
Calls are charged at Local Call rate.
7
OPTIONS MENUOPTIONS MENU
OPTIONS MENU
OPTIONS MENUOPTIONS MENU
SET LANGUAGESET LANGUAGE
SET LANGUAGE
SET LANGUAGESET LANGUAGE
OPTIONS MENUOPTIONS MENU
OPTIONS MENU
OPTIONS MENUOPTIONS MENU
.
.
.
.
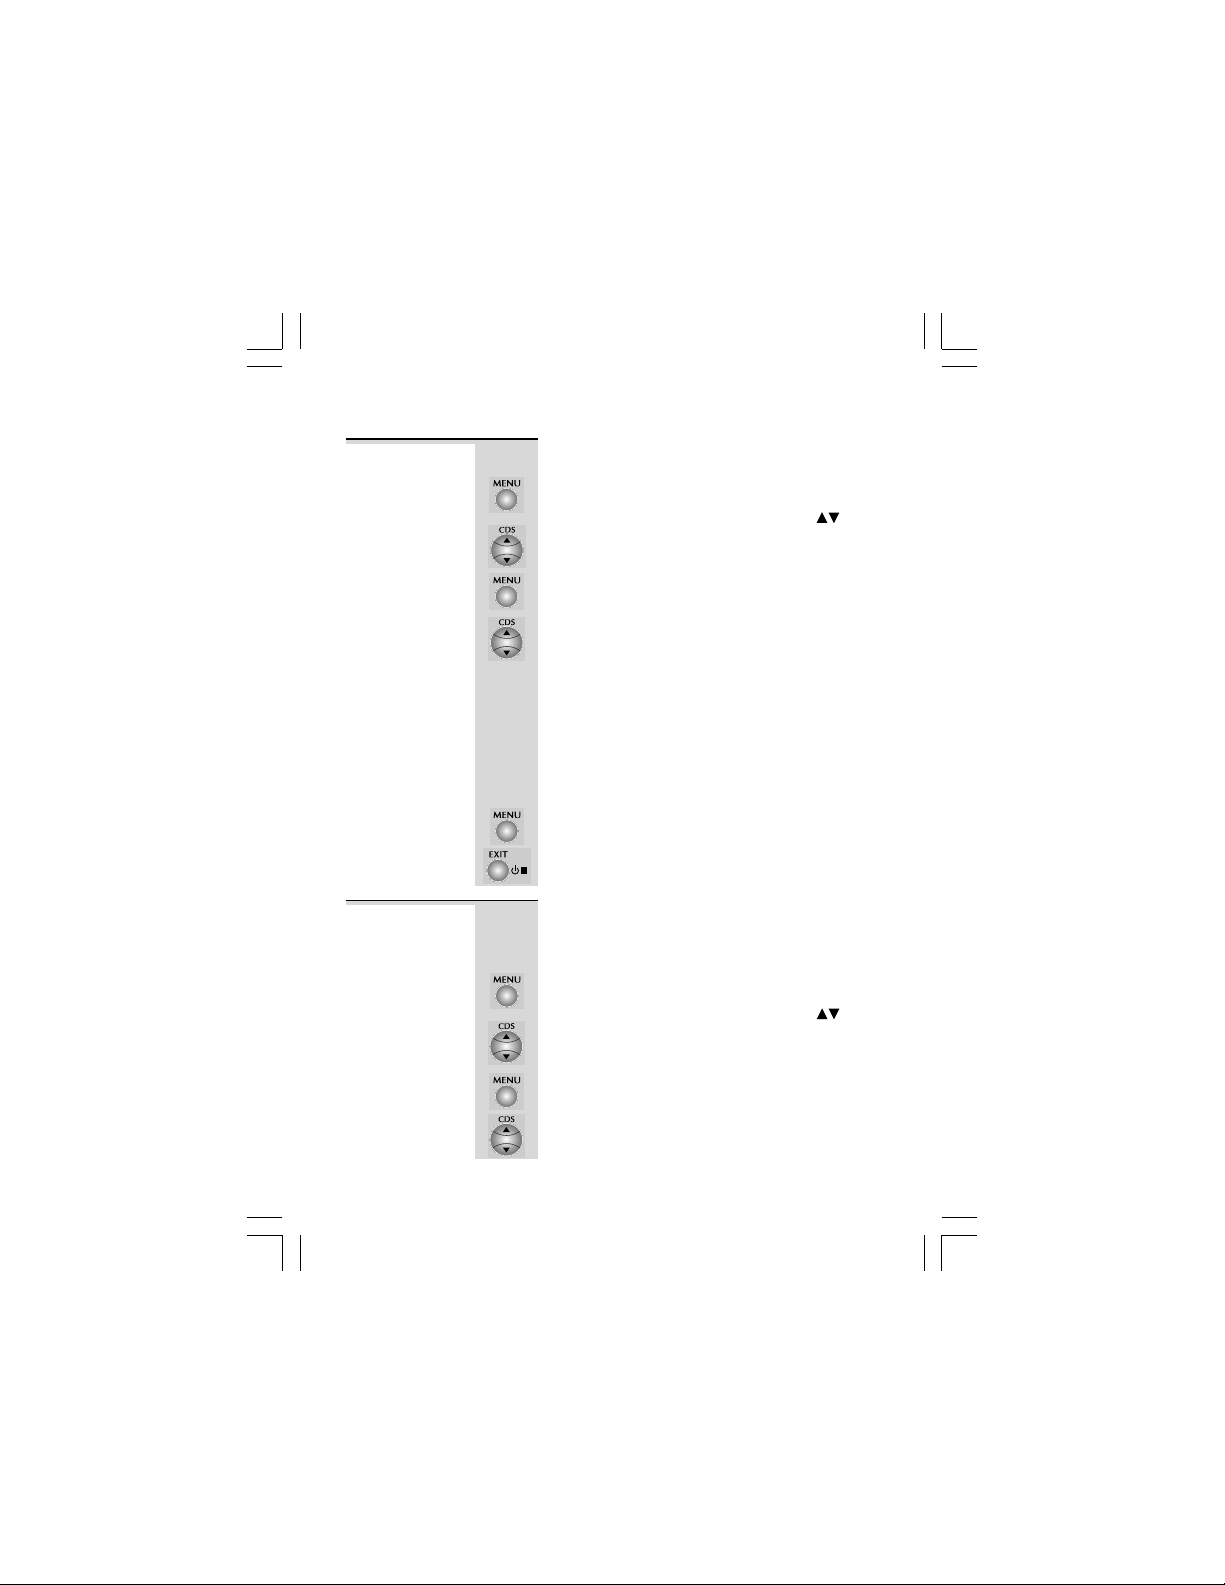
Setting up continue...
4 Press UP or DOWN button to set the year.
SET FLASH
TIME
5 Press MENU button to confirm.
6 Press UP or DOWN button to set the month.
7 Press MENU button to confirm.
8 Press UP or DOWN button to set the date.
9 Press MENU button to confirm.
10 Press UP or DOWN button to set the hour.
11 Press MENU button to confirm.
12 Press UP or DOWN button to set the minute.
13 Press MENU button to confirm the TIME and
14 Continue with programming, or press EXIT
1 Press MENU button.
2 Press UP or DOWN button until the display
Ö The ‘month’ icon will be blinking.
Ö The ‘date’ icon will be blinking.
Ö The ‘hour’ icon will be blinking.
Ö When setting the ‘hour’, the ‘AM’ or ‘PM’
icon will automatically turn ON to correspond
the hour time.
Ö The ‘minute’ icon will be blinking.
DATE setting.
button to return to standby mode.
Ö The display shows
shows
SET FLASH TIMESET FLASH TIME
SET FLASH TIME
SET FLASH TIMESET FLASH TIME
OPTIONS MENUOPTIONS MENU
OPTIONS MENU
OPTIONS MENUOPTIONS MENU
.
.
3 Press MENU button to confirm.
4 Press UP or DOWN button to select 100MS
Binatone Help Line - 0845 345 9677Binatone Help Line - 0845 345 9677
Binatone Help Line - 0845 345 9677
Binatone Help Line - 0845 345 9677Binatone Help Line - 0845 345 9677
(default), 300MS, or 600MS.
Calls are charged at Local Call rate.
8
Setting up continue...
5 Press MENU button to confirm.
LCD
CONTRAST
MESSAGE
LENGTH
6 Continue with programming, or press EXIT
1 Press MENU button.
2 Press UP or DOWN button until the display
3 Press MENU button to confirm.
4 Press UP or DOWN button to select your
5 Press MENU button to confirm.
6 Continue with programming, or press EXIT
1 Press MENU button.
2 Press UP or DOWN button until the display
3 Press MENU button to confirm.
4 Press UP or DOWN button to select 1, 2, 3,
5 Press MENU button to confirm the MESSAGE
button to return to standby mode.
Ö The display shows
shows
comfortable display viewing level (1~5). The
default setting is 3.
button to return to standby mode.
To set the recording time for ICM and memo
messages of the Answering machine.
Ö The display shows
shows
or 4 minutes. The default setting is 2 minutes.
LENGTH setting.
LCD CONTRASTLCD CONTRAST
LCD CONTRAST
LCD CONTRASTLCD CONTRAST
MESSAGE LENGTHMESSAGE LENGTH
MESSAGE LENGTH
MESSAGE LENGTHMESSAGE LENGTH
OPTIONS MENUOPTIONS MENU
OPTIONS MENU
OPTIONS MENUOPTIONS MENU
.
OPTIONS MENUOPTIONS MENU
OPTIONS MENU
OPTIONS MENUOPTIONS MENU
.
.
.
6 Continue with programming, or press EXIT
Binatone Help Line - 0845 345 9677Binatone Help Line - 0845 345 9677
Binatone Help Line - 0845 345 9677
Binatone Help Line - 0845 345 9677Binatone Help Line - 0845 345 9677
button to return to standby mode.
Calls are charged at Local Call rate.
9
Setting up continue...
RINGS TO
ANSWER
1 Press MENU button.
2 Press UP or DOWN button until the display
3 Press MENU button to confirm.
To set the number of rings before the machine
answers a call;
Ö The display shows
shows
RINGS TO ANSWERRINGS TO ANSWER
RINGS TO ANSWER
RINGS TO ANSWERRINGS TO ANSWER
OPTIONS MENUOPTIONS MENU
OPTIONS MENU
OPTIONS MENUOPTIONS MENU
.
.
4 Press UP or DOWN button to select TOLL
5 Press MENU button to confirm.
6 Continue with programming, or press EXIT
REMOTE
ACCESS
1 Press MENU button.
2 Press UP or DOWN button until the display
3 Press MENU button to confirm.
4 Press UP or DOWN button to set the first digit
Binatone Help Line - 0845 345 9677Binatone Help Line - 0845 345 9677
Binatone Help Line - 0845 345 9677
Binatone Help Line - 0845 345 9677Binatone Help Line - 0845 345 9677
SAVER, 2, 3, 4, 5, 6, 7, 8, or 9 rings. The
default setting is 6.
Ö Use ‘TOLL SAVER’ when checking your
Caprice 600 for messages from a remote
location using long distance service or from a
pay phone. The Answering machine responds
after the 2nd ring only if you have a new
message waiting. If there are no new messages,
the phone will answer after the 4th ring. You
can then hang up after the 3rd ring to avoid
paying for the call.
button to return to standby mode.
The REMOTE ACCESS is a three-digit code
you need if you call away from home to check
your messages. The default is 321. You can
change it to any three digits you want.
Ö The display shows
shows
Ö The first digit of the code will be blinking.
of the REMOTE ACCESS code.
REMOTE ACCESSREMOTE ACCESS
REMOTE ACCESS
REMOTE ACCESSREMOTE ACCESS
Calls are charged at Local Call rate.
10
OPTIONS MENUOPTIONS MENU
OPTIONS MENU
OPTIONS MENUOPTIONS MENU
.
.
Setting up continue...
5 Press MENU button to confirm.
6 Press UP or DOWN button to set the second
7 Press MENU button to confirm.
8 Press UP or DOWN button to set the third
9 Press MENU button to confirm the REMOTE
10 Press EXIT button to return to standby mode.
Ö The second digit of the code will be blinking.
digit of the REMOTE ACCESS code.
Ö The third digit of the code will be blinking.
digit of the REMOTE ACCESS code.
ACCESS setting.
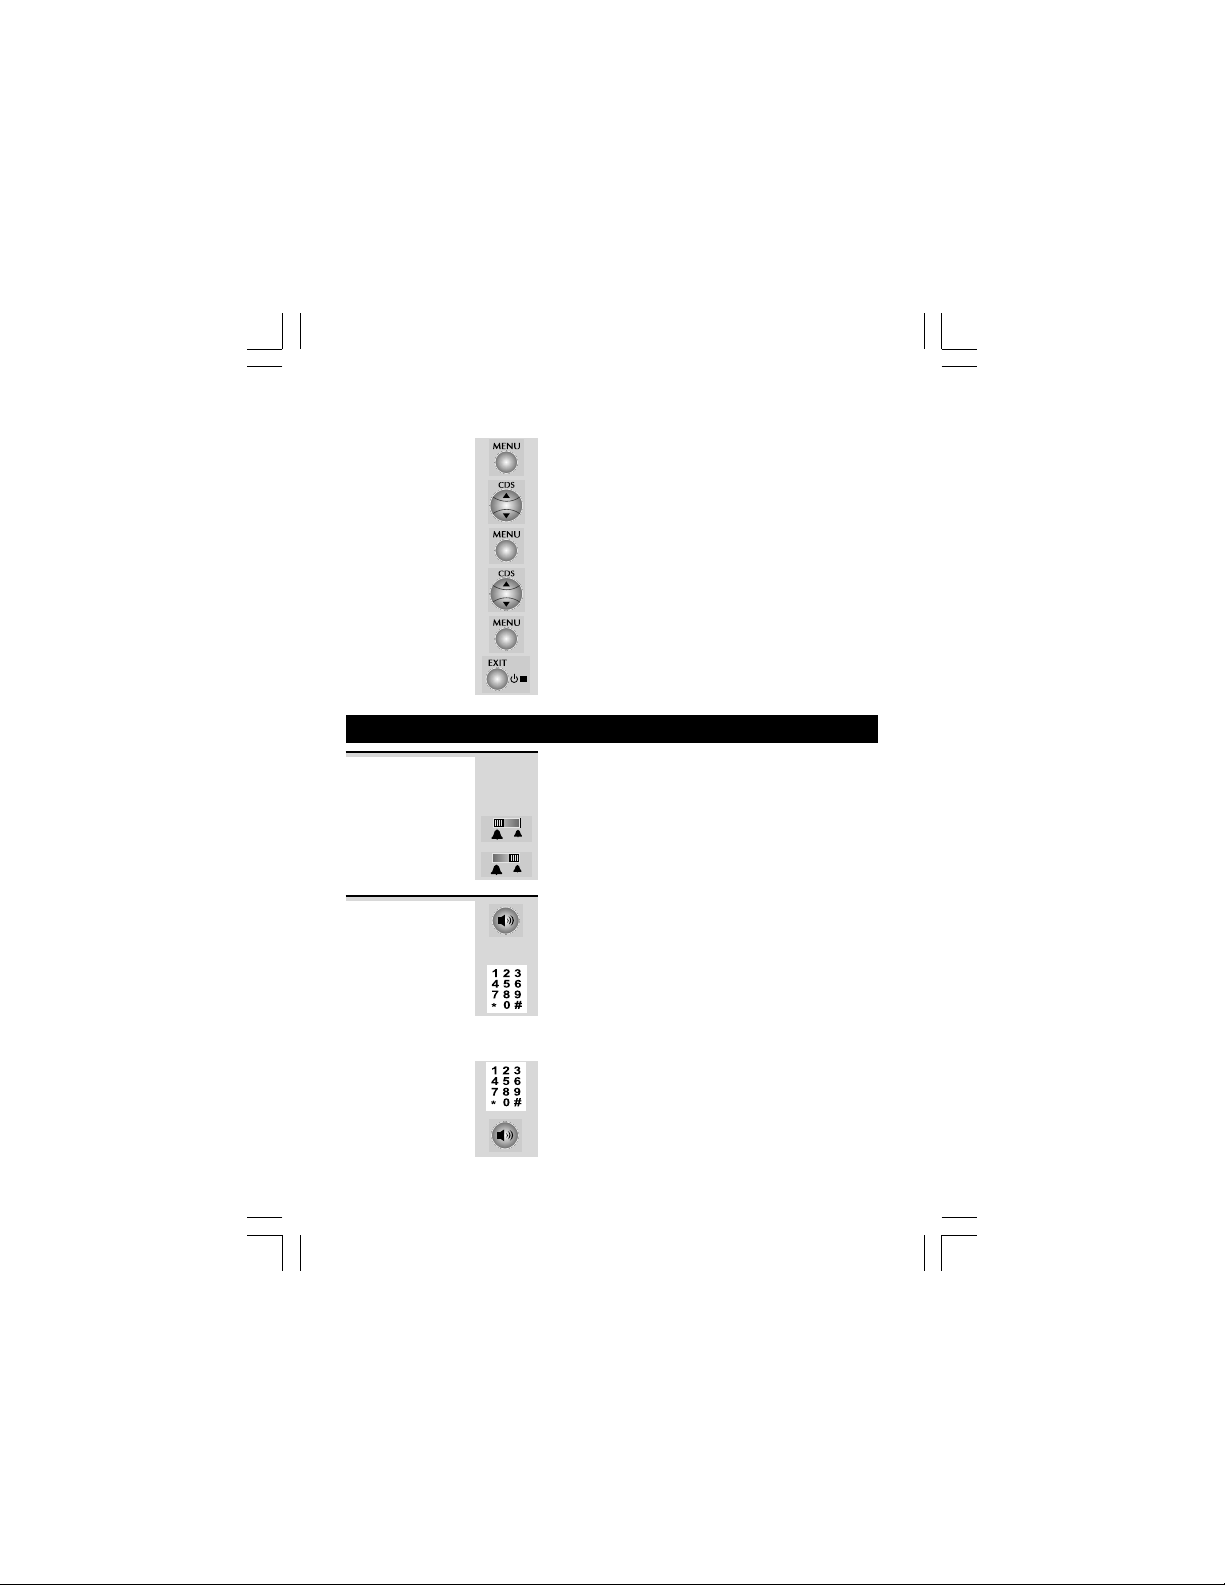
5. Telephone Operation
Ringer volume The Ringer High-Low switch located at the
back of the Base unit allows you to adjust the
volume of the ringer.
- High volume
- Low volume
To make a
call
1 Lift the handset or press SPEAKERPHONE
button on the Base unit.
Ö Check for dial tone.
2 Dial the telephone number.
Ö The display shows the duration of the call in
minutes and seconds.
Using the Pre-dial mode
1 Dial the telephone number.
2 Lift the Handset or press SPEAKERPHONE
Binatone Help Line - 0845 345 9677Binatone Help Line - 0845 345 9677
Binatone Help Line - 0845 345 9677
Binatone Help Line - 0845 345 9677Binatone Help Line - 0845 345 9677
button on the Base unit to dial out the
number.
Calls are charged at Local Call rate.
11
 Loading...