

ATL Berkshire 800 User Manual

Berkshire 800
Thank you for choosing a Berkshire 800 telephone. You have selected a
carefully designed telephone that incorporates the very latest technology,
offering a stylish instrument and providing many years of excellent
service.
This booklet will ensure you obtain the best use of your telephone.
User Guide

Preparing to use the
Berkshire 800
INITIAL CHECK
Our telephones are checked, tested and leave us
in perfect condition. If yours is damaged, please
return it to your supplier with proof of purchase, for
a replacement.
TELEPHONE NUMBER LABELS
The telephone incorporates a label underneath the
handset for recording frequently used telephone
numbers and on the faceplate for recording the
numbers stored in the 10 non volatile memory
locations, one of the many features of this telephone
available to you. To remove the plastic covers,
operate the release clips and hinge the plastic
covers upward.
telephones.
PROGRAMMING PORT
The Berkshire 800 has an unidentifi ed port, at the
rear of the telephone. Programming of this port is
limited to technicians trained in its use.
HEARING AID COMPA TIBILITY
For hearing aid users, an inductive coupler has
been installed in the handset of the Berkshire 800,
to improve audible effi ciency.
LIQUID CRYSTAL DISPLAY (LCD)
The Berkshire 800 features a Liquid Crystal
Display.
PLUGTOP PSU
A Plugtop PSU is provided to power the Berkshire
800.
CONNECTION
The Berkshire 800 telephone can be connected
either to a Direct Exchange Line, or as an extension
to a compatible Company exchange (PABX).
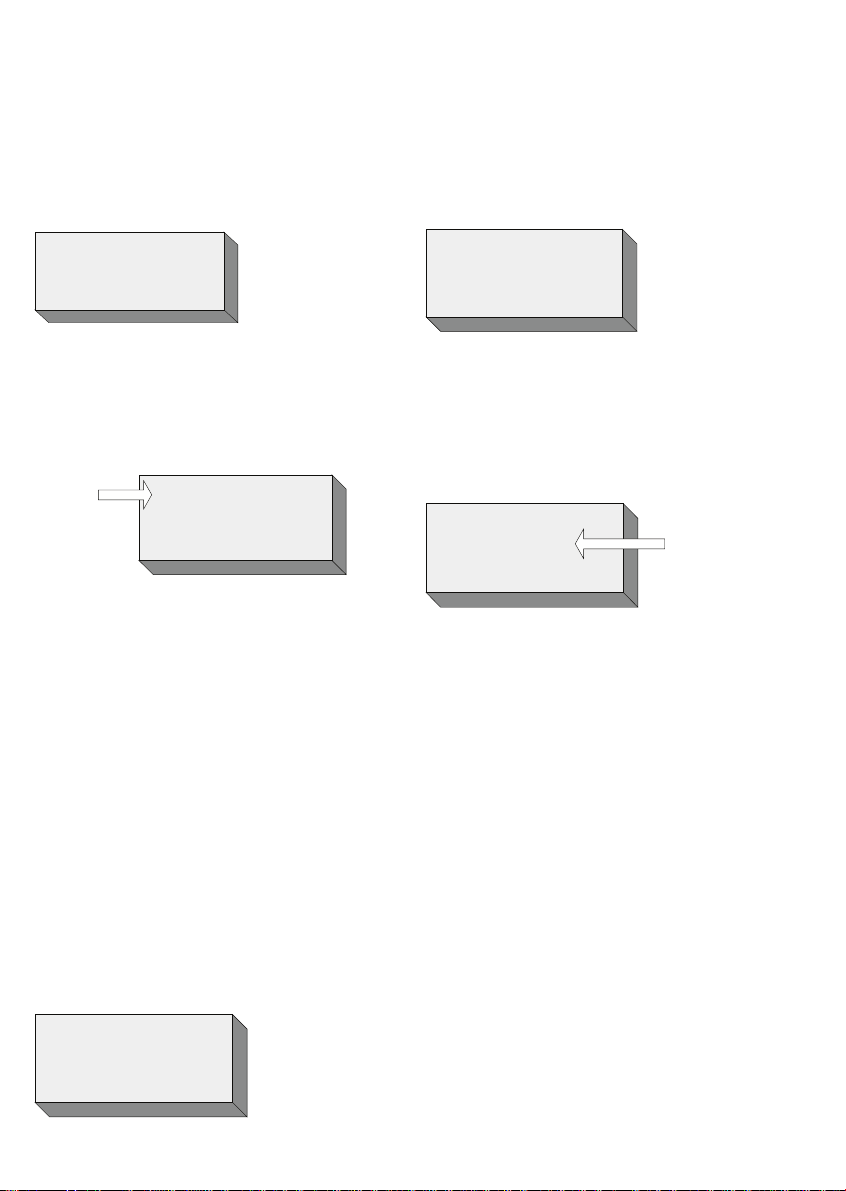
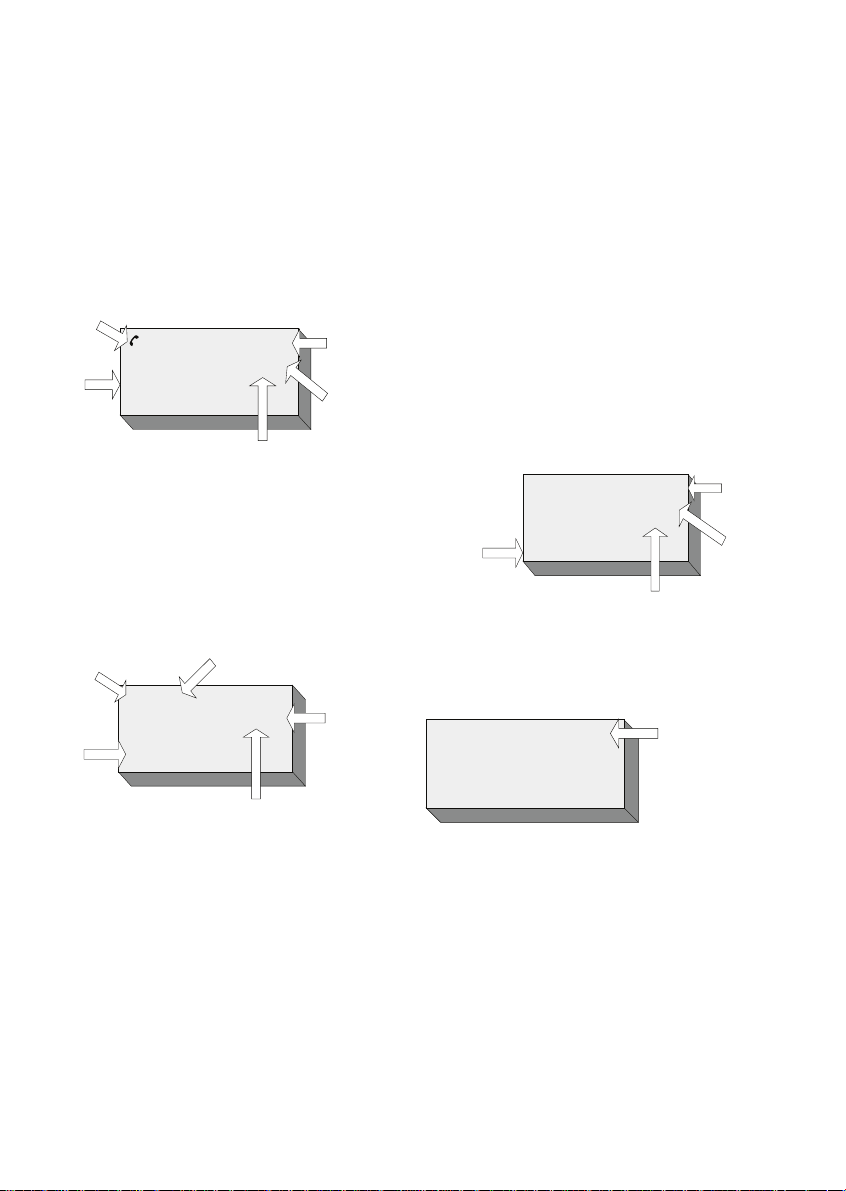
HANDSET CORD
This cord will require connection between the
telephone and the handset. Take ANY end of the
handset cord and locate the port marked “HANDSET”
on the left hand side of the Berkshire 800 and simply
push to locate. Connect the other end to the base of
the handset to complete.
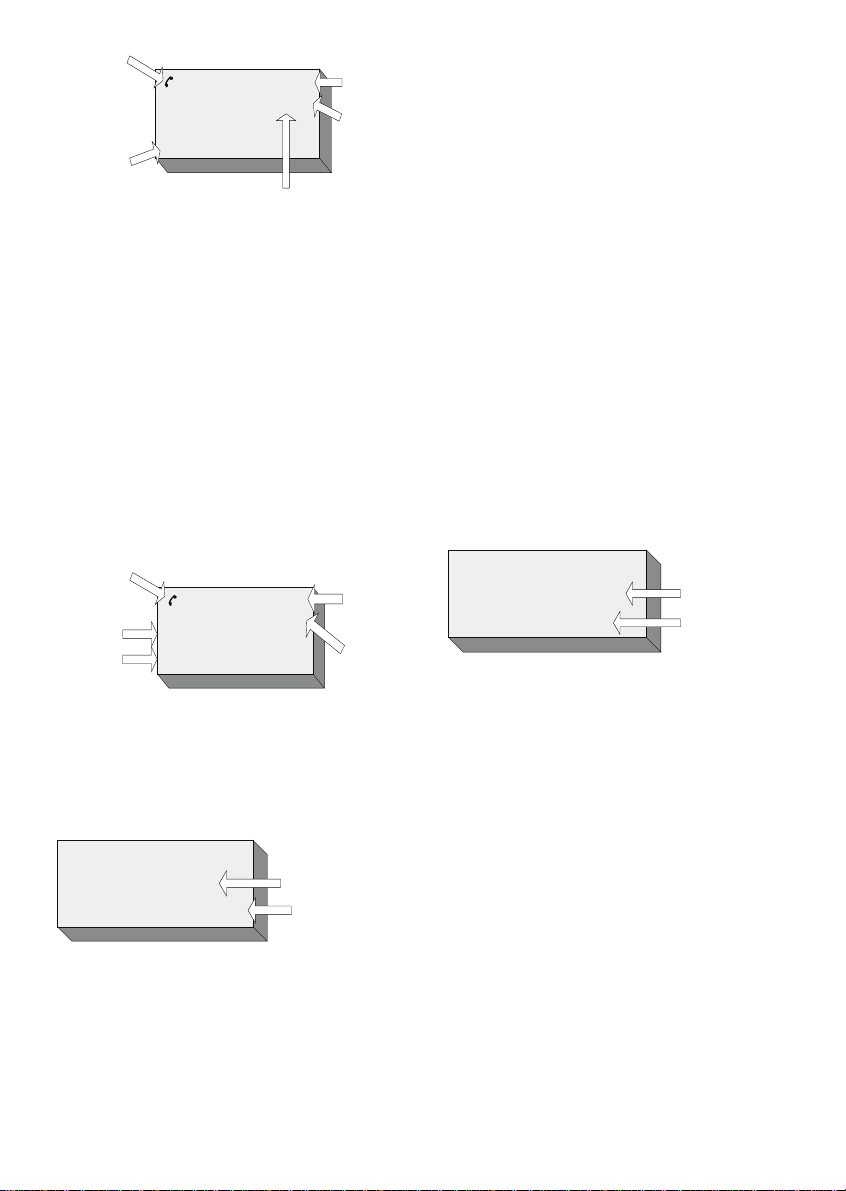
LINECORD
The Berkshire 800 is supplied with 2 line cords, for
customer selection. Select your required linecord,
(The standard BS6312 BT socket, or the RJ45,
category 5 installation socket), The rear of the
telephone has a port marked “LINE”. Plug your
selected linecord into this port fi rst and then the
other end to your telephone line termination point.
An RJ11 linecord is available as an option, ask your
supplier for details. For certain non-UK customers,
the RJ11 linecord may be included as standard.
DESK BRACKET
The Berkshire 800 comes with a desk bracket to
angle the telephone, should you require it. The
bracket snap fi ts to the underside of the Berkshire
800.
MODEM POINT
The Berkshire 800 comes with 2 modem ports, (The
BT BS6312 port and the RJ11 port). The ports are
typically used to connect PC’s / Laptops with integral
modems or as points of connection for additional
WARNING:Without the Plugtop PSU connected,
the telephone will NOT ring, but it will be possible to
make calls using the handset.
WALL MOUNTING KIT
A wall mounting kit for the Berkshire 800 is available
as an option. Please contact your supplier for further
details.
Setting up the Telephone
INITIAL START UP
Turn on the plug top power supply. The LCD will
display the following:
FLASHING
00 : 00
HR : MIN DAY / MONTH
NO CALL
Lift the handset. Dial tone will be heard and the LCD
will display the following:
FLASHING
00 : 00
HR : MIN DAY / MONTH
HANDSET MODE
Replace the handset.
FLASHING
01 / 01
"CALLS" LOG
IS EMPTY
(SEE SECTION 5.0)
FLASHING
01 / 01
TELEPHONE IN
HANDSET MODE
SETTING TIME AND DA TE
If CLI is provided on the line that the Berkshire 800
is connected to, the time and date may be set by
calling the telephone from an alternative line, or
waiting for a call to be received.
ALTERNATIVELY:With the Berkshire 800 “OnHook”, press the “MENU/ENTER” key. The LCD will
display the following:
DISPLAY CONTRAST
Whether mounting the Berkshire 800 on a wall or
simply sitting the telephone on a desk, it may be
necessary to adjust the contrast on the LCD.
With the telephone “On-hook”
Press the “MENU/ENTER” key. The LCD will display
the following:
SET MEMORY
Press the UP (5) or DOWN (6) key until “SET TIME
/ DATE” is displayed on the LCD.
Press the “MENU/ENTER” key. The LCD will display
the following:
THE HOURS
"00" WILL
FLASH
HR : MIN DAY / MONTH
SET TIME/DATE
The “HOURS” digits will be shown fl ashing.
Use either the UP (5) or DOWN (6) key to increment
(decrement) the “Hour” digits (24 hour clock), or else
use the keypad to directly enter the current hour.
Once the “hour” has been set, press the (4) key. The
“Minutes” digits will then fl ash.
Set the “Minutes” in the same manner, followed by
the “Day” (01-31) and “Month” (01-12).
Press the “MENU/ENTER” key to confi rm the Time
and Date, or at ANY TIME press the “CANCEL” key
or wait till the telephone “TIMES OUT” (Approx 10
Seconds – See Section 12.5) to retain the previous
settings.
The LCD will display the following: (Time and Date
set, (For this example): 3.30pm, 15th August)
SET MEMORY
Press the UP (5) or DOWN (6) key until “DISPLAY
CONTRAST” is shown on the LCD display.
Press the “MENU/ENTER” key. The current setting
of the display contrast will fl ash on the LCD display.
(The Factory Default is “4”).
4
DISPLAY CONTRAST
SHOWN
FLASHING
Press the UP (5) or DOWN (6) key until the required
setting (1–8) is obtained.
Press the “MENU/ENTER” key to confi rm the
setting.
If the MENU/ENTER key is pressed the screen
returns to its “On-hook” state.
Making a Call
USING THE KEYPAD
The required number may be pre-constructed, using
the keypad and then dialled by lifting the handset or
pressing the “HEADSET/DIAL” key, to make the call
using the headset (if one is connected) or handsfree
modes.
15 : 30
15 / 08
NO CALL
T o use the telephone in headset mode, ensure that a
compatible headset is connected to the “HEADSET”
socket, situated on the left hand side of the Berkshire
800 telephone.
The required number may also be dialled after lifting
the handset or pressing the “HEADSET/DIAL” key.
Once the call has been established, the display will
appear as shown in the following example:
HR : MIN DAY / MONTH
00 - 02 - 36
02920500700
CALL DURATION TIME
NUMBER DIALED
Making external calls from a Company exchange
(PABX) may require the number to be pre-fi xed by
an access digit, normally a “9”.
After a pre-defi ned period called the “CALL TIMER
START” (See Section 12.6), the “CALL DURATION
TIME” is displayed (HR – MIN – SEC) and then
increments’ until the call is terminated.
To terminate the call, replace the handset or press
the “HEADSET/DIAL” key if the telephone is in
headset or handsfree mode.
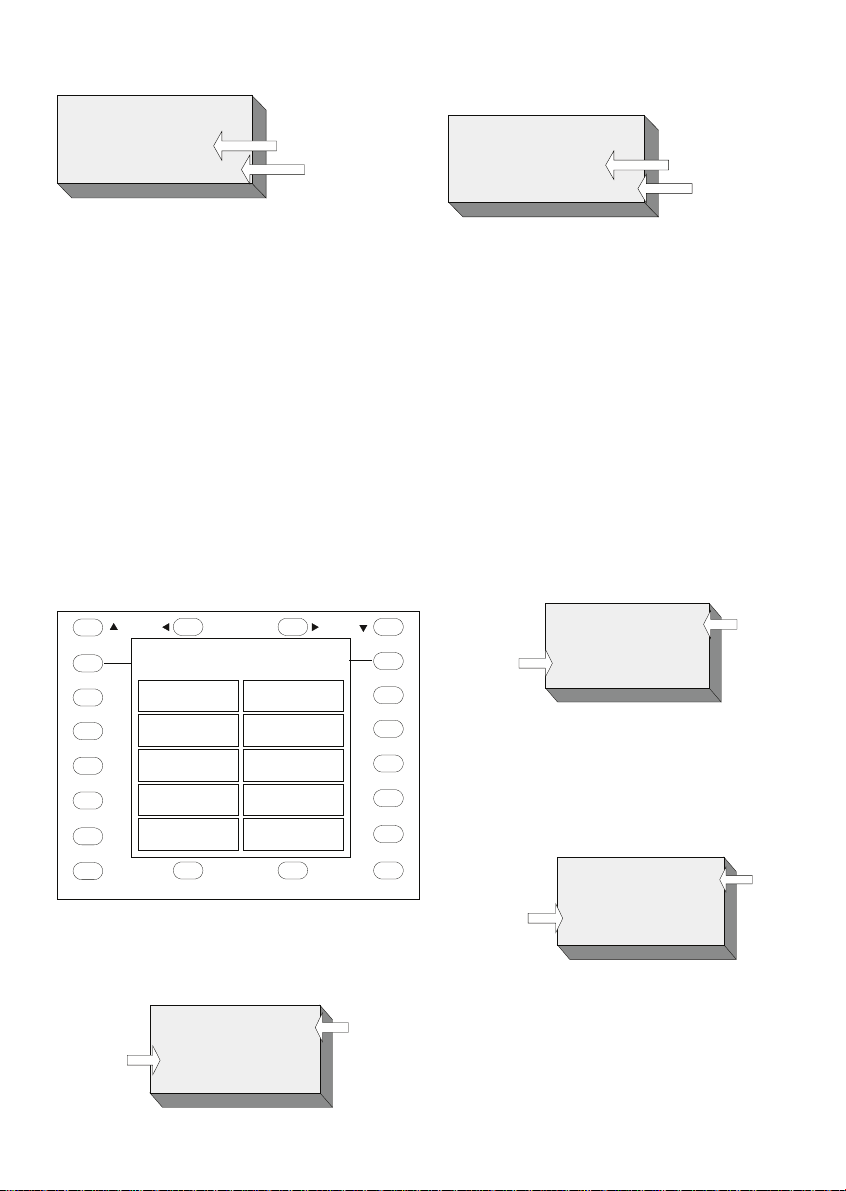
USING THE ONE TOUCH MEMORY
To set up the ONE TOUCH MEMORY, (See Section
8.1).
Press the required “MEMORY LOCATION” key (M1
– M10).
CANCEL
M1
M2
M3
M4
M5
MENU / ENTER
M6
M7
M8
M9
M10
The number will self-dial in headset or handsfree
mode and the LCD will display the number called
and the call duration time.
HR : MIN DAY / MONTH
123
CALL DURATION
TIME
NUMBER DIALED
00 - 01 - 10
To continue the call in handset mode simply lift the
handset.
The one touch memory may also be dialled after
lifting the handset or selecting the headset or
handsfree mode.
USING THE DIRECTORY
The directory is where a personal telephone,
(Number / Name) directory is stored. For setting up
this directory, (See Section 9.0).
Press the “DIRECTORY” key. The LCD will display
the 1st entry in the directory (i.e. Directory Location
01).In this example the number “02920500700” and
Name “ATL TELECOM” has previously been stored
in Directory Location 01.
NUMBER & NAME
PREVIOUSLY
STORED IN
DIRECTORY
LOCATION 01
DAY / MONTH
HR : MIN
02920500700
ATL TELECOM
01
DIRECTORY
LOCATION 01
Either scroll through the directory using the UP (5) or
DOWN (6) key for the required number, or use the
keypad to search the directory for a stored name,
e.g. pressing key “5” once will bring up the fi rst name
stored, beginning with the letter “J”.
VOLUME
DIRECTORY CALLS FOLLOW ON
If the memory location contains previously stored
information, the LCD displays the stored information
as shown in the following example:
MEMORY 02
INFORMATION
HR : MIN DAY / MONTH
123
CLOCK
02
MEMORY 02
04
4th ENTRY
DIRECTORY 04
INFORMATION
DAY / MONTH
HR : MIN
02920500701
JOHN SMITH
Pick up the handset or press the “HEADSET/DIAL”
key. The number will self dial in the selected mode
of operation.
Replace the handset or press the “HEADSET/DIAL
key” to terminate the call.
USING THE CALLS MEMORY
The CALLS memory, logs the calling numbers. (See
Section 10.0 “Calls List”). This feature is useful to
return calls without having to dial the number. NOTE:
If the “CALLS” log is empty i.e. the LCD displays
“NO CALL” this feature will not be available.
Press the “CALLS” key. The LCD will display the
last caller information i.e. the number, (And name if
previously stored in the telephone’s Directory or one
touch memories), the time and date of the call and
whether or not the call was answered.
INITIAL CALL
ANSWERED
CALL
INDICATOR
01
1st ENTRY
IN THE
CALLS LOG
CALLER
INFORMATION
HR : MIN DAY / MONTH
02920790152
CALL
REP
REPEAT CALL
INDICATOR
To return a call to the displayed number, simply lift
the handset or press the “HEADSET/DIAL” key and
the number will self dial or scroll through the CALLS
numbers using the UP (5) or DOWN (6) key until the
required number is displayed e.g.
INITIAL CALL NOT
ANSWERED (NO
LIFTED HANDSET
SYMBOL)
CALLER
INFORMATION
HR : MIN DAY / MONTH
0292050070
ATL TELECOM
CALL TIME AND DATE OF
THE "LATEST" CALL
FROM THAT NUMBER
CALL
02
REP
REPEAT CALL
INDICATOR
2nd ENTRY IN
CALLS LOG
When the caller has terminated the current call,
press the “FOLLOW ON” key to obtain dial tone.
Receiving a Call
This section assumes that you have subscribed to
Call Line Identifi cation (CLI). If not then the calling
number will NOT be displayed on the telephone
LCD.
When a call is received, the Ringer sounds and
the LED situated at the top right hand corner of the
telephone fl ashes. The telephones’ memories are
searched to check if the calling number is a match. If
so the LCD will display both the name and number.
If the call is a “New Call” or a “Repeat Call” this
information together with the “Call Number” is
displayed in the top right hand corner of the LCD.
NAME ONLY
PROVIDED IF THE
NUMBER CALLING &
ASSOCIATED NAME
HAVE PREVIOUSLY
BEEN STORED IN
THE TELEPHONES'
MEMORIES
HR : MIN DAY / MONTH
02920500700
ATL TELECOM
If the caller withholds the number, the LCD will
display the following “WITHHELD” screen:
HR : MIN DAY / MONTH
- - - -- - - - - - - - - - - - - -
WITHELD
NEW CALL
04
NEW CALL X
01
REP
REPEAT CALL
INDICATOR
NEW CALL
INDICATOR
NEW CALL
INDICATOR
1st CALL IN
LOG ENTRY
Then lift the handset or press the “HEADSET/DIAL”
key. The number will self dial.
Replace the handset or press the “HEADSET/DIAL”
key to terminate the call.
MAKING A FOLLOW ON CALL
This feature enables follow on calls to be made
without having to return the handset fi rst to the on-
hook position and then to the “Off-Hook” position to
regain dial tone, if using the handset, or having to
press the “HEADSET / DIAL” key if operating the
telephone in the headset or handsfree mode.
If the caller ends the call before it has been answered,
the LED will continue to fl ash, (Until the “CALLS”
key is pressed), and the LCD will display “”X” NEW
CALLS”. “X” being the number of “New “ calls.
If the call is answered, the “Lifted Handset” symbol
is displayed in the top left hand corner:
CALL ANSWERED
NAME ONLY
PROVIDED IF THE
NUMBER CALLING &
ASSOCIATED NAME
HAVE PREVIOUSLY
BEEN STORED IN
THE TELEPHONES'
MEMORIES
HR : MIN DAY / MONTH
02920790152
REPEAT CALL
INDICATOR
Call Waiting CLI
NEW CALL
REP
27
NEW CALL
INDICACTOR
27th ENTRY
IN CALLS LOG
Alternating between
Handset, Headset &
Handsfree
If a headset is plugged into the telephone, the
“HANDSFREE” operation will NOT be available.
HANDSET TO HEADSET
If the HEADSET facility is required, a compatible
headset must be plugged into the “HEADSET”
socket on the left hand side of the telephone.
When off hook the Berkshire 800 allows you to
receive a second call. Normally the caller receives
the “ENGAGED” tone and must re-dial. With your
Berkshire 800, the LCD will display that you have a
new call and you have the option of interrupting the
initial call to take the new call and then return to the
initial call.
When a new call arrives, a tone will be heard, the
LCD will display the “CALL WAITING” symbol “CW”
and the caller information.
INITIAL CALL
ANSWERED
CALL WAITING
CALLER
INFORMATION
HR : MIN DAY / MONTH
CW
02920790152
CALL
06
CALL INDICATOR
6th ENTRY IN
CALLS LOG
To take the new call, (Whilst NOT disconnecting
with the fi rst call) press the “TRANSFER” key.
The LCD will display the “TRANSFER” symbol “R”
and the call will be transferred to the new caller:
HR : MIN DAY / MONTH
00 - 00 - 03
CALL TIME
R
SINGLE PRESS OF
THE TRANSFER KEY
If you have taken a call on the handset and wish to
transfer it to the headset:
Press the “HEADSET/DIAL” key. The LED on the
“HEADSET DIAL” key will fl ash and “REPLACE
HANDSET” will be displayed.
Replace the handset. The LED on the “HEADSET/
DIAL” key will stop fl ashing and the call will be
transferred to the headset. The LCD will display the
following:
HR : MIN DAY / MONTH
00 - 01 -15
HEADSET MODE
CALL DURATION
TELEPHONE NOW
IN HEADSET MODE
The caller information on the LCD will be replaced
by the call time duration.
HANDSET TO HANDSFREE
If a headset is plugged into the telephone, the
“HANDSFREE” operation will NOT be available.
If you have taken a call on the handset and wish to
transfer it to handsfree:
Press the “HEADSET/DIAL” key. The LED on the
“HEADSET/DIAL” key will fl ash and the display will
display “REPLACE HANDSET”.
Press the “TRANSFER” key a second time to return
to the initial caller.
Continue pressing the “TRANSFER” key to toggle
between the two callers.
To end one of the calls, just hang up on that caller
and the telephone will ring you back to connect you
with the remaining caller.
Replace the handset. The LED on the “HEADSET/
DIAL” key will stop fl ashing and call will be transferred
to the handsfree feature of the Berkshire 800. The
LCD will display the following:
 Loading...