

Page 1
Everything you need to know
Ta bl e of c on te nts
HomePod User
Guide
The new sound of home
Start your day
Got a favorite morning tune? Just ask. Say, for example, “Hey Siri, play Green Light
by Lorde,” or if youʼre too groggy to choose, say “Hey Siri, play something upbeat.”
With one of the worldʼs largest music catalogs at your command—thanks to your
Apple Music subscription—there are more than 40 million songs to hear.
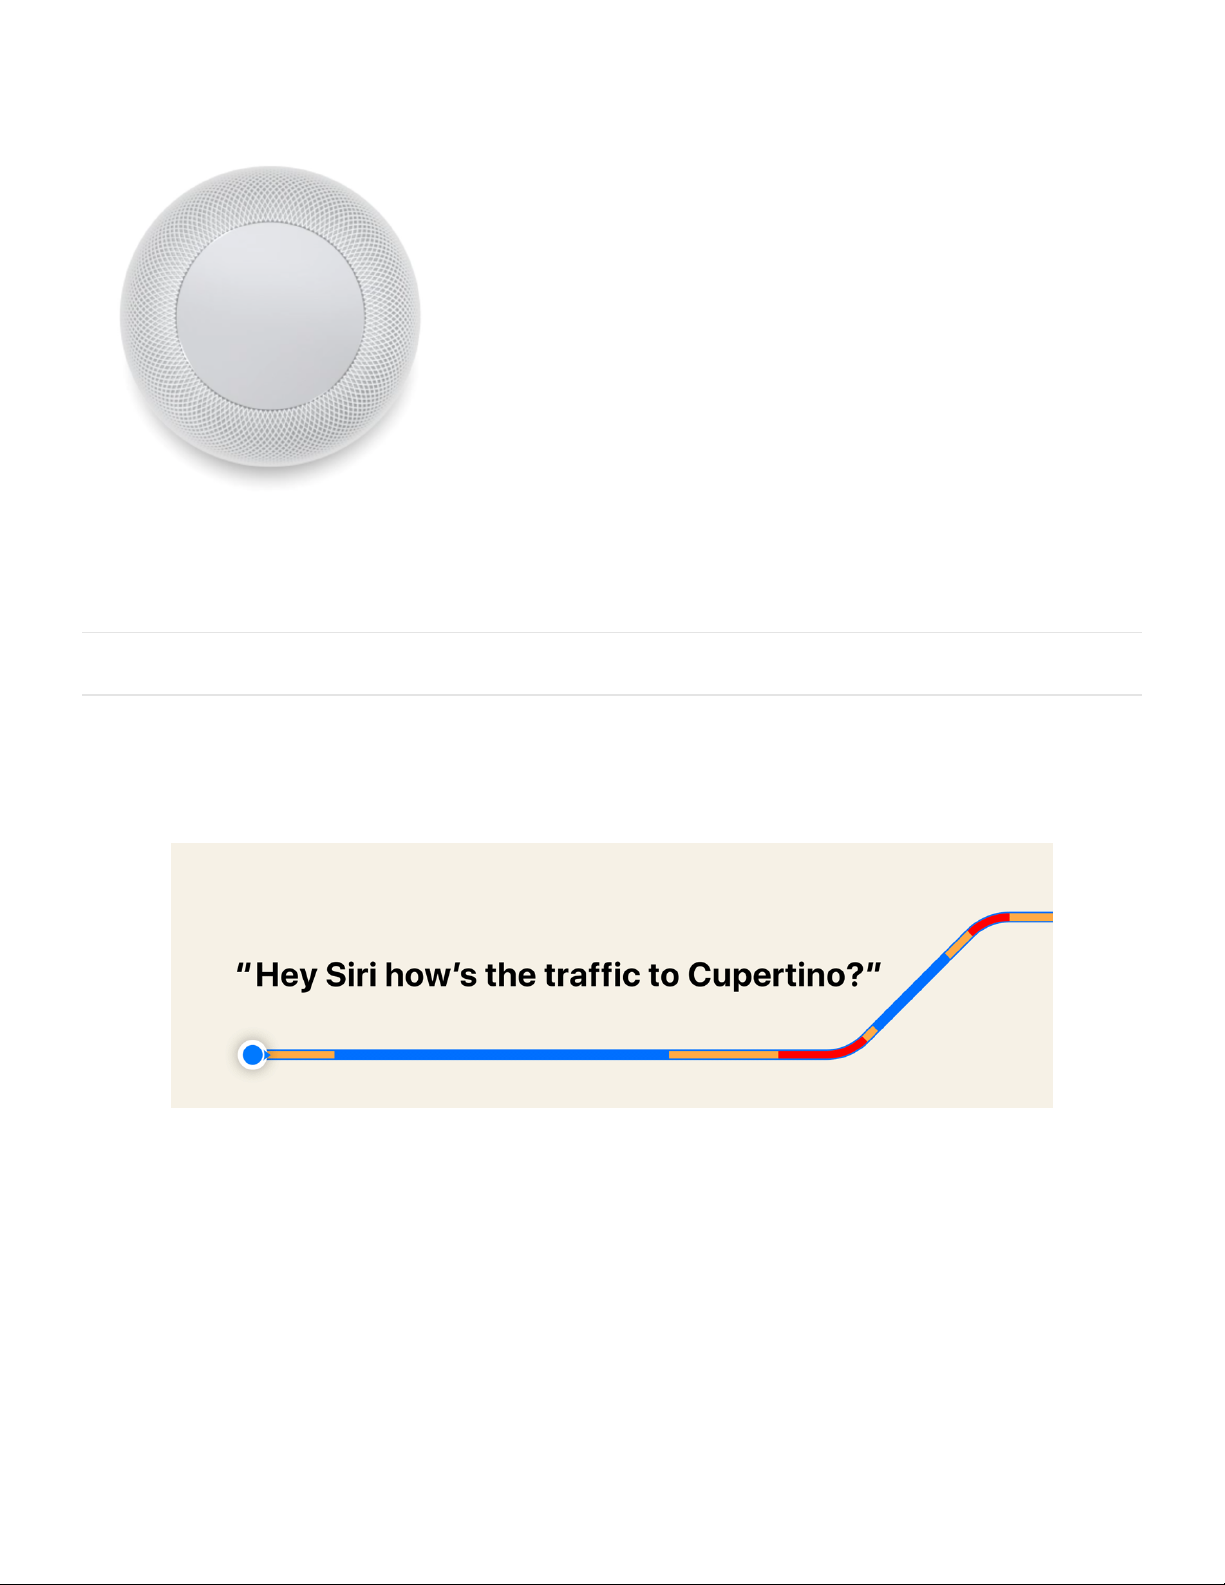
Did you miss anything overnight? Ask “Hey Siri, whatʼs the latest news?” See if you
have time for another cup of coffee by asking “Hey Siri, howʼs the traffic on the way
to Cupertino?” Or wherever youʼre going today.
Page 2
Make dinner
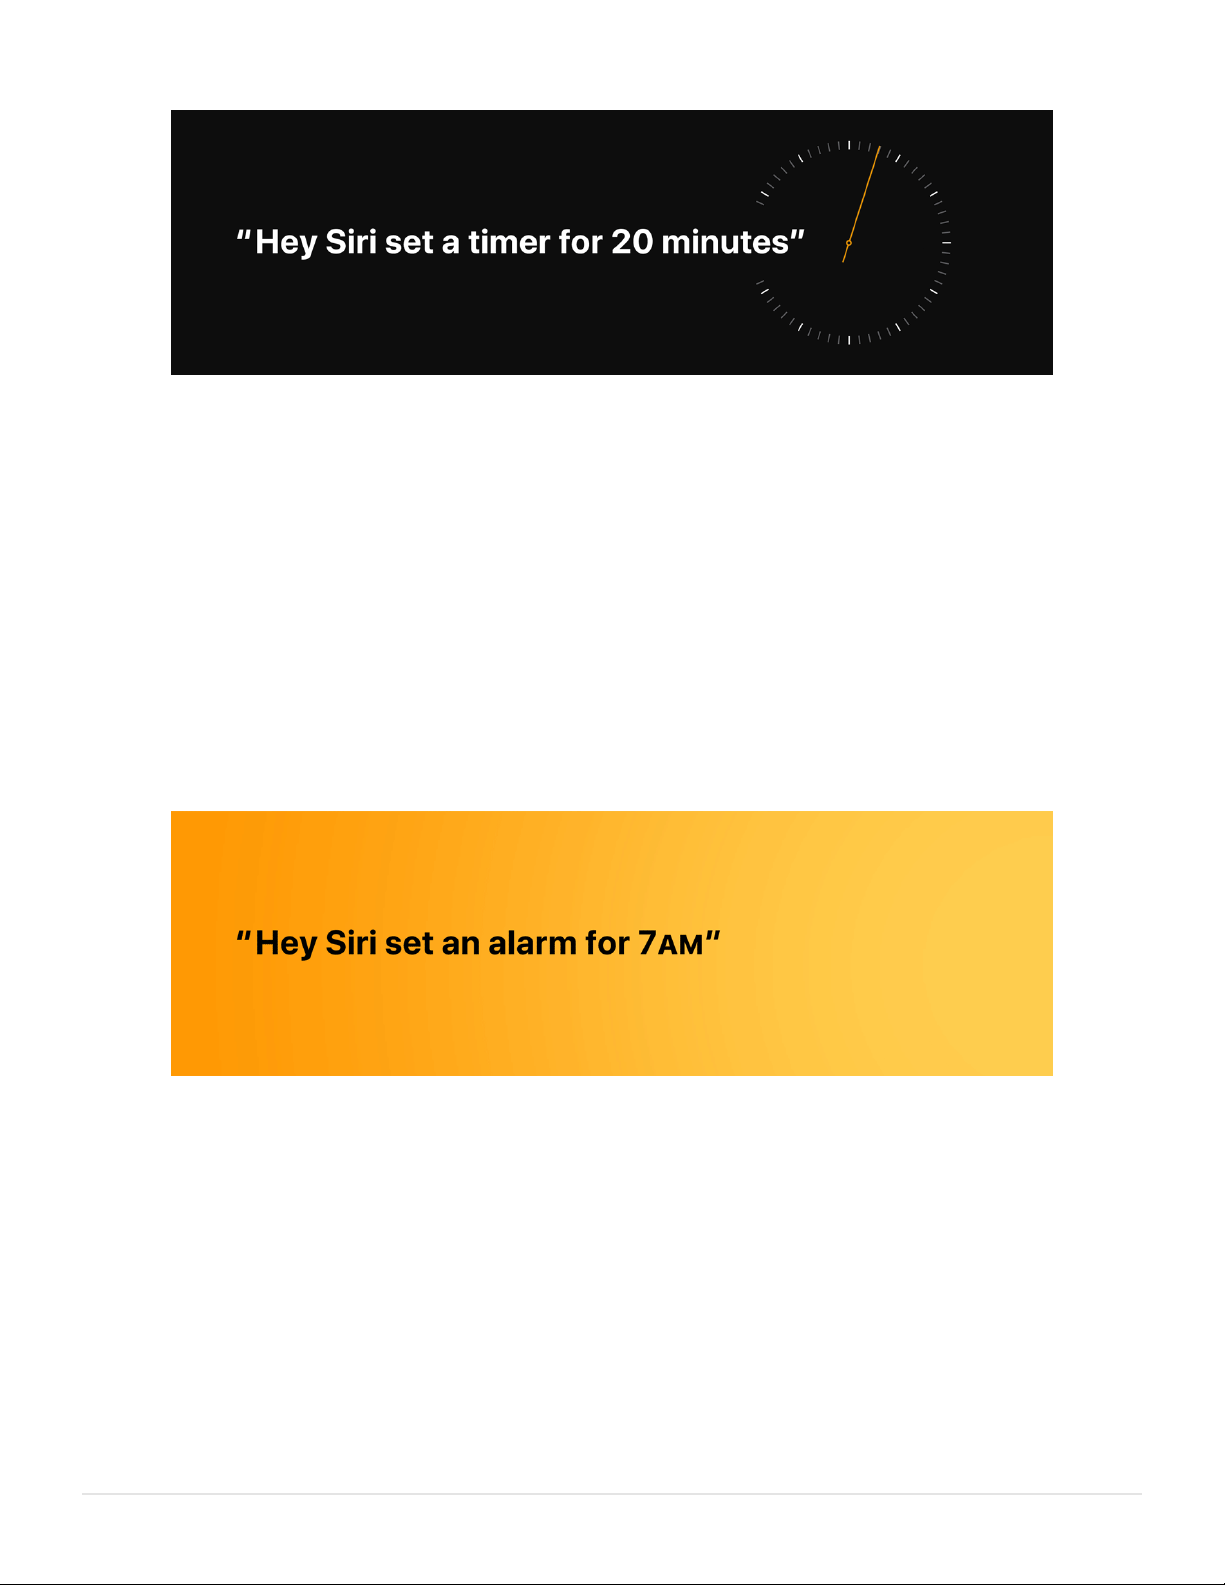
HomePod can lend a hand in the kitchen. Say “Hey Siri, set a 20-minute timer” or
“Hey Siri, how many cups are in a pint?”
Use HomePod to control the smart home accessories that youʼve set up in the
Home app. Then, when itʼs time to eat, you can say things like “Hey Siri, dim the
lights in the dining room." Then hear a personalized selection created just for you by
Apple Music by saying “Hey Siri, play some relaxing music.”
Time for bed
Before you retire for the evening, say “Hey Siri, set an alarm for 7 oʼclock tomorrow,”
This might be a good time to ask “Hey Siri, will I need an umbrella tomorrow?”
Say “Hey Siri, goodnight” to run a scene that turns off all the lights, locks the front
door, and lowers the temperature. Sweet dreams.
Want to learn more? Say “Hey Siri, what can I ask you?”
Page 3

GET STARTED
© 2017 Apple Inc. All rights reserved.
HomePod is a powerful speaker that senses and adapts to the room where itʼs playing. It
works with your Apple Music subscription, giving you instant access to one of the worldʼs
largest music catalogs, all ad free. And, with the intelligence of Siri, you control HomePod
through natural voice interaction, allowing anyone in the home to use it just by speaking.
HomePod also works with your HomeKit accessories so you can control your home, even
when youʼre away.
Welcome to HomePod
Previous Next
review
Page 4
GET STARTED
To se t u p Hom eP od you n eed a n i Ph one, iPo d touc h, o r iP ad wit h iO S 11.3 o r l at er. B efore y ou
begin, make sure that your iOS device has Bluetooth turned on, and that itʼs connected to the
Wi-Fi network that you want HomePod to use.
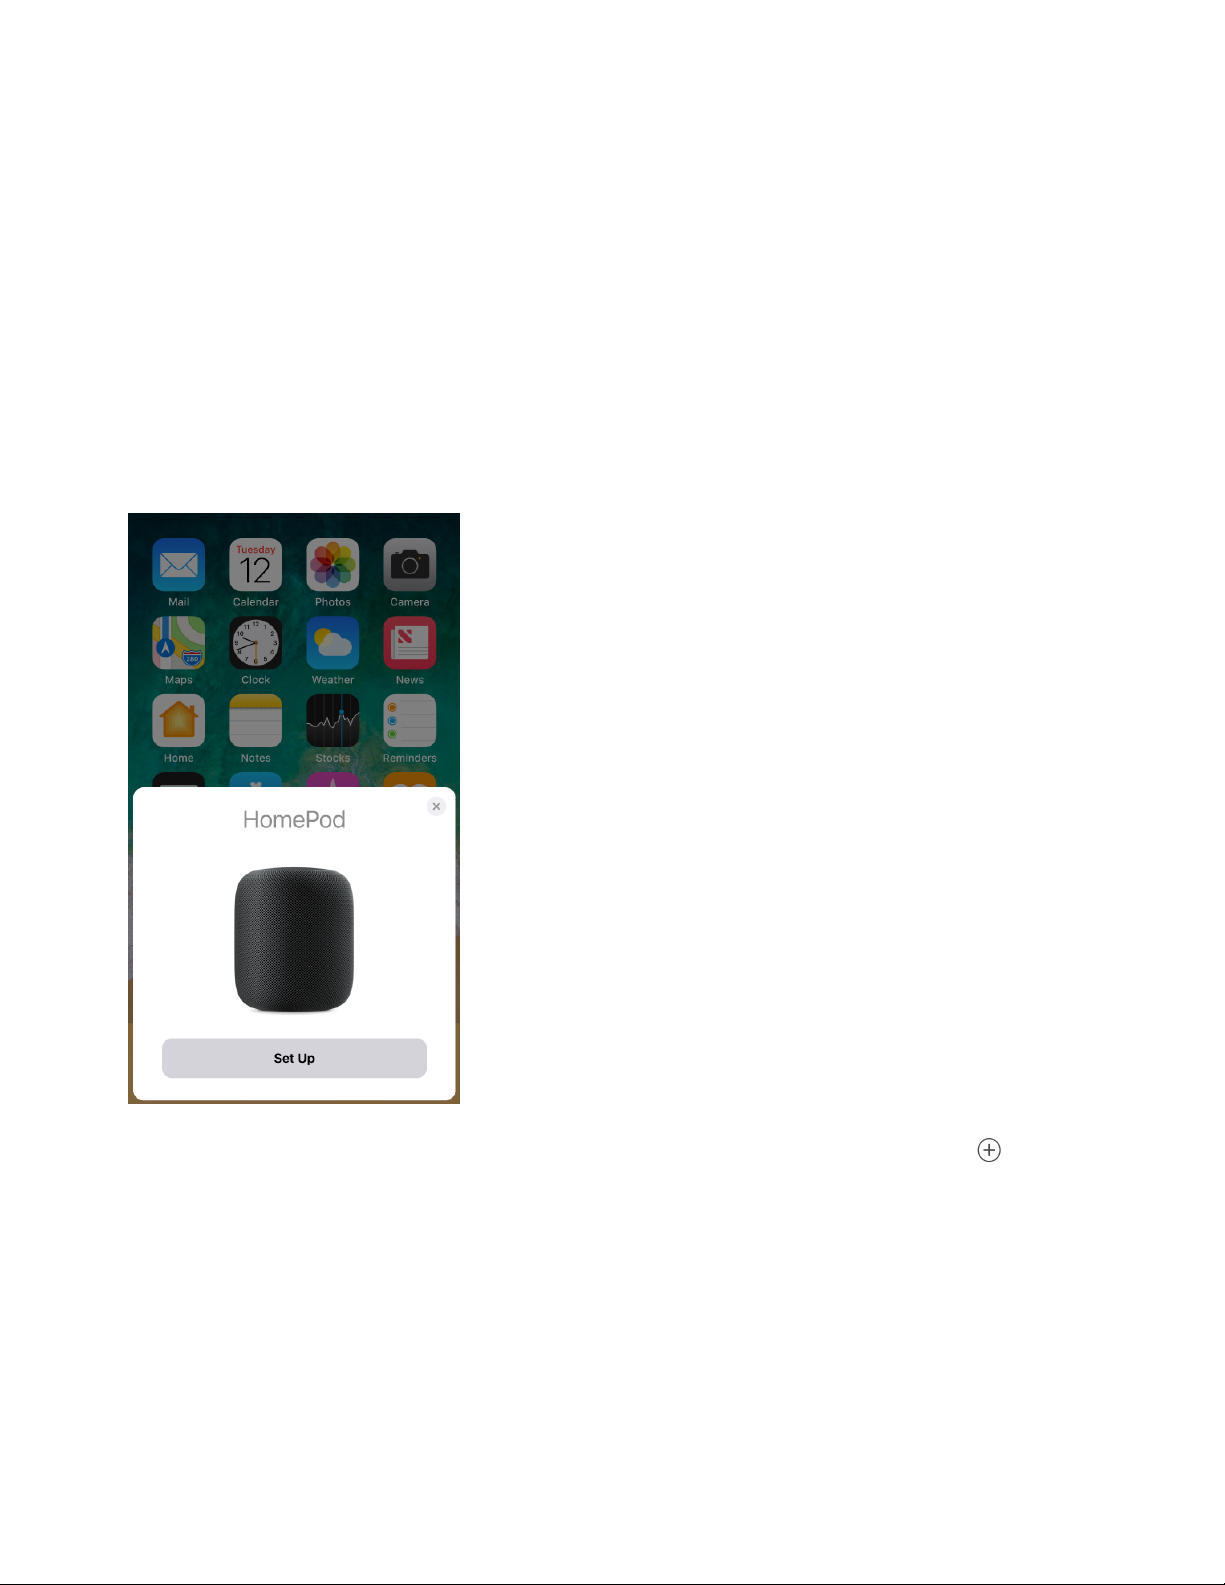
Set up HomePod for the first time. Plug HomePod in and wait until the light on top is pulsing
white. Hold your unlocked iOS device within a few centimeters of HomePod. When the setup
screen appears, tap Set Up and follow the onscreen instructions.
Tip: If the setup screen doesnʼt appear automatically, open the Home app, tap , then
tap Add Accessory. Tap “Donʼt Have a Code or Canʼt Scan?” then tap HomePod in the Nearby
Accessories list. If you donʼt have the Home app installed, you can get it from the App Store.
For enhanced security and network performance you will be asked to
, or , if you
havenʼt already done so.
During setup, the Wi-Fi settings, Siri preferences, Apple ID, and Apple Music subscription
currently configured for your iOS device are copied to HomePod. If youʼre not already an
Apple Music subscriber, youʼre offered a trial subscription during setup. HomePod is added to
Set up
enable two-factor
authentication for your Apple ID set your Wi-Fi network to use WPA/WPA2 security
Page 5

© 2017 Apple Inc. All rights reserved.
the Home app on your iOS device and assigned to the room you specify during setup. After
HomePod is up and running, you can use the Home app to change its name, its room
assignment, and other settings.
The personal requests feature allows HomePod to use your iOS device for creating reminders,
adding notes, and sending and reading messages. See for
more information.
HomePod automatically detects its position in the room and adapts the audio to sound great
wherever you place it. You may hear HomePod adjust the sound during the first song played
after setup or when you move HomePod to a new location.
Messages, Reminders, and Notes
Previous Next
review
Page 6

GET STARTED
You and anyone in your hom e ca n con trol HomePo d usi ng S iri, or by tapp ing the top o f
HomePod.
Siri
Activate Siri. Say “Hey Siri” and then your request. For example say, “Hey Siri, play some
music.” HomePod hears you—even from across the room or when itʼs playing music.
Adjust the volume. Yo u ca n say somet hing like “Hey Siri, make it louder.” Or set a specific
volume level such as “Hey Siri, set the volume to 50 percent.”
Pause and resume playback. Say “Hey Siri, stop.” To resume, say “Hey Siri, play.”
Go to the next track. Say “Hey Siri, next song.” You can also say, for example,“Hey Siri, skip
forward 30 seconds,” which can be useful when listening to a podcast.
Go to the previous track. When youʼre listening to a playlist or album, say “Hey Siri, previous
track.”
Dismiss an alarm or timer. Say “Hey Siri, stop.”
Tou ch c on trol s
Activate Siri. To uc h a nd hol d th e top o f H om ePod . Whe n yo u a ct ivat e Sir i thi s wa y, t he re ʼs n o
need to say “Hey Siri”—just say your command.
Adjust the volume during playback. Tap , or t ou ch a nd h ol d, t he + o r - on the top of
HomePod.
Pause and resume playback. Ta p th e to p of H om ePo d t o pa us e pl ayb ack . Tap a ga in t o
resume.
Go to the next track. Double-tap the top of HomePod to skip the song thatʼs currently
playing.
Go to the previous track. Triple-tap the top of HomePod. This control works only when
youʼre listening to a playlist or an album.
Dismiss an alarm. Tap any whe re o n th e top of Ho mePo d.
Tou ch c on trol s an d acc es sib il it y
Control HomePod
Page 7

© 2017 Apple Inc. All rights reserved.
Turn on VoiceOver. If the iOS device used to set up HomePod has VoiceOver turned on,
VoiceOver on HomePod is turned on automatically. Otherwise, in the Home app, press (or
touch and hold) HomePod, tap Details, then tap Accessibility. Double-tap the top of HomePod
to activate the touch controls. As with iOS devices, the controls require an extra tap when
VoiceOver is turned on. For example, tap twice to pause playback.
Adjust the sensitivity of the touch controls. In the Home app, press (or touch and hold)
HomePod, tap Details, tap Accessibility, then tap Touch Accommodations.
Use HomePod as a speakerphone
Route call audio through HomePod. During a call on your iPhone, tap Audio in the Phone
app, then choose your HomePod. The light on top of HomePod turns green when itʼs
connected to phone audio.
Hang up a call. Tap th e to p of H om eP od. Yo u ca n al so u se yo ur iPh on e to h an g up t he c al l.
Manage multiple calls. If another call comes in while youʼre using HomePod as a
speakerphone, touch and hold the green light on top of HomePod to end the current call and
answer the new one. To put the current call on hold and answer the new one, tap the green
light. When you have a call on hold, switch between calls with a double tap.
Previous Next
review
Page 8

GET STARTED
The person who set up HomePod can use the Home app on their iOS device to change
HomePod settings. There are settings you specify for each individual HomePod you have, and
settings that apply to all of the HomePod devices in your home.
Change settings for a HomePod. In the Home app, press (or touch and hold) a HomePod,
tap Details, then do any of the following:
Change Siriʼs voice: Tap Sir i Vo ic e to cho ose t he a cc en t Si ri u se s.
Change the Apple Music account: Tap A cco un t, t he n si gn in t o th e ac co un t you wan t t o
use.
Make the sound volume consistent: Turn on Sound Check to adjust for variances in songs
so they all play at the same volume. Sound Check reduces the loudest volume setting on
HomePod.
Avoid music with explicit content: Turn off Allow Explicit Content to prevent HomePod
from playing songs and albums that are listed in Apple Music as having explicit content.
Keep songs out of your listening history: Songs played on HomePod influence how Apple
HomePod settings
Page 9

© 2017 Apple Inc. All rights reserved.
Music identifies music you like, and theyʼre visible to your followers on Apple Music. If
others are using your HomePod and you donʼt share their taste in music, you might want
to turn off Use Listening History.
Other settings: There are additional settings you can change, such as the room to which
HomePod is assigned. For information about other HomeKit settings, see the Home
chapter in the , , or .
The following settings apply to all of your HomePod devices:
Turn automatic software updates on or off: In the Home app, tap , then tap Software
Updates.
Allow access to Messages, Reminders, and Notes: In the Home app, tap , then tap
Personal Requests. For more information see .
Share access to HomePod with others: To all ow o the rs t o c on trol H ome Po d usi ng th e
Home app, and to add songs to the Up Next queue using the Apple Music app, invite them
to share your home. In the Home app, tap , then tap Invite.
iPhone User Guide iPod touch User Guide iPad User Guide
Messages, Reminders, and Notes
Previous Next
review
Page 10

GET STARTED
© 2017 Apple Inc. All rights reserved.
Using AirPlay 2, HomePod can play audio sent from an iOS device or Apple TV. (HomePod and
the other devices must be connected to the same Wi-Fi network.)
Play audio from another device. On your iOS device, select HomePod as an audio
destination and control its volume in Control Center. See the ,
, , or for information about streaming audio
to other devices.
Require a password for AirPlay 2. In the Home app, tap to show the settings for your
home, then tap Allow Speaker Access and turn on Require Password. If you have more than
one HomePod, this setting applies to all of them.
Allow others to play audio on HomePod: In the Home app, tap to show settings for your
home, then tap Allow Speaker Access and choose a setting. If you have more than one
HomePod, this setting applies to all of them.
AirPlay
iPhone User Guide iPod touch
User Guide iPad User Guide Apple TV User Guide
Previous Next
review
Page 11

GET STARTED
© 2017 Apple Inc. All rights reserved.
Security and privacy are fundamental to the design of HomePod. Nothing you say is sent to
Apple servers until HomePod recognizes “Hey Siri” before a request. All communication
between HomePod and Apple servers is encrypted, and anonymous IDs protect your identity.
For detailed information about privacy and Siri, see the .
Turn off Hey Siri. Say “Hey Siri, stop listening.” When Hey Siri is turned off, touch and hold
the top of HomePod to talk to Siri. To turn Hey Siri back on, in the Home app, press (or touch
and hold) a HomePod, then tap Details and change the Listen for “Hey Siri” setting.
Turn Location Services on or off. Siri uses your HomePod location to provide information
about, for example, traffic, weather, and nearby businesses. To turn off Location Services, in
the Home app, press (or touch and hold) a HomePod, then tap Details and change the
Location Services setting.
Reset HomePod. Before you give HomePod to someone else, you should reset it. In the
Home app, press (or touch and hold) HomePod, tap Details, then tap Remove Accessory.
Privacy and security
iOS Security Guide
Previous Next
review
Page 12

APPLE MUSIC
© 2017 Apple Inc. All rights reserved.
Hear something youʼll like. Just say “Hey Siri, play some music.” Apple Music learns your
taste and uses it to choose which songs to play for you. To help Apple Music learn what you
like, say “Hey Siri, I like this” when you hear a song youʼd like to add to your preferences.
Listen to a song. Got some music in mind? Just ask. Say, for example, “Hey Siri, play the
theme from La La Land” or “Hey Siri, play Ed Sheeranʼs newest album." You can also ask for
songs and playlists from your iTunes library.
Tip: To hea r the s ame s ong a s i nt er pre te d by o the r ar ti st s, sa y “Hey Siri, play the other
version.”
Listen by artist, genre, activity, or mood. Ask for a specific artist, or a genre of music such
as Latin jazz. You can also ask for the vibe you want. For example, say “Hey Siri, play some
party music,” or get even more specific with “Hey Siri, play hip-hop from the 1990s.” You can
let Siri decide whatʼs next with “Hey Siri, play something totally different.”
Tip: Say “Hey Siri, add this to my library,” or “Hey Siri, add this album to my library.”
Listen to hits, chart toppers, or music by decade. Say something like “Hey Siri, play the top
song from November 1976,” or “Hey Siri, play the best songs from 1982.” Or get into a whole
decade with something like “Hey Siri, play music from the 1950s.”
Tip: Try saying “Hey Siri, tell me about this artist,” or “Hey Siri, what album is this?” You
can also say “Hey Siri, when was this song released?” For bands, you can ask whoʼs playing a
certain instrument. For many popular songs, you can ask about the writer and producer.
Listen to Beats 1. Say “Hey Siri, play Beats 1 radio” to hear the latest in music, interviews,
and culture broadcasting from studios in Los Angeles, New York, and London.
Listen to music
Previous Next
review
Page 13

APPLE MUSIC
© 2017 Apple Inc. All rights reserved.
You can use the Appl e Mu sic a pp o n your iOS devic e to cont rol th e sou nd vol ume, play what
you want to hear, and add or remove songs from the Up Next queue.
See whatʼs playing now, and next. Open Apple Music, then tap the HomePod playback
controls. If you donʼt see the HomePod controls, on the Now Playing screen, tap , then
choose HomePod.
Choose whatʼs next. After choosing HomePod in the Apple Music app, tap Library, For You,
Browse, Radio, or Search to find music to play. You can choose to play an item next or add it
to the end of the Up Next queue.
Use the Control Center. Open Control Center, press (or touch and hold) Now Playing to
expand it, then tap your HomePod.
Control playback
Previous Next
review
Page 14

© 2017 Apple Inc. All rights reserved.
HomePod makes it easy to listen to podcasts. With hundreds of thousands of free podcasts to
choose from, thereʼs one (or more) for every interest.
Listen to a podcast. Say, for example, “Hey Siri, play the podcast Myths & Legends.”
Subscribe to a podcast. Say “Hey Siri, subscribe to this podcast” to add it to your library.
When new episodes are available, they appear in Listen Now in the Podcasts app on your iOS
device and Apple TV.
Change the playing speed. Say “Hey Siri, play this faster,” or “Hey Siri, play this slower” to
listen to news and podcasts at a pace youʼre most comfortable with.
Apple Podcasts
Previous Next
review
Page 15

© 2017 Apple Inc. All rights reserved.
HomePod offers news briefs from the top news sources in the world so you can stay up to
date.
Hear the latest headlines. Say “Hey Siri, whatʼs the news today?” to hear whatʼs going on in
the world. Siri will suggest other news sources, and you can switch to one at any time. Say
something like “Hey Siri, switch to CNN instead.”
Get specific news. Say, for example, “Hey Siri, give me the latest sports news.” You can also
ask for business news.
News
Previous Next
review
Page 16

© 2017 Apple Inc. All rights reserved.
Use HomePod to control the HomeKit accessories—such as lights, thermostats, and window
shades—that youʼve set up in the Home app on your iOS device. Then you can say things like
“Hey Siri, set the thermostat to 72 degrees” or “Hey Siri, did I lock the front door?”
The commands that work when youʼre speaking to HomePod depend on which smart home
accessories you have set up. For more info about using the Home app, see the Home chapter
in the , , or .
For more information about HomeKit and available accessories, see the .
Control an accessory. To co nt ro l a s ing le ac ce ss ory, us e the n ame y ou gave i t i n the H ome
app. For example, say “Hey Siri, turn on the porch light.” You can check the status of an
accessory by saying something like “Hey Siri, is the porch light on?” You can also say, for
example, “Hey Siri, turn off the lights in here,” to control the accessories that are in the same
room as HomePod.
Tip: You can use Home Pod to lock or check the stat us o f doo r lo cks an d oth er H omeK it
security accessories. To unlock security accessories, you must use your iOS device because
unlocking requires authentication using Face ID, Touch ID, or a passcode.
Activate a scene. Set up scenes in the Home app to control a number of accessories all at
once. After a scene is defined, refer to it by name. For example, say “Hey Siri, good night” to
run a scene named “good night” that turns off your lights, sets the thermostat, and draws the
window shades.
Use HomePod as a home hub. HomePod automatically acts as a home hub. This allows you
to control your homeʼs accessories using the Home app when youʼre away. You can also
trigger accessories based on time of day, your location, or the action of another accessory,
such as a sensor.
Control your home
iPhone User Guide iPod touch User Guide iPad User Guide
HomeKit webpage
Previous Next
review
Page 17

ASSISTANT
With Siri, HomePod is great at answering questions about the things you want to know, and
do, in your home. Siri can help you with things in these categories:
General knowledge
“Hey Siri, who was the 13th president of the United States?”
“Hey Siri, whatʼs the tallest mountain in Germany?”
“Hey Siri, what does happenstance mean?”
Traffic and whatʼs nearby
“Hey Siri, whereʼs the nearest coffee shop?”
“Hey Siri, how long will it take me to drive to Milwaukee?”
“Hey Siri, what time does The Meatball Shop close?”
Alarms, timers, and world clocks
“Hey Siri, set a 3-minute timer.”
“Hey Siri, wake me up at 5 a.m.” (and “Hey Siri, snooze” when it goes off!)
“Hey Siri, what time is it in Stockholm?”
Weather
“Hey Siri, when is sunrise in Paris?”
“Hey Siri, what will the weather be like in Yosemite this weekend?”
“Hey Siri, will it snow in Denver today?”
Sports
“Hey Siri, what was the score the last time the Cubs played the Brewers?”
“Hey Siri, who has scored the most goals in Spanish soccer?”
“Hey Siri, when do the Suns play next?”
Ask Siri
Page 18

© 2017 Apple Inc. All rights reserved.
Unit conversions and math
“Hey Siri, whatʼs 38 percent of 299?”
“Hey Siri, how many cups are in a quart?”
“Hey Siri, whatʼs 50 dollars in euros?”
Stocks
“Hey Siri, whatʼs the market capitalization of Apple?”
“Hey Siri, how is the stock market doing today?”
“Hey Siri, whereʼs the NASDAQ today?”
Translation
Siri can translate into French, German, Italian, Mandarin Chinese, and Spanish.
“Hey Siri, translate “this is delicious” into Chinese.”
“Hey Siri, how do you say “I love you” in French?”
For more about what you can do with Siri on HomePod, just ask Siri. Say “Hey Siri, what can
you do?” Also, check out the Tips app on the iOS device you used to set up HomePod.
Previous Next
review
Page 19

ASSISTANT
© 2017 Apple Inc. All rights reserved.
To be ab le to ma ke pe rs onal req ue sts th at us e M es sa ges , Remi nder s, an d Note s, y ou r iO S
device and HomePod must be connected to the same Wi-Fi network, and your iOS device
must be the one you share your location from using Find My Friends.
All requests that require access to Contacts, Messages, Reminders, and Notes are handed off
to your iOS device for processing, regardless of whoʼs speaking. When youʼre away from
home, your device is turned off, or your device isnʼt on the same Wi-Fi network as HomePod,
these requests wonʼt be accepted by HomePod.
Set up your iOS device for personal requests. Go to Settings > [your name] > iCloud >
Share My Location > From, then choose This Device. Siri must also be enabled on the device.
Send a message. Say “Hey Siri, send a message to Chris saying that Iʼll bring the vacuum
cleaner with me.” If the recipient replies within a few minutes, youʼll hear a ding.
Read messages. Say “Hey Siri, read my unread messages” or “Hey Siri, read my messages
from Kim.”
Work with Reminders. Say “Hey Siri, remind me to drop off the dry cleaning.” You can also
refer to places that are in Contacts on your iOS device. For example, say “Hey Siri, remind me
to put my lunch in the fridge when I get to work.” You can ask about items in Reminders too.
Say “Hey Siri, whatʼs on my shopping list?” To check off a reminder, say “Hey Siri, mark water
the plants as complete.”
Work with Notes. Say things like “Hey Siri, add a note called birthday presents” or “Hey Siri,
add Twain to my favorite authors note.”
If you donʼt want to allow access to Messages, Reminders, and Notes you can turn off support
for personal requests in the Home app. If you have more than one HomePod, you can turn
personal requests on or off for each device.
Turn personal requests on or off. In the Home app, tap , tap your name, then turn off
Personal Requests.
Messages, Reminders, and Notes
Previous Next
Page 20

SAFETY, HANDLING, AND SUPPORT
This device complies with part 15 of the FCC rules. Operation is subject to the following two
conditions: (1) This device may not cause harmful interference, and (2) this device must
accept any interference received, including interference that may cause undesired operation.
Note: This equipment has been tested and found to comply with the limits for a Class B digital
device, pursuant to part 15 of the FCC Rules. These limits are designed to provide reasonable
protection against harmful interference in a residential installation.
This equipment generates, uses, and can radiate radio frequency energy and, if not installed
and used in accordance with the instructions, may cause harmful interference to radio
communications. However, there is no guarantee that interference will not occur in a
particular installation.
If this equipment does cause harmful interference to radio or television reception, which can
be determined by turning the equipment off and on, the user is encouraged to try to correct
the interference by one or more of the following measures:
Reorient or relocate the receiving antenna.
Increase the separation between the equipment and receiver.
Connect the equipment to an outlet on a circuit different from that to which the receiver is
connected.
Consult the dealer or an experienced radio/TV technician for help.
Important: Changes or modifications to this product not authorized by Apple could void the
electromagnetic compatibility (EMC) and wireless compliance and negate your authority to
operate the product.
This product has demonstrated EMC compliance under conditions that included the use of
compliant peripheral devices and shielded cables between system components. It is
important that you use compliant peripheral devices and shielded cables between system
components to reduce the possibility of causing interference to radios, television sets, and
other electronic devices.
Exposure to radio frequency energy The radiated output power of this device meets the
limits of FCC/IC radio frequency exposure limits. This device should be operated with a
minimum separation distance of 20 cm (8 inches) between the equipment and a personʼs
body.
FCC compliance statement
Page 21

TM and © 2017 Apple Inc. All rights reserved.
Third party and/or licensed trademarks.
Responsible party (contact for FCC matters only):
Apple Inc. Corporate Compliance
1 Infinite Loop, MS 91-1EMC
Cupertino, CA 95014
Previous Next
Page 22

SAFETY, HANDLING, AND SUPPORT
TM and © 2017 Apple Inc. All rights reserved.
Third party and/or licensed trademarks.
This device complies with Innovation, Science and Economic Development Canada licenceexempt RSS standard(s). Operation is subject to the following two conditions: (1) this device
may not cause interference, and (2) this device must accept any interference, including
interference that may cause undesired operation of the device.
Operation in the band 5150–5250 MHz is only for indoor use to reduce the potential for
harmful interference to co-channel mobile satellite systems.
Exposure to radio frequency energy The radiated output power of this device meets the
limits of FCC/IC radio frequency exposure limits. This device should be operated with a
minimum separation distance of 20 cm (8 inches) between the equipment and a personʼs
body.
Le présent appareil est conforme aux CNR dʼInnovation, Sciences et Développement
économique Canada applicables aux appareils radio exempts de licence. Lʼexploitation est
autorisée aux deux conditions suivantes : (1) lʼappareil ne doit pas produire de brouillage, et
(2) lʼutilisateur de lʼappareil doit accepter tout brouillage radioélectrique subi, même si le
brouillage est susceptible dʼen compromettre le fonctionnement.
La bande 5150–5250 MHz est réservée uniquement pour une utilisation à lʼintérieur afin de
réduire les risques de brouillage préjudiciable aux systèmes de satellites mobiles utilisant les
mêmes canaux.
Lʼexpo sit io n à lʼé ne rg ie rad io fréq uen ce La puissance de sortie rayonné de cet appareil est
conforme aux limites de la FCC/IC limites d'exposition aux fréquences radio. Cet appareil doit
être utilisé avec une distance minimale de séparation de 20 cm entre lʼappareil et le corps
dʼune personne.
CAN ICES-3 (B)/NMB-3(B)
Canadian compliance statement
Previous Next
 Loading...