

Please visit our website and watch the ZM-GWB3 installation video for easy installation.
※ Please read this manual thoroughly before installation.
※ The specifications of this product and its components may change without prior notice to
mprove performance.
http://www.zalman.co.kr http://www.zalmanusa.com
(English version)
(English version)
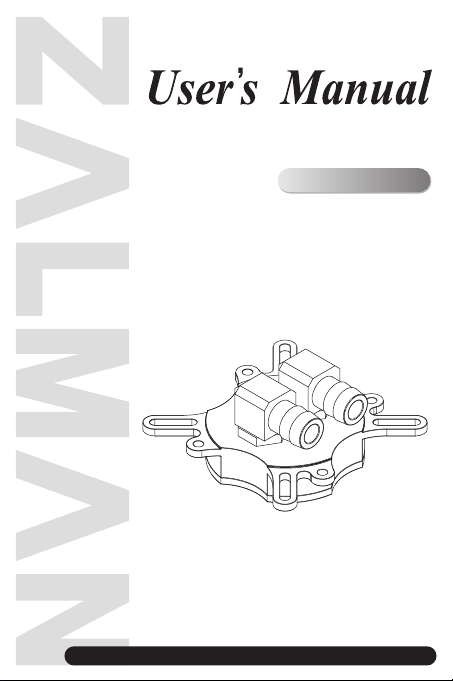
ZM-GWB3
VGA WATER BLOCK
for Higher Water Cooling Performance

※
The specifications of any product may change without prior notice to improve performance.
1
1) Zalman’s creative dimple-type processing technology allows lightness in weight and
excellent cooling performance.
2) Pure aluminum-base material water block provides excellent heat transfer, and anodized
base prevents corrosion.
3) Revolving fittings provide freedom in direction when connecting them with tubes, which
further allows simple installation.
4) New mounting structure allows easy installation and wide compatibility range.
1. Features
1) Weight : 100g
2) Materials : Pure Aluminium
3) Dimentions : 60.4(W) x 60.4(L) x 30(H)mm
4) Compatible Tubes (Outer x Inner): 13 x 9mm, 12 x 8mm, 11 x 8mm, 10 x 8mm
2. Specifications
1) Test the product for leakage away from the system before installing it on the system.
After no leakage is confirmed, proceed with installation and use.
2) Use approved coolant for computer water-cooling to prevent corrosion.
3) Use coolant tubes listed under the compatibility list.
4) Do not use the product if it interferes with any VGA components.
5) Familiarize yourself with this manual.
6) Keep this product and its associated system away from children.
Precautions
Zalman Tech Co., Ltd. is not responsible for any damages due to external causes, including
but not limited to, improper use, problems with electrical power, accident, neglect, alteration,
repair, improper installation, or improper testing.
Disclaimer

※
The specifications of any product may change without prior notice to improve performance.
2
1) Common Components
① VGA Water Block Assembly
② Four(4) Nipple
③ Four(4) Nut)
④ Washer Plate
⑤ Four(4) Rubber Ring
⑥ Four(4) Spring
⑦ Four(4) Bolt
⑧ Two(2) Tube Clamp
⑨ Thermal Grease
⑩ User’s Manual
3. Components
Nipple Installation Holes for
Various VGA Cards
Nipple Installation Holes
VGA Card
ATI X1600 Series
ATI X1300 Series
ATI Radeon 9 Series
(except 9550/9600)
ATI Radeon X Series
NVIDIA Geforce4 MX Series
NVIDIA Geforce FX 5200
NVIDIA Geforce FX 5500
NVIDIA Geforce FX 5600(FX 5700)
NVIDIA Geforce 6600 Series
(except 6600 AGP Series)
NVIDIA Geforce4 TI 4 Series
NVIDIA Geforce FX 5700(Ultra) Series
NVIDIA Geforce FX 5800 Series
NVIDIA Geforce 6600 Series
(except 6600 AGP Series)
ATI X1600 Series
NVIDIA Geforce 6600 Series
(except 6600 AGP Series)
NVIDIA Geforce FX 5900 Series
NVIDIA Geforce FX 5950 Series
ATI X1900 Series
ATI X1800 Series
NVIDIA Geforce 7900 Series
NVIDIA Geforce 7800 Series
NVIDIA Geforce 6800 Series
❶
❷
❸
❹
❺
***
**
❾
❿
❶
❷
❸
❹
❺
❻❼❽

※
The specifications of any product may change without prior notice to improve performance.
3
Bolt
GWB3 Ass’y
Nipple
Rubber Ring
Washer Plate
Spring
Nut
4. Exploded View

※
The specifications of any product may change without prior notice to improve performance.
4
1) Install Nipples and Fixing Nuts
Insert the Nipples and Rubber Rings into the front side of the VGA card, then install
the Washer Plate (PVC), Springs, and Fixing Nuts in the mentioned order.
Note 1) Screw the Fixing Nuts only to a point so that the Fixing Nuts stay connected
to the Nipples (approximately two screw turns).
Note 2) The ends of the Springs are of different diameters. Install the Spring end with
the shorter diameter on the Fixing Nut.
2) Thermal Grease Applycation
Clean the contact surface of the VGA Chipset completely. Apply Thermal Grease on
the VGA Chipset that makes contact with the base of theVGA Cooler.
Thermal Grease
Nut
Spring
Washer Plate
Nipple
Spring
Fixing Nut
5. Installation Procedure

※
The specifications of any product may change without prior notice to improve performance.
5
3) Installing the VGA Water Block
Place the VGA Water Block and the clip on
the center of the VGA chipset. Screw each
bolt B on each nipple slightly, and tighten
each bolt a few turns at a time while alternating
between the two until the bolt ends are
completely pressed against the Nipples.
Note 1) Nipples and Fixing Nuts are not
completely fixed on to each other,
therefore hold the Nipple with one hand
while screwing in the Bolts.
4) Control Tension between VGA Water Block and VGA Chipset
Tighten/loosen the Fixing Nuts on the back side of the VGA card in order to control the
tension between the VGA water block and VGA chipset.
Note 1) If the Fixing Nuts are turned too tightly, then damage to the VGA chipset or VGA
card could occur.
Note 2) Fully tightening one Fixing Nut at a time may result in damaging the VGA chipset.
Please tighten each Fixing Nut one rotation at a time until all are completely tightened.
Note3) Make sure that the VGA Cooler does not interfere with the VGA card's capacitors
and other components.
Nipple
Bolt
Spring
Washer Plate
Nut

※
The specifications of any product may change without prior notice to improve performance.
6
5) VGA Card Installation
Insert the assembled VGA card into the
motherboard’s PCIe (or AGP) slot. Use
the Fixing Bolt to secure the VGA card
onto the computer case. If the VGA
card has a power connector on it,
remember to plug in th power cable.
6) Installing the Tubes and the Tube Clamps
Plug the tubes over the VGA Water Block’sfittings and install the Tube Clamps.
1) Remove the film from the thermal tapes on the bottom of theRAM Heatsinks and attach
the heatsinks on the VGA RAM.
Note 1) If Thermal Grease or other residue remains on the RAM, the Thermal Tapes will
not stick. Clean the surface of the RAM with acetone or alcoho before attaching.
Note 2) The bonding strength of theThermal
Tapes reaches 90% after 24 hours
of curing.
Do not exert excessiveforce on the
RAM Heatsinks during this period.
Note 3) Thermal Tapes are not reusable
because they lose adhesiveness
after their initial attachment.
Purchase new Thermal Tapes if
you need to reattach the RAM
Heatsinks.
Fixing Bolt
Thermal Tape
Tube
Tube Clamp
To install RWB1 (Optional)

※
The specifications of any product may change without prior notice to improve performance.
7
2) Hooking the RWB1 Fixing Clip into the ATI hole positioned on the upper region
of the VGA water block will create tension. Now hook the other side of the RWB1
Fixing Clip on to the upper part of the RWB1 in order to safely install the RWB1
3) Installing the Tubes and the Tube Clamps
Plug the tubes over the VGA Water Block’s fittings and install the Tube Clamps.
Note 1) Use a proper tool (e.g. cutting nipper)when installing the Tube Clamps.
Note 2) Hold the VGA or RAM water block with one hand to keep them from moving
when installing the Tube.
Note 3) Cutting the tubes to adequate lengt h before-hand will simplify the process of
connecting tubes to the VGA water block and RWB1
RWB1 Fixing Clip
ATI Hole
INLET
OUTLETT

Noiseless Power Supply Heatpipe HDD Cooler Noiseless Case Fan Northbridge Water Block
※
The specifications of any product may change without prior notice to improve performance.
8
HD160
TNN 300 TNN 500AF
Zalman Noise Prevention System
TNN(Totally No Noise) Computer Case
TNN(Totally No Noise) Computer Case
Stable performance and noiseless liquid cooling system can both be achieved with
the use of Zalman’s Noiseless Power Supply, HeatPipe Hard Disk cooler, Noiseless
Case Fan and Northbridge Water Block.
NN Computer Enclosures are the world’s first environment-friendly noiseless computer enclosures
that operate without the use of a fan. TNN Computer Enclosures use the aluminum enclosure itself
as a heatsink. They are ideal for environments that require silence, as well as for home theatre
systems and multi-media systems.
The HD160 is designed for ultra quiet home theatre
PC operation, utilizing optimized ventilation and
anti-vibration reinforcements, making it ideal for
environments that require silence such as living
rooms, bedrooms, educational facilities, and offices.
For more information, please visit our website.
 Loading...