

Weslo 831283100 Owner’s Manual
.............................................._iiii!!iii;i;iiii!!!¸¸¸
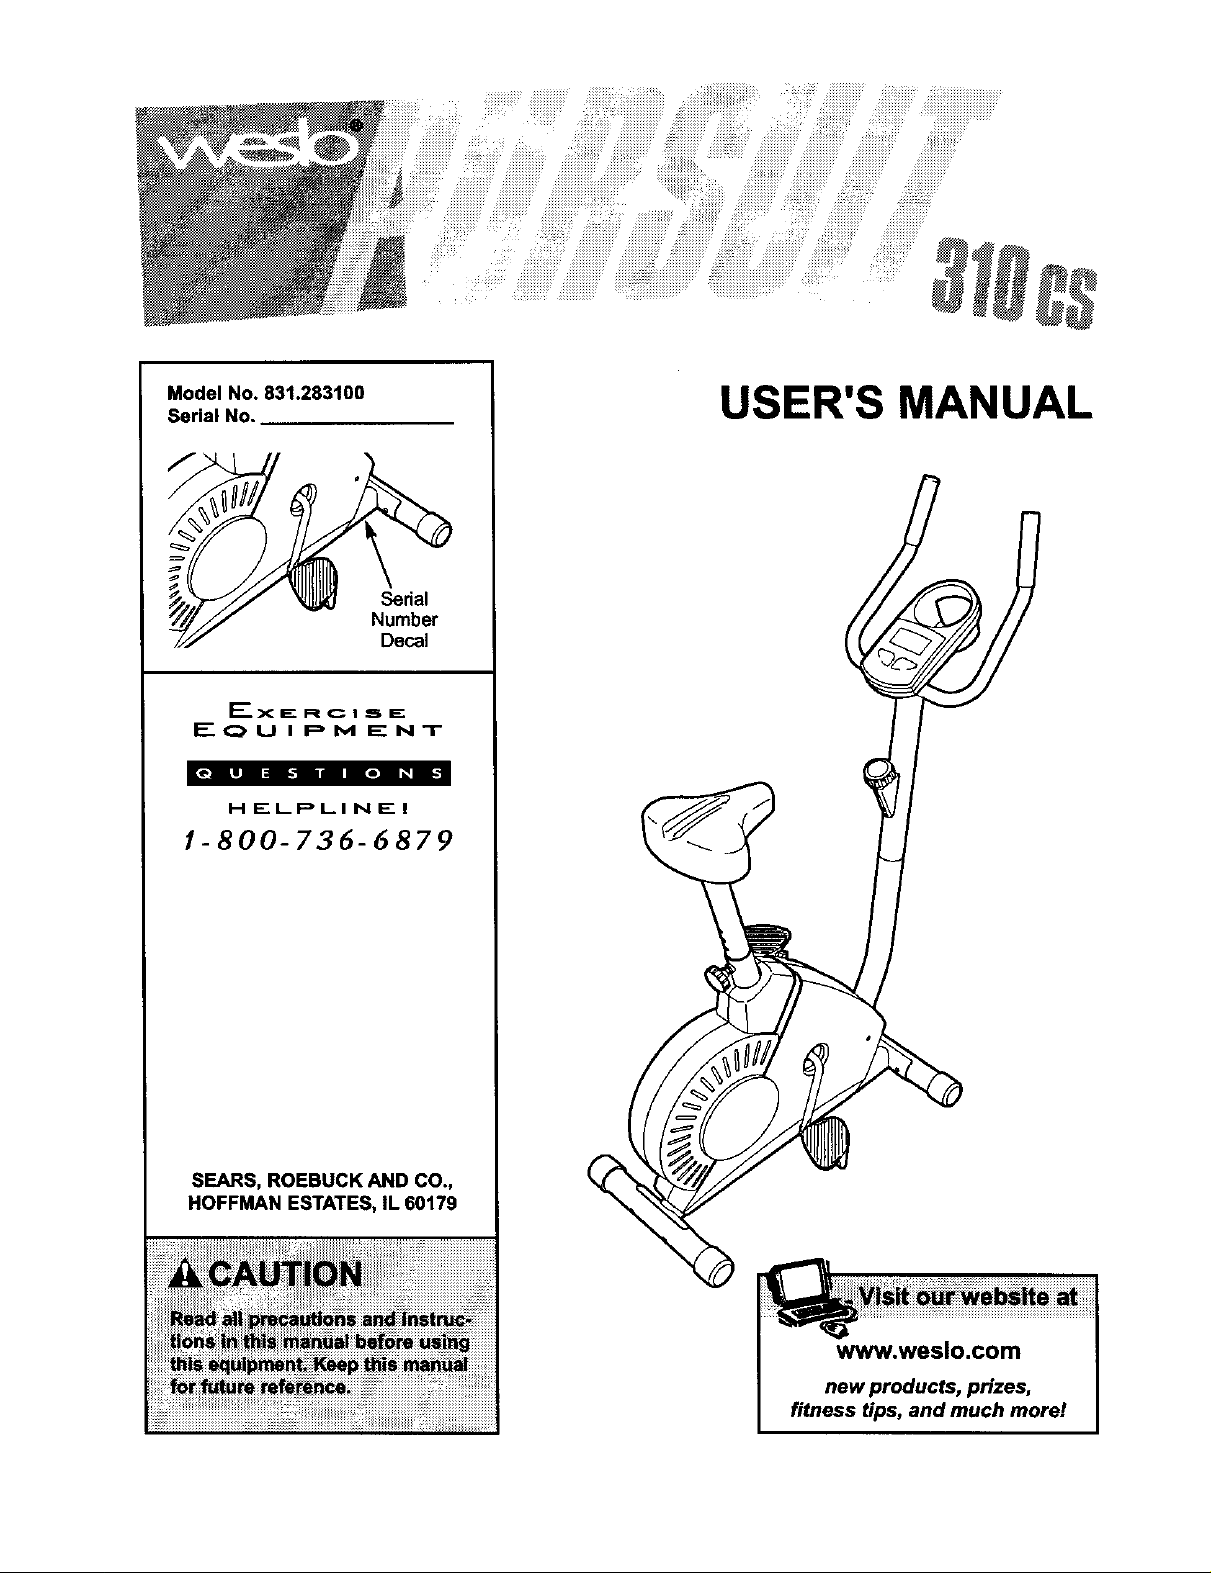
Model No. 831.283100
Serial No.
F----X_RCI_E;
EQUIPMENT
HELPLINEI
1-800-736-6879
USER'S MANUAL
Sedal
Number
Decal
SEARS, ROEBUCK AND CO.,
HOFFMAN ESTATES, IL 60179
www.weslo.com
new products, prizes,
fitness tips, and much morel
TABLE OF CONTENTS
IMPORTANT PRECAUTIONS ............................................................. 2
BEFORE YOU BEGIN ................................................................... 3
ASSEMBLY ........................................................................... 4
HOW TO OPERATE THE EXERCISE CYCLE ................................................. 8
MAINTENANCE AND TROUBLESHOOTING ................................................. 10
CONDITIONING GUIDELINES ............................................................ 12
PART LIST ........................................................................... 14
EXPLODED DRAWING ................................................................. 15
ORDERING REPLACEMENT PARTS ................................................ Back Cover
FULL 90 DAY WARRANTY ....................................................... Back Cover
2
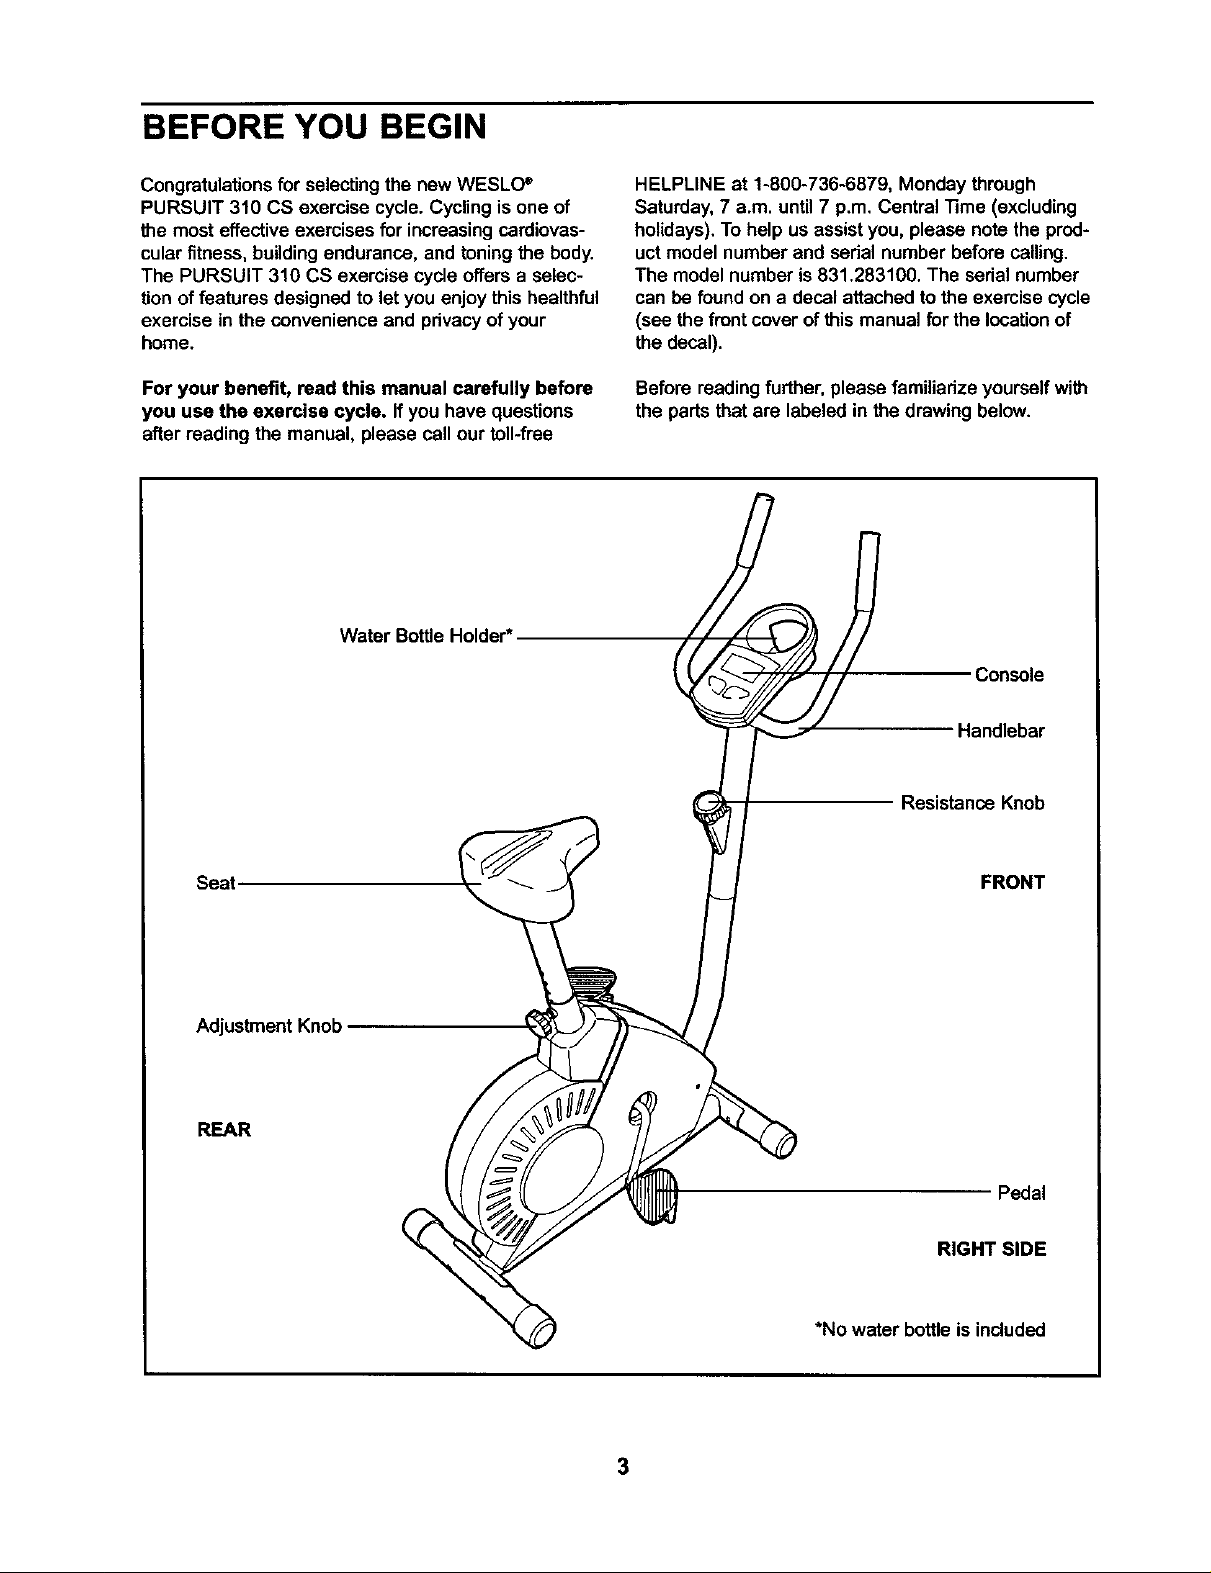
BEFORE YOU BEGIN
Congratulations for selectingthe new WESLO_
PURSUIT 310 CS exercise cycle.Cycling is one of
the most effective exercises for increasing cardiovas-
cular fitness, building endurance, and toning the body.
The PURSUIT 310 CS exercise cycle offers a selec-
tion of features designed to let you enjoy this healthful
exercise in the convenience and privacy of your
home.
For your benefit, read this manual carefully before
you use the exercise cycle. If youhave questions
afterreading the manual, please call ourtoll-free
Water BottleHolder*
HELPLINE at 1-800-736-6879, Monday through
Saturday,7 a.m. until7 p.m. Central Time (excluding
holidays).To help usassistyou, please note the prod-
uct modelnumber and ssdal numberbefore calling.
The model numberis 831.283100. The serial number
can be found on a decal attachedto the exercisecycle
(see the front cover ofthis manualfor the locationof
the decal).
Before readingfurther, please familiarizeyourself with
the partsthat are labeled in the drawing below.
_ Console
Handlebar
Seat
Adjustment Knob
REAR
Resistance Knob
FRONT
Pedal
RIGHT SIDE
*No water bottleis included
3
ASSEMBLY
Assembly requires two persons. Place allparts ofthe exercise cyclein a cleared area and removethe packing
materials. Do not disposeof the packingmatedals untilassembly is completed.
Assembly requires the included tools and your own adjustable wrench _, Phillips screw-
driver (_3_-, and pliers _.
Use the part drawingsbelow to identifythe small parts used inassembly.The number inparenthesis below
each drawing refers to the key numberof the part, from the PART LISTon page 14. The second numberrefers
to the quantityneeded for assembly.Note: Some small parts may have been pre-attached for shipping. If a
part is not in the parts bag, check to see if it has been pre-attached,
M8 Split M8 Nylon M10 Nylon
Washer(42)-10 Locknut (10)-4 Locknut (33)-4
M4 x 16mm
Screw (49)-4
1. While another person lifts the front of the Frame (1)
slightly,attach a Stabilizer(2) with two M1Ox 65mm
Carriage Bolts(30) and two M10 Nylon Locknuts(33).
2. While another personliftsthe rear of the Frame (1)
slightly,attach a Stabilizer (2) withtwo M10 x 65mm
Carriage Bolts (30) and two M10 Nylon Locknuts(33).
M8 x 15mm Button
Screw (34)-6
MIO x 65mm Carriage Bolt(30)-4
3O
2
33
2
33
30
4
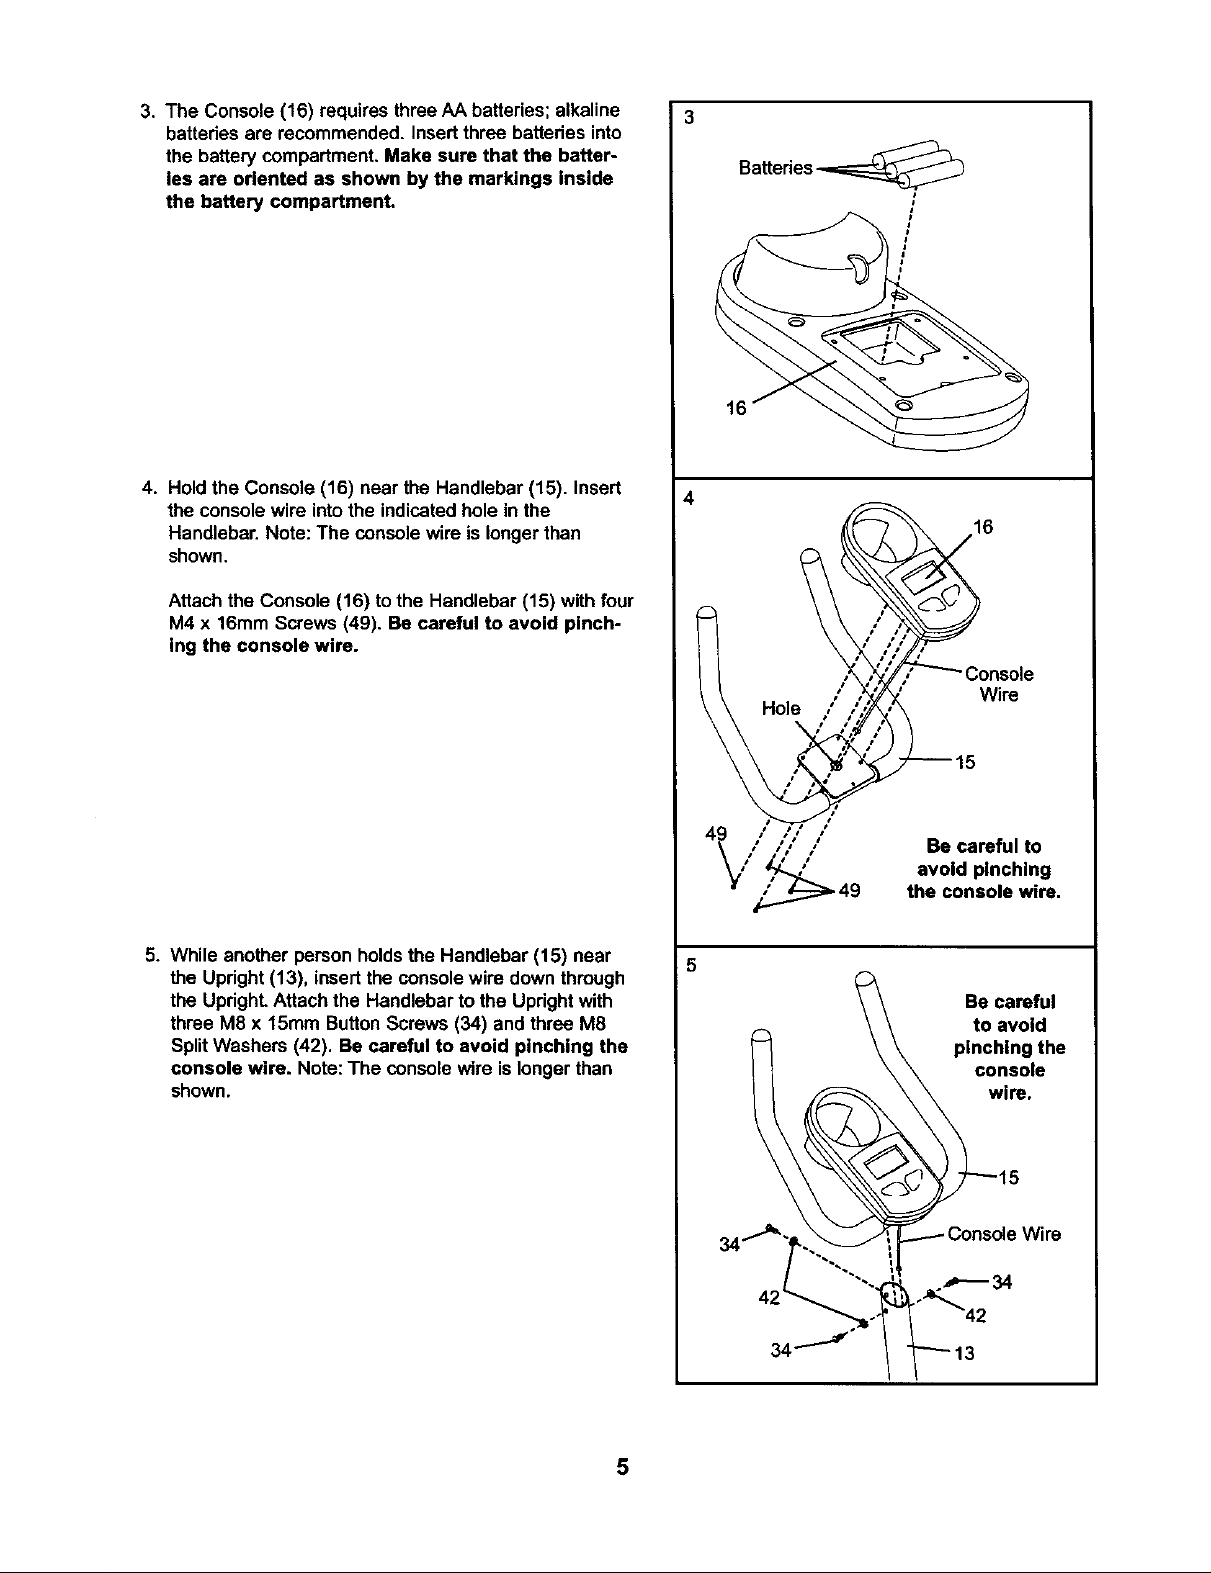
3. The Console (16) requires three AA batteries; alkaline
batteriesare recommended. Insertthree batteriesinto
the battery compartment.Make sure that the batter-
Ies are oriented as shown by the markings inside
the battery compartment.
3
Battedes_
t
J
16
4. Holdthe Console (16) near the Handlebar (15). Insert
the console wire intothe indicatedhole in the
Handlebar.Note: The consolewire is longerthan
shown.
Attach the Console (16) to the Handlebar (15) with four
M4 x 16mm Screws (49). Be careful to avoid pinch-
Ing the console wire.
5. While another personholdsthe Handlebar (15) near
the Upright(13), insert the consolewire down through
the UprighLAttach the Handlebarto the Uprightwith
three M8 x 15ram ButtonScrews (34) and three M8
SplitWashers (42). Be careful to avoid pinching the
console wire. Note:The consolewire islonger than
shown.
4
16
Wire
Be careful to
avoid pinching
the console wire.
Be careful
to avoid
pinching the
console
wire.
 Loading...