


Expansion Unit DX517 
Hardware Installation Guide

Table of Contents
Chapter 1: Before You Start
Package Contents |
3 |
Expansion Unit at a Glance |
4 |
Safety Instructions |
5 |
Chapter 2: Hardware Setup
Tools and Parts for Drive Installation |
6 |
Install Drives |
6 |
Connect with Synology DiskStation |
9 |
Replace System Fan |
9 |
Confirm Connection and Manage Storage Spaces |
10 |
Learn More |
11 |
Appedix A: Specifications
Appedix B: LED Indicator Table
Synology_QIG_DX517_20161128
2
1Chapter
Before You Start
Thank you for purchasing this Synology product! Before setting up your new expansion unit, please check the package contents to verify that you have received the items below. Also, make sure to read the safety instructions carefully to avoid harming yourself or damaging your expansion unit.
Note: All images below are for illustrative purposes only, and may differ from the actual product.
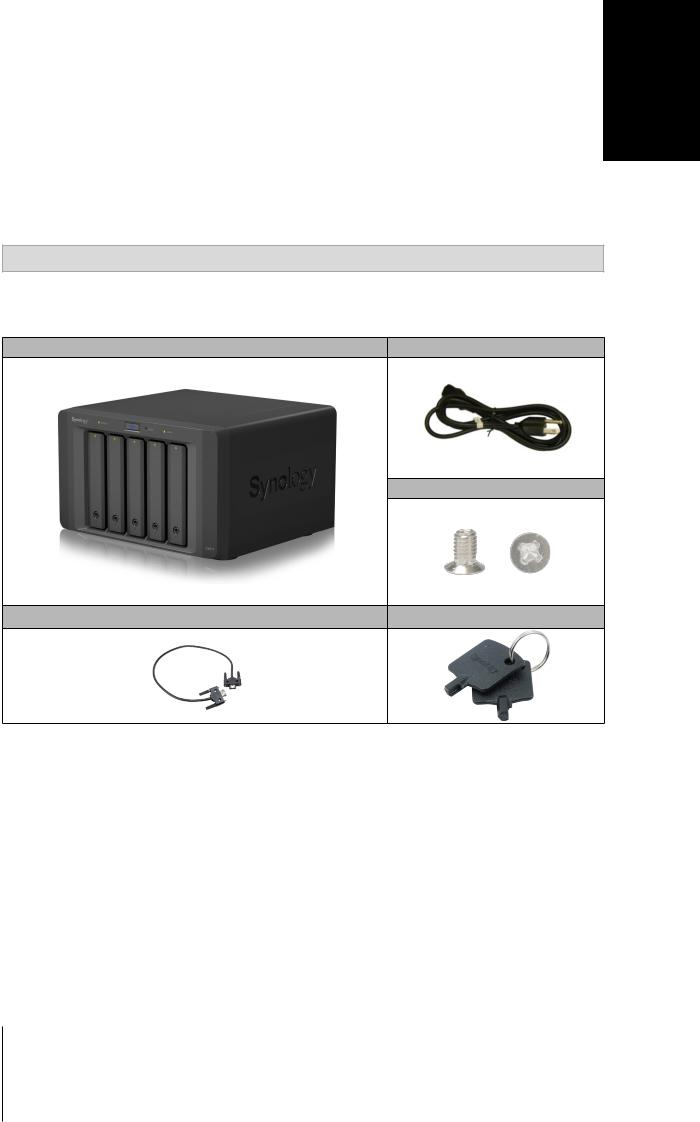
Package Contents
Main unit x 1 |
AC power cord x 1 |
Screws for 2.5” drives x 24
Expansion cable x 1 |
Drive tray key x 2 |
3

Expansion Unit at a Glance
No. |
Article Name |
Location |
Description |
|
|
|
|
|
|
1 |
LED Indicator |
|
Displays the status of internal drives and the system. For more |
|
|
information, please see Appedix B: LED Indicator Table. |
|||
|
|
|
||
|
|
|
1. Press to power on the expansion unit. |
|
|
|
|
2. Press and hold to shut down. |
|
2 |
Power Button |
Front |
Note: The expansion unit will be turned on or off automatically when the |
|
|
|
linked DiskStation powers on or off. However, the POWER button has no |
||
|
|
|
||
|
|
|
power-off function when volume is created to prevent accidental volume |
|
|
|
|
damage. |
|
3 |
Drive Tray Lock |
|
Lock or unlock drive trays. |
|
|
|
|
|
|
4 |
Drive Tray |
|
Install drives (hard disk drives or solid state drives) here. |
|
|
|
|
|
|
5 |
Power Port |
|
Connect the AC power cord here. |
|
|
|
|
|
|
6 |
Expansion Port |
Back |
Connect Synology DiskStation here. For the list of supported models, |
|
please see the Appedix A: Specifications. |
||||
|
|
|||
7 |
Fan |
|
Disposes of excess heat and cools the expansion unit. If the fan |
|
|
malfunctions, the ALERT LED indicator will show a blinking red light. |
|||
|
|
|
4 Chapter 1: Before You Start
 Loading...