


DS720+
Table of contents
 Loading...
Synology NAS DS720+
Hardware Installation Guide

Table of Contents
Chapter 1: Before You Start
Package Contents 3
Synology DS720+ at a Glance 4
LED Indicator Table 5
Hardware Specications 6
Optional Accessories 7
Spare Parts 7
Safety Instructions 8
Chapter 2: Hardware Setup
Tools and Parts for Component Installation 9
Install Drives 9
Start Up Your Synology NAS 11
Add a Memory Module on Synology NAS 12
Add an M.2 NVMe SSD to Synology NAS 13
Chapter 3: System Maintenance
Initial Troubleshooting Guide 15
Chapter 4: Install DSM on Synology NAS
Install DSM with Web Assistant 16
Learn More 16
Synology_HIG_DS720+_20200204
2
Before You Start
Thank you for purchasing this Synology product! Before setting up your new Synology NAS, please check the
package contents to verify that you have received the items below. Also, make sure to read the safety instructions
carefully to avoid harming yourself or damaging your Synology NAS.
Note:
All images below are for illustrative purposes only, and may dier from the actual product.
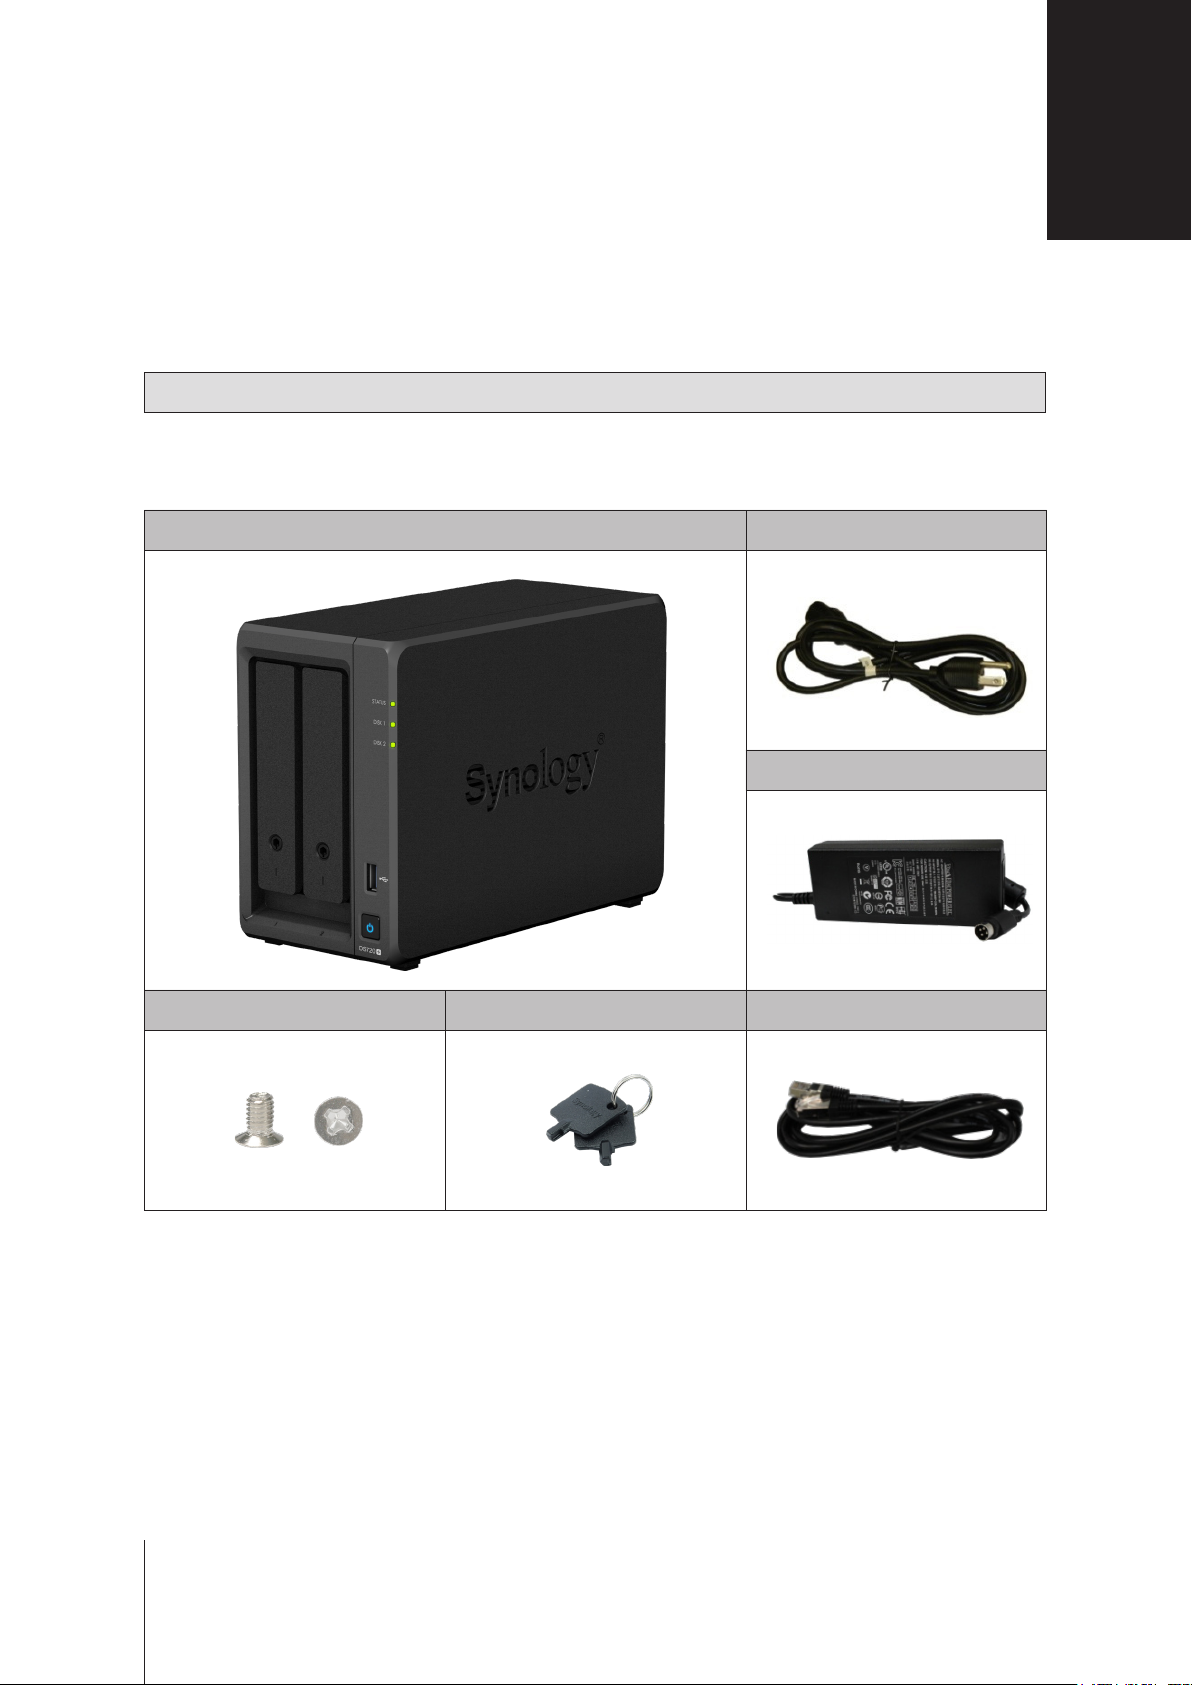
Package Contents
Main unit x 1 AC power cord x 1
Chapter
1
AC power adapter x 1
Screws for 2.5" hard drives x 10 Hard drive tray key x 2 RJ-45 LAN cable x 2
3
Synology DS720+ at a Glance
1
3
4
7
8
2
No. Article Name Location Description
9
5
10
6
11
12
13
1
2
3
4
5
6
7
8
9
10
Drive Tray
Drive Tray Lock Lock or unlock drive trays.
Status Indicator
Drive Status
Indicator
USB 3.0 Port Connect external drives or other USB devices to the Synology NAS here.
Power Button
Fan
LAN Port Connect a network cable here.
RESET Button
eSATA Port
Front
Rear
Install drives (hard disk drives or solid state drives) here.
Displays the status of the system. For more information, see "LED Indicator
Table".
Displays the status of each drive. For more information, see "LED Indicator
Table".
1. Press to power on your Synology NAS.
2. To power o your Synology NAS, press and hold until you hear a beep
sound and the Power LED starts blinking.
Disposes of excess heat and cools the system. If the fan malfunctions, the
Synology NAS will emit a beeping sound.
1. Press and hold until you hear a beep sound to restore the IP address,
DNS server, and password for the admin account to default.
2. Press and hold until you hear a beep, then press and hold again until you
hear three beeps to return the Synology NAS to “Not Installed” status so
that DiskStation Manager (DSM) can be reinstalled.
Connect external SATA drives or Synology Expansion Unit1 to the
Synology NAS
here.
11
12
13
1
For more information about Synology Expansion Unit supported by your Synology NAS, please visit
Power Port Connect power cord here.
Kensington
Security Slot
USB 3.0 Port Connect external drives or other USB devices to the Synology NAS here.
Attach a Kensington security lock here.
4 Chapter 1: Before You Start
www.synology.com
.
LED Indicator Table
LED Indicator Color Status Description
Green Static Volume normal
Volume degraded/Volume crashed
Appendix
STATUS
Disk 1-2
Power
Rear LAN
(on upper side of jack)
Rear LAN
(on lower side of jack)
Orange Blinking
O HDD hibernation
Static Drive ready and idle
Green
Blinking Accessing drive
Orange Static Drive error/Port disabled
O No internal drive/Advanced HDD hibernation
Static Powered on
Blue
Blinking Booting up/Shutting down
O Powered o
Static Network connected
Green
Blinking Network active
O No network
Green Static Gigabit connection
Orange Static 100 Mbps connection
O 10 Mbps connection/No network
Volume not created
DSM not installed
1
Note:
Model specications are subject to change without notice. Please refer to
1
Please try to restart your Synology NAS or re-insert the drives, then run the HDD/SSD manufacturer's diagnostic tool to check the health
status of the drives. If you can log into DSM, please run the built-in S.M.A.R.T. test to scan the drives. If the problem remains unresolved,
please contact Synology Technical Support for help.
www.synology.com
for the latest information.
5 Chapter 1: Before You Start
5
Hardware Specications
Item DS720+
Compatible Drive Type
Maximum Internal Raw Capacity 32 TB (2 X 16 TB HDD)
External Port
LAN Ports 1GbE (RJ-45) x 2
Size (H x W x D) (mm) 166 x 106 x 223
Weight (kg) 1.51
Supported Client
File Systems
Supported RAID Types
Agency Certications
HDD Hibernation Yes
Scheduled Power On/O Yes
• External: Btrfs, ext4, ext3, FAT, NTFS, HFS+, exFAT
• Synology Hybrid Raid (1-Disk Fault Tolerance)
• FCC Class B • CE Class B • BSMI Class B
• EAC • VCCI • CCC • RCM • RoHS Compliant
• 3.5"/2.5" SATA x 2
• M.2 2280 NVMe SSD x 2
• USB 3.0 x 2
• eSATA x 1
• Windows 7 and 10
• Mac OS X 10.11 onward
• Internal: Btrfs, ext4
• Basic • JBOD • RAID 0 • RAID 1
1
Wake on LAN Yes
Language Localization
Environment Requirements
Note:
Model specications are subject to change without notice. Please refer to
• Operating Temperature: 32 to 104˚F (0 to 40˚C)
• Storage Temperature: -5 to 140˚F (-20 to 60˚C)
• Line voltage: 100 V to 240 V AC
• Frequency: 50/60 Hz
• Relative Humidity: 5% to 95% RH
www.synology.com
for the latest information.
1
Support for exFAT can be enabled by purchasing and downloading exFAT Access in Package Center.
6 Chapter 1: Before You Start
6
Optional Accessories
With Synology accessories, you can customize your Synology NAS to t dierent business environments without
worrying about compatibility and stability. Visit www.synology.com/compatibility for more information.
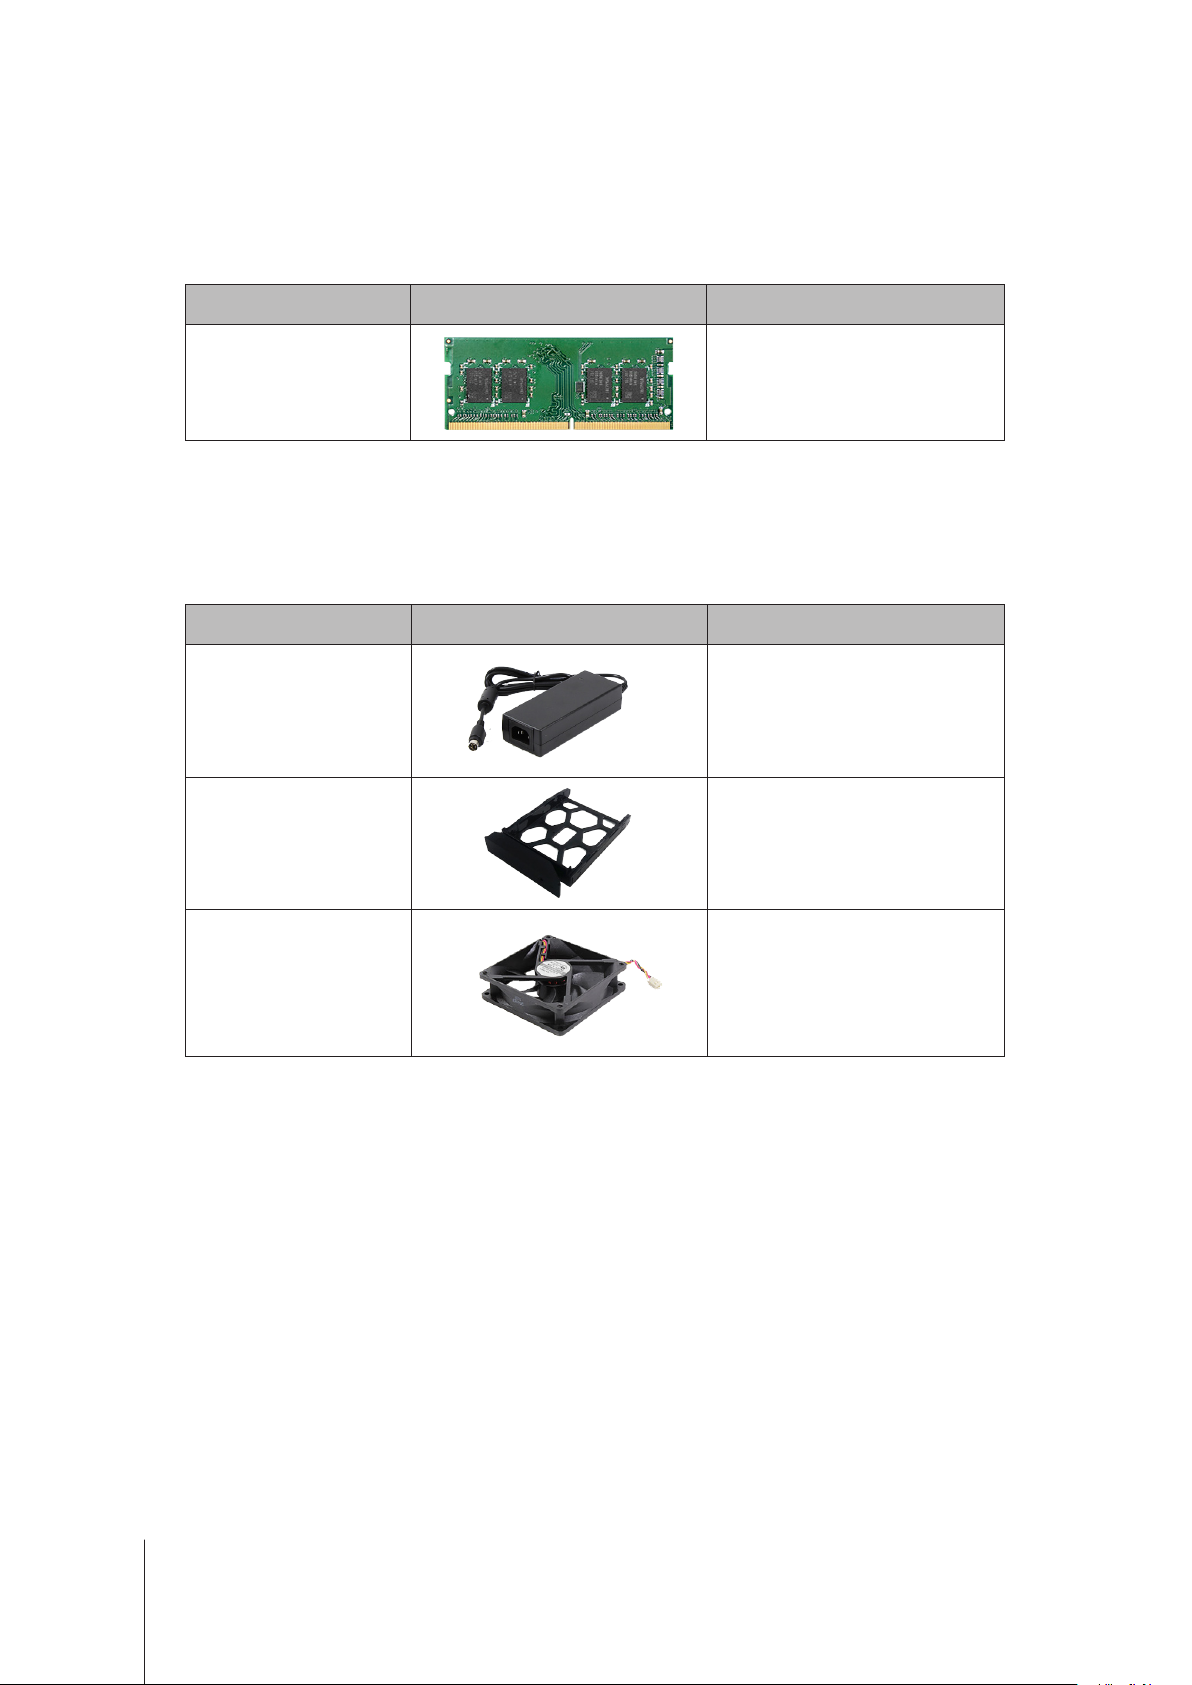
Memory Module
•
Model Name Picture Description
D4NESO-2666-4G
DDR4 non-ECC unbuered
SO-DIMM 4GB
Spare Parts
Visit www.synology.com/products/spare_parts if you need to replace system fans, disk trays, or power supply
units.
Model Name Picture Description
Adapter 65W_2
Disk Tray (Type D9) 3.5"/2.5" HDD Tray With Locker
Adapter 65W Level VI
Fan 92*92*25_1 System Fan 92*92*25 mm
7
Chapter 1: Before You Start
Loading...