


Chronis Smoove Series
SOMFY Chronis Smoove Series, Soliris Smoove UNO, Schronis Smoove IB+, Soliris Smoove Series, Soliris Smoove IB+ Operating Instructions Manual
...
www.somfy.com
Interactive operating instructions
Ref. 5129502A
Chronis Smoove UNO
Chronis Smoove UNO S
Chronis Smoove IB+
Soliris Smoove UNO
Soliris Smoove IB+
IB+
Chronis
& Soliris Smoove

2/40
Copyright © 2016 Somfy SAS. All rights reserved. Non contractual images
Chronis & Soliris Smoove
[ Back to Contents ]
Interactive operating instructions
Thank you for choosing this Somfy product.
Simply elegant
Somfy is proud to present you two new ranges of touch-sensitive buttons, wired, automatic controls
with timeless and sleek design.
Chronis Smoove Uno and IB+ range:
Time is controlled thanks to these programmable clocks for automatic opening/closing of motorized
equipment (roller shutters, external venetian blinds, external blinds). These controls can be used in
3 ways: in manual mode, in automatic mode, or in simulated presence mode.
The Chronis Smoove UNO S and Chronis Smoove IB+ can be associated with an io homecontrol® sun
sensor.
Soliris Smoove Uno and IB+ range:
Climate is controlled thanks to an automated system for opening/closing the motorized equipment
(patio awnings, interior blinds, roller shutters, external venetian blinds, external blinds) depending on
sunlight or outdoor weather conditions (wind/rain). These controls can be used in 3 ways: in manual
mode, in automatic mode, or in simulated presence mode.
The Soliris Smoove UNO and Soliris Smoove IB+ can be associated with an io homecontrol® sun
sensor and also wired sensors (sun/light, rain, wind sensors).
The UNO versions are dedicated to control one motor.
The IB+ versions are dedicated to IB+ motor controller devices (1 to 3 channels).
Interactive operating instructions
This full manual describes the operating instructions to make the best use of the 5 products of the
new Chronis & Soliris Smoove ranges:
• Chronis Smoove UNO
• Chronis Smoove UNO S
• Chronis Smoove IB+
• Soliris Smoove UNO
• Soliris Smoove IB+
To find the common or specific functions of each product, consult the following table Functions of the
5 products : available functions of each product are indicated by a small icon.
The table of Contents presents all instructions for the 5 products. When a chapter describes a
function that does not apply to all products, the concerned products are indicated in the heading of
the chapter.
This manual is interactive:
• Click on each title or page number in the table of Contents to access it directly.
• Click on [ Back to Contents ] at the bottom of each page to return to table of Contents.
WELCOME PAGE
3/40
Copyright © 2016 Somfy SAS. All rights reserved. Non contractual images
Chronis & Soliris Smoove
[ Back to Contents ]
Interactive operating instructions
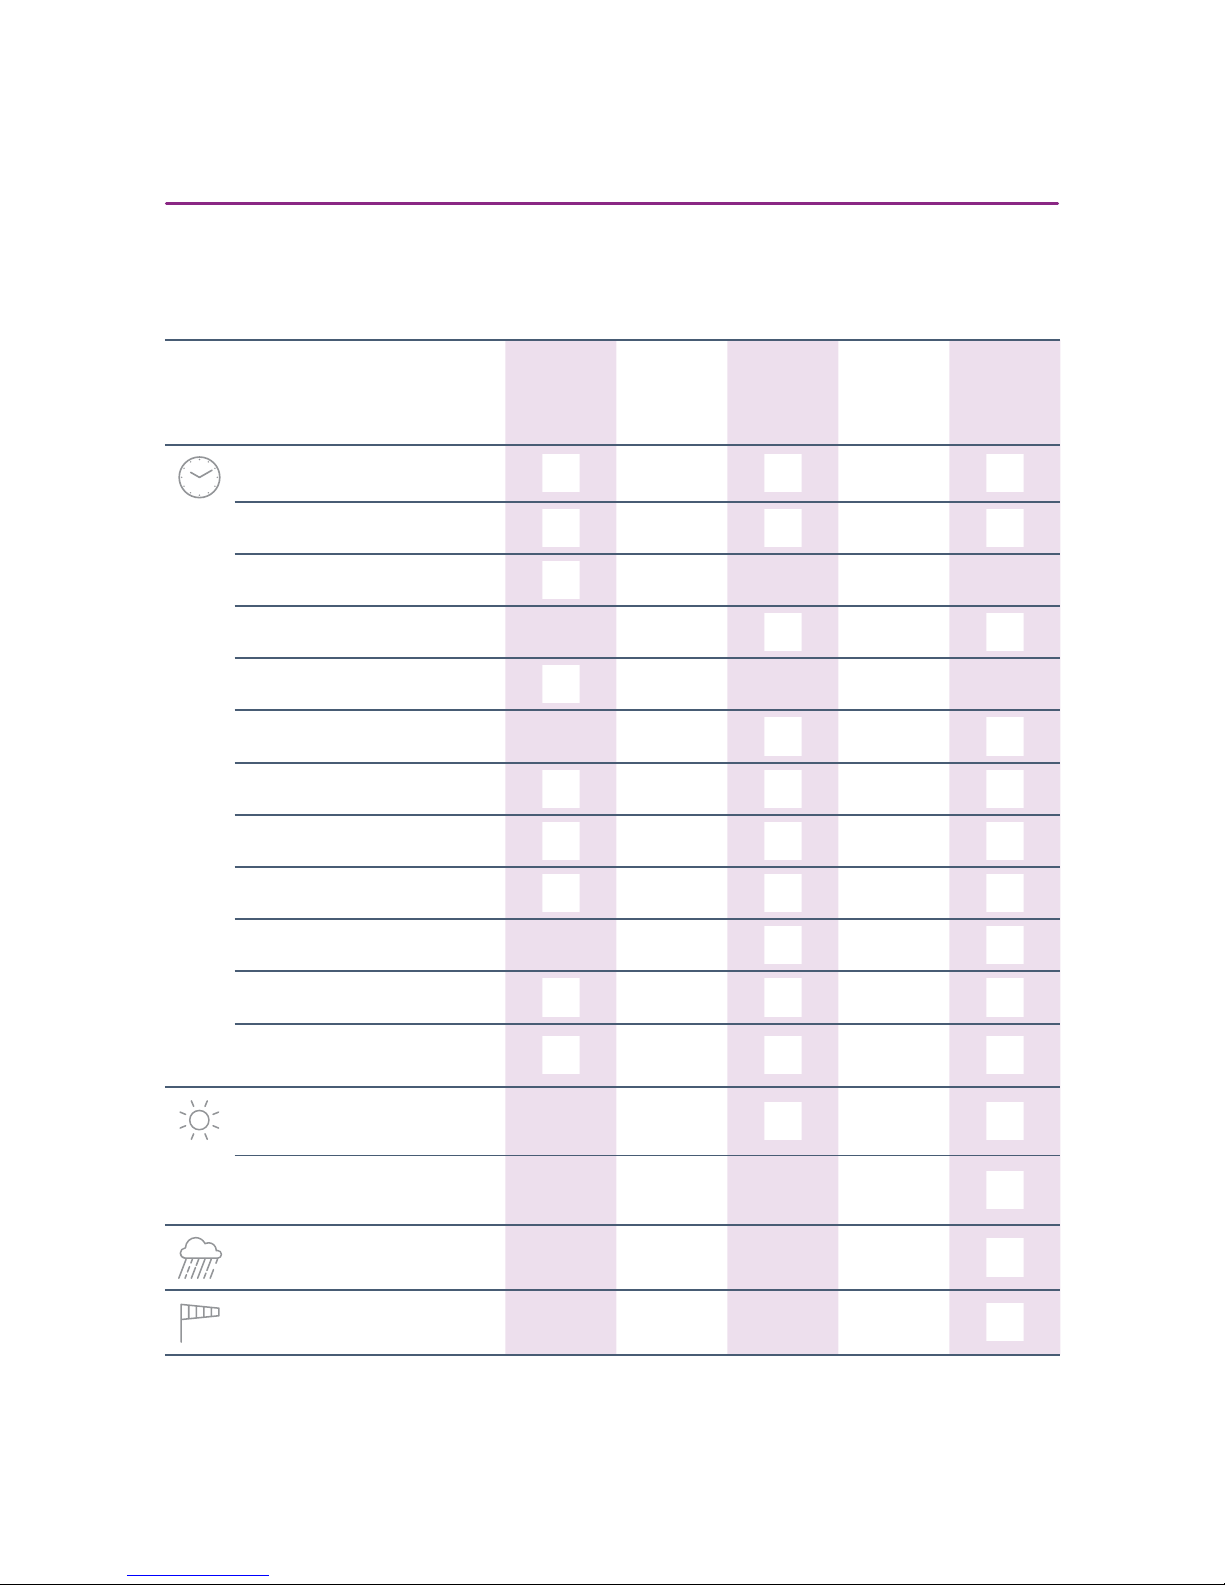
Functions of the 5 products
Features
Chronis
Smoove
UNO
Chronis
Smoove
UNO S
Chronis
Smoove
IB +
Soliris
Smoove
UNO
Soliris
Smoove
IB +
TemperatureCloud
Light
Audi/Video Entry door
Wall mounted control
Air conditioning
Alarm
Intercom
Fire
Week program
+ pre-programmed days
Backlight
1 channel
1 to 3 channels
2 orders/day
4 orders/day
Presence simulation
Automatic Summer/Winter time
Sunset (in the control)
Sunrise (in the control)
Auto from
Optional settings
and copy/paste with a tool
Façade wireless io sun sensor :
sun protection, sunrise & sunset
Sun sensor (wired) :
sun protection, sunrise & sunset
TemperatureCloud
Sun / day Wind Heating
Light
Air conditioning
Alarm
Intercom
Fire
Rain sensor (wired only)
Wind sensor (wired only)
PRODUCTS & FUNCTIONS

4/40
Copyright © 2016 Somfy SAS. All rights reserved. Non contractual images
Chronis & Soliris Smoove
Interactive operating instructions
CONTENTS
[ Interactive instructions ]
You can click on each title to access it directly.
1. DESCRIPTION OF FUNCTIONS 5
1.1. UNO Versions - for controlling a 230V AC single motor 5
1.2. IB+ Versions - for controlling Smoove devices with IB+ input 5
2. SOFT KEY FUNCTIONS 6
3. DISPLAY 7
4. STARTING UP 8
4.1. Language 8
4.2. Time and Date 8
4.3. Type of End products 8
4.4. Runtime setup 9
4.5. Sun/light Sensor 10
4.6. Wind Sensor (Soliris versions) 11
4.7. Rain Sensor (Soliris versions) 12
4.8. End of initial settings 12
5. MANUAL MOVE COMMAND 13
6. QUICK MENU 14
6.1. Automatic 14
6.2. Auto from 14
6.3. Holiday mode 15
6.4. Manual 15
6.5. Settings 15
7. SETTINGS MENU 16
7.1. Program Timer / Cycle Times 16
7.2. Sun Function 21
7.3. Wind Function (Soliris versions) 26
7.4. Rain Function (Soliris versions) 28
7.5. Configuration in the "Normal" operating mode 30
7.6. Configuration in Professional Operating Mode 32
7.7. Additional functions in Expert Mode 37
8. TECHNICAL DATA 39

5/40
Copyright © 2016 Somfy SAS. All rights reserved. Non contractual images
Chronis & Soliris Smoove
[ Back to Contents ]
Interactive operating instructions
1. DESCRIPTION OF FUNCTIONS
1.1. UNO Versions - for controlling a 230V AC single motor
Chronis Smoove UNO
Automatic and manual control of a motor for roller shutters, Venetian blinds or awnings. Up to two
time-dependent control commands per day. Settings for the device over a backlit menu display.
Chronis Smoove UNO S
Automatic and manual control of a motor for roller shutters, Venetian blinds or awnings. Sun- and
sunset-dependent control. Up to 4 time-dependent control commands per day. Settings for the device
over a backlit menu display.
Soliris Smoove UNO
Automatic and manual control of a motor for roller shutters, Venetian blinds or awnings. Weatherdependent control (wind, rain, sun/light, and sunset). Up to 4 time-dependent control commands per
day. Settings for the device over a backlit menu display.
1.2. IB+ Versions - for controlling Smoove devices with IB+ input
Important: The settings on Chronis / Soliris Smoove IB+ Smoove devices must be matched with the
installed Smoove devices. Current Smoove devices are fitted with an IB+ Bus input. Previous versions
have an IB Bus input. With systems that have IB, as well as IB+ Smoove devices, the IB+ operating
mode must be selected in all cases.
Chronis Smoove IB+
Automatic and manual control of a motor for roller shutters, Venetian blinds or awnings. Sun- and
sunset-dependent control. Up to 4 time-dependent control commands per day. Using a Chronis
Smoove IB+ device, up to 100 IB/IB+ motor controller devices can be controlled. Settings for the
device over a backlit menu.
Warning: All connected end products must be of the same type (e.g. all Venetian blinds).
Soliris Smoove IB+
Automatic and manual control of multiple motors for roller shutters, Venetian blinds or awnings.
Weather-dependent control (wind, rain, sun/light, and sunset). Up to 4 time-dependent control
commands per day. Using a Soliris Smoove IB+ device, up to 100 IB/IB+ Smoove devices can be
controlled. Settings for the device over a backlit menu display.
Warning: All connected end products must be of the same type (e.g. all Venetian blinds).

6/40
Copyright © 2016 Somfy SAS. All rights reserved. Non contractual images
Chronis & Soliris Smoove
[ Back to Contents ]
Interactive operating instructions
2. SOFT KEY FUNCTIONS
1:
- In the main display: shows the sensors activated under the line for 5 seconds
- In the settings: back to a higher menu
- In the Quick Menu: back to main display
2:
- Moves end products upwards or downwards
- For setting the function: value change, operating the cursor
- For navigating between menus
3:
- Stop function when the end product is moving
- Go to "my" Position when the end product is stopped
- Setting of "my" Position
4:
- In the main display: with a short press, go to "Quick Menu"
- In the main display: with a long press (> 2 secs.), go to "Configuration menu"
- In the settings: confirm a setting / value
4
1
2
3
7/40
Copyright © 2016 Somfy SAS. All rights reserved. Non contractual images
Chronis & Soliris Smoove
[ Back to Contents ]
Interactive operating instructions
3. DISPLAY
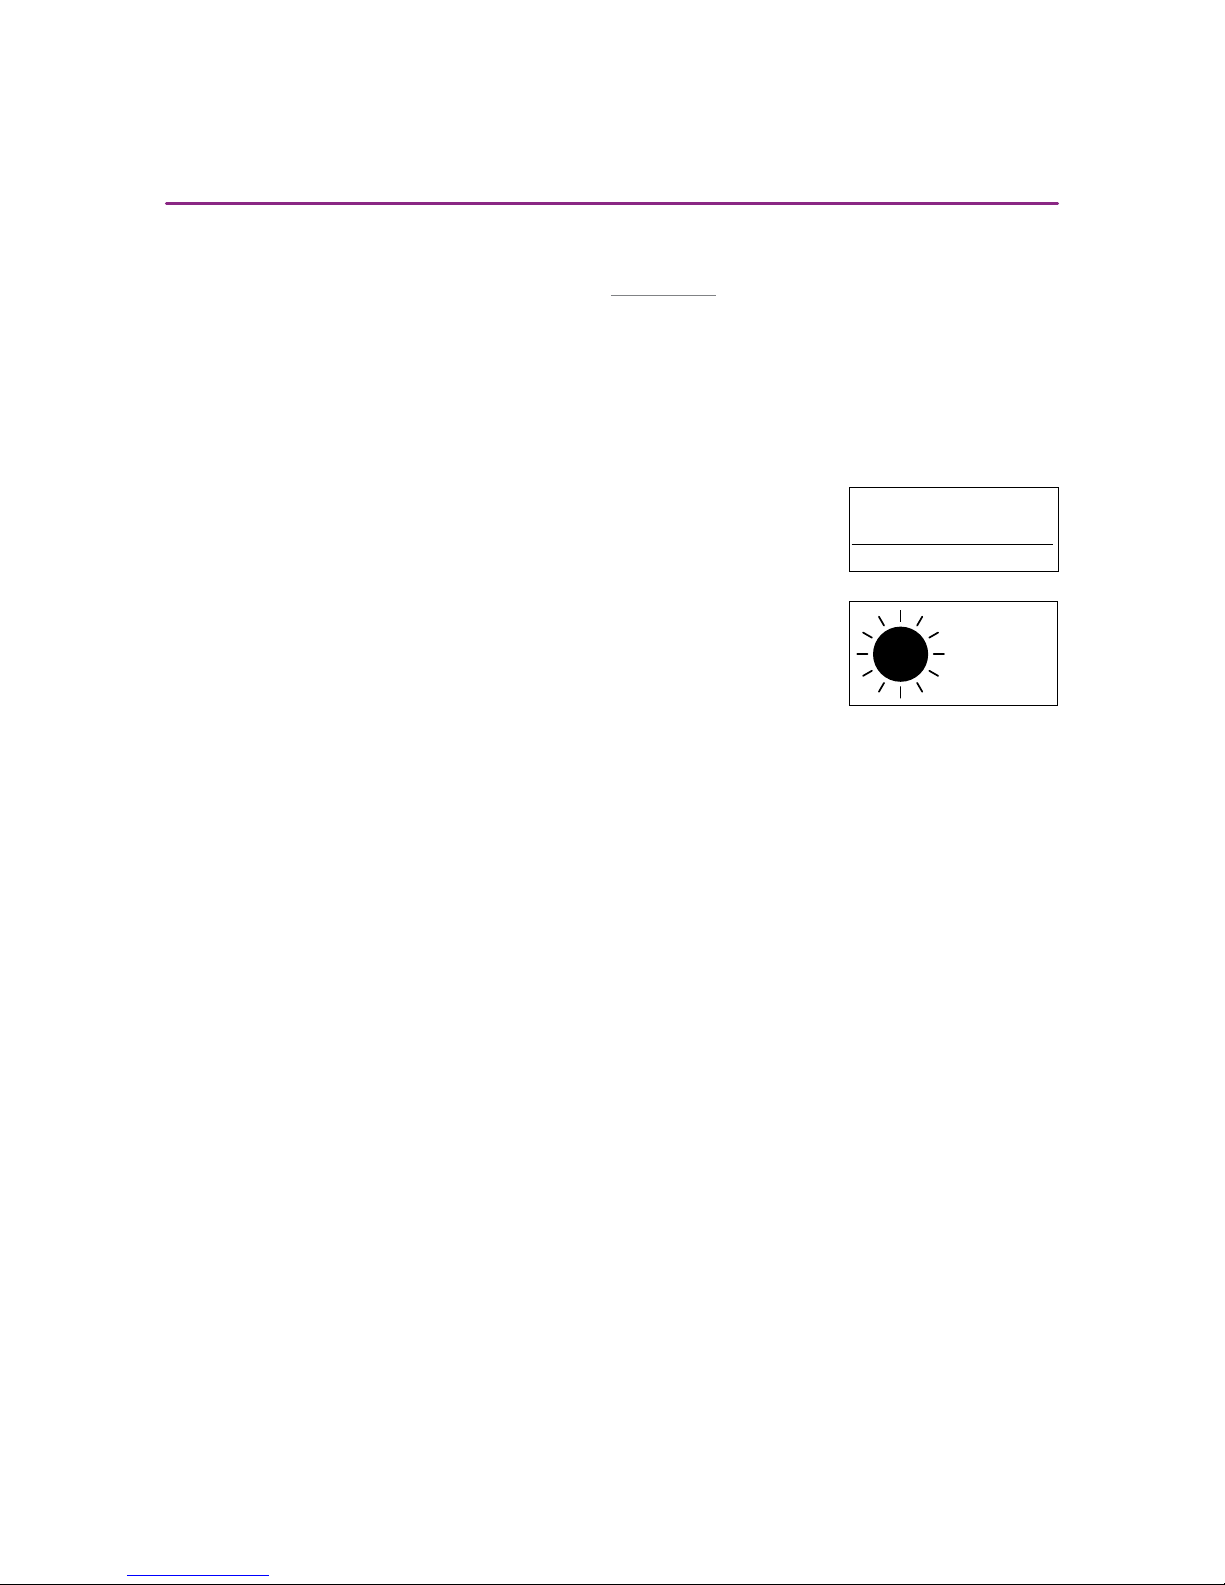
The display is fitted with a lit background. In the main menu, the display shows the time of day and,
depending on the type of operation (see Chapter "Quick Menu"), the activated function (picture 1), as
well as when a function is currently active (picture 2).
Stand-by-Mode:
Aer 3 minutes without touching, the lighting on the display switches off. By touching a so key, the
lighting is activated again without setting off a command.
Main menu with activated (switched on) sensor functions (only for Chronis
Smoove Uno S and Soliris).
Main display, when an automatic function, e.g. the sun function, is
activated.
Sensor(s) enabled
08:23
1
POS.
2
8/40
Copyright © 2016 Somfy SAS. All rights reserved. Non contractual images
Chronis & Soliris Smoove
[ Back to Contents ]
Interactive operating instructions
Important: When installing, check whether the adapter for the logic module fits (the backside of both
parts is labeled). If the wrong adapter is used unintentionally, the following message is displayed:
"WARNING - not compatible". The logic module or adapter hereby will not be damaged.
If the device has not been put into operation yet, you are automatically guided through the basic
settings.
If the device has already been put into operation, go directly to the next chapter "Manual move
command".
The basic settings are to be followed step by step:
- To go to the next sep, the configuration must be confirmed.
- Use the so key to go back to the previous step.
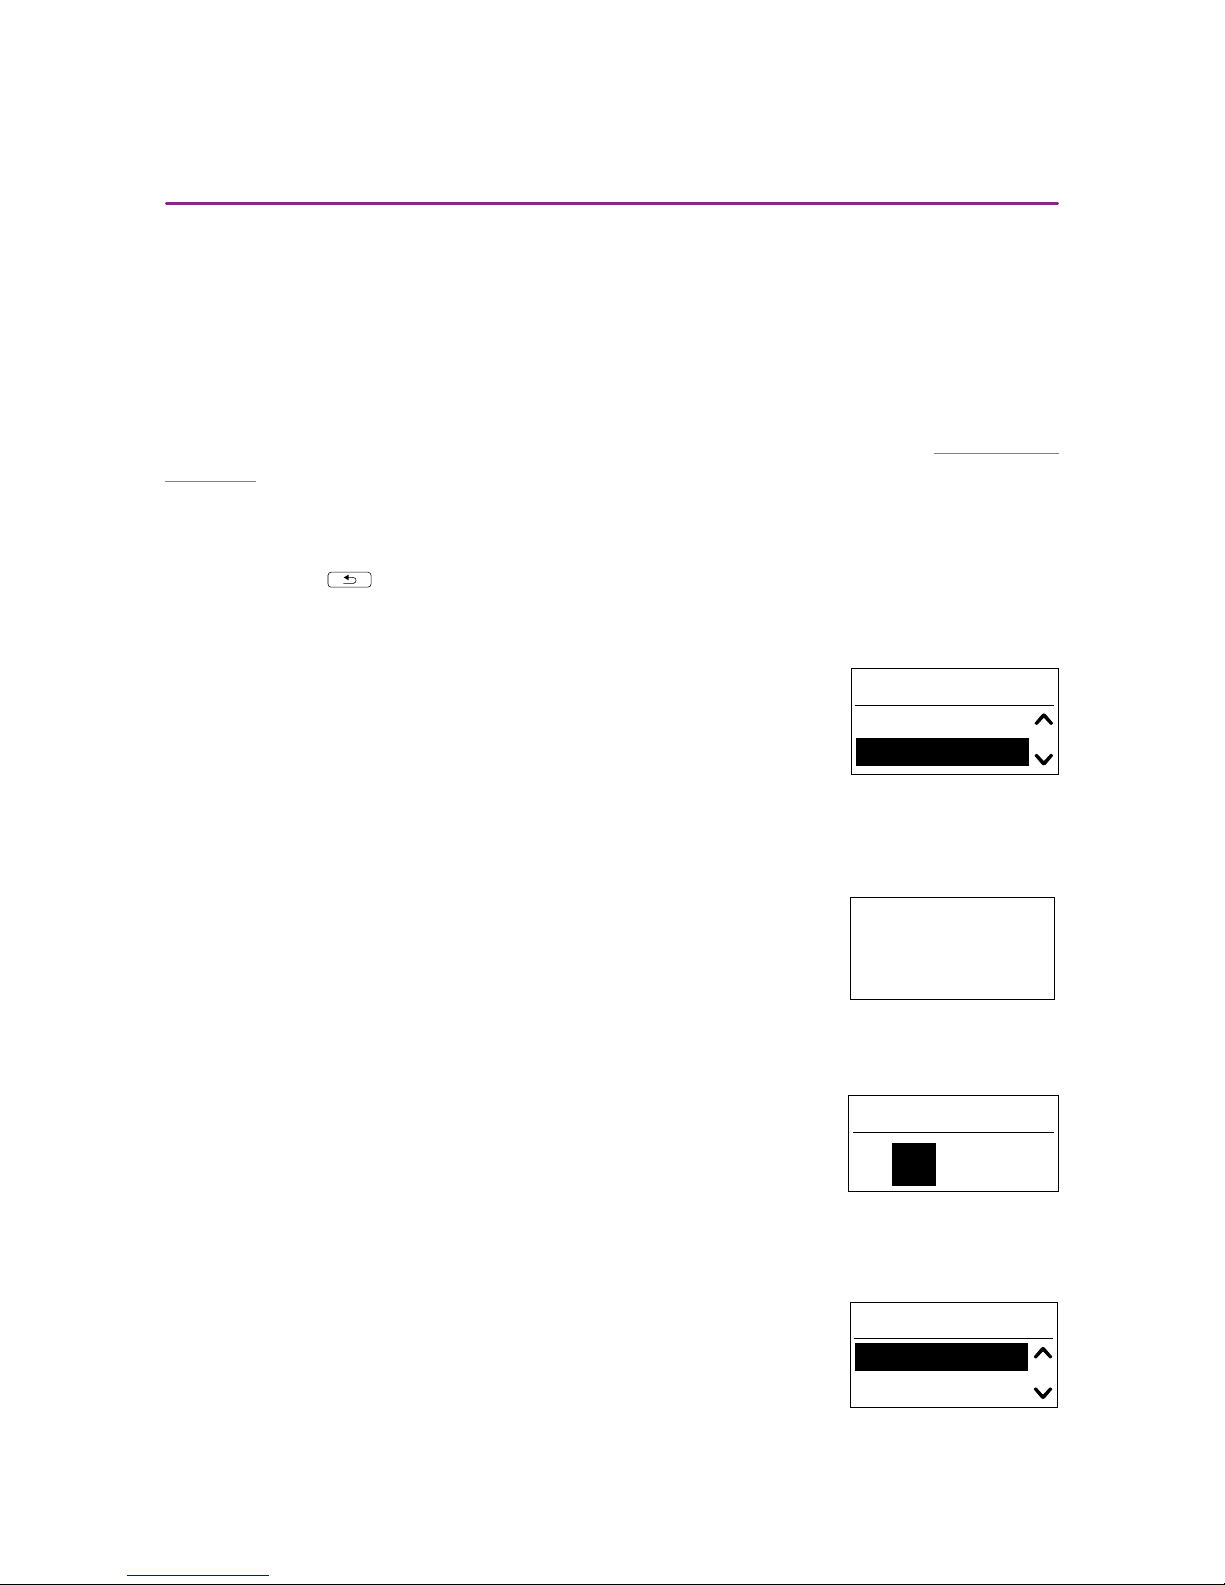
4.1. Language
1. Choose the display language.
2. Confirm your selection.
4.2. Time and Date
Time
1. Set the time / hours between 00 and 23 hrs and confirm.
2. Set the minutes and confirm.
Tip: Press longer on the so key to change the values quicker.
Date
1. Set the day and confirm.
2. Repeat to set the month and year.
Tip: Press longer on the so key to change the values quicker.
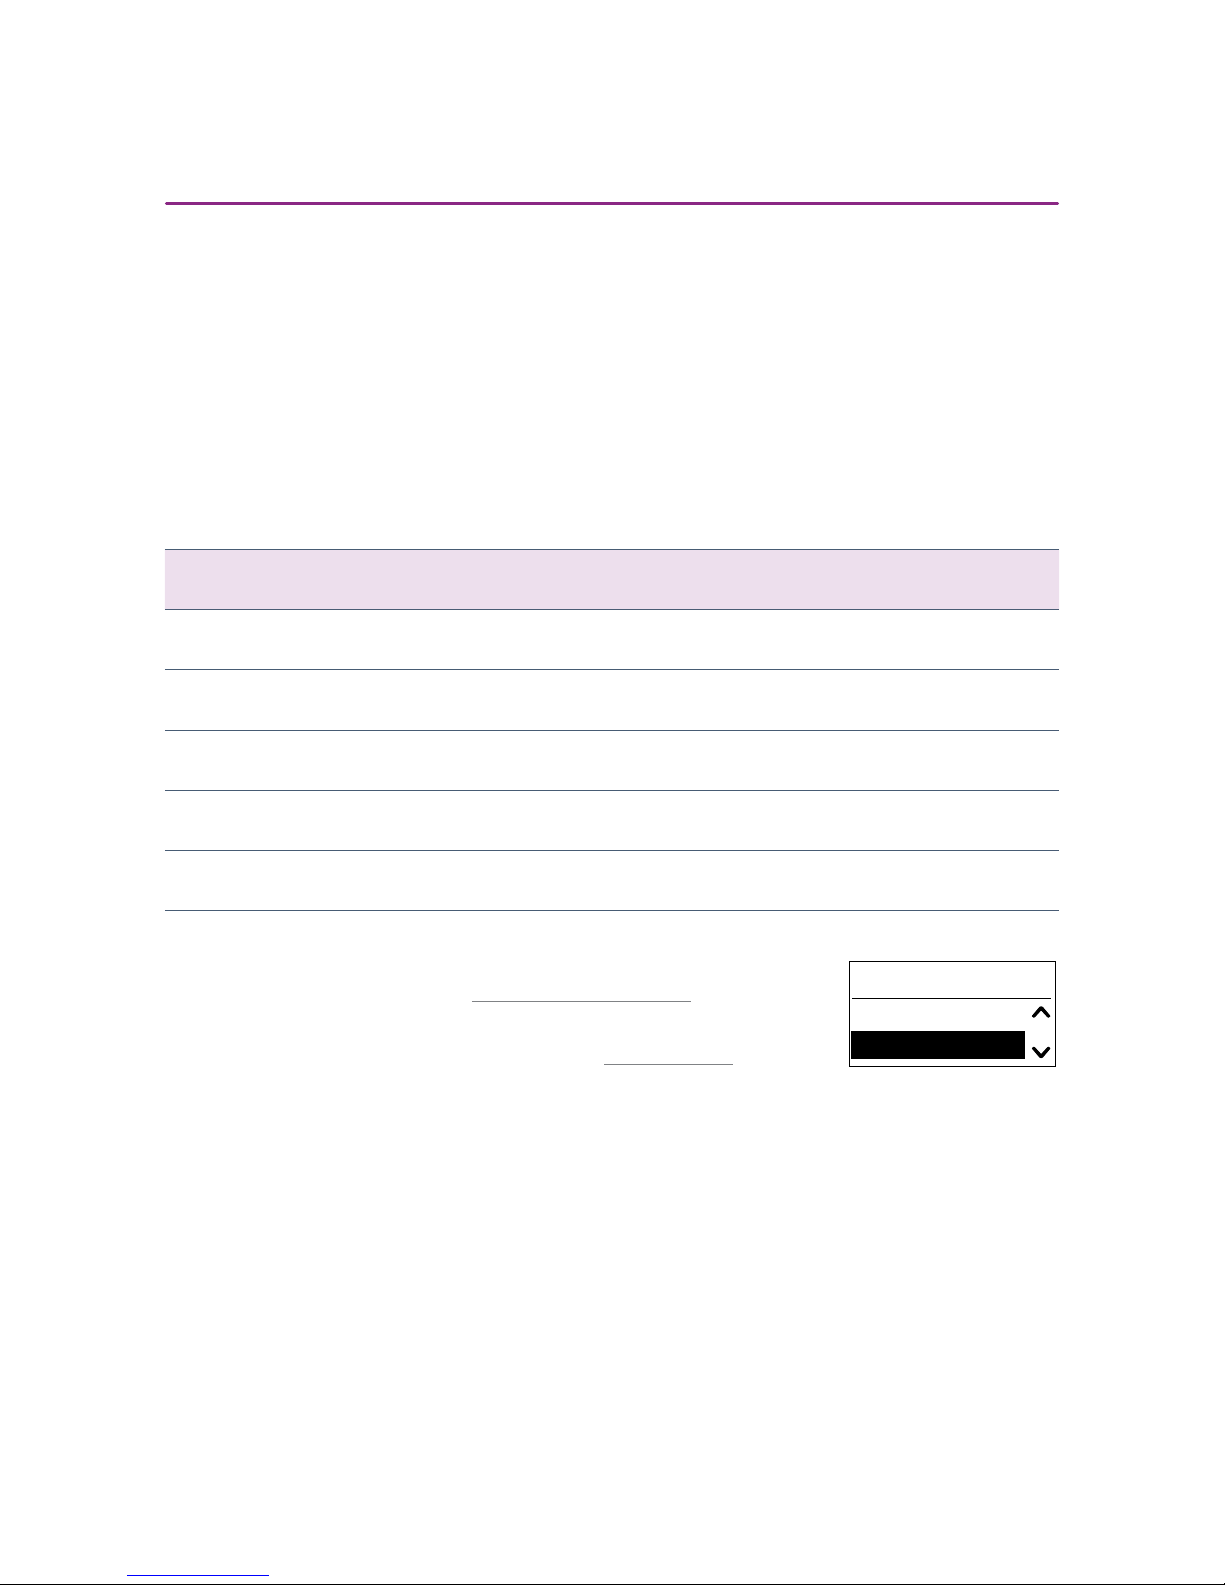
4.3. Type of End products
1. Choose the connected end product between roller shutters, awnings
and Venetian blinds.
2. Confirm your selection.
4. STARTING UP
Language
English
German
10:41
14 .12.15
Date
Producttyp setup
Roller shutter
Venetian blinds
9/40
Copyright © 2016 Somfy SAS. All rights reserved. Non contractual images
Chronis & Soliris Smoove
[ Back to Contents ]
Interactive operating instructions
4. STARTING UP
4.4. Runtime setup
Runtime is the time a roller shutter, Venetian blind or awning requires for a complete move from
moved-in position to moved-out position. Runtime is also dependent on the height of the end products
and is a decisive factor for the correct moving to the intermediate positions (e.g. my-position, glare
protection and sun protection).
To set runtime, there are two possibilities available: manual or automatic.
Manual
Time can be set only when runtime of an end product has been determined (e.g. timed with a
stopwatch).
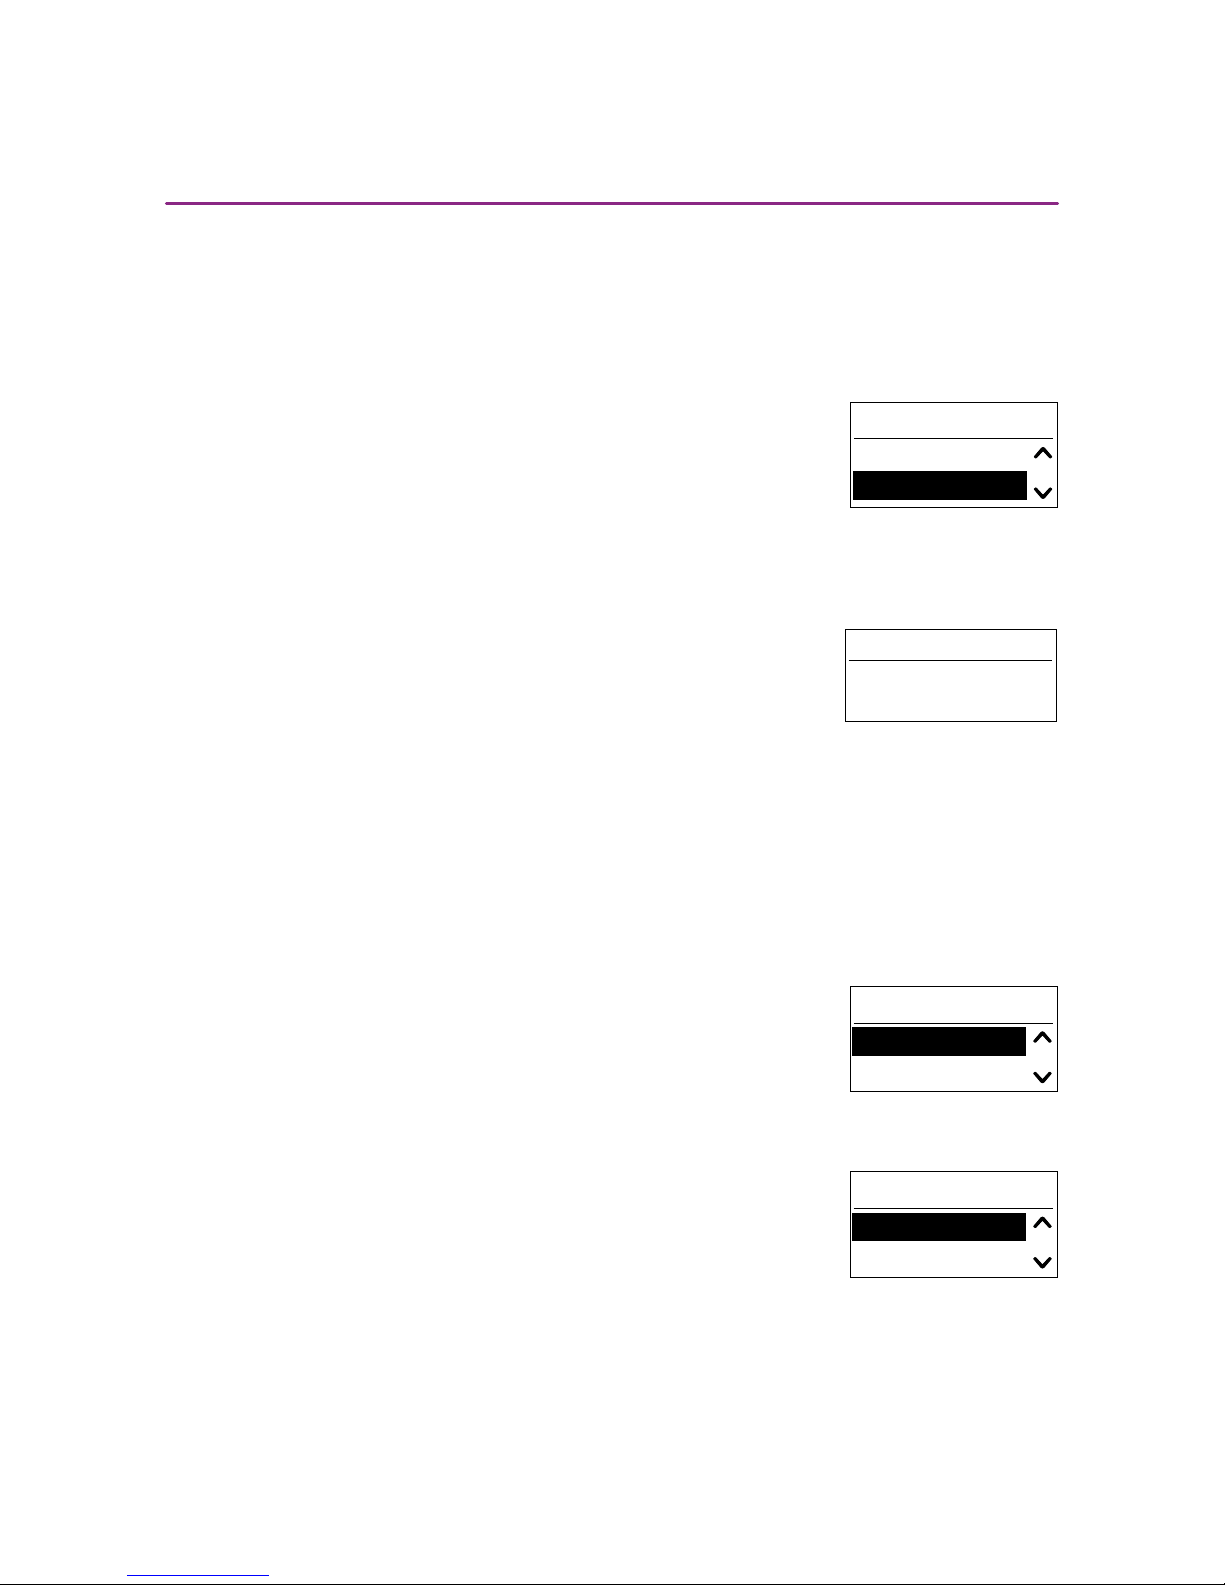
1. First set the minutes, up to 5, and confirm.
2. Then set the seconds and confirm .
Automatic
When runtime of the product is unknown, this can be set automatically.
Move end products upwards
The end products must be in the top-end position. This position is given as a reference point for the
exact positioning of the end products in "my" Position, glare protection or in sun protection position.
1. With the DOWN arrow, select "Start".
> The end products move up.
2. When they have reached the top, select "Stop".
Setting up Runtime
1. With the so key, select "ok/menu".
2. With the DOWN arrow, select "Start".
> The end products move down.
3. When the end products have reached the bottom, confirm with
"ok/menu".
Runtime setup
Manual
Automatic
00m:15s
Manual runtime setup
Move product up
Stop
Start
Auto runtime setup
Stop
Start
10/40
Copyright © 2016 Somfy SAS. All rights reserved. Non contractual images
Chronis & Soliris Smoove
[ Back to Contents ]
Interactive operating instructions
4.5. Sun/light Sensor
- The wired sun/light sensor measures the actual brightness value that the sun function
requires.
- The radio sun/light sensor measures the actual brightness value that the Sun and Sunrise/
sunset Functions require.
Select the sensor between radio sensor, wired sensor or no sensor, and confirm.
Note: Not all devices provide the possibilities mentioned above. See the selection table below.
Radio sensor Wired sensor
Chronis Smoove Uno
Chronis Smoove Uno S X
Chronis Smoove IB+ X
Soliris Smoove Uno X X
Soliris Smoove IB+ X X
- With "Radio sensor", you must pair the Sunis Wirefree io with
the device (see chapter "Pairing the Radio Sensor").
- With "No sensor", you can select a sensor later in the configuration of the Sun Functions (see chapter "Settings menu").
Warning: When the radio sensor (Sunis Wirefree io) is already paired to another device, select the "No
sensor" option. You can pair the sensor later in the configuration of the Sun Functions.
Light sensor setup
Radio sensor
No sensor
4. STARTING UP

11/40
Copyright © 2016 Somfy SAS. All rights reserved. Non contractual images
Chronis & Soliris Smoove
[ Back to Contents ]
Interactive operating instructions
4.6. Wind Sensor (Soliris versions)
- The wind sensor measures the actual wind speed that the Wind Function requires.
Select the sensor between wired or no sensor, and confirm.
Note: Not all devices provide the possibilities mentioned above. See the selection table below.
Wired sensor
Chronis Smoove Uno
Chronis Smoove Uno S
Chronis Smoove IB+
Soliris Smoove Uno X
Soliris Smoove IB+ X
- With "No sensor", you can select a sensor later in the configuration of the Wind Function (see chapter "Wind Function (Soliris
versions)").
Wind sensor setup
Wired sensor
No sensor
4. STARTING UP
12/40
Copyright © 2016 Somfy SAS. All rights reserved. Non contractual images
Chronis & Soliris Smoove
[ Back to Contents ]
Interactive operating instructions
4.7. Rain Sensor (Soliris versions)
- The rain sensor detects rain that the Rain Function requires.
Select the sensor between wired sensor or no sensor, and confirm.
Note: Not all devices provide the possibilities mentioned above. See the selection table below.
Wired sensor
Chronis Smoove Uno
Chronis Smoove Uno S
Chronis Smoove IB+
Soliris Smoove Uno X
Soliris Smoove IB+ X
- With "No sensor", you can select a sensor later in the configuration of the rain function (see chapter "Rain Function (Soliris
versions)").
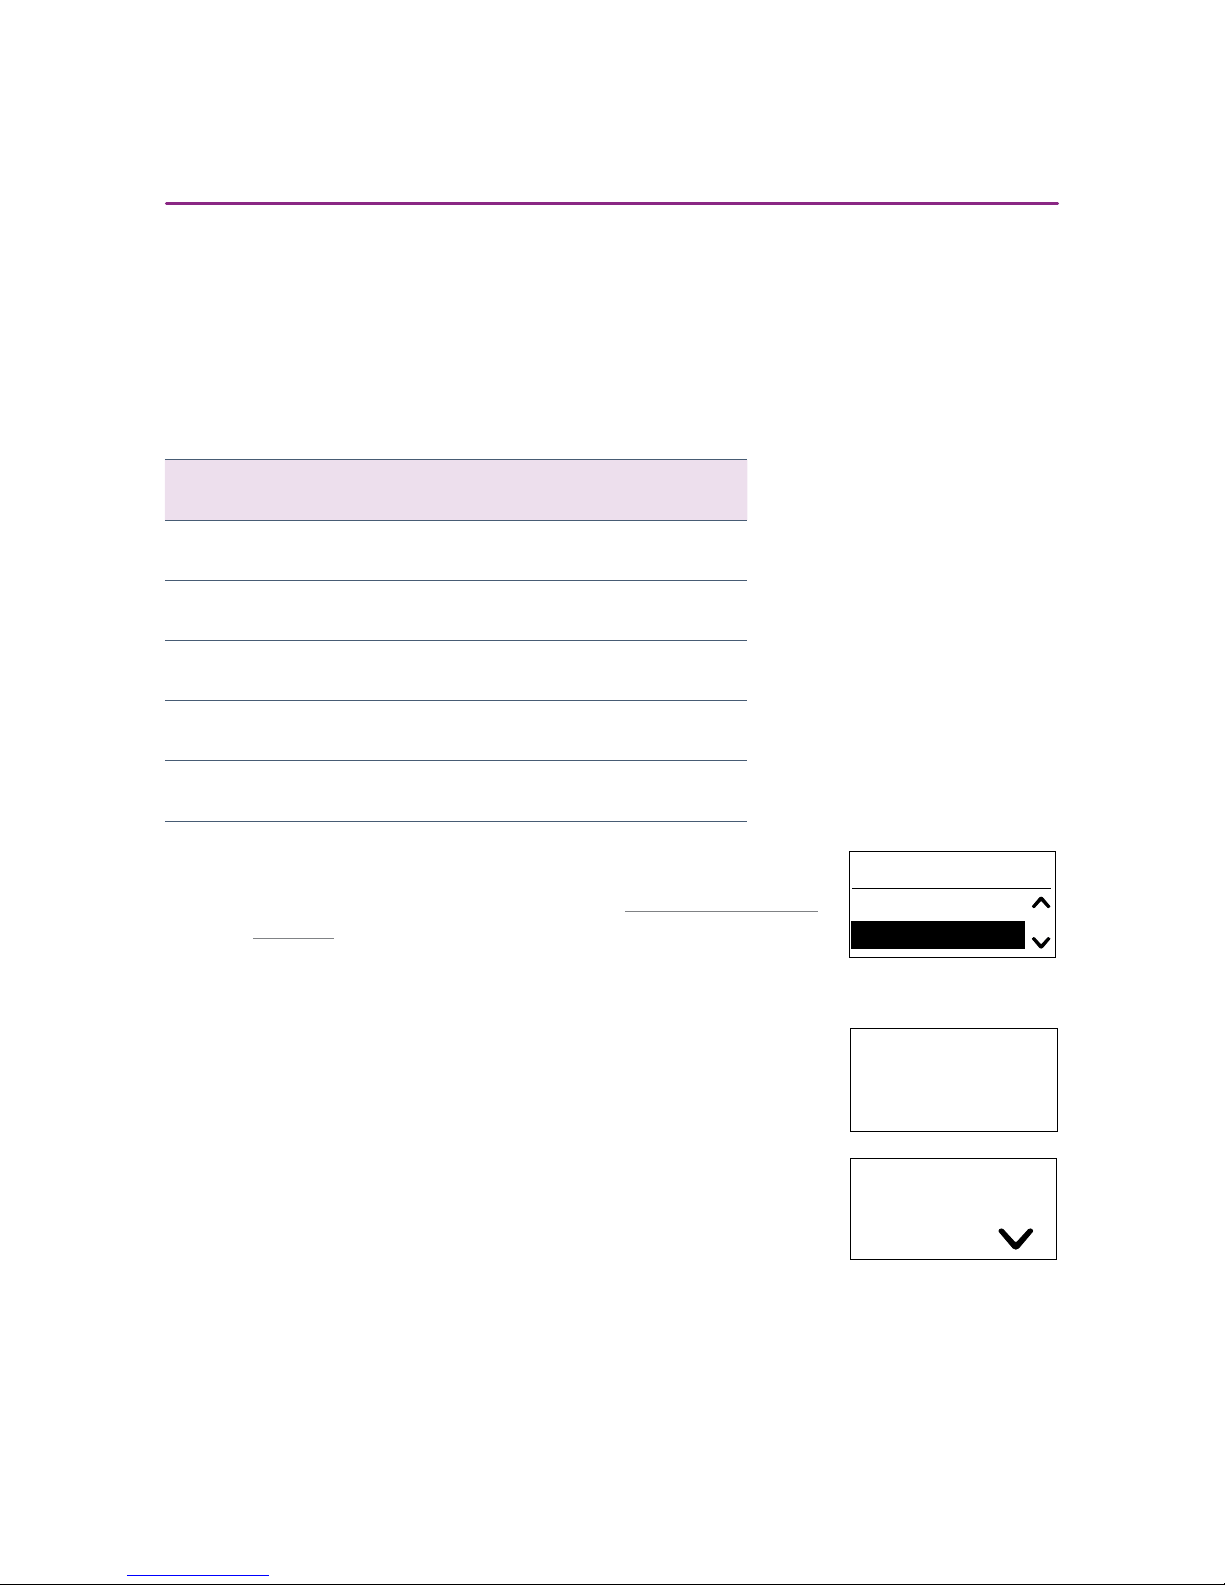
4.8. End of initial settings
The basic settings are now complete and the time appears in the display.
With Chronis Smoove devices, the next predefined Cycle Time also
appears.
Rain sensor setup
Wired sensor
No sensor
10:41
08:50
Sat.
20:00
4. STARTING UP
 Loading...