

Schwinn 426,430,431,450 Service Manual

Do not print this page

©2006. Nautilus, Inc. All Rights Reserved. Schwinn is a registered trademark. Nautilus, Inc., World Headquarters, 16400 SE Nautilus Dr., Vancouver, WA 98683

SERVICE MANUAL PN 001-6987 REV B (03/07)
SCHWINN RETAIL ELLIPTICALS
Service Manual
This manual applies to the following models:
426
430 431
450

1
CONTENTS
Table of Contents
Reading the Serial Number ................................................2
Troubleshooting .................................................................3
Important Contact Numbers ..............................................16
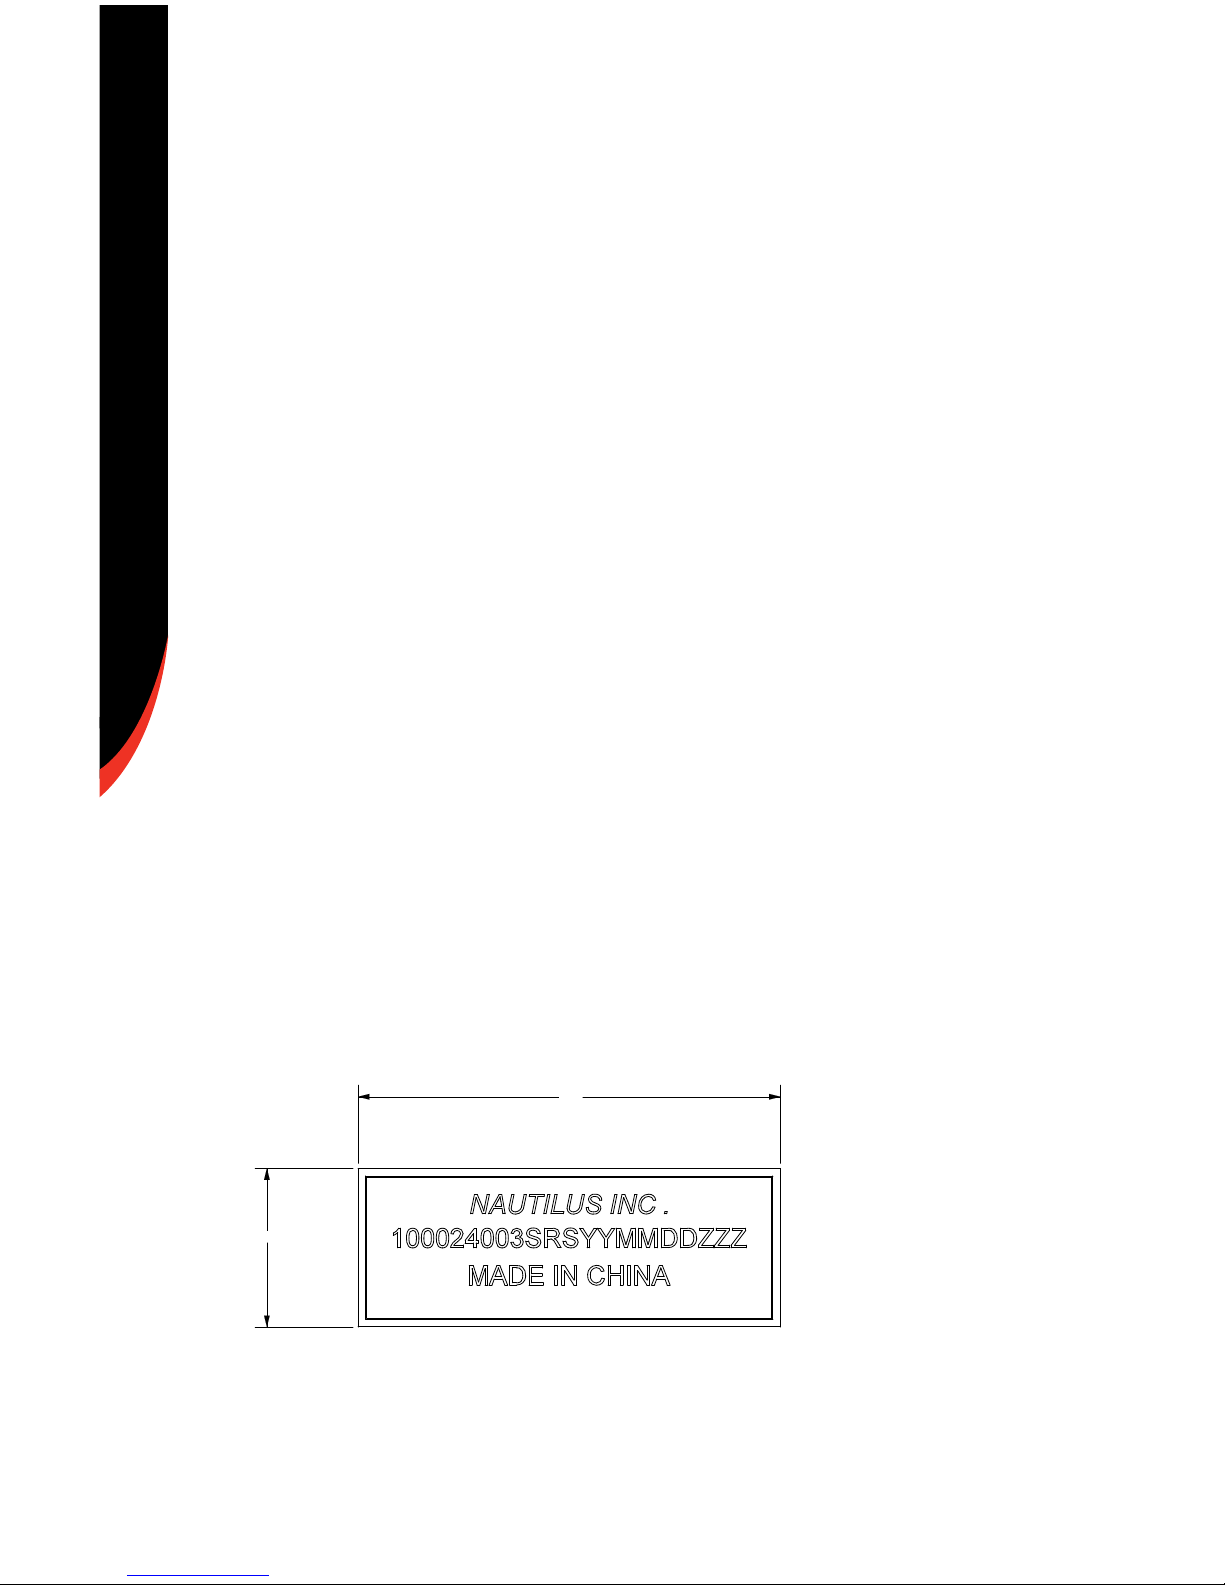
READING THE SERIAL NUMBER
2
SCHWINN ELLIPTICAL SERIAL NUMBERS
The serial number can be located on the underside of the
machine base. The below instructions show how to decode
the information contained in the serial number:
Serial Number Scheme as Follows:
AAAAAA: KIT NUMBER MODEL
CC: COUNTRY CODE (ELECTRONIC REFERENCE DOES NOT APPLY TO STRENGTH PRODUCTS)
00-DOMESTIC, 110V, 60 HZ, US UNITS ENGLISH OVERLAYS
01-DOMESTIC, 220V, 60HZ, US UNITS ENGLISH OVERLAYS
02-INTERNATIONAL, 230V, 50HZ, METRIC UNITS ENGLISH OVERLAYS
03-INTERNATIONAL, 230V, 50HZ, METRIC UNITS GERMAN OVERLAYS
H CONTACT HEART RATE
0-NO CONTACT HEART RATE
3-WITH CONTACT HEART RATE
XXX MANUFACTURER/VENDOR (3 DIGIT CODE)
SRS-SRS
YY YEAR
MM MONTH
DD DAY
ZZZ MACHINE NUMBER BUILT THAT PRODUCTION RUN
Example serial number (Domestic 110V 430 Elliptical shown):
56
21

3
TROUBLESHOOTING
No display/partial display/unit will not turn on
BASIC TROUBLESHOOTING
1. Problem:
Solution:
A. Make sure the unit is plugged into a functioning wall
outlet.
B. Check the power connection at the front of the unit.
Connection should be secure and undamaged. Replace
the unit adapter or connection if either are damaged.
C. Check data cable integrity. All cable wires should
be intact. If any are visibly crimped or cut, replace the
cable.
D. Check data cable connections/orientation. Insure the
cable is connected securely and oriented properly. The
small latch on the connector should line up and snap
into place.
E. Check console display for damage. Check for
any visual sign that the console display is cracked or
otherwise damaged. Replace the console if damaged.
F. Check console display. If the console only has a
partial display and all connections are OK, replace the
computer.
Advanced Troubleshooting
If any steps above do not resolve problems, proceed to
ADVANCED TROUBLESHOOTING, problem A1.
 Loading...