

Page 1

Hardware Control Reference
Page 2

The information in this document is subject to change without notice and does not represent a
commitment on the part of Native Instruments GmbH. The software described by this document is subject to a License Agreement and may not be copied to other media. No part of this
publication may be copied, reproduced or otherwise transmitted or recorded, for any purpose,
without prior written permission by Native Instruments GmbH, hereinafter referred to as Native
Instruments.
“Native Instruments”, “NI” and associated logos are (registered) trademarks of Native Instruments GmbH.
Mac, Mac OS, GarageBand, Logic, iTunes and iPod are registered trademarks of Apple Inc.,
registered in the U.S. and other countries.
Windows, Windows Vista and DirectSound are registered trademarks of Microsoft Corporation
in the United States and/or other countries.
All other trade marks are the property of their respective owners and use of them does not imply any affiliation with or endorsement by them.
Document authored by: Patryk Korman
Software version: 2.0 (10/2013)
Disclaimer
Hardware version: MASCHINE MIKRO MK2
Special thanks to the Beta Test Team, who were invaluable not just in tracking down bugs, but
in making this a better product.
Page 3

Germany
Native Instruments GmbH
Schlesische Str. 29-30
D-10997 Berlin
Germany
www.native-instruments.de
USA
Native Instruments North America, Inc.
6725 Sunset Boulevard
5th Floor
Los Angeles, CA 90028
USA
www.native-instruments.com
Japan
Native Instruments KK
YO Building 3F
Jingumae 6-7-15, Shibuya-ku,
Tokyo 150-0001
Japan
www.native-instruments.co.jp
Contact
© Native Instruments GmbH, 2013. All rights reserved.
Page 4

Table of Contents
Table of Contents
1 Introduction ..............................................................................................................
2 Control Reference .....................................................................................................
2.1 Basic Operation .......................................................................................................................... 7
2.2 Groups ........................................................................................................................................ 11
2.3 Sounds (Pads) ............................................................................................................................ 16
2.4 Pattern Editor ............................................................................................................................. 22
2.5 Scene Arranger ........................................................................................................................... 29
2.6 Control Area ................................................................................................................................32
2.7 Sampling and Sample Editing .................................................................................................... 35
2.8 Miscellaneous .............................................................................................................................40
2.4.1 Pattern Editor Navigation .......................................................................................... 24
2.4.2 Grid Settings ............................................................................................................. 24
2.4.3 Pattern Operations .................................................................................................... 26
2.4.4 Event Operations ....................................................................................................... 27
2.4.5 Modulation ................................................................................................................ 28
2.5.1 Arranger Navigation .................................................................................................. 30
2.5.2 Scene Operations ....................................................................................................... 31
3 Computer Keyboard Shortcuts ....................................................................................
3.1 Transport .................................................................................................................................... 43
3.2 Navigation .................................................................................................................................. 43
3.3 Editing ........................................................................................................................................43
3.4 User Interface Options ................................................................................................................ 44
Index ........................................................................................................................
5
7
43
45
MASCHINE MIKRO MK2 - Hardware Control Reference - 4
Page 5

1 Introduction
Welcome to the MASCHINE Hardware Control Reference! This document provides you with a
comprehensive collection of controller actions and shortcuts to get you acquainted with MASCHINE's essential controller workflows. The document is structured as follows:
▪ Chapter 2 is the main part of this document. It provides you with instructions on how to
perform essential MASCHINE tasks from your controller. All workflows are sorted in subchapters according to their association with areas of MASCHINE's software user interface;
e.g., information on loading Groups, muting Sounds/pads, or editing Events in MASCHINE's Pattern Editor you'll find in sections 2.2, 2.3, and 2.4.4, respectively.
▪ Chapter 3 is a quick reference to the controls available on the computer keyboard.
▪ At the end of this document, an overarching index provides alphabetical access to all the
workflows listed in chapters 2 and 3.
Labeling On Your Controller
Since its initial release, the labels of the MASCHINE MIKRO MK2 controller have been revised. The instructions in this document will only refer to the 2nd generation controller labels.
If you have a 1st generation MASCHINE MIKRO MK2 controller, please use the table below to
reference the equivalent labels of the 1st and 2nd generation controllers.
Introduction
MASCHINE MIKRO MK2 Controller
1st Generation
BROWSE (MODULES) button BROWSE button
RESTART button RESTART (LOOP) button
PLAY (METRONOME) button PLAY (METRO) button
REC (COUNT IN) button REC (COUNT-IN) button
GRID button GRID (REC MODE) button
VIEW button VIEW (MIX) button
COMPARE pad 3 STEP UNDO pad 3
SPLIT pad 4 STEP REDO pad 4
MASCHINE MIKRO MK2 Controller
2nd Generation
MASCHINE MIKRO MK2 - Hardware Control Reference - 5
Page 6

Document Conventions
This section introduces you to the signage and text highlighting used in this document. The
following formatting is used:
▪ Text appearing in (drop-down) menus (such as Open…, Save as… etc.) and paths to loca-
tions on your hard disk or other storage devices is printed in italics.
▪ Text appearing elsewhere in NI software user interfaces (labels of buttons, controls, text
next to checkboxes etc.) is printed in blue. Whenever you see this formatting applied, you
will find the same text appearing somewhere on the screen.
▪ Text appearing on labels of the MASCHINE controller is printed in orange. Whenever you
see this formatting applied, you will find the same text on the controller.
▪ Text appearing on displays of the MASCHINE controller is printed in light grey. Whenever
you see this formatting applied, you will find the same text on a controller display.
▪ Important names and concepts are printed in bold.
▪ References to keys on your computer’s keyboard you’ll find put in square brackets (e.g.,
“Press [Shift] + [Return]”).
Single instructions are introduced by this play button type arrow.
►
Introduction
Results of actions are introduced by this smaller arrow.
→
MASCHINE MIKRO MK2 - Hardware Control Reference - 6
Page 7
Control Reference
Basic Operation
2 Control Reference
The following subchapters contain tables with pure controller workflows to get you acquainted
with controlling MASCHINE without using your computer's mouse or monitor. All workflows are
sorted in subchapters according to their association with areas of MASCHINE's software user
interface; e.g., information on loading Groups, muting Sounds/pads, or editing Events in MASCHINE's Pattern Editor you'll find in sections 2.2, 2.3, and 2.4.4, respectively.
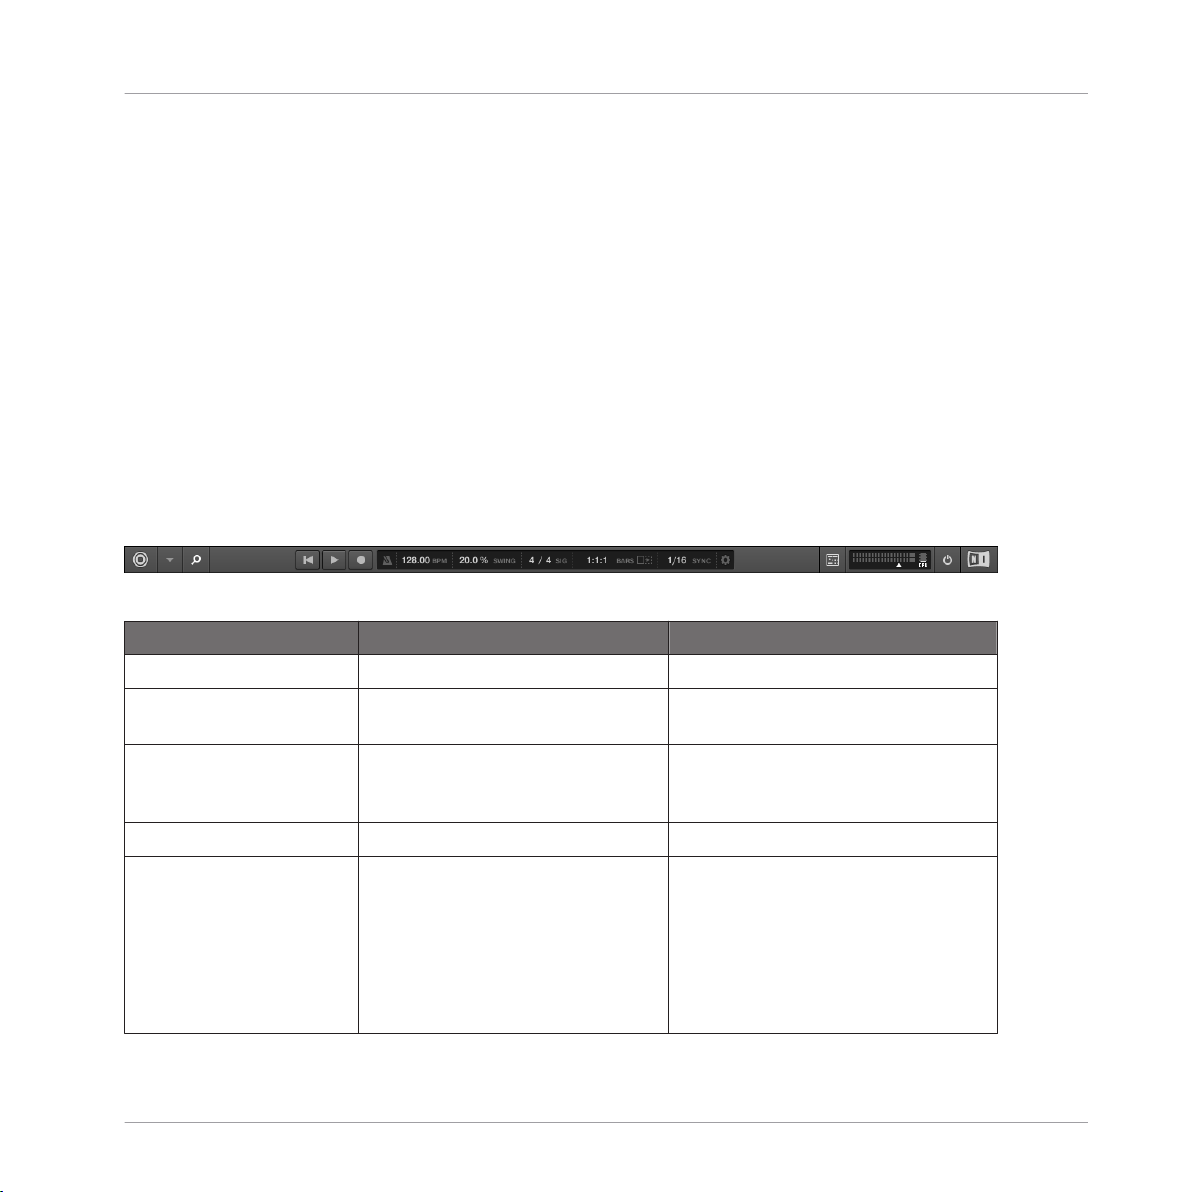
2.1 Basic Operation
The entries in this section refer to general settings and actions, some of which you can also
access from the Header of MASCHINE's software user interface or from the Windows / Mac
OS X menu bars.
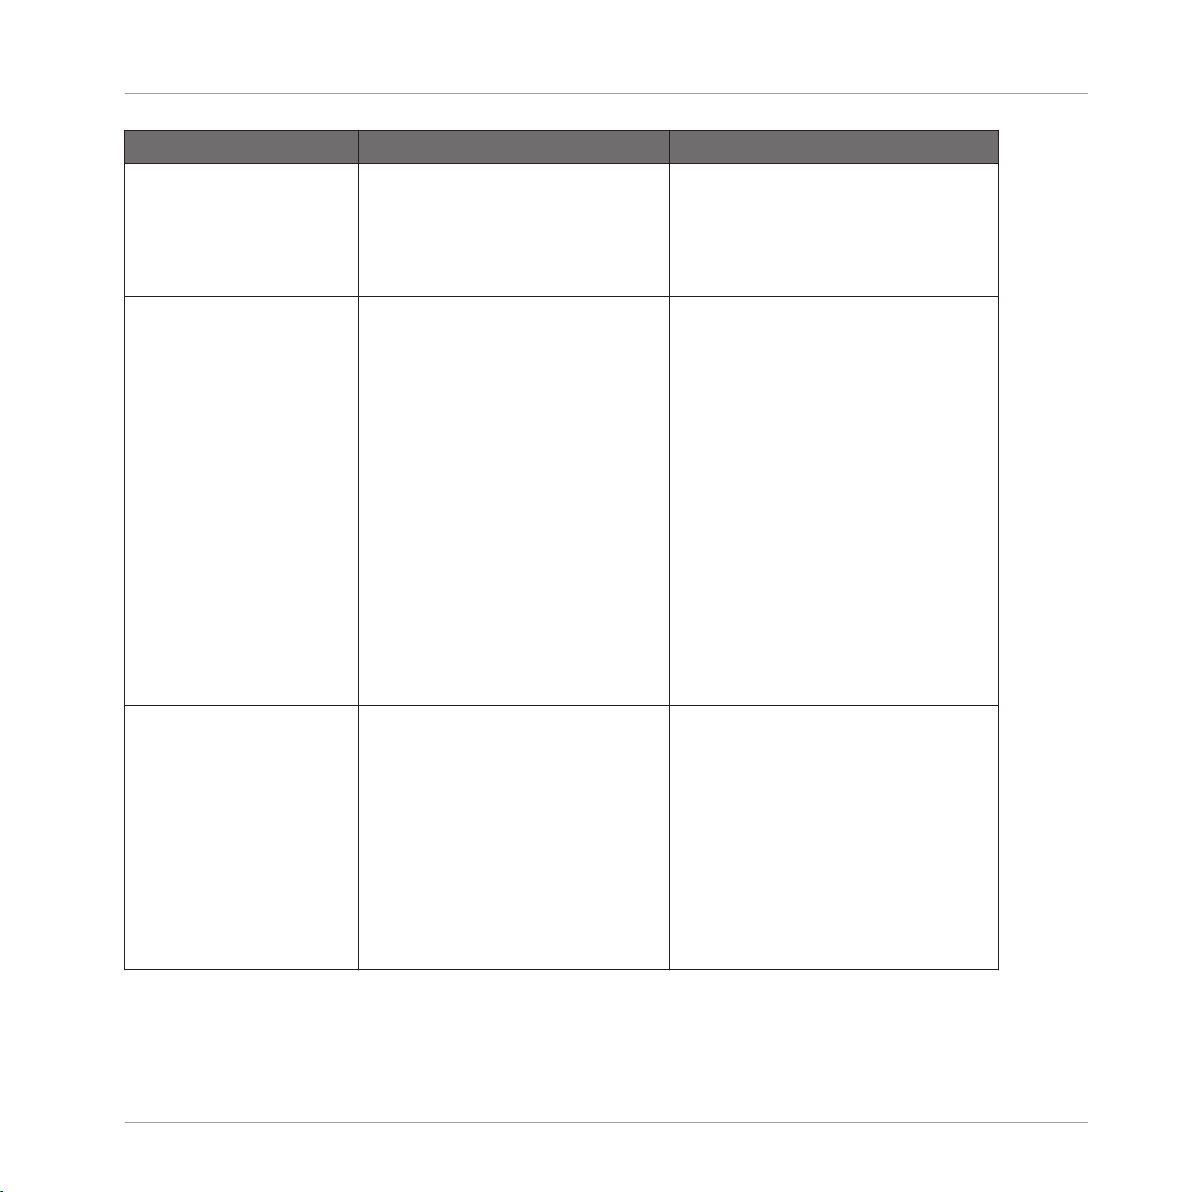
The Header in the MASCHINE software.
Function Controller Element / Action Note
Choke all playing notes SHIFT + MUTE (CHOKE)
Clear SHIFT + pad 9 This function empties the active Pattern
or the Events selected.
Copy SHIFT + pad 11 This function copies all Events of the
selected Pattern (or individual Events if
selected) to the clipboard.
Hide/view Browser area VIEW (MIX) button + pad 13.
Hide/view Control Lane VIEW (MIX) button + pad 14. You can record modulation of parame-
ters on the Sound/pad level, and on the
Group level.
There are more advanced options for
modulation. See the relevant chapters
of your controller's manual for more indepth information.
MASCHINE MIKRO MK2 - Hardware Control Reference - 7
Page 8

Control Reference
Function Controller Element / Action Note
Hide/view Mixer SHIFT + VIEW (MIX) Toggles between the Arranger and Mix
view.
Basic Operation
Load (Project) 1. Press the BROWSE button.
2. Press F1 to open the FILTER tab.
3. Use F3 (USER) to select whether to
search the user library or the NI Library for content.
4. Use the Arrow buttons (◄ and ►
next to NAV) to navigate to the FILE-
TYPE page.
5. Turn the Control encoder until the
menu reads PROJECT.
6. Use the Arrow buttons (◄ and ►
next to NAV) to navigate to the PROD-
UCT page. If needed, refine your
search with the Browser as explained
in chapter “The Browser on the Hardware” of your controller's manual.
7. Press F2 (LIST) to open the results
list.
8. Turn the Control encoder until you
find the desired Project.
9. Press the Control encoder to load
the Project.
10. Select whether to save your previous Project with buttons F1-F3.
MASCHINE MIKRO MK2 - Hardware Control Reference - 8
Page 9

Function Controller Element / Action Note
Metronome, adjust volume of 1. Press SHIFT + GRID (REC MODE)
to enter the REC. MODE screen.
2. Use the Arrow buttons (◄ and ►
next to NAV) to navigate to page 1/4:
METRONOME LEVEL.
3. Turn the Control encoder to adjust
the metronome level.
4. Press GRID (REC MODE) again to
leave the REC. MODE screen.
Metronome, toggle on/off SHIFT + PLAY (METRO)
Control Reference
Basic Operation
Pan (Master) 1. Press CONTROL to enter Control
mode.
2. Press F1 (MASTER) to open the Master page.
3. Press NAV + F2 to open the channel parameters.
4. While still holding NAV, use the
Control encoder to select the Output
tab (OUT).
5. Release NAV.
6. Use the Arrow buttons (◄ and ►
next to NAV) to navigate to page 3/6:
PAN.
7. Use the Control encoder to change
the parameter value.
Paste SHIFT + pad 12 This function pastes the previously cop-
Play PLAY (METRO) button Hitting the PLAY (METRO) button again
ied Events from the clipboard into the
selected Pattern.
will stop playback.
MASCHINE MIKRO MK2 - Hardware Control Reference - 9
Page 10
Function Controller Element / Action Note
Quantization, toggle on/off 1. Press SHIFT + GRID (REC MODE)
to enter the REC. MODE screen.
2. Use the Arrow buttons (◄ and ►
next to NAV) to navigate to page 4/4:
QUANTIZE MODE.
3. Turn the Control encoder to toggle
quantization on/off.
4. Press GRID (REC MODE) again to
leave the REC. MODE screen.
Control Reference
Basic Operation
Record 1. Press the REC button to arm for
recording.
2. Press the PLAY (METRO) button to
start recording.
3. Press the REC button again to stop
recording. Playback of the track continues.
Record (with Count-in) SHIFT + REC Counts off a beat then starts recording.
Redo SHIFT + pad 2 This function redoes any action previ-
Restart Loop Selection RESTART (LOOP) button Restarts playback from the beginning of
Save Project SHIFT + SAMPLING (SAVE)
Stop Press PLAY (METRO) during playback
This is the usual Overdub mode, where
Events are added to the ones recorded
when you play the pads. If you press
ERASE + REC, Replace mode gets acti-
vated, in which Events ahead of the
marker are replaced by the ones you
play in real-time. Replace mode stays
active until the playhead wraps around
the loop range.
You can change the Count-in properties
in the REC. MODE screen via SHIFT +
GRID (REC MODE).
ously performed in MASCHINE. As opposed to this, SHIFT + pad 4 redoes individual steps in the Pattern Editor.
the loop range.
MASCHINE MIKRO MK2 - Hardware Control Reference - 10
Page 11
Function Controller Element / Action Note
Swing (Master) 1. Press MAIN to open the Main
page.
2. Press F2 (SWING) to select the
Swing tab.
3. Use the Control encoder to change
the parameter value.
You can fine-adjust the parameter value
by additionally pressing the Control encoder while turning it.
Control Reference
Groups
Tempo/BPM, change 1. Press MAIN to open the Main
page.
2. Press F3 to select the Tune/Tempo
tab.
3. Use the Control encoder to change
the parameter value.
Tempo/BPM, change (tap
tempo)
Undo SHIFT + pad 1 This function undoes any action previ-
Volume (Master) 1. Press MAIN to open the Main
1. Press and hold SHIFT.
2. Tap the NOTE REPEAT button to
determine the tempo of a sample or
track. The Project tempo will be
changed accordingly.
page.
2. Press F1 (VOLUME) to select the Volume tab.
3. Use the Control encoder to change
the parameter value.
You can fine-adjust the parameter value
by additionally pressing the Control encoder while turning it.
E.g., tap along to the beat of a sample
to set the tempo of your Project to that
of the sample.
ously performed in MASCHINE. As opposed to this, SHIFT + pad 3 undoes
individual steps in the Pattern Editor.
You can fine-adjust the parameter value
by additionally pressing the Control encoder while turning it.
2.2 Groups
This section contains Group-related controller workflows.
MASCHINE MIKRO MK2 - Hardware Control Reference - 11
Page 12
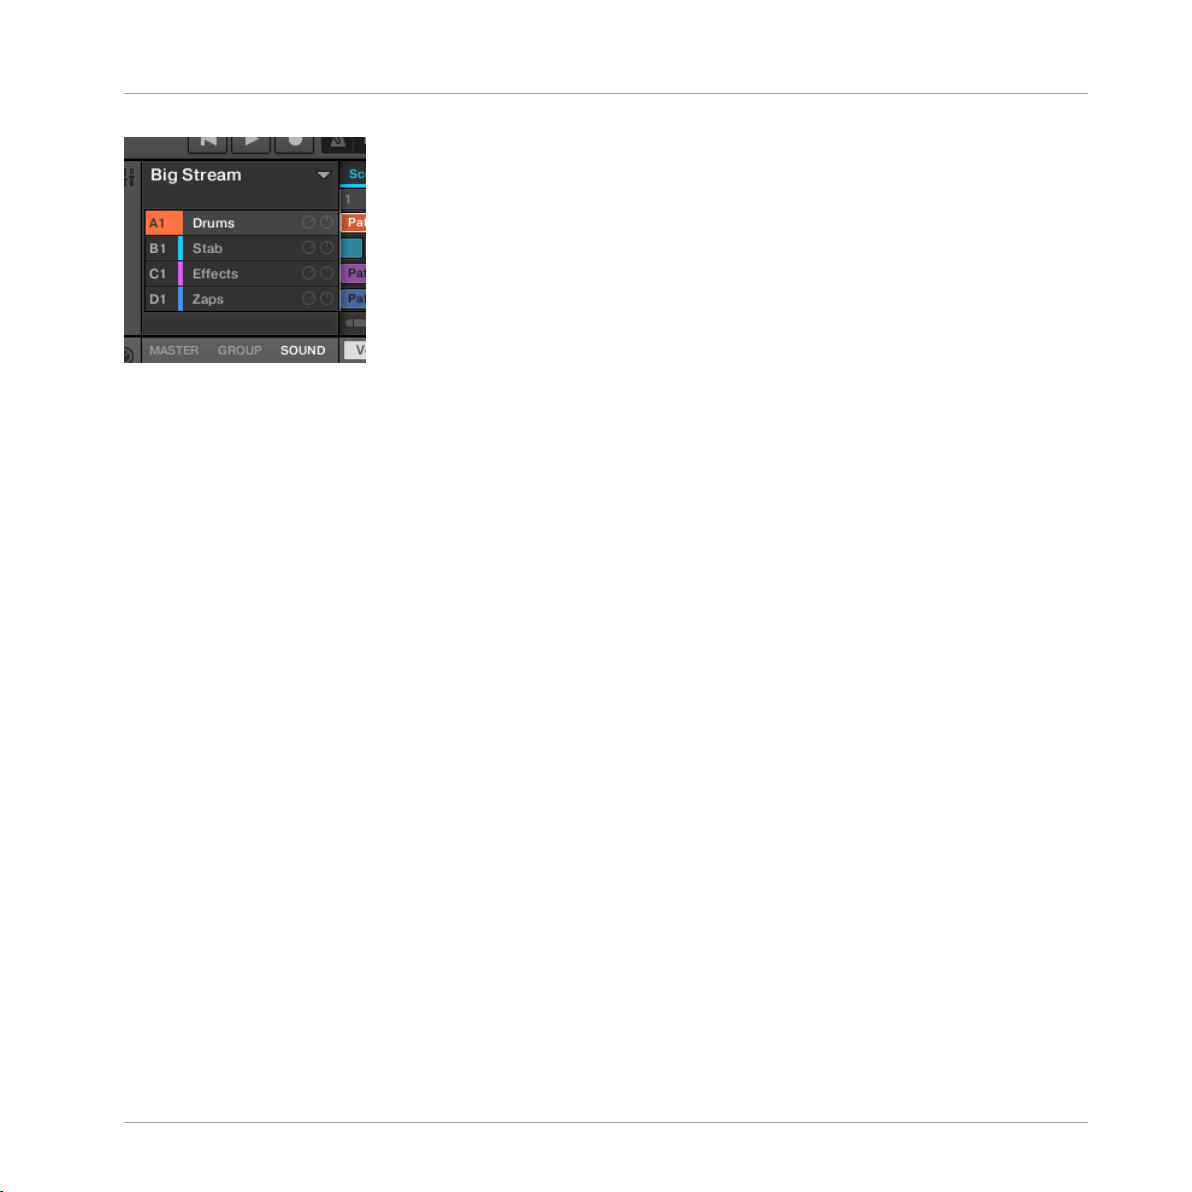
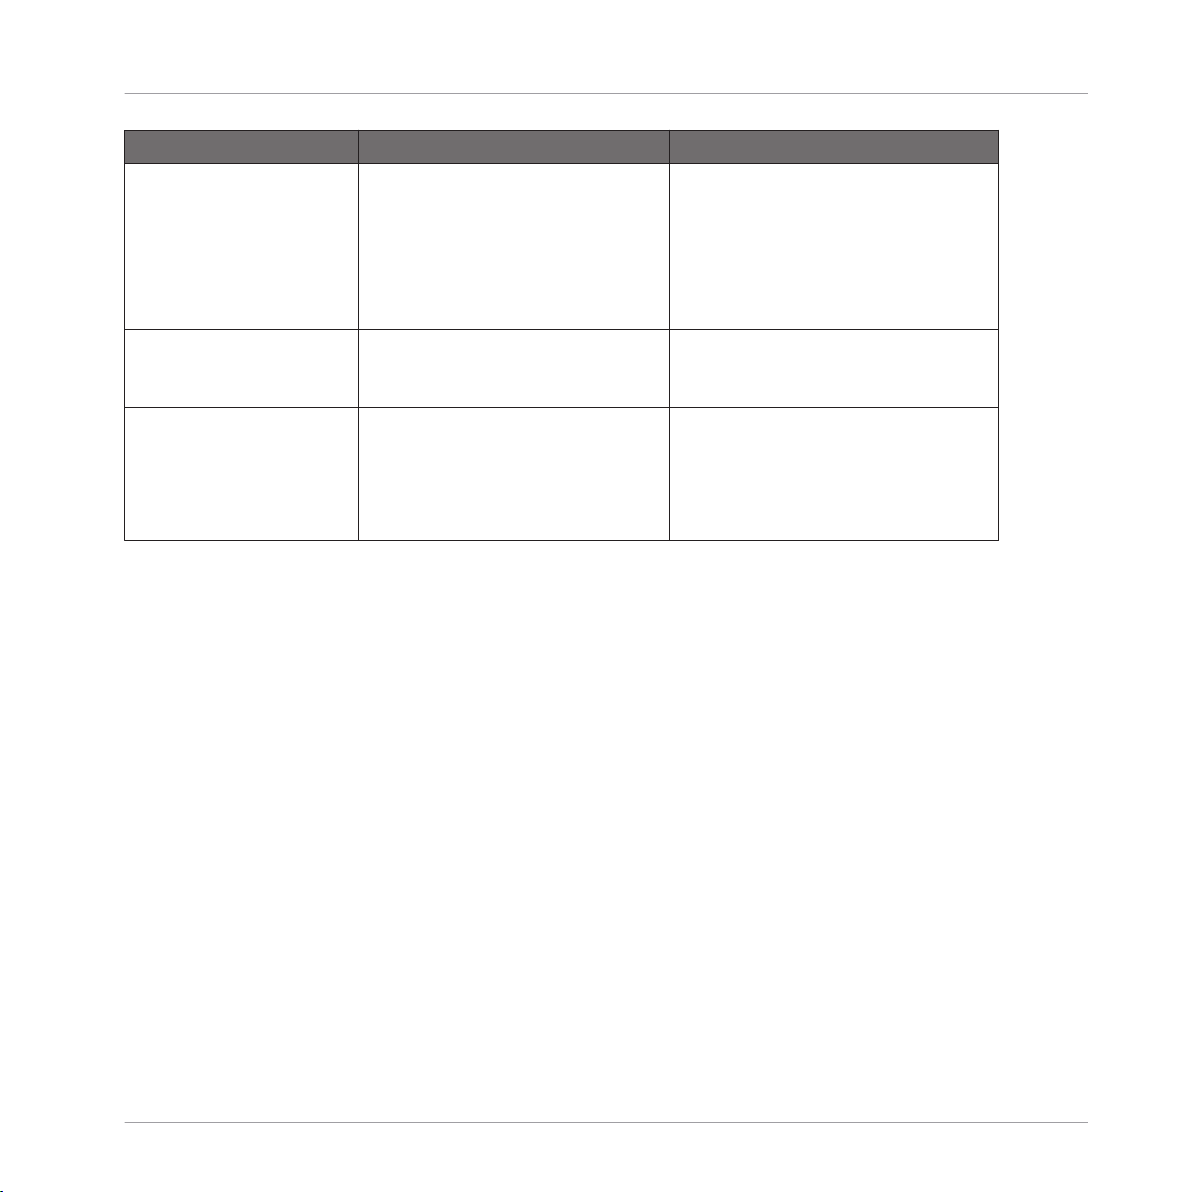
The Groups section on the software side of MASCHINE.
Control Reference
Groups
MASCHINE MIKRO MK2 - Hardware Control Reference - 12
Page 13

Function Controller Element / Action Note
Copy/paste (Group) 1. Press and hold DUPLICATE +
GROUP (STEP MODE), so that the
display reads DUPLICATE GROUP.
2. Tap the pad corresponding to the
Group you want to copy.
3. Tap the pad corresponding to the
Group you want to paste the Group's
content to.
You can copy and paste Groups with or
without their Pattern content. To copy a
Group including its Patterns' content,
press F1 (+ EVNT) while holding the DU-
PLICATE button to activate this func-
tion.
Control Reference
Groups
Load (Group) 1. Press the BROWSE button.
2. Press F1 to open the FILTER tab.
3. Use F3 (USER) to select whether to
search the user library or the NI Library for content.
4. Use the Arrow buttons (◄ and ►
next to NAV) to navigate to the FILE-
TYPE page.
5. Turn the Control encoder until the
menu reads GROUP.
6. Use the Arrow buttons (◄ and ►
next to NAV) to navigate to the PROD-
UCT page. If needed, refine your
search with the Browser as explained
in chapter “The Browser on the Hardware” of your controller's manual.
7. Press F2 (LIST) to open the results
list.
8. Turn the Control encoder until you
find the desired entry.
9. Select whether or not to load the
Group including its associated Patterns.
10. Press the Control encoder to load
the Group.
MASCHINE MIKRO MK2 - Hardware Control Reference - 13
Page 14
Function Controller Element / Action Note
Mute (Group) 1. Press and hold MUTE (CHOKE) +
GROUP (STEP MODE), so that the
display reads MUTE GROUP.
2. Press the pad corresponding to the
Group you want to mute.
Control Reference
Groups
Pan (Group) 1. Press CONTROL to enter Control
mode.
2. Press F2 (GROUP) to open the Group
page.
3. Press NAV + F2 to open the channel parameters.
4. While still holding NAV, use the
Control encoder to select the Output
tab (OUT).
5. Release NAV.
6. Use the Arrow buttons (◄ and ►
next to NAV) to navigate to page 4/4:
PAN.
7. Use the Control encoder to change
the parameter value.
Pitch (Group) 1. Press MAIN to open the Main
page.
2. Press F3 to select the Tune/Tempo
tab.
3. Press and hold GROUP (STEP
MODE) + the pad corresponding to
the Group you want to change the
pitch for.
4. Use the Control encoder to change
the parameter value.
You can fine-adjust the parameter value
by additionally holding SHIFT while
turning the Control encoder.
MASCHINE MIKRO MK2 - Hardware Control Reference - 14
Page 15
Function Controller Element / Action Note
Reset Group 1. Press CONTROL to enter Control
mode.
2. Press and hold GROUP (STEP
MODE) + SHIFT + ERASE.
3. Tap the pad corresponding to the
Group you want to delete.
Control Reference
Groups
Select (Group) Press GROUP (STEP MODE) + the
pad corresponding to the Group you
want to select.
Solo (Group) 1. Press and hold SOLO + GROUP
(STEP MODE), so that the display
reads SOLO GROUP.
2. Tap the pad corresponding to the
Group you want to solo.
When unsoloing a Group, all other
Groups are unmuted, regardless of
whether they were muted before or not.
MASCHINE MIKRO MK2 - Hardware Control Reference - 15
Page 16

Function Controller Element / Action Note
Swing (Group) 1. Press MAIN to enter the Main
page.
2. Press F2 (SWING) to select the
Swing tab.
3. Press and hold GROUP (STEP
MODE).+ the pad corresponding to
the Group you want to change the parameter value for.
4. Use the Control encoder to change
the parameter value.
You can fine-adjust the parameter value
by additionally pressing the Control encoder while turning it.
Control Reference
Sounds (Pads)
Volume (Group) 1. Press MAIN to enter the Main
page.
2. Press F1 (VOLUME) to select the Volume tab.
3. Press and hold GROUP (STEP
MODE).+ the pad corresponding to
the Group you want to change the parameter value for.
4. Use the Control encoder to change
the parameter value.
You can fine-adjust the parameter value
by additionally pressing the Control encoder while turning it.
2.3 Sounds (Pads)
This section contains Sound (pad)-related controller workflows. The MASCHINE Sound slots on
the software side correspond to the 16 pads on your controller.
MASCHINE MIKRO MK2 - Hardware Control Reference - 16
Page 17

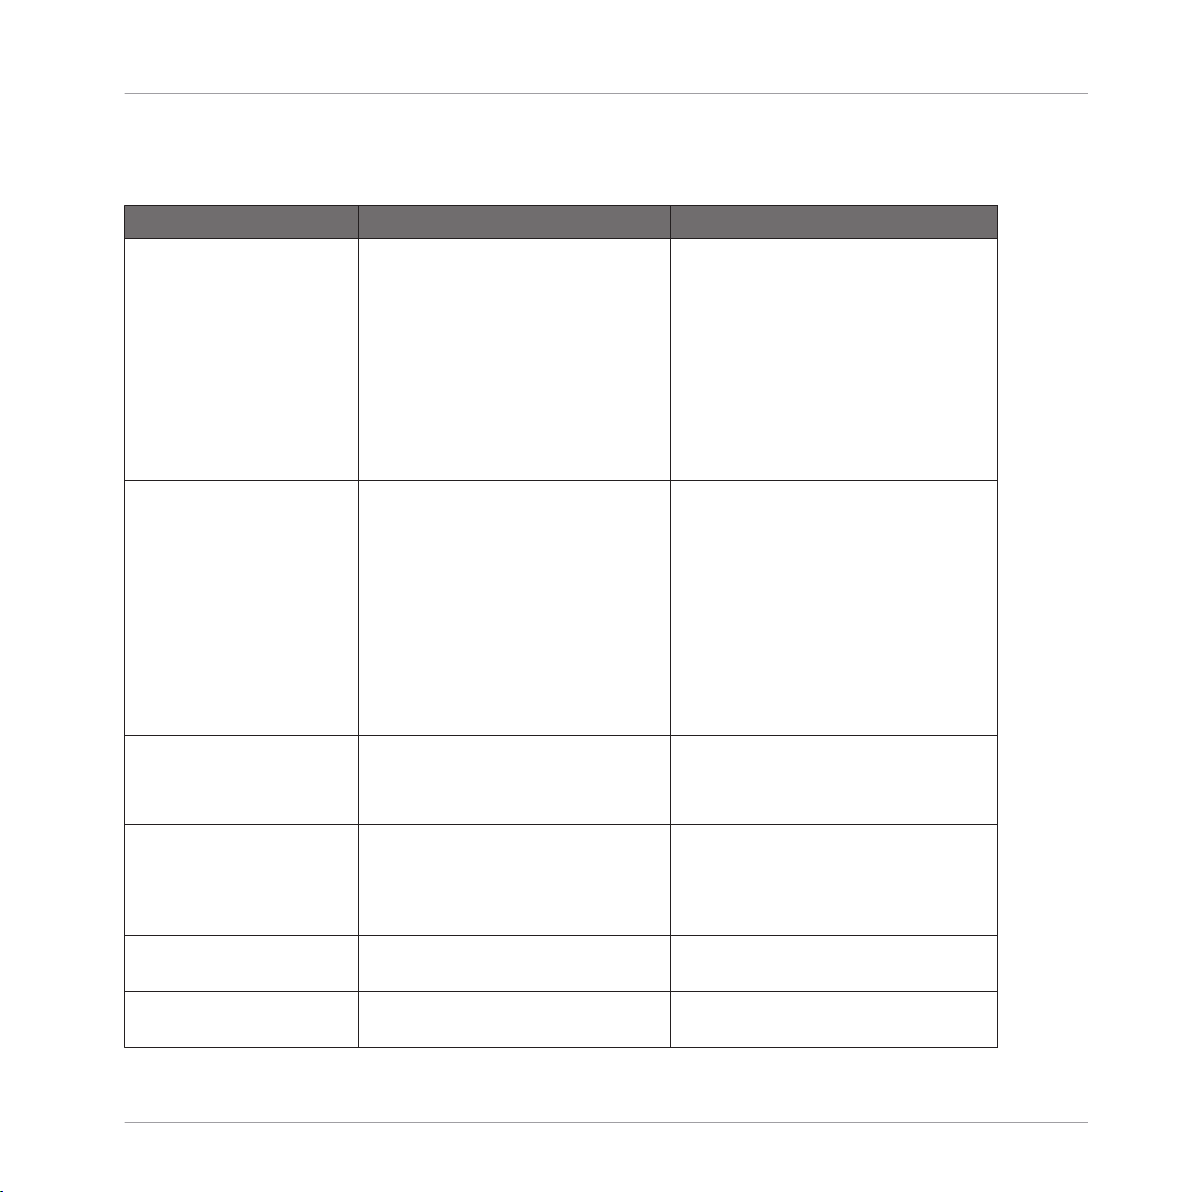
The Sound slots on the software side of MASCHINE.
Operation/Function Controller Element / Action Note
Base key shifting 1. Press the pad of the Sound you
want to alter the base key of.
2. Press and hold the PAD MODE
(KEYBOARD) button.
3. Use the Arrow buttons (◄ and ►
next to NAV) to navigate to page 5/6:
BASE KEY.
4. Use the Control encoder to shift
the base key of the Sound slot / pad.
Control Reference
Sounds (Pads)
Copy/paste (Sound) 1. Press and hold DUPLICATE +
GROUP (STEP MODE), so that the
display reads DUPLICATE SOUND.
2. Tap the pad you want to copy.
3. Tap the pad you want to paste the
Sound to.
MASCHINE MIKRO MK2 - Hardware Control Reference - 17
You can copy and paste Sounds with or
without their recorded Events. To copy a
Sound including its recorded Events,
press F1 (+ EVNT) while holding the DU-
PLICATE button to activate this func-
tion.
Page 18

Operation/Function Controller Element / Action Note
Keyboard mode / Piano Roll 1. Hit the pad of the Sound you want
to enter the Keyboard mode / Piano
Roll with.
2. Press and hold the PAD MODE
(KEYBOARD) button.
3. Press F1 (KEYBD) to switch to Keyboard mode.
4. The PAD MODE (KEYBOARD) button stays dim lit until Keyboard mode
is deactivated.
When activating Keyboard mode, the
selected Sound gets spread out chromatically across all 16 pads, and you
can play it like a piano.
SHIFT + PAD MODE (KEYBOARD) is al-
so shortcut to toggle between the Keyboard mode / Piano Roll and playing
Sounds.
Control Reference
Sounds (Pads)
Load (Sample) 1. Press the BROWSE button.
2. Press F1 to open the FILTER tab.
3. Use F3 (USER) to select whether to
search the user library or the NI Library for content.
4. Use the Arrow buttons (◄ and ►
next to NAV) to navigate to the FILE-
TYPE page.
5. Turn the Control encoder until the
menu reads SAMPLE.
6. Use the Arrow buttons (◄ and ►
next to NAV) to navigate to PRODUCT
page. If needed, refine your search
with the Browser as explained in
chapter “The Browser on the Hardware,” of your controller's manual.
7. Press F2 (LIST) to open the results
list.
8. Turn the Control encoder until you
find the desired entry.
9. Press the Control encoder to load
the Sample.
The term Sample in MASCHINE refers
to an audio file without any previously
stored MASCHINE parameters (compare
"Load Sound" entry below).
You can activate the PREH. (Prehear)
function with F3 so that the next item
highlighted in the list will automatically
be played.
MASCHINE MIKRO MK2 - Hardware Control Reference - 18
Page 19

Operation/Function Controller Element / Action Note
Load (Sound) 1. Press the BROWSE button.
2. Press F1 to open the FILTER tab.
3. Use F3 (USER) to select whether to
search the user library or the NI Library for content.
4. Use the Arrow buttons (◄ and ►
next to NAV) to navigate to the FILE-
TYPE page.
5. Turn the Control encoder until the
menu reads SOUND.
6. Use the Arrow buttons (◄ and ►
next to NAV) to navigate to the PROD-
UCT page. If needed, refine your
search with the Browser as explained
in chapter “The Browser on the Hardware,” of your controller's manual.
7. Press F2 (LIST) to open the results
list.
8. Turn the Control encoder until you
find the desired entry.
9. Press the Control encoder to load
the Sound.
The term Sound in MASCHINE refers to
the entirety of a (previously saved)
Sound slot with audio material and parameter settings. All this information is
stored in a MASCHINE Sound file
(.mxsnd).
Control Reference
Sounds (Pads)
Mute (Sound) 1. Press and hold MUTE (CHOKE) +
GROUP (STEP MODE), so that the
display reads MUTE SOUND.
2. Tap the pad you want to mute.
Note Repeat 1. Press and hold the NOTE REPEAT
button.
2. Press and hold the pad of the
Sound you want to use Note Repeat
on.
MASCHINE MIKRO MK2 - Hardware Control Reference - 19
When pressing NOTE REPEAT, there
are three quantization presets for quick
access beneath buttons F1 to F3. You
can change their individual parameter
values on pages 1/3 to 3/3 in the lower
portion of the display.
Page 20

Operation/Function Controller Element / Action Note
One-shot mode, activate 1. Press CONTROL to enter Control
mode.
2. Press NAV + F3 to open the plugin parameters.
3. While still holding NAV, use the
Control encoder to select the Pitch/
Envelope tab (PITCH / ENVELOPE).
4. Release NAV, and press F3 (SOUND)
to open the Sound page.
5. Use the Arrow buttons (◄ and ►
next to NAV) to navigate to page 4/4:
TYPE.
6. Use the Control encoder to change
the setting to ONESHOT.
One-shot mode is only applicable if a
Sample is loaded to your Sound slot (as
opposed to an instrument).
In One-shot mode, the full Sample will
play once that you hit the corresponding
pad.
For information on using envelopes
(AHD/ADSR mode) in a Sound slot, refer to your controller's manual.
Control Reference
Sounds (Pads)
Pad Link groups 1. Press the pad you want to assign
to a Pad Link group.
2. Press and hold the PAD MODE
(KEYBOARD) button.
3. Use the Arrow buttons (◄ and ►
next to NAV) to navigate to page 3/6:
LINK GROUP.
4. Use the Control encoder to assign
the pad to one of the available Pad
Link groups.
5. Use the Arrow buttons (◄ and ►
next to NAV) to navigate to page 4/6:
LINK MODE.
6. Use the Control encoder to set the
pad to Master or Slave mode within
the Pad Link group.
7. Add other pads to the Pad Link
group.
Using the Pad Link function, you can
have a pad or a group of pads be triggered by another pad. This is a helpful
function for layering sounds, e.g., for
fattening up Kicks and Snares.
A pad set to Master will trigger other
pads in the Pad Link group. A pad in
Slave mode will be triggered by Master
pads but not trigger other pads itself.
MASCHINE MIKRO MK2 - Hardware Control Reference - 20
Page 21

Operation/Function Controller Element / Action Note
Pan (Sound) 1. Press CONTROL to enter Control
mode.
2. Press F3 (SOUND) to open the
Sound page.
3. Press NAV + F2 to open the channel parameters.
4. While still holding NAV, use the
Control encoder to select the Output
tab (OUT).
5. Release NAV.
6. Use the Arrow buttons (◄ and ►
next to NAV) to navigate to page 4/5:
PAN.
7. Use the Control encoder to change
the parameter value.
You can fine-adjust the parameter value
by additionally pressing the Control encoder while turning it.
Control Reference
Sounds (Pads)
Pitch (Sound) 1. Press MAIN to open the Main
page.
2. Press F3 to select the Tune/Tempo
tab.
3. Press and hold the pad you want to
change the pitch of.
4. Use the Control encoder to change
the parameter value.
Reset Sound 1. Press and hold SHIFT button +
ERASE button.
2. Press the pad of the Sound (1-16)
you want to delete.
Select Sound Press one of the pads 1-16.
Select Sound silently Press SELECT (EVENTS) button +
one of the pads 1-16.
MASCHINE MIKRO MK2 - Hardware Control Reference - 21
You can fine-adjust the parameter value
by additionally pressing the Control encoder while turning it.
Focuses on the desired Sound/pad without playing its content.
Page 22

Operation/Function Controller Element / Action Note
Solo (Sound) 1. Press and hold SOLO + GROUP
(STEP MODE), so that the display
reads SOLO SOUND.
2. Tap the pad you want to solo.
Note: When unsoloing a Sound/pad, all
other Sounds/pads will be activated, also the ones that were muted prior to soloing.
Control Reference
Pattern Editor
Swing (Sound) 1. Press MAIN to open the Main
page.
2. Press F2 (SWING) to select the
Swing tab.
3. Press and hold the pad you want to
change the parameter value for.
4. Use the Control encoder to change
the parameter value.
Velocity, fix 1. Press and hold the PAD MODE
(KEYBOARD) button.
2. Press F3 (FIX VEL).
Volume (Sound) 1. Press MAIN to open the Main
page.
2. Press F1 (VOLUME) to select the Volume tab.
3. Press and hold the pad you want to
change the parameter value for.
4. Use the Control encoder to change
the parameter value.
You can fine-adjust the parameter value
by additionally pressing the Control encoder while turning it.
Sets all pads to a fixed velocity. The underlying velocity value can be set on parameter page 6/6 in the lower portion of
the PAD MODE screen.
You can fine-adjust the parameter value
by additionally pressing the Control encoder while turning it.
2.4 Pattern Editor
This section contains controller workflows related to MASCHINE's Pattern Editor. This includes: Pattern Editor navigation, Pattern Grid settings, Pattern operations, Event operations,
and modulation.
MASCHINE MIKRO MK2 - Hardware Control Reference - 22
Page 23

The Pattern Editor on the software side of MASCHINE.
Control Reference
Pattern Editor
MASCHINE MIKRO MK2 - Hardware Control Reference - 23
Page 24

2.4.1 Pattern Editor Navigation
Function Controller Element / Action Note
Scroll (Pattern Editor) 1. Press and hold the VIEW (MIX)
button.
2. Press F2 to select the Pattern Editor.
3. Use the Arrow buttons (◄ and ►
next to NAV) to navigate to page 2/2:
SCROLL.
4. While still holding VIEW (MIX), use
the Control encoder to scroll left and
right in the Pattern Editor.
Control Reference
Pattern Editor
Zoom (Pattern Editor) 1. Press and hold the VIEW (MIX)
button.
2. Press F2 to select the Pattern Editor.
3. Use the Arrow buttons (◄ and ►
next to NAV) to navigate to page 1/2:
ZOOM.
4. While still holding VIEW (MIX), use
the Control encoder to zoom in and
out in the Pattern Editor.
2.4.2 Grid Settings
Grid settings are relevant for the triggering behavior of Scenes, for shortening and lengthening
of Patterns, and for the division of the Quantization Grid.
MASCHINE MIKRO MK2 - Hardware Control Reference - 24
Page 25

Function Controller Element / Action Note
Pattern Length resolution 1. Press and hold the GRID (REC
MODE) button.
2. Press F2 (PAT) to enter the Pattern
Length setting page.
3. Use the Control encoder to select
the Pattern Length resolution you
want to set for the Pattern.
This setting determines the increments
in which you can shorten and lengthen
Patterns.
Changing the Pattern length: PATTERN
button + Control encoder.
This is not the quantization grid setting.
See “Step Grid resolution” entry below
for info on setting the division of the
quantization grid.
Control Reference
Pattern Editor
Perform Grid division 1. Press and hold the GRID (REC
MODE) button.
2. Press F1 (PERF) to enter the Perform Grid setting page.
3. Use the Control encoder to select
the Perform Grid division you want to
set.
Step Grid resolution (Step
Grid and Quantization Grid division)
1. Press and hold the GRID (REC
MODE) button.
2. Press F3 (STEP) to enter the Step
Grid setting page.
3. Use the Control encoder to select
the Step Grid resolution you want to
set for the Pattern Editor.
This setting determines after how many
beats of a bar a Scene becomes active
when triggering it.
Here you adjust the division of the Grid
for working in Step mode and the division of the Quantization Grid.
MASCHINE MIKRO MK2 - Hardware Control Reference - 25
Page 26

2.4.3 Pattern Operations
Function Controller Element / Action Note
Copy/paste (Pattern) 1. Press and hold the DUPLICATE
button.
2. Press and hold the PATTERN button.
3. Tap the pad corresponding to the
Pattern you want to copy.
4. Tap the pad corresponding to the
Pattern slot you want to copy the Pattern to.
Control Reference
Pattern Editor
Delete Pattern 1. Press and hold the ERASE button
+ the PATTERN button.
2. Tap the pad corresponding to the
Pattern you want to delete.
Double Pattern 1. Press and hold the PATTERN but-
ton.
2. Press F1 (DBL).
Pattern length 1. Press and hold the PATTERN but-
ton.
2. Use the Arrow buttons (◄ and ►
next to NAV) to navigate to page 1/2:
LENGTH.
3. While still holding PATTERN, use
the Control encoder to lengthen/shorten the selected Pattern.
Select Pattern PATTERN button + pad 1-16
Select Pattern Bank SHIFT + PATTERN + Arrow buttons
(◄ and ► next to NAV)
The increments in which you can
lengthen or shorten Patterns depend on
the value set in the Pattern length resolution setting. See also “Pattern Length
resolution” in 2.4.2.
MASCHINE MIKRO MK2 - Hardware Control Reference - 26
Page 27

Function Controller Element / Action Note
Skip one bar backwards Skip Backward button in TRANS-
PORT section (◄)
Control Reference
Pattern Editor
Skip one bar forward Skip Forward button in TRANSPORT
section (►)
2.4.4 Event Operations
An Event is the recorded instance of a Sound in MASCHINE's Pattern Editor.
Function Controller Element / Action Note
Copy/paste (Events) 1. Select the Event(s) you want to
copy.
2. Press the SHIFT button + pad 11.
3. Select the Sound/pad you want to
copy the Event(s) to.
4. Press the SHIFT button + pad 12.
Nudge Events 1. Select the Event(s) you want to
nudge.
2. Press and hold SHIFT.
3. Press pad 7 or 8 to nudge the selected Event(s) left or right, respectively.
Quantize Events 1. Select the Event(s) you want to
quantize.
2. Press SHIFT + pad 5.
You can select multiple Events in the
Pattern Editor using the [Shift]/[Cmd]
key.
The increments in which you can nudge
an Event are dependent on the NUDGE
parameter value from the STEP tab in the
GRID screen. (See also 2.4.2) If you
want to nudge Events in really small increments, the Step Grid resolution has
to be set to OFF, or the NUDGE parameter
to STEP/16.
To adjust the Quantization Grid division, see the "Step Grid resolution" entry in 2.4.2.
Quantize Events (50%) 1. Select the Event(s) you want to
quantize.
2. Press SHIFT + pad 6.
MASCHINE MIKRO MK2 - Hardware Control Reference - 27
Quantizing at 50% moves the selected
Events half the way to the next Step
Grid.
To adjust the Quantization Grid division, see the "Step Grid setting" entry in
2.4.2.
Page 28

Function Controller Element / Action Note
Select all Events of a Sound/
pad in the current Pattern
Press SELECT (EVENTS) + a pad to
select all events linked to that pad.
In Keyboard mode, only the Events
which are on the note you are pressing
are selected.
Control Reference
Pattern Editor
Transpose Events (by octave) 1. Select the Event(s) you want to
transpose.
2. Press and hold SHIFT.
3. Press pad 15 or 16 to transpose
the selected Event(s) up or down by
one octave.
Transpose Events (by semitone)
1. Select the Event(s) you want to
transpose.
2. Press and hold SHIFT.
3. Press pad 13 or 14 to transpose
the selected Event(s) up or down by
one half step, respectively.
If no Events were selected before transposing, all notes in the Pattern will be
transposed. In Keyboard mode the
Events of the Pattern in focus will be
transposed.
If no Events were selected before transposing, all notes in the Pattern will be
transposed. In Keyboard mode the
Events of the Pattern in focus will be
transposed.
2.4.5 Modulation
In MASCHINE, you can record parameter value changes on the Sound (pad) level and the
Group level, and you can even record parameter value changes for plug-ins. This is called modulation, and you can see and edit all recorded modulation in the Control Lane beneath the Pattern Editor.
MASCHINE MIKRO MK2 - Hardware Control Reference - 28
Page 29

Function Controller Element / Action Note
Modulation, record 1. Press MAIN to open the parameter
pages.
2. Press F3 (SOUND) to open the
Sound page. (Alternatively, you could
select the GROUP page to modulate parameter values on the Group level.)
3. Press NAV + F2 to open the channel parameters.
4. While still holding NAV, use the
Control encoder to select the Output
tab (OUT), and the Arrow buttons (◄
and ► next to NAV) to select the AU-
DIO parameters.
5. Release NAV.
6. Use the Arrow buttons (◄ and ►
next to NAV) to select a parameter for
modulation (e.g., LEVEL).
7. While playback is active, press and
hold SHIFT, and use the Control encoder to record modulation for the parameter value.
You can record modulation of parameters on the Sound/pad level, and on the
Group level.
There are more advanced options for
modulation. See the relevant chapters
of your controller's manual for more indepth information.
Control Reference
Scene Arranger
Hide/view Control Lane VIEW (MIX) + pad 14. The Control Lane is where modulation
for parameter values is recorded. For
more detailed information on modulation, refer to your controller's manual.
2.5 Scene Arranger
This section contains controller workflows related to MASCHINE's Scene Arranger. This includes Arranger navigation and Scene operations.
MASCHINE MIKRO MK2 - Hardware Control Reference - 29
Page 30

The Scene Arranger on the software side of MASCHINE.
2.5.1 Arranger Navigation
Function Controller Element / Action Note
Scroll (Arranger) 1. Press and hold the VIEW (MIX)
button.
2. Press F1 to select the Scene Arranger.
3. Use the Arrow buttons (◄ and ►
next to NAV) to navigate to page 2/2:
SCROLL.
4. While still holding VIEW (MIX), use
the Control encoder to scroll left and
right in the Scene Arranger.
Control Reference
Scene Arranger
Zoom (Arranger) 1. Press and hold the VIEW (MIX)
button.
2. Press F1 to select the Scene Arranger.
3. Use the Arrow buttons (◄ and ►
next to NAV) to navigate to page 1/2:
ZOOM.
4. While still holding VIEW (MIX), use
the Control encoder to zoom in and
out in the Scene Arranger.
MASCHINE MIKRO MK2 - Hardware Control Reference - 30
Page 31
2.5.2 Scene Operations
Function Controller Element / Action Note
Copy/paste (Scene) 1. Press and hold the DUPLICATE
button.
2. Press and hold the SCENE button.
3. Tap the pad corresponding to the
Scene you want to copy.
4. Tap the pad corresponding to the
Scene slot you want to paste the
Scene to.
When copying a Scene to a new Scene
slot, by default the referenced Patterns
will stay the same. Hence, when recording changes to Patterns of the new
Scene, the original Scene’s Patterns
will be altered too.
To have MASCHINE create new Patterns on Scene duplication, see the
"Copy and paste Scene (+ create new
Patterns)" entry below.
Control Reference
Scene Arranger
Copy and paste Scene
(+ create new Patterns on
pasting)
Delete Scene 1. Press and hold ERASE + SCENE.
Remove Pattern Clip from
Scene
Select Scene Press SCENE + the pad correspond-
Select Scene Bank SHIFT + SCENE + Arrow buttons (◄
1. Press and hold the DUPLICATE
button.
2. Press and hold the SCENE button.
3. Press F1 (+PAT).
4. Tap the pad corresponding to the
Scene you want to copy.
5. Tap the pad corresponding to the
Scene slot you want to paste the
Scene to.
2. Tap the pad corresponding to the
Scene you want to delete.
1. Press and hold the PATTERN button.
2. Press F3 (REMOVE).
ing to the Scene you want to select.
and ► next to NAV).
Once the Create New Pattern function
is activated, it will stay activated until
you deactivate it again.
See also "Copy and paste Scene" entry
above.
Removes the selected Pattern from its
Scene.
This function does not erase a Pattern's
content.
MASCHINE MIKRO MK2 - Hardware Control Reference - 31
Page 32

Function Controller Element / Action Note
Set Scene loop 1. Press and hold the SCENE button.
2. Press and hold the pad corresponding to the Scene you want your
loop to start with.
3. Tap the pad corresponding to the
Scene you want the loop to end with.
Control Reference
Control Area
Set Scene loop to all Scenes
SCENE button + F1 (ALL).
2.6 Control Area
This section contains controller workflows related to MASCHINE's Control area.
The Control area on the software side of MASCHINE.
MASCHINE MIKRO MK2 - Hardware Control Reference - 32
Page 33

Function Controller Element / Action Note
Load effect / effect plug-in 1. Press CONTROL to enter Control
mode.
2. Select the Project level you want to
apply an effect to — Master, Group,
or Sound — by pressing F1 (MASTER),
F2 (GROUP) or F3 (SOUND), respectively.
3. Press NAV + F3 to open the plugin parameters.
4. While still holding NAV, use the
Control encoder to select a free plugin slot.
5. Release NAV.
6. Press BROWSE.
7. Press F1 to select the Filter.
8. Use F3 (USER) to select whether to
search the user library or the NI Library for content.
9. Use the Arrow buttons (◄ and ►
next to NAV) to navigate to the FILE-
TYPE page.
10. Turn the Control encoder until
the menu reads EFFECT.
11. Use the Arrow buttons (◄ and ►
next to NAV) to navigate to the PROD-
UCT page. If needed, refine your
search with the Browser as explained
in chapter “The Browser on the Hardware,” of your controller's manual.
12. Press F2 (LIST) to open the results
list.
13. Turn the Control encoder until
you find the desired entry.
You can apply effects to the Master, to
a Group or to individual pads/Sounds.
Control Reference
Control Area
MASCHINE MIKRO MK2 - Hardware Control Reference - 33
Page 34

Function Controller Element / Action Note
14. Press the Control encoder to load
the effect to the plug-in slot.
Control Reference
Control Area
Load instrument plug-in (VST/
AU)
1. Tap a pad you want to load an instrument to.
2. Press MAIN to open the parameter
pages.
3. Press F3 (SOUND) to select the
Sound level.
4. Press NAV + F3 to open the plugin parameters.
5. While still holding NAV, use the
Control encoder to select plug-in slot
1.
6. Release NAV.
7. Press BROWSE.
8. Press F1 to select the FILTER.
9. Use F3 (USER) to select whether to
search the user library or the NI Library for content.
10. Use the Arrow buttons (◄ and ►
next to NAV) to navigate to the FILE-
TYPE page.
11. Turn the Control encoder until
the menu reads INSTRUMENT.
12. Use the Arrow buttons (◄ and ►
next to NAV) to navigate to the PROD-
UCT page. If needed, refine your
search with the Browser as explained
in chapter “The Browser on the Hardware,” of your controller's manual.
13. Press F2 (LIST) to open the results
list.
Only plug-in slot 1 of a Sound can host
VST/AU plug-in instruments. The other
plug-in slots of a Sound (and also of
the Groups and the Master) can only
host effects.
MASCHINE MIKRO MK2 - Hardware Control Reference - 34
Page 35

Function Controller Element / Action Note
14. Turn the Control encoder until
you find the desired instrument.
15. Press the Control encoder to load
the instrument.
Control Reference
Sampling and Sample Editing
Mute/bypass instrument/effect
1. Press CONTROL to enter Control
mode.
2. Press SHIFT + NAV.
3. Press the pad corresponding to the
plug-in slot you want to mute/bypass.
2.7 Sampling and Sample Editing
This section contains controller workflows related to Sampling and Sample editing in MASCHINE.
MASCHINE MIKRO MK2 - Hardware Control Reference - 35
Page 36

Function Controller Element / Action Note
Sample from external source 1. Select an empty Sound slot / pad
you want to sample to.
2. Press the SAMPLING (SAVE) button.
3. Use the Arrow buttons (◄ and ►
next to NAV) to navigate to page 1/4:
SOURCE.
4. Set the source to EXT. STER. for stereo sampling, or to EXT. MONO for mono
sampling using the Control encoder.
5. Use the Arrow buttons (◄ and ►
next to NAV) to navigate to page 2/4:
INPUT.
6. Select your input channels using
the Control encoder.
7. Use the Arrow buttons (◄ and ►
next to NAV) to navigate to page 3/4:
MODE.
8. Select DETECT mode using the Control encoder.
9. Use the Arrow buttons (◄ and ►
next to NAV) to navigate to page 4/4:
THRESHOLD.
10. Use the Control encoder to set
the recording threshold level.
11. Press F1 (START) to start recording.
12. Press F1 (STOP) when you want
the recording to stop.
For more in-depth information on sampling from the controller, refer to your
controller's manual.
Control Reference
Sampling and Sample Editing
Sample from internal source
(resampling)
1. Select an empty Sound slot / pad
you want to sample to.
2. Press the SAMPLING (SAVE) button.
MASCHINE MIKRO MK2 - Hardware Control Reference - 36
For more in-depth information on sampling from the controller, refer to your
controller's manual.
Page 37

Function Controller Element / Action Note
3. Use the Arrow buttons (◄ and ►
next to NAV) to navigate to page 1/4:
SOURCE.
4. Set the source to INTERNAL using the
Control encoder.
5. Use the Arrow buttons (◄ and ►
next to NAV) to navigate to page 2/4:
INPUT.
6. Select your input channels using
the Control encoder.
7. Use the Arrow buttons (◄ and ►
next to NAV) to navigate to page 3/4:
MODE.
8. Select DETECT mode using the Control encoder.
9. Use the Arrow buttons (◄ and ►
next to NAV) to navigate to page 4/4:
THRESHOLD.
10. Use the Control encoder to set
the recording threshold level.
11. Press F1 (START) to start recording.
12. Press F1 (STOP) when you want
the recording to stop.
Control Reference
Sampling and Sample Editing
MASCHINE MIKRO MK2 - Hardware Control Reference - 37
Page 38

Function Controller Element / Action Note
Sample looping 1. Press the SAMPLING (SAVE) but-
ton.
2. Press NAV + turn the Control encoder to open the ZONE page.
3. While still holding NAV, use the
Arrow buttons (◄ and ► next to
NAV) to navigate to the LOOP tab.
4. Release NAV.
5. Use the Arrow buttons (◄ and ►
next to NAV) to navigate to page 1/4
ACTIVE.
6. Use the Control encoder to activate
the loop function.
7. Set loop start and end points on
pages 2/4 and 3/4.
8. On page 4/4: XFADE, set a crossfade
value for the start and end point of
the loop to gain a smooth transition in
between end and start of the looping
range.
Sample looping does not work when the
Sound is in One-shot mode. See entry
“One-shot” from chapter 2.3.
Control Reference
Sampling and Sample Editing
MASCHINE MIKRO MK2 - Hardware Control Reference - 38
Page 39

Function Controller Element / Action Note
Sample editing 1. Press the SAMPLING (SAVE) but-
ton.
2. Press NAV + turn the Control encoder to open the EDIT page.
3. While still holding NAV, use the
Arrow buttons (◄ and ► next to
NAV) to activate the SELECTION RANGE
setting.
4. Release NAV.
5. Use the Control encoder to navigate to pages 1/2: START and 2/2: END,
and set start end points for the selection to be edited.
6. Navigate through the editing options with buttons F1 and F3 (e.g.,
TRUNC will erase everything outside
the selected START and END range of
the Sample).
Refer to your controller's manual for
more in-depth information on sample
editing.
Control Reference
Sampling and Sample Editing
Time stretching / pitch shifting
1. Press the SAMPLING (SAVE) button.
2. Select a sample region as described in the sample editing entry
above.
3. Press NAV + turn the Control encoder to open the EDIT page.
4. Release NAV.
5. Navigate through the editing options with buttons F1 and F3 until
STRCH comes up.
6. Press F2 to open the time stretch
engine's settings page.
MASCHINE MIKRO MK2 - Hardware Control Reference - 39
Refer to your controller's manual for
more in-depth information on time
stretching.
Page 40

Control Reference
Function Controller Element / Action Note
7. Use the Arrow buttons (◄ and ►
next to NAV) to navigate through the
time stretch engine's properties pages, and select the appropriate settings.
8. Press F3 (APPLY) to apply time
stretching to your sample.
2.8 Miscellaneous
Miscellaneous entries, such as adjusting pad sensitivity and display contrast from the controller, you’ll find here.
Miscellaneous
MASCHINE MIKRO MK2 - Hardware Control Reference - 40
Page 41

Function Controller Element / Action Note
Display brightness 1. Press SHIFT + F1 to enter MIDI
control mode.
2. Press NAV + F3 to open the SET-
UP pages.
3. Use the Arrow buttons (◄ and ►
next to NAV) to navigate to page 1/3
BRIGHTNESS.
4. Use the Control encoder to adjust
the display brightness.
5. Press SHIFT + F1 again to leave
MIDI mode.
For more advanced configuration options from the controller, refer to your
controller's manual.
Control Reference
Miscellaneous
Display contrast 1. Press SHIFT + F1 to enter MIDI
control mode.
2. Press NAV + F3 to open the SET-
UP pages.
3. Use the Arrow buttons (◄ and ►
next to NAV) to navigate to page 2/3
CONTRAST.
4. Use the Control encoder to adjust
the display's contrast.
5. Press SHIFT + F1 again to leave
MIDI mode.
Driver and firmware version 1. Press SHIFT + F1 to enter MIDI
control mode.
2. Press NAV + F3 to open the SET-
UP pages. You can find all driver- and
firmware-related information on the
display.
3. Press SHIFT + F1 again to leave
MIDI mode.
For more advanced configuration options from the controller, see your controller's manual.
For more advanced configuration options from the controller, refer to your
controller's manual.
MASCHINE MIKRO MK2 - Hardware Control Reference - 41
Page 42

Function Controller Element / Action Note
Pad sensitivity 1. Press SHIFT + F1 to enter MIDI
control mode.
2. Press NAV + F3 to open the SET-
UP pages.
3. Use the Arrow buttons (◄ and ►
next to NAV) to navigate to page 3/3
PAD SENSITIVITY.
4. Use the Control encoder to adjust
the pads' sensitivity.
5. Press SHIFT + F1 again to leave
MIDI mode.
For more advanced configuration options from the controller, see your controller's manual.
Control Reference
Miscellaneous
Switching MASCHINE instances in plug-in mode
1. Press and hold SHIFT + F2.
2. Use the Control encoder. to scroll
through the list of available instances.
3. Load the selected instance by
pressing the Control encoder.
MASCHINE MIKRO MK2 - Hardware Control Reference - 42
Page 43

3 Computer Keyboard Shortcuts
3.1 Transport
Function Key(s)
Arm for Recording [Shift] + [Space]
Metronome, toggle on/off [M] key
Play/Stop [Space]
Start Recording with count-in [Ctrl]/[Cmd] + [Shift] + [Space]
3.2 Navigation
Function Key(s)
Cycle Pattern Editor tools [E] key
Computer Keyboard Shortcuts
Transport
Multi-select Groups / Sound slots [Shift] + [Up]/[Down] key
Next/previous Group / Sound slot / Browser list entry [Down] + [UP] keys
Zoom in Scene Arranger / Pattern Editor [Ctrl]/[Cmd] + [Up]/[Down] key
3.3 Editing
Function Key(s)
1/1 note (Pattern Grid resolution) [1]
1/2 note (Pattern Grid resolution) [2]
1/4 note (Pattern Grid resolution) [3]
1/8 note (Pattern Grid resolution) [4]
MASCHINE MIKRO MK2 - Hardware Control Reference - 43
Page 44

Computer Keyboard Shortcuts
User Interface Options
Function Key(s)
1/16 note (Pattern Grid resolution) [5]
1/32 note (Pattern Grid resolution) [6]
1/64 note (Pattern Grid resolution) [7]
1/128 note (Pattern Grid resolution) [8]
Copy [Ctrl]/[Cmd] + [C]
Cut [Ctrl]/[Cmd] + [X]
Delete [Del]
Duplicate Pattern [Ctrl]/[Cmd] + [D]
Grid on/off [0]
Move Events with Grid off Hold [Ctrl]/[Cmd] while moving Event with the mouse
Nudge Event left [Alt] + [Left] key
Nudge Event right [Alt]+ [Right] key
Paste [Ctrl]/[Cmd] + [V]
Quantize Events [Alt] + [Q]
Quantize Events (50%) [Shift] + [Alt] + [Q]
Rename last selected item [Ctrl]/[Cmd] + [R] key
Select all (also deselect in Sound and Group lists) [Ctrl]/[Cmd] + [A]
Triplet Version [Shift] + keys [1]-[7]
3.4 User Interface Options
Function Key(s)
Full screen mode [Ctrl]/[Cmd] + F
Mix view [Tab] key
Show/hide Browser [F4]
Show/hide Control Lane [F12]
MASCHINE MIKRO MK2 - Hardware Control Reference - 44
Page 45

Index
Index
A
AU [34]
B
Base key
shifting base key of a Sound [17]
BPM
change [11]
change (tap) [11]
Bypass [35]
C
Choke all playing notes [7]
Clear (general) [7]
Copy (general) [7]
Copy and paste
Event(s) [27]
D
Delete
Group [15]
Pattern [26]
Scene [31]
Sound [21]
Display
brightness [41]
contrast [41]
Double Pattern [26]
Driver version [41]
F
Firmware version [41]
H
Hide/view
Pad/Sound [13] [17]
Pattern [26]
Scene [31]
Scene (create new Patterns) [31]
Browser [7]
Control Lane [7]
Hide/view Control Lane [29]
Hide/view Mixer [8]
K
Keyboard mode [18]
MASCHINE MIKRO MK2 - Hardware Control Reference - 45
Page 46

Index
L
Layering [20]
Link Pads [20]
Load
effect [33]
Group [13]
instrument (VST/AU) [34]
Project [8]
Sample [18]
Sound [19]
Loop [38]
M
Metronome
adjust volume of [9]
toggle on/off [9]
Modulation
O
One-shot mode
activate [20]
P
Pad sensitivity
adjust [42]
Pan
Group [14]
Master [9]
Pad/Sound [21]
Paste (general) [9]
Pattern length
adjust [26]
Pattern length resolution [25]
Perform Grid division [25]
Piano Roll [18]
record [29]
Mute
Group [14]
instrument/effect [35]
Pad/Sound [19]
N
Note Repeat [19]
Nudge [27]
Pitch
Group [14]
Pad/Sound [21]
Pitch shifting [39]
Play [9]
MASCHINE MIKRO MK2 - Hardware Control Reference - 46
Page 47

Index
Q
Quantization
Quantization Grid division [25]
quantizing Events [27]
quantizing Events (50%) [27]
toggle on/off [10]
R
Record [10]
with Count-in [10]
Redo [10]
Remove
Pattern Clip from Scene [31]
Reset
Group [15]
Sound Slot [21]
Restart Loop Selection [10]
S
Sample editing [39]
looping [38]
Sampling
from external source [36]
from internal source [36]
Save Project [10]
Scene loop
set [32]
set to all Scenes [32]
Scroll
Arranger [30]
Pattern Editor [24]
Select
all Events of a Pad/Sound in the current
Pattern [28]
Group [15]
Pad/Sound [21]
Pad/Sound (silently) [21]
Pattern [26]
Pattern Bank [26]
Scene [31]
Scene Bank [31]
Skip one bar
backwards [27]
MASCHINE MIKRO MK2 - Hardware Control Reference - 47
Page 48

Index
forward [27]
Solo
Group [15]
Pad/Sound [22]
Step Grid resolution [25]
Stop [10]
Swing
Group [16]
Master [11]
Pad/Sound [22]
Switching instances (plug-in mode) [42]
T
Tempo
change [11]
change (tap) [11]
Time stretching [39]
U
Undo [11]
V
Velocity
fix [22]
Volume
Group [16]
Master [11]
Pad/Sound [22]
VST [34]
Z
Zoom
Arranger [30]
Pattern Editor [24]
Transpose Events
by octave [28]
by semitone [28]
Tune
Group [14]
MASCHINE MIKRO MK2 - Hardware Control Reference - 48
 Loading...