

Page 1
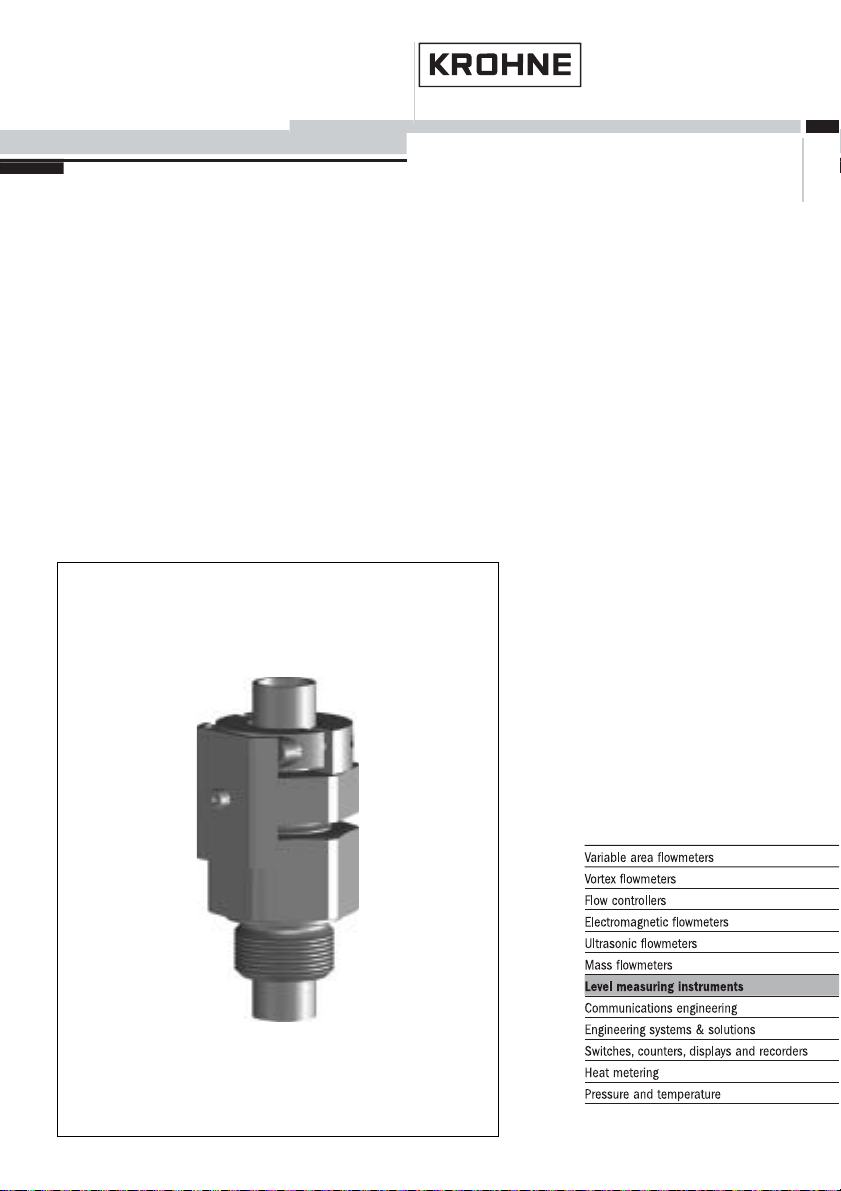
Operating Instructions
Lock fitting ARV 60
up to 16 bar for OPTISWITCH 5200 C,
5250 C
Page 2

Contents
Contents
1 About this document
1.1 Function .............................
1.2 Target group ..........................
1.3 Symbolism used .......................
2 For your safety
2.1 Authorised personnel....................
2.2 Appropriate use........................
2.3 Warning about misuse ...................
2.4 General safety instructions ................
3 Product description
3.1 Configuration..........................
3.2 Principle of operation ....................
3.3 Storage and transport ...................
4 Mounting
4.1 General instructions.....................
4.2 Mounting procedure.....................
5 Maintenance and fault rectification
5.1 Maintenance ..........................
5.2 Exchange seals........................
5.3 Instrument repair .......................
4
4
4
5
5
5
5
6
6
6
7
7
10
10
11
6 Dismounting
6.1 Dismounting procedure ..................
6.2 Disposal .............................
7 Supplement
7.1 Technical data.........................
7.2 Dimensions ...........................
2 Lock fitting ARV 60 - up to 16 bar for OPTISWITCH 5200
12
12
13
15
30922-EN-050704
Page 3
About this document
1 About this document
1.1 Function
This operating instructions manual has all the information you
need for quick setup and safe operation of ARV 60. Please
read this manual before you start setup.
1.2 Target group
This operating instructions manual is directed to trained
personnel. The contents of this manual should be made
available to these personnel and put into practice by them.
1.3 Symbolism used
Information, tip, note
This symbol indicates helpful additional information.
Caution, warning, danger
This symbol informs you of a dangerous situation that could
occur. Ignoring this cautionary note can impair the person and/
or the instrument.
Ex applications
This symbol indicates special instructions for Ex applications.
l List
The dot set in front indicates a list with no implied sequence.
à Action
This arrow indicates a single action.
1 Sequence
Numbers set in front indicate successive steps in a procedure.
30922-EN-050704
Lock fitting ARV 60 - up to 16 bar for OPTISWITCH 5200 3
Page 4

For your safety
2 For your safety
2.1 Authorised personnel
All operations described in this operating instructions manual
must be carried out only by trained, specialised personnel
authorised by the operator. For safety and warranty reasons,
any internal work on the instruments must be carried out only
by personnel authorised by the manufacturer.
2.2 Appropriate use
ARV 60 is used for for infinite locking with tube extension.
Detailed information on the application range of ARV 60 is
available in chapter Product description.
2.3 Warning about misuse
Inappropriate or incorrect use of the instrument can give rise to
application-specific hazards, e.g. vessel overfill or damage to
system components through incorrect mounting or adjustment.
2.4 General safety instructions
ARV 60 is a high-tech instrument requiring the strict
observance of standard regulations and guidelines. The user
must take note of the safety instructions in this operating
instructions manual, the country-specific installation standards
(e.g. the VDE regulations in Germany) as well as all prevailing
safety regulations and accident prevention rules.
4 Lock fitting ARV 60 - up to 16 bar for OPTISWITCH 5200
30922-EN-050704
Page 5

3 Product description
3.1 Configuration
Product description
Scope of delivery
Area of application
Physical principle
The scope of delivery encompasses:
l Lock fitting ARV 60 for OPTISWITCH 5200 C, 5250 C
vibrating level switch
l Documentation
- this operating instructions manual
3.2 Principle of operation
ARV 60 is a pressure-tight threaded fitting up to 16 bar
(232 psi) and can be used together with a level sensor in tube
version (OPTISWITCH 5200 C, 5250 C). The tube version of
the sensor must have a diameter of 21,3 mm (ø 0,84 in).
ARV 60 cannot be used in coated tubes.
The wetted parts of the ARV 60 are made of steel (316L).
With the lock fittings, sensors with tube extension can be fixed
infinitely.
The pressure screw of the lock fitting compresses a graphite
gasket consisting of three rings axially which is then pressed
radially to the tube of the sensor. If mounted correctly, the
graphite gasket encircles the tube tightly. The clamp protects
the tube against sliding through. A locking bracket protects the
terminal screws of the clamp against unauthorised or
unintentional loosening.
3.3 Storage and transport
Packaging
Storage and transport tempe-
rature
30922-EN-050704
Lock fitting ARV 60 - up to 16 bar for OPTISWITCH 5200 5
Your instrument was protected by packaging during transport.
Its capacity to handle normal loads during transport is assured
by a test acc. to DIN EN 24180.
The packaging of standard instruments consists of environ-
ment-friendly, recyclable cardboard. For special versions, PE
foam or PE foil is also used. Dispose of the packaging material
via specialised recycling companies.
l Storage and transport temperature see "Supplement –
Technical data – Ambient conditions"
l Relative humidity 20 … 85 %
Page 6

Mounting
4 Mounting
4.1 General instructions
The note of the following general safety instructions:
l Dismount the lock fitting only in unpressurized condition
l Use only suitable graphite gasket rings. Make sure that the
graphite gasket rings are not damage. Damaged rings are
no longer tight. If you are not sure, use new rings.
l Only use approved hexagon screws DIN 912 M6 x 25 of
A4-70 acc. to AD leaflet W2. The corresponding spring
rings B6 must be made of A4 acc. to DIN 7980.
l Grease the thread of the mounting boss as well as the
thread and the support of the terminal screws with a
suitable lubricant. The lubricant must be suitable for
material combination 316L/316L and for a temperature
range of -50 … +250°C (-58 … +482°F) e.g. Varybond
type NSS-16/7. The threads are already supplied with a
lubricant.
4.2 Mounting procedure
The lock fitting is already premounted.
The numbers in brackets refer to the following illustration.
1 Loosen the screw (6) and remove the locking bracket (4)
2 Screw mounting boss (7) with a resistant seal ring into the
thread of the vessel and tighten the mounting boss (7) on
the hexagon (SW 41 or SW 60)
3 Clean the connection tube of the sensor and the surfaces
of the clamp (1) as well as the pressure screw (11)
carefully and remove grease, oil and dirt. Insert the sensor
into the lock fitting. Slide the tube into the requested
position and hold it
4 Make sure that the sensor is in the correct position (height.
The height adjustment of the sensor determines also the
switching point
5 Tighten the pressure screw (11) with a torque 70 ±10 Nm
(51 ±7 lbf ft)
6 Continue to turn the pressure screw (11) clockwise until the
hexagon surfaces of the pressure screw (11) and the
mounting boss (7) correspond (max. 1/6 turn)
30922-EN-050704
6 Lock fitting ARV 60 - up to 16 bar for OPTISWITCH 5200
Page 7

Mounting
7 Tighten the terminal screws (3) alternately. Make sure that
the gap between clamp and pressure screw is in parallel.
Tighten the terminal screws up to a torque of 3 ±1 Nm
(2.2 ±0.7 lbf ft).
Hence the clamp (1) is pressed against the tube and fixes
the tube of the sensor in this position
8 Fasten the locking angle (4) with the hold screw (6) and the
spring ring (5) laterally on the pressure screw (11)
Hence the pressure screw and the terminal screws are
protected against unintentional loosening
30922-EN-050704
Lock fitting ARV 60 - up to 16 bar for OPTISWITCH 5200 7
Page 8

Mounting
1
2
3
11
10
8
9
8
7
Fig. 1: ARV 60 - up to 16 bar (232 psi)
1 Clamp
2 Spring ring B6
3 Terminal screw M6 x 25
4 Locking angle
5 Spring ring B4
6 Holding screw M4 x 10
7 Mounting boss
8 Gasket packing ring
9 Graphite packing ring
10 Pressure ring
11 Pressure screw
4
5
6
8 Lock fitting ARV 60 - up to 16 bar for OPTISWITCH 5200
30922-EN-050704
Page 9

Maintenance and fault rectification
5 Maintenance and fault rectification
5.1 Maintenance
When used as directed in normal operation, lock fitting ARV 60
is completely maintenance-free.
5.2 Exchange seals
If the lock fitting is untight, you have to exchange the graphite
gasket rings. If you want to shift the sensor to change the
switching point, you also have to replace the graphite gasket
rings.
The numbers in brackets refer to the illustration under
"Mounting".
Danger:
Before dismounting, make sure that the vessel is unpressurised
1 Loosen the screw (6) and remove the locking bracket (4)
2 Loosen pressure screw (11)
3 Hold the tube of the sensor and loosen the terminal screws
(3)
4 Pull the sensor out of the lock fitting
5 Unscrew the pressure screw (11) out of the mounting boss
(7)
6 Screw the mounting boss (7) with a new resistant seal ring
into the thread of the vessel and tighten the mounting boss
(7) on the hexagon (SW 41 or SW 60)
7 Unpack the new gasket and graphite gasket rings. The
graphite gasket ring (9) is thin; the gasket rings (8) are a
little thicker and have a layer configuration.
Make sure that the rings are not damaged. If you are not
sure, use new rings.
8 First of all place one of the new gasket rings (8) into the
mounting boss (7). Then place the graphite gasket ring (9)
on top. This is followed by the second gasket ring (8)
9 Place the pressure ring (10) of metal to the gasket rings
30922-EN-050704
Lock fitting ARV 60 - up to 16 bar for OPTISWITCH 5200 9
Page 10

Maintenance and fault rectification
10 Screw the pressure screw (11) with a view turns from top
into the mounting boss (7)
11 Clean the connection tube of the sensor and the surfaces
of the clamp (1) as well as the pressure screw (11)
carefully and remove grease, oil and dirt. Insert the sensor
into the lock fitting. Slide the tube into the requested
position and hold it
12 Make sure that the sensor is in the correct position (height.
The height adjustment of the sensor determines also the
switching point
13 Tighten the pressure screw (11) with a torque 70 ±10 Nm
(51 ±7 lbf ft)
14 Continue to turn the pressure screw (11) clockwise until the
hexagon surfaces of the pressure screw (11) and the
mounting boss (7) correspond (max. 1/6 turn)
15 Tighten the terminal screws (3) alternately. Make sure that
the gap between clamp and pressure screw is in parallel.
Tighten the terminal screws up to a torque of 3 ±1 Nm
(2.2 ±0.7 lbf ft).
Hence the clamp (1) is pressed against the tube and fixes
the tube of the sensor in this position
16 Fasten the locking angle (4) with the hold screw (6) and the
spring ring (5) laterally on the pressure screw (11)
Hence the pressure screw and the terminal screws are
protected against unintentional loosening
5.3 Instrument repair
If a repair is necessary, please proceed as follows:
You can download a return form from our Internet homepage
http://www.krohne-mar.com/fileadmin/media-lounge/PDF-
Download/Specimen_e.pdf.
By doing this you help us carry out the repair quickly and
without having to call back for needed information.
l Print and fill out one form per instrument
l Clean the instrument and pack it damage-proof
l Attach the completed form and possibly also a safety data
sheet to the instrument.
10 Lock fitting ARV 60 - up to 16 bar for OPTISWITCH 5200
30922-EN-050704
Page 11

Dismounting
6 Dismounting
6.1 Dismounting procedure
Note chapter "Mounting" and carry out the described steps in
reverse order.
Warning:
If you want to remove the lock fitting for service or control
purposes, make sure that the vessel is unpressurised.
If you proceed as follows, it is not necessary to readjust the
switching point and the lock fittings must not be dismounted
completely.
1 Switch off power supply of the sensor
2 Remove all connection cables
3 Loosen the mounting boss with a screwdriver
4 Remove the sensor together with the lock fitting
6.2 Disposal
The ARV 60 consists of materials which can be recycled by
special recycling companies. Mark the instrument as scrap
and dispose it according to the legal regulations.
Materials: see "Technical data"
If you cannot dispose of the instrument properly, please
contact us about disposal methods or return.
30922-EN-050704
Lock fitting ARV 60 - up to 16 bar for OPTISWITCH 5200 11
Page 12

Supplement
7 Supplement
7.1 Technical data
General data
Material 316L corresponds to 1.4404 or 1.4435
Process fitting
- G1A or 1 NPT
- G1½A or 1½ NPT
Tube diameter of the sensor ø 21.3 mm acc. to DIN 2463/2462 D4-T3
(ø 0.84 in)
Materials
- Lock fitting 316L
- Graphite packing rings graphite
- Process seal Klingersil C-4400
Terminal screws Hexagon screws DIN 912 M6 x 25 material
A4-70 acc. to AD leaflet W2; corresponding
spring rings B6 materials A4 acc. to DIN 7980
Holding screw Hexagon screw DIN 7964 M4 x 10 material
A4-70; corresponding spring ring B4 material
A4 acc. to DIN 7980
Torque
- Terminal screws 3 ±1 Nm (2.2 ±0.7 lbf ft)
- Pressure screw 70 ±10 Nm (51 ±7 lbf ft)
1)
Process conditions
Operating pressure
16 bar (232 psi) Take note of the nominal pressure of the
sensor. The lower permissible operating
pressure is valid.
Product temperature -50 … +150°C (-58 … +302°F)
1)
not with thread NPT
12 Lock fitting ARV 60 - up to 16 bar for OPTISWITCH 5200
30922-EN-050704
Page 13

Supplement
Approvals
2)
In conjunction with a corresponding level sensor, ARV 60 has the following approvals.
ATEX ia ATEX II 1G, 1/2G, 2GEExiaIIC T6; ATEX II 1G,
1/2GEExiaIIC T6
ATEX d ATEX II 1/2G, 2GEExdIIC T6
FM Zone 0 FM Zone 0, Division 1, intrinsic safe; FM Zone 0,
Division 1, explosion safe
FM Zone 2 FM Zone 2, Division 2
Ship approvals
Others WHG
2)
Take note of the corresponding certificates of the sensor
30922-EN-050704
Lock fitting ARV 60 - up to 16 bar for OPTISWITCH 5200 13
Page 14

7.2 Dimensions
Lock fitting ARV 60 for OPTISWITCH 5200 C, 5250 C
ø 21,3mm
27
(
/32")
")
64
/
41
46mm
~ 67mm (2
(1 13/16")
")
32
/
25
20mm
(
G1A/
1NPT
46mm
(1 13/16")
G1½A/
1½NPT
Fig. 2: Lock fitting ARV 60 up to 16 bar (232 psi) for OPTISWITCH 5200 C, 5250 C
14 Lock fitting ARV 60 - up to 16 bar for OPTISWITCH 5200
30922-EN-050704
 Loading...