

Page 1
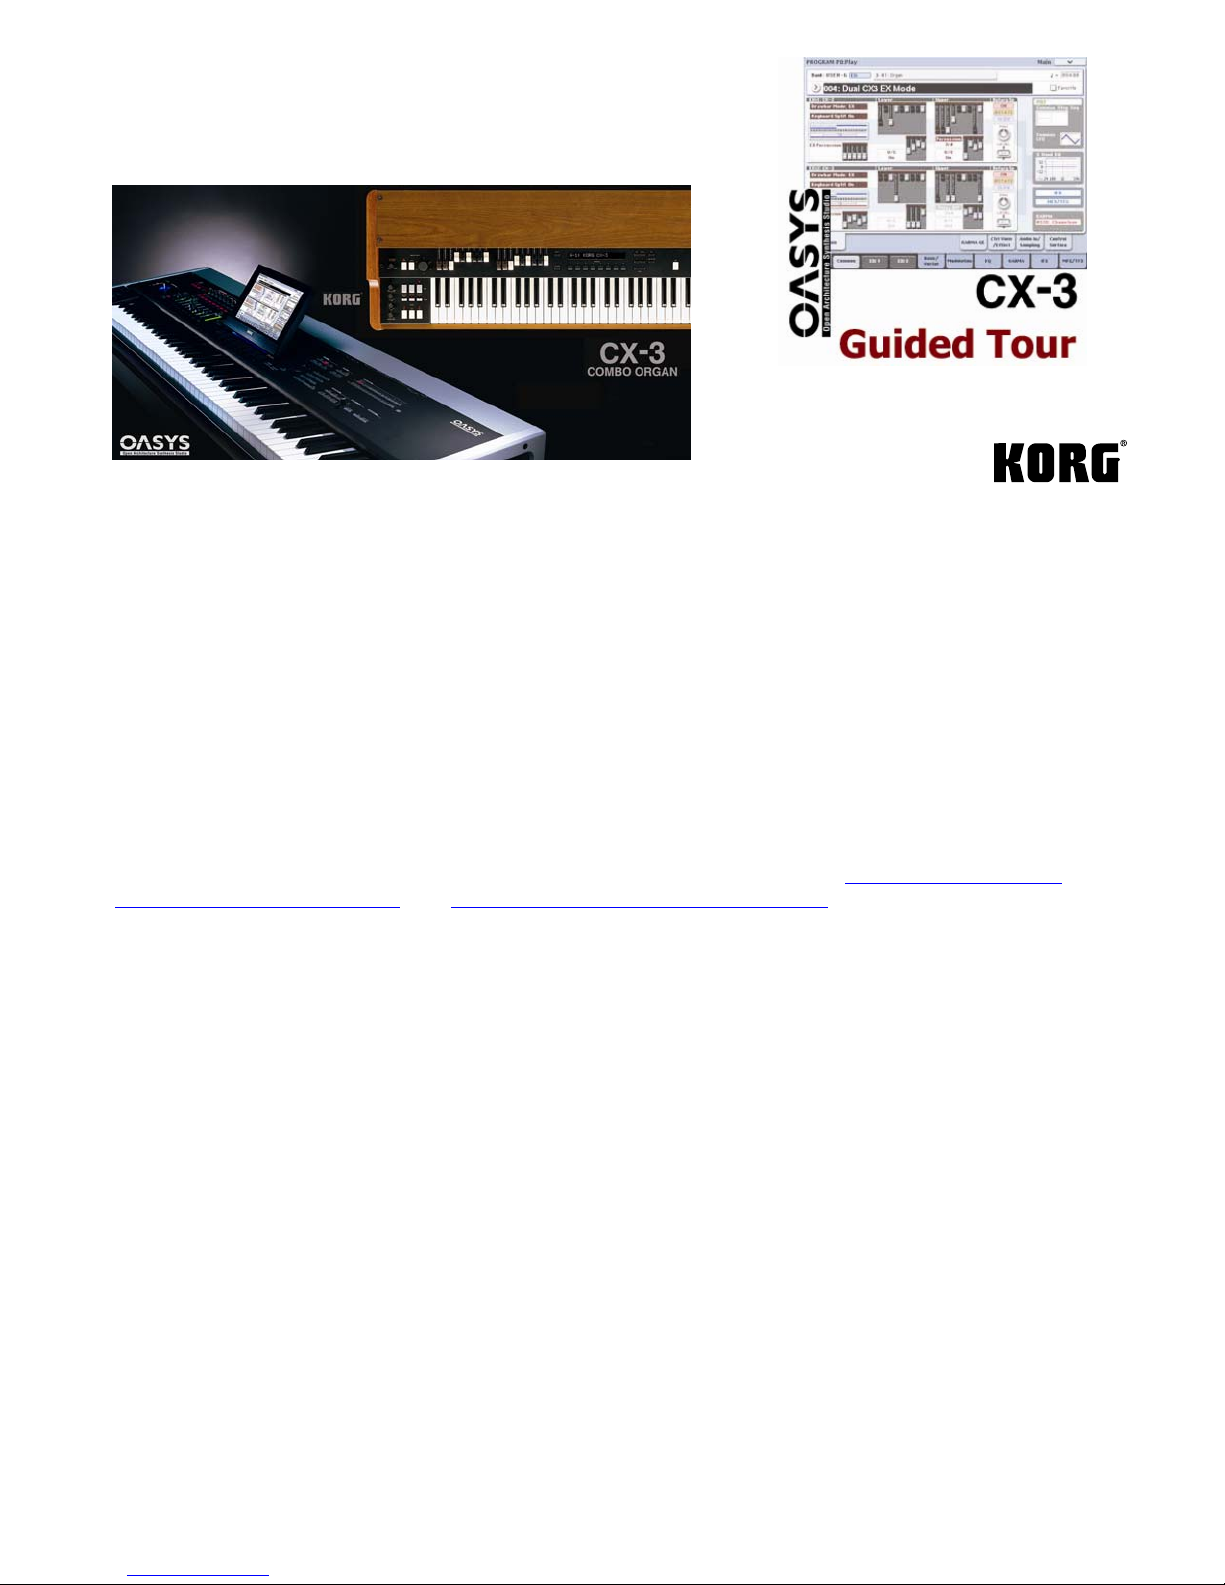
WWeellccoommee ttoo tthhee OOAASSYYSS CCXX--33 EExxppaannssiioonn IInnssttrruummeenntt!!
The CX-3 EXi modeling engine in OASYS faithfully reproduces a tonewheel organ and an accurate
emulation of its rotary speaker amp, allowing nuanced control over such parameters as tonewheel
leakage, key click, tube emulation, adjustable overtones, with proper foldback characteristics. The
CX-3 Expansion Instrument in OASYS improves upon the original CX-3 with improvements in the
Rotary Speaker algorithm, assignability of percussion to either ‘manual’ in a split, and new
chromatic pitch choices for the EX drawbars and percussion. This Tour Guide is your first stop on
an amazing journey of discovery. Our goal here is to get you comfortable working with this model,
so that you can fully take ownership and give this amazing organ emulation your personal stamp.
After you’ve finished this tour, you can learn more about this great instrument by working with the
OASYS Operation and Parameter Guides. And you’ll find new OASYS tutorials, tips and tricks,
support materials, and discussions with other OASYS owners by visiting www.korg.com/oasys
www.karma-labs.com/oasys
and www.korgforums.com/forum/phpBB2 on a regular basis!
,
WWhheerree ttoo ffiinndd tthhee CCXX--33 PPrrooggrraammss……
SSeelleecctt PPrrooggrraamm BBaannkk UUsseerr--FF
The CX-3 Programs occupy the lower numbers of Bank U-F, U-F-000 through U-F-051. The higher numbers contain more
great AL-1 Programs. Why not more? Much o f the variety and magic of playing a tonewheel organ comes from moving the
drawbars yourself, and operating the controls in realtime – it’s not about changing presets as much as it is playing with the
instrument in an interactive fashion! Plus, it’s so easy to edit the drawbars and tone to your liking, that you’ll be creating
your own original CX-3 Programs in no time!
TTuuttoorriiaall:: SSeelleecctt PPrrooggrraamm BBaannkk UUsseerr--FF--000000,, FFeelliixx’’ss D
This great program emulates an “all-stops-out” organ: think “Good Lovin” by the Rascals from the 60’s.
Note that the factory organ programs all ‘wake up’ with the CONTROL ASSIGN mode defaulting to MOD: TONE ADJUST.
Faders 1-8 are your first eight drawbars, and the MASTER fader behaves as drawbar #9. Move the faders as you play,
noting that the display’s drawbars update to the changes you make. Touch the small drawbar area beneath Upper and an
enlarged view appears, which also updates and responds to your fader movements.
Push the joystick away from you (+Y), and the Rotary Speaker slows down; push it again and it accelerates. Try this while
holding a low note and a high note together and you can hear the accuracy of the CX-3 rotary model: there are separate
acceleration/deceleration rates for the horn (the highs) and the rotor (the revolving drum for the lows).
Daa KKaatt
Page 2

OASYS CX-3 Modeled Tonewheel Organ Guided Tour
SSpplliitt MMooddee,, aanndd CCoonnttrroolllliinngg tthhee LLoowweerr DDrraawwbbaarrss
Pull the joystick towards you (-Y), to make use of a pre-programmed split, each half of the keyboard having its own set of
drawbars. The Upper Drawbars are linked to the Control Surface. As for the Lowers, note that the 16’ drawbar is colored
red: this is the ‘cursor’. The red drawbar is linked to the VALUE slider and VALUE wheel. Touch any drawbar, either Lower
or Upper and note that its position can now be adjusted by the VALUE fader and wheel.
Note: The Upper Drawbars default to always being linked to the Control Surf a ce. We’ll see in a little bit how we can
MMoorree oonn SSpplliitt MMooddee……
customize the Control Surface to behave differently.
On the display, press the tab labeled Keyboard Split. Besides Joystick –Y, you can enable a Split just by checking the box
labeled Split Enable. On this page you ca n:
1. Change the Split point to any key. High light the default ‘B3’ in this example > Use the VALUE Slider or
Wheel to modify, or *SHORTCUT* Hold ENTER and press the desired key.
uppermost note for the Lower zone.).
2. Independently shift the octave of the Upper or Lower zone. Try setting the Lower Octave Shift to +2.
Why This Is Cool: Organists will often set the Lo wer Manual as a chordal accompaniment to their soloing on
the Upper; or they find it useful to use the Upper and Lower as if they were two different ‘patches’, so that
they can change up their soloing with two different voices without any fuss.
> (Note: You are setting the
3. Change the source of the Split command. To review: AMS stands for Alternate Modulation Source Press
the popup after AMS: These are the wealth of sources you can apply for this Split message, or any
modulation message.
4. A desirable AMS application for a organist would be to enable hands-free switching of the rotary speaker
> Press the Amp/ VC/ Rotary Speaker tab, then press the Rotary Speaker tab in the second row >
speed
In the Mode/Speed cell, locate the setting Speed SW: Slow, and notice the AMS pop up which is
currently set to JS+Y
pedal will toggle the rotary speed
setting, so that the rotary would be fast only as long as the pedal is depressed.
TTuuttoorriiaall:: EExxtteennddeedd DDrraawwbbaarr MMooddee:: EExxaammppllee:: PPrrooggrraamm U
> Press this popup and select Damper (CC#64) from the list: now your damper
> Note that the AMS Mode parameter offers the choice of a Momentary
U--FF--1100,, EEXX OOttoonneess
Concept: One of the most innovative features of Korg’s CX-3 Organ was the introduction of four additional
overtones (or drawbars) to the standard nine. Let’s explore how OASYS implements and extends this unique
idea:
1. After selecting Program U-F-10, EX-Otones, press the smaller set of four drawbars in the second row
beneath Upper: this quickly takes you to the Extended drawbars. (Alternate navigation: Press EXi1
Press Basic: Notice that here you can select either Normal or EX Mode
Drawbars)
2. Touch each EX Drawbar in Upper EX Drawbars to turn it red and extend all four out to their fullest using
the VALUE slider or wheel.
> Press Split/Drawbars > Press EX
>
3. After EX Drawbar Pitch Mode, select Custom
select 4’, 4’+3, 4’+6, and 2’+3: You now have the tones of a diminished seventh chord, something that
is not possible with the nine traditional drawbars alone! OASYS’ CX-3 Custom table allows you to set the
EX drawbars to any chromatic pitch you like, over a five-octave range!
4. Note that if you Split the keyboard, you can also add four EX tones to the Lower!
> Touch the arrows under each of the EX Drawbars and
2
Page 3

OOAASSYYSS aallssoo ooffffeerrss EExxtteennddeedd PPeerrccuussssiioonn!!
5. Staying with Program U-F-10, EX-Otones, press the small box of drawbars labeled EX Percussion.
(Alternate navigation: Press EXi1
Off to turn it on.
New: Notice the parameter Percussion Assign: In OASYS, either the Upper or Lower ‘Manual’ can be
assigned percussion!
6. Press the EX Percussion tab ‘Normal’ is the ‘volume fader’ drawbar for the entire EX Percussion section
The first two EX Percussion harmonics are fixed
assigned to EX drawbars 1 and 2!
> Press the Percussion tab > Press SW2 or the popup by Percussion:
OASYS CX-3 Modeled Tonewheel Organ Guided Tour
>
> The last two take on whatever pitches you’ve previously
TTuuttoorriiaall:: CCXX--33 SSiiggnnaattuurree ssoouunnddss aanndd mmooddeelliinngg nnooiisse
1. Select Program U-F-017, LS Dirty Funk > Without playing the keyboard, listen to t he amount of modeled
artifacts in this ‘dirty’ sound, enabling it to capture all the audio aspects and funky taste of Dr. Lonnie
Smith, one of the premier jazz organists of our time!
2. Press the ‘Clean’ Wheel Type instead of Vintage and hear the noise change in character
highlight the Leakage Level value
Try altering the Overtones level in the same way To hear the Overtone changes play a simple triad, or a
fifth on the keyboard while you vary the values.
Why This Is Cool: Adjacent tonewheels in a tonewheel organ might leak’ or ‘cross-talk’ into one another,
especially with age. The CX-3 model in OASYS captures every nuance of this electro-mechanical wear and tear.
3. Press the Noise Level parameter
you’ve turned Percussion on with SW2, turn it off to more easily listen to the Key Click parameters
Highlight the Key-On Click Level and try different values > Leave it parked somewhere in the middle
range, around 50
generates two separate key clicks, one on the downs troke, and the second on the key release, accurat ely
modeling varying degrees of ‘dirty’ contact noise.
*SHORTCUT: Remember that any of these tweaks can immediately be written to the current
Program location simply by pressing the SEQ REC/WRITE key and pressing OK in response to the
question “Are You Sure”
1. Press the tab Amp/VC/Rotary SP and press the value field after Amp Type: . Type 2 was modeled after
the classic sound of an organ played through both a Rotary Speaker and a “British” guitar amp, as made
famous by rock organist Keith Emerson. This sound emphasizes more highs (visible in the EQ graph to the
right), and its overdrive characteristic becomes even more pronounced when you increase Amp Gain
Amp Gain has an AMS control assigned to it > Change the Intensity to about +60 and listen to the amp
‘dirty up’ as you play and slide on the ribbon towards the right: What a cool way to add emphasis to
certain notes or phrases as you solo!
> Now highlight the Key-Off Click Level > Exaggerate this value to 99: OASYS
> Play and change this value to extremes and note the sonic accuracy
> Bring the Noise Level down to 0, then gradually up to suit taste. > If
e aarrttiiffaaccttss
> Press to
>
>
2. Note that Vibrato/Chorus can be independently turned on and off for each Manual Also note that this
function can be assigned to a switch, or any other modulation source you like.
3. To the right is a column labeled ‘Preset’ (History: Tonewh eel organs have a rotary knob that chooses one
of three speeds of vibrato or chorus
possibilities by allowing you to create your own effect speed, with your own modula tor: Imagine having
velocity (normally disregarded by an organ) modulate the chorus speed, for example!
> OASYS not only faithfully captures these effects, but expands the
3
Page 4

OASYS CX-3 Modeled Tonewheel Organ Guided Tour
TTuuttoorriiaall:: CCXX--33 aanndd tthhee CCoonnttrrooll SSuurrffaaccee
4. Select Program U-F-043, GP NicePerc, created by keyboard maestro Greg Phillinganes > Press the
Control Surface tab button
Percussion on/off, plus choice of 2
Key On Click; and something called Wheel Brake. (History: Before there were pitchbend wheels/joysticks,
there were the two motor switches on a tonewheel organ labeled Start and Run; organists discovered that
the Run status could be interrupted with the Start switch, causing a steady pitch fall while the switch was
held.) Press the Switch labeled 6/14 and mimic this effect without endangering any moving electrical
parts!
5. During our study of the Lower Drawbars in a Split, we learned that the Control Surface links to the Upper
Drawbars by default, but not by limitation! Press the popup by Upper DrawB6 and select Lowr DrawB1
> Press the popup by Upper DrawB7 and select Lowr DrawB2 > Press the popup by Upper DrawB8 and
select Lowr DrawB3
6. There are still four unassigned switches in this example: press the popups and add even more personal
expression to your sound! This Tone Adjust setup is the same for all the CX3 sounds in the OASYS, with
the traditional controls available in the same “areas” as the original. So you can feel instantly familiar
when playing any CX-3 organ sound you choose!
OASYS offers the utmost in flexibility and expression through the quality of its models and their
integration with the Control Surface.
> Look at the wealth of parameters that can be controlled in real time:
nd
or 3rd harmonic; Vibrato/Chorus on/off per manual; EQ; Amp gain;
> You now have control over all the currently active drawbars plus one!
Addendum: EX Drawbar Feet-to-Pitches table
16’ = note 8vb (one octave below fundamental)
16’+1 = note 8vb + ½ step (M7 below)
16’+2 = note 8vb + step up (m7 below)
16’+3 = note 8vb + 11/2 steps up (M6 below)
16’+4 = note 8vb + 2 steps up (m6 below)
16’+5 = note 8vb + P4 (P5 below)
16’+6 = note 8vb + aug4 (tritone below)
8’-5 = note 8vb + P5 (P4 below)
8’-4 = note 8vb + m6 (M3 below)
8’-3 = note 8vb + M6 (m3 below)
8’-2 = note 8vb + m7 (M2 below)
8’-1 = note 8vb + M7 (m2 below)
8’ = note
8’+1 = m2 above
8’+2 = M2
8’+3 = m3
8’+4 = M3
8’+5 = P4
8’+6 = aug4
4’-5 = P5
4’-4 = m6
4’-3 = M6
4’-2 = m7
4’-1 = M7
4’ = note 8va
4’+1 = note 8va + m2
4’+2 = note 8va + M2
4’+3 = note 8va + m3
4’+4 = note 8va + M3
4’+5 = note 8va + P4
4’+6 = note 8va + aug4
2’-5 = note 8va + P5
2’-4 = note 8va + m6
2’-3 = note 8va + M6
2’-2 = note 8va + m7
2’ -1 = note 8va + M7
2’ = note 2 octaves up
2’+1 = note 2 oct’s up + m2
2’+2 = note 2 oct’s up + M2
2’+3 = note 2 oct’s up + m3
2’+4 = note 2 oct’s up + M3
2’+5 = note 2 oct’s up + P4
2’+6 = note 2 oct’s up + aug4
1’-5 = note 2 oct’s up + P5
1’-4 = note 2 oct’s up + m6
1’-3 = note 2 oct’s up + M6
1’-2 = note 2 oct’s up + m7
1’-1 = note 2 oct’s up + M7
1’ = note 3 octaves up
1’+1 = note 3 oct’s up + m2
1’+2 = note 3 oct’s up + M2
1’+3 = note 3 oct’s up + m3
1’+4 = note 3 oct’s up + M3
1’+5 = note 3 oct’s up + P4
1’+6 = note 3 oct’s up + aug4
1’+7 = note 3 oct’s up + P5
1’+8 = note 3 oct’s up + m6
1’+9 = note 3 oct’s up + M6
1’+10 = note 3 oct’s up + m7
1’+11 = note 3 oct’s up + M7
1’+12 = note 4 octaves up
1’+13 = note 4 oct’s up + m2
1’+14 = note 4 oct’s up + M2
1’+15 = note 4 oct’s up + m3
1’+16= note 4 oct’s up + M3
1’+17 = note 4 oct’s up + P4
1’+18 = note 4 oct’s up + aug4
1’+19 = note 4 oct’s up + P5
1’+20 = note 4 oct’s up + m6
1’+21 = note 4 oct’s up + M6
1’+22 = note 4 oct’s up + m7
1’+23 = note 4 oct’s up + M7
1’+24 = note 5 octaves up
4
 Loading...