

Page 1
HP LaserJet MFP
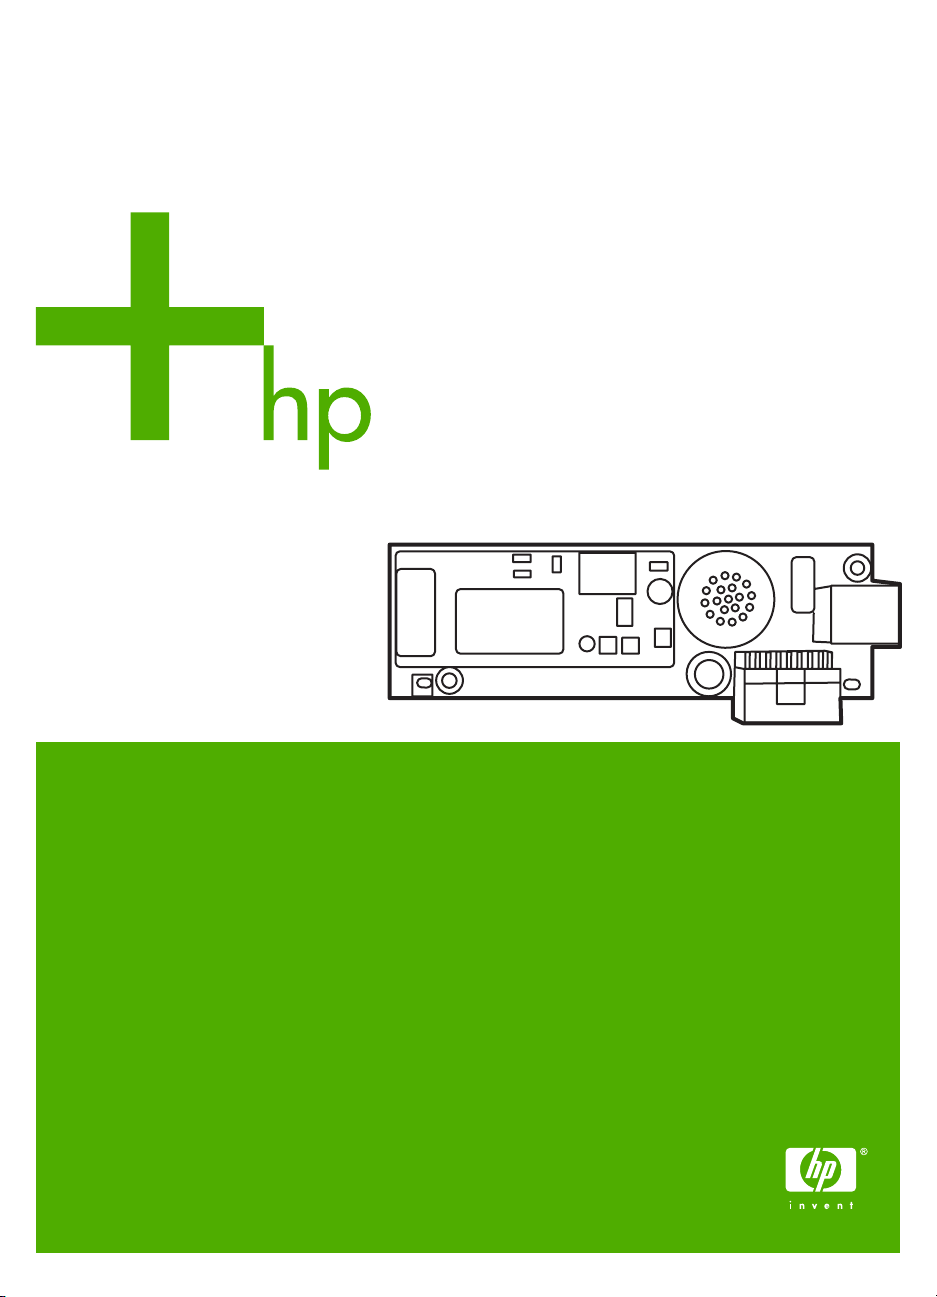
Analog Fax Accessory 300
Supplemental Information
Page 2

Page 3

HP LaserJet MFP
Analog Fax Accessory 300
Supplemental Information
Page 4

Copyright Information
© 2005 Copyright
Hewlett-Packard Development
Company, L.P.
Reproduction, adaptation or
translation without prior written
permission is prohibited, except
as allowed under the copyright
laws.
The information herein is
subject to change without
notice.
The only warranties for HP
products and services are set
forth in the express warranty
statements accompanying such
products and services. Nothing
herein should be construed as
constituting an additional
warranty. HP shall not be liable
for technical or editorial errors or
omissions contained herein.
Edition 1, 9/2005
Safety Information
WARNING!
Potential Shock Hazard
Always follow basic safety
precautions when using this
product to reduce risk of injury
from fire or electric shock.
1 Read and understand all
instructions in this manual.
2 Observe all warnings and
instructions marked on the
product.
3 Do not touch the contacts
on the end of the
telephone cord or any of
the sockets on the fax
accessory product.
Replace damaged cords
immediately.
4 The phone cord is
electrified and can cause a
shock. When servicing the
product, be sure to
disconnect the phone cord
from the wall connector.
5 Never install telephone
wiring during a lightning
storm.
6 Unplug this product from
wall outlets and telephone
jacks before cleaning.
7 Do not install or use this
product near water or
when you are wet.
8 Install the product securely
on a stable surface.
9 Install the product in a
protected location where
no one can step on or trip
over the telephone line and
the telephone line will not
be damaged.
10 Refer all servicing
questions to qualified
personnel.
Information regarding FCC
Class A, Parts 15 and 68
requirements and other
regulatory requirements can be
found in Appendix A of this
manual.
Trademark Credits
Microsoft® is a U.S. registered
trademark of the Microsoft
Corporation.
All products mentioned herein
may be trademarks of their
respective companies.
Local country/region laws may
prohibit the use of this product
outside of the countries/regions
specified. It is strictly forbidden
by law in most countries/regions
to connect nonapproved
telecommunications equipment
(fax machines) to public
telephone networks.
Page 5

Contents
Contents
1 Introduction
New features . . . . . . . . . . . . . . . . . . . . . . . . . . . . . . . . . . . . . . . . . . . . . 1
2 Canceling a fax with the Stop button
Canceling a fax using the Stop button. . . . . . . . . . . . . . . . . . . . . . . . . . 3
3 Changes to the fax user interface
Fax user interface . . . . . . . . . . . . . . . . . . . . . . . . . . . . . . . . . . . . . . . . . 6
Using the Notify feature. . . . . . . . . . . . . . . . . . . . . . . . . . . . . . . . . . . . . 7
Assigning speed dial lists to one-touch keys . . . . . . . . . . . . . . . . . . . . . 7
Create a speed dial list . . . . . . . . . . . . . . . . . . . . . . . . . . . . 8
Assign a speed dial to a one-touch key . . . . . . . . . . . . . . . . . . . . . 8
Clear or reassign speed dial lists to one-touch keys . . . . . . . . . . . 8
4 Speed dial features
Deleting a single number from a speed dial list. . . . . . . . . . . . . . . . . . 11
Adding a number to a speed dial. . . . . . . . . . . . . . . . . . . . . . . . . . . . . 12
Searching a speed dial by name . . . . . . . . . . . . . . . . . . . . . . . . . . . . . 12
5 Fax DSS phone book search
Searching the DSS phone book . . . . . . . . . . . . . . . . . . . . . . . . . . . . . 15
ENWW iii
Page 6

iv Chapter Contents ENWW
Page 7

Introduction
1
This supplemental information document outlines several new
features that have been introduced for the HP LaserJet MFP Analog
Fax Accessory 300.
New features
New features include:
● Canceling a fax using the Stop button.
● Speed dial capabilities:
● New user interface:
● DSS fax phone book search.
These new capabilities are available for these HP MFPs:
● HP Color LaserJet 9500mfp.
● HP LaserJet 9040/9050mfp.
● HP LaserJet 4345mfp.
● HP Color LaserJet 4730mfp.
If you recently purchased a new MFP or if the firmware on your
existing MFP was recently upgraded, these features may already be
installed. All of these features are available by updating the firmware
to the latest version.
To find the latest firmware update available for your MFP, visit
http://www.hp.com
laserjet 4345mfp into the search box. Click the Software and driver
downloads link to locate available MFP firmware updates. You can
• Deleting a single name from a speed dial list.
• Adding a single name to a speed dial list.
• Searching a speed dial list.
• Notify button on main fax screen.
• Improved layout.
• Additional one-touch speed dials.
and search for your MFP model. For example, type
ENWW New features 1
Page 8

check the version of firmware (FW date code) currently installed on
your MFP by printing the MFP configuration information (see your
user’s guide for details).
Note To use the new fax features, you must download and install the most
recent MFP printer firmware update. Fax firmware updates are part of
the MFP firmware (separate fax firmware is not available).
Be sure to keep this supplemental information with the HP LaserJet
MFP Fax Accessory User Guide originally supplied with your MFP or
fax accessory.
2 Chapter 1 Introduction ENWW
Page 9

Canceling a fax with
2
Canceling a fax using the Stop button
Note This method cancels only the first fax being transmitted. If other faxes
the Stop button
You can now use the Stop button on the MFP control panel to quickly
cancel a fax in progress. This eliminates the need to enter the FAX
menu and select Cancel Current Transmission or Cancel all
Pending Transmissions, although this method is still available.
To use the Stop button, the fax screen must be visible on the control
panel display. If the Stop button is pressed when the main screen is
displayed, the message No job to cancel will be shown. Press the
FAX icon and then press Stop again to cancel the fax in progress.
are pending, the message Cancel Fax Transmission, Choose a fax
to cancel might be displayed. Select All or Exit. All cancels all pending
faxes. Exit returns to the Fax screen.
This new feature is already installed in some new MFPs and is
available through an MFP firmware update for other models. Check
the HP Web site to determine which updates are available for your
MFP model.
ENWW Canceling a fax using the Stop button 3
Page 10

4 Chapter 2 Canceling a fax with the Stop button ENWW
Page 11

Changes to the fax
3
Note These features are already available and documented for the
user interface
The fax user interface for the HP LaserJet 9040/9050 and HP Color
LaserJet 9500mfp has been upgraded to match that of the
HP LaserJet 4345 and HP Color LaserJet 4730mfp.
HP LaserJet 4345 and HP Color LaserJet 4730mfp.
Fax interface upgrades include:
● Improved layout for the fax screen.
● Notification button on the main fax screen.
● Twelve new one-touch speed dials.
To use these new fax features, you must download and install the
most recent MFP printer firmware update. Fax firmware updates are
part of the MFP firmware (separate fax firmware is not available).
Check the HP Web site to determine which updates are available for
your MFP model.
ENWW 5
Page 12

Fax user interface
The new fax user interface is depicted below.
Fax feature screen
1 Status message bar 7 Remove
2 Fax recipients 8 Speed dial
3 One-touch buttons 9 Notify
4 Phone book (DSS) 10 Configure
5 Next number 11 Start
6 Settings 12 Back
6 Chapter 3 Changes to the fax user interface ENWW
Page 13

Using the Notify feature
Note This feature is new for the HP LaserJet 9040/9050mfp and HP Color
LaserJet 9500mfp.
As shown at callout 9 on the fax feature screen illustration, the new
fax user interface contains a Notify button at the bottom of the
screen.
Notify allows you to select how you are notified of the status of an
outgoing fax (that is, if the fax was sent or if an error occurred and the
fax was not sent). The setting applies to the current fax only.
To change how you are notified, perform the following steps.
1 On the control panel main screen, touch the FAX icon to display
the Fax screen.
2 Touch Notify.
3 Under the NOTIFY tab:
• Touch NONE to turn off notification (default), and then touch
OK to complete the setting and return to the Fax feature
screen.
• Touch THIS JOB or ON ERROR to enable notification (a
printed report) and complete the notification process, or touch
E-MAIL to display the keyboard.
4 If you select E-MAIL, use the keyboard to type an e-mail address,
and then touch OK to complete the notification setting and to
return to the Fax menu.
Note E-mail notification is only available if the MFP e-mail feature has been
configured.
Assigning speed dial lists to one-touch keys
The one-touch keypad allows you to send a fax to a speed dial list
simply by touching one of 12 one-touch keys. The one-touch keys
provide a shortcut to frequently used speed dials. However, prior to
using the one-touch keys, you must create a speed dial list and
assign the speed dial name to a one-touch key.
ENWW Using the Notify feature 7
Page 14

Create a speed dial list
1 On the control panel main screen, touch the FAX icon to display
the Fax screen.
2 Touch Speed Dial to display the Speed Dial screen.
3 Touch Add.
4 Type a fax number using the keypad. If you wish to enter more
than one number, touch Next Number and enter another number.
Repeat this step to enter all the numbers for the speed dial.
5 Touch the Name button to display the keyboard.
6 Type a name for the speed dial using the keyboard, and then
touch OK to return to the New Speed Dial screen.
7 Touch OK to accept the new speed dial.
Assign a speed dial to a one-touch key
Before you can use the one-touch keys you must assign a speed dial
name to a one-touch key.
1 Touch Configure on the fax screen to display the One Touch
Button Configuration screen.
2 Touch any (Available) number you wish to assign to the speed
dial.
3 Select the speed dial check box you wish to assign to the key.
4 Touch OK.
5 Touch OK to accept the settings.
Clear or reassign speed dial lists to one-touch keys
If you wish to remove a speed dial list from a one-touch button,
perform the following steps.
1 Touch Configure on the one-touch keypad to display the One
Touch Button Configuration screen.
2 Touch the number key with the speed dial name you wish to
remove.
3 The “Button is already configured” screen displays. Perform any
of the following.
• Touch Clear to remove the speed dial name from the
one-touch button.
8 Chapter 3 Changes to the fax user interface ENWW
Page 15

• Touch Reassign to assign a different speed dial name to the
key.
• Touch Cancel to return to the One Touch Button Configuration
screen.
4 Touch OK to accept the settings.
ENWW Assigning speed dial lists to one-touch keys 9
Page 16

10 Chapter 3 Changes to the fax user interface ENWW
Page 17

Speed dial features
4
Several new speed dial features have been added to the HP LaserJet
9040/9050mfp, HP Color LaserJet 9500mfp, HP LaserJet 4345mfp,
and HP Color LaserJet 4730mfp faxing capabilities. These features
are:
● Deleting a single name from a speed dial list.
● Adding a number or numbers to an existing speed dial.
● Searching for speed dials by name.
These features are already installed in some new MFPs and are
available through an MFP firmware update for other models. Check
the HP Web site to determine which updates are available for your
MFP model.
Deleting a single number from a speed dial list
Note This feature is new for the HP LaserJet 9040/9050mfp and HP Color
LaserJet 9500mfp.
To delete a single number from an existing speed dial list, perform the
following steps.
1 On the control panel main screen, touch the FAX icon to display
the Fax screen.
2 Touch Speed Dial to display the Speed Dial screen.
3 Touch the check box in front of the speed dial that contains the
number you wish to delete. You can use the scroll arrows to
display the speed dial name.
4 Touch Details to display the list of numbers for the speed dial.
5 Use the up and down scroll arrows to highlight the number to
delete.
6 Touch Remove (removes a single number) or Remove All
(clears the entire list).
7 Touch OK and Back to return to the Fax screen.
ENWW Deleting a single number from a speed dial list 11
Page 18

Adding a number to a speed dial
Note This feature is new for the HP LaserJet 4345mfp, HP Color LaserJet
4730mfp, HP LaserJet 9040/9050mfp, and HP Color LaserJet
9500mfp.
This feature lets you add a new number to an existing speed dial. To
use the speed dial add feature, perform the following steps.
1 On the control panel main screen, touch the FAX icon to display
the Fax screen.
2 Touch Speed Dial to display the Speed Dial screen.
3 Touch the check box in front of the desired speed dial. You can
use the scroll arrows to display the speed dial name.
4 Touch Details to display the list of numbers for the speed dial.
5 Touch Next Number.
6 Type a number using the keypad. Repeat this step to enter any
additional numbers to the speed dial.
7 Touch OK to accept the speed dial.
Searching a speed dial by name
Note This feature is new for the HP LaserJet 4345mfp, HP Color LaserJet
4730mfp, HP LaserJet 9040/9050mfp, and HP Color LaserJet
9500mfp.
This new feature lets you search an existing speed dial by name. To
access the speed dial search feature, perform the following steps.
1 On the control panel main screen, touch the FAX icon to display
the Fax screen.
2 Touch Speed Dial to display the Speed Dial screen.
3 Touch Search.
The Search key displays a keyboard that allows you to enter the
desired speed dial name. As you enter the speed dial name, the
entry will auto-complete (the remaining letters of the speed dial
name will be automatically filled in to the first matching speed dial
name in the list).
4 If necessary, add additional letters to refine your search.
5 Touch OK when you have located your speed dial in the search
screen. The speed dial list will be displayed with the seached
speed dial at the top of the list.
12 Chapter 4 Speed dial features ENWW
Page 19

6 Select the speed dial name(s) from the list and touch OK to place
the speed dial(s) in the recipients list of the fax screen.
Note If you do not know the unique name of the speed dial, you can select
any portion of the list to search by entering a letter. For example, to
view speed dial names beginning with the letter N, search on the letter
N. If no matching entries are found, a message might display. After you
acknowledge the message, the listing will be displayed again, although
it will be scrolled to the closest location for N. Once you locate the
desired speed dial, you can select it for placement in the fax destination
list.
ENWW Searching a speed dial by name 13
Page 20

14 Chapter 4 Speed dial features ENWW
Page 21

Fax DSS phone book
5
search
Searching the DSS phone book
The fax phone book search feature adds the ability to search by name
the fax phone book that is supplied through the Digital Sending
Service (DSS) and the Address Book Manager (ABM). This search
feature is new for the HP LaserJet 4345mfp, HP Color LaserJet
4730mfp, HP LaserJet 9040/9050mfp, and HP Color LaserJet
9500mfp.
Check the HP Web site to determine if firmware updates are available
for your MFP model.
Note If you are not using DSS, the fax phone book will not appear on the
MFP display. The DSS phone book is not the same as the speed dial
list that is part of the standard fax interface.
To access the fax phone book search feature, follow these steps.
1 Touch the FAX icon on the display.
2 Touch Phone Book. A Search Phone Book keyboard displays.
3 Enter the name of the fax destination. The entry will
auto-complete (the remaining letters of the speed dial name will
be automatically filled in to the first matching name in the phone
book). If no match is found, the entry will not auto-complete. Add
additional letters to refine your search or match another entry.
4 As entries are located, you can use a semicolon (;) to separate
names and search for additional entries without leaving the
search screen You can perform additional searches or touch OK
to return to the main fax screen.
ENWW Searching the DSS phone book 15
Page 22

5 If you do not know the unique name of the destination, press the
phone book icon at the top of the screen to display the phone
book listing. Scroll to the desired entries, touch Add, and then
touch OK.
6 The names will be displayed in the Search Phone Book entry list.
Touch OK on this screen to place the entry on the Fax Recipients
list of the Fax screen.
16 Chapter 5 Fax DSS phone book search ENWW
Page 23

Page 24

© 2005 Hewlett-Packard Development Company, L.P.
www.hp.com
 Loading...