

Hp LASERJET CM4730 MFP, LASERJET M3035 MFP, LASERJET M5035 MFP, LASERJET M4345 MFP LaserJet MFPs and Digital Senders - Automatic Daylight Saving Time adjustment
Page 1
Lase
r
J
j
et MFPs and
white paper
Security Level: Public
Date Written/Updated: October 24, 2007
Document Summary
D This document describes the automatic Daylight Saving Time enhancement in LaserJet MFPs. The
feature is included in the latest firmware for the following models: LJ4345mfp, CLJ4730mfp,
LJ9040/9050mfp, CLJ9500mfp, M3027/3035 MFP, M4345 MFP, M5025/5035 MFP,
CM4730 MFP, DS9200C, and DS9250C.
The latest firmware releases for many LaserJet MFPs and digital senders include
automatic Daylight Saving Time adjustment. The products below have the enhancement
in the firmware releases listed. Release 1 has the basic functionality. Release 2 contains
additional fixes listed at the end of this document. Newer releases (higher numbers)
will include the feature.
Product Release 1* Release 2
4345mfp 09.081.5 09.091.4
9050mfp 08.081.5 08.091.3
4730mfp 46.161.6 46.171.3
9500mfp 08.081.5 08.091.3
M3027/3035 MFP 48.031.6 48.041.3
M4345 MFP 48.031.7 48.041.4
M5025/5035 MFP 48.031.7 48.041.4
CM4730 MFP 50.011.6 50.021.4
DS9200C 09.081.4 09.091.4
DS9250C 48.021.6 48.031.3
*Note: A change was made for manufacturing after release. Firmware obtained from
hp.com may be lower by one in the last digit when compared to new units. The two
firmware versions are functionally identical.
Digital Senders
Automatic Daylight Saving
Time ad
ustment
-
Page 1 of 9 white paper
Page 2
How it works:
Users now have the ability to set the time zone for the MFP. When Automatic Daylight
Saving Time Adjustment is enabled, the MFP will change the clock, based on the
configured time zone. Time zone settings are current for the 2007 Daylight Saving
Time start and end dates in the U.S. and Canada. Custom settings are also allowed.
The device can be configured via the control panel, the EWS (Embedded Web Server),
or WJA (Web Jetadmin).
Detailed Instructions:
HP recommends using the EWS or WJA to configure the device. Both of these methods
allow the user to verify the start and end dates for Daylight Saving Time. The device
can be configured via the control panel, but the start and end dates cannot be verified.
Using the EWS:
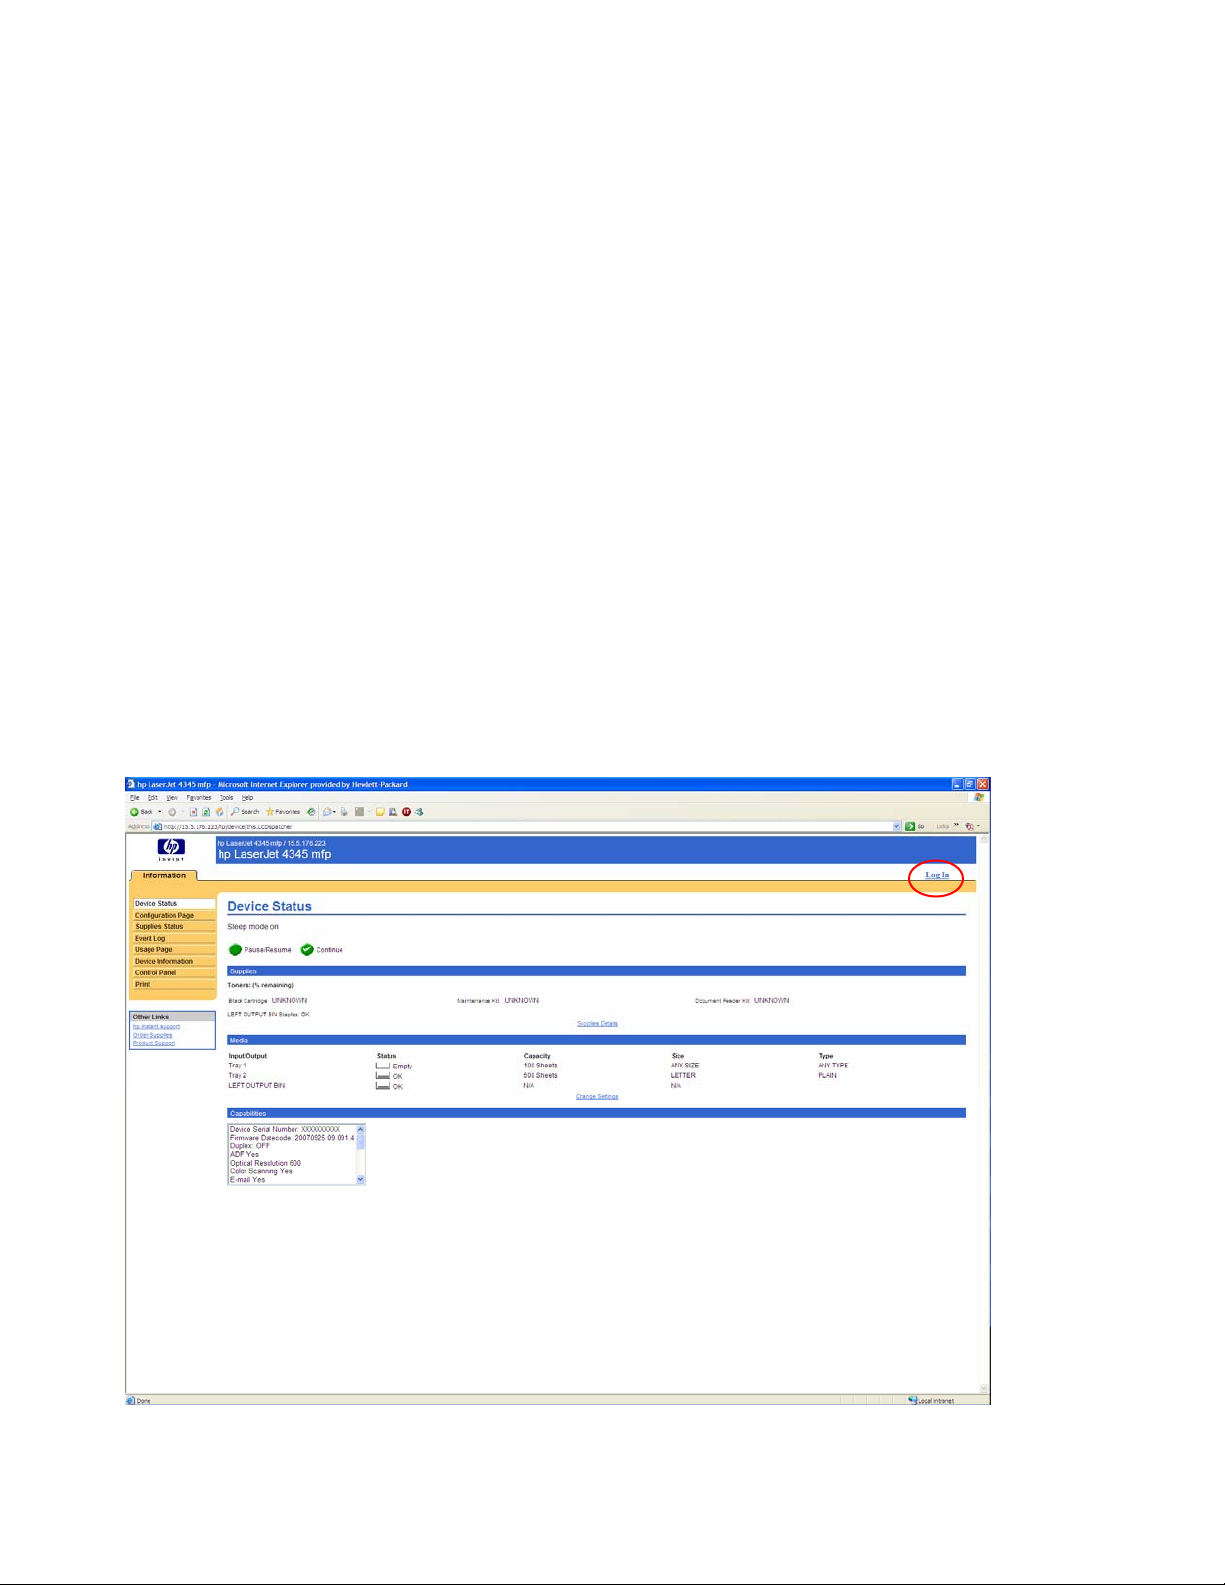
Access the MFP’s EWS by entering the IP address of the device in your browser address
line. You should see something like the following:
Page 2 of 9 white paper
Page 3
There are normally four tabs across the top. If only the Information tab is visible (as
above), you must Log In, using the device’s EWS password.
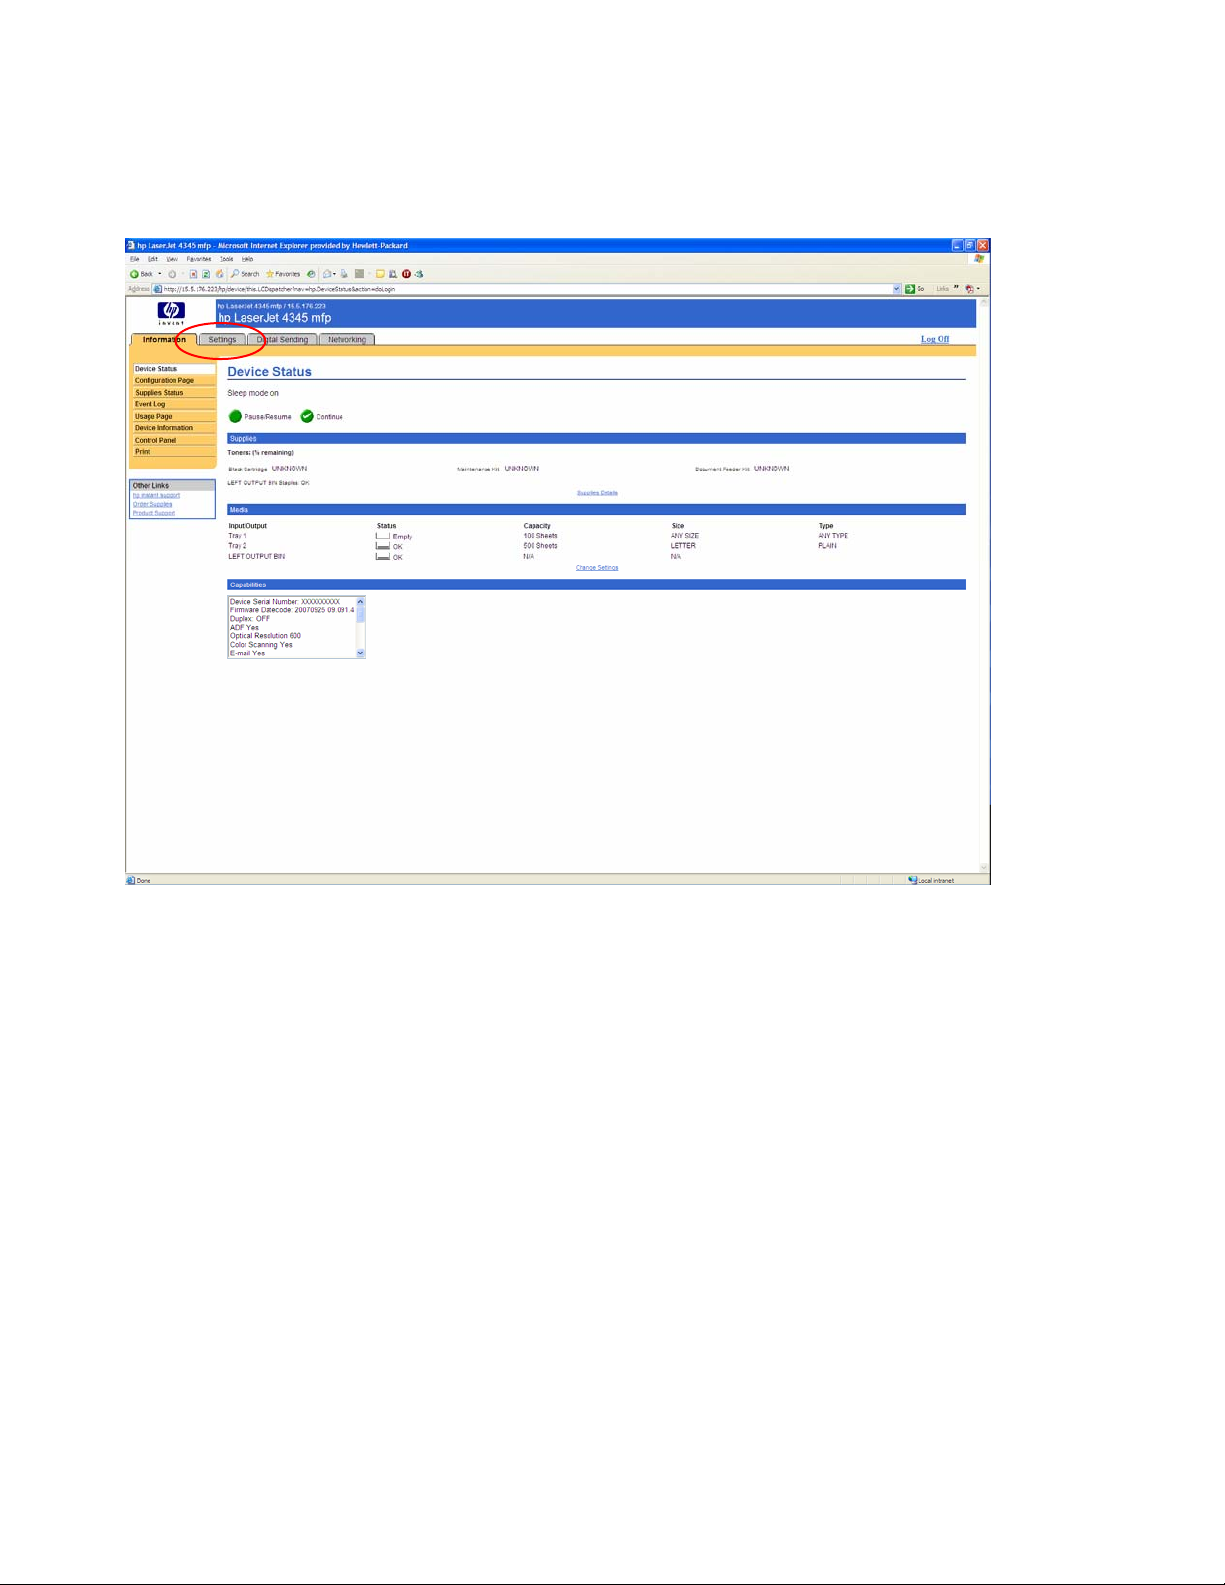
Click on the Settings tab, then select Date & Time from the left side:
Page 3 of 9 white paper
Page 4

The Date & Time screen will appear, as shown below. The MFP’s date and time settings
are displayed, and can be changed from this screen. The currently configured time
zone is displayed, but cannot be changed from this screen. The firmware versions listed
in the Release 1 column in the table will display GMT as the time zone for an unconfigured device. The Release 2 versions set the time zone for an un-configured
device to “Not Configured”.
Note: Clock Drift Correction does not adjust for Daylight Saving Time.
Page 4 of 9 white paper
Page 5

Click on the Advanced button at the bottom to access the Date & Time – Advanced
screen:
Page 5 of 9 white paper
Page 6

Select your time zone from the Time Zone drop-down menu.
Check the Automatically adjust clock for daylight saving changes box
Note: Your settings will not be effective until you click OK at the lower right.
After clicking OK, you will return to the Date & Time screen. Click Advanced to return
to the Date & Time - Advanced screen.
You can now verify, or customize the start and end dates by clicking on Start Date/End
Date:
Page 6 of 9 white paper
Page 7

The correct Daylight Saving Time start and end dates will be displayed for your selected
time zone.
Caution: If you did not click OK after selecting your time zone, the Start and End Dates
will reflect the previously selected time zone.
Using WJA:
The screenshot below is the Configuration screen for WJA 8.X. All settings are entered
from this screen.
Page 7 of 9 white paper
Page 8

Notes and Cautions:
For standard time zones, select the time zone, click on Time Zone, then click Configure.
The Start Date and End Date settings will automatically be set for your selected time
zone after you click Configure. The only time you would change settings in the Daylight
Savings Time section would be to set custom dates and times.
The Daylight Saving/Summer Time On checkbox is not used with these firmware
revisions. It was only used with one prior MFP firmware revision.
Setting via the control panel:
The Time Zone screen can is located under Administration/Time Scheduling/ on Mseries products. On non-M-series products, separate menu items exist for Time Zone
and Adjust for Daylight Saving Time in the Configure Device/System Setup/Date &
Time menu.
Setting the time zone via the control panel is not recommended with these releases.
Please refer to Known issues with Release 2 below.
Page 8 of 9 white paper
Page 9

Differences between Release 1 and Release 2:
There are two primary changes from Release 1 to Release 2:
Release 1 forces the user to enter the time zone via the control panel when a device is
upgraded. This requires user intervention, which is problematic for remotely-managed
devices. Release 2 does not display a Time Zone screen on the control panel.
Release 1 displays the Time Zone screen, but the user could select Cancel. This leaves
the time zone setting at its default value of GMT, but the DST settings are not actually
configured for GMT. Release 2 sets the default time zone to Not Configured, making it
easier to determine if the device has been configured.
Other fixes in Release 2:
• As mentioned above, the device may indicate GMT as time zone, but DST
settings are not configured.
• If the device is off during the time of the selected time change, the clock will not
adjust.
• The Time Zone screen is localized in Release 2
• Time Zone information prints outside the margins in a Menu Map
Known issues with Release 2:
There is a remote possibility (less than 10% on the M3027/3035 MFP and DS9250C;
much lower on other listed products) could become unresponsive when entering the time
zone from the control panel. A power cycle is required to recover, and the time zone
may not be set correctly. HP strongly recommends using the EWS or WJA for setting
the time zone, which also allows verification of the Start and End dates.
Document Attributes
Author: Larry Andrews, IPG Technical Marketing
Product Models: LJ4345mfp, CLJ4730mfp, LJ9040/9050mfp, CLJ9500mfp, M3027/3035 MFP,
M4345 MFP, M5025/5035 MFP, CM4730 MFP, DS9200C, DS9250C
Page 9 of 9 white paper
 Loading...