

Page 1
HP LaserJet CM1312 MFP Series – Manage and Maintain
Fill paper trays
How do I? Steps to perform
1 Load media with the top forward and the side to
Load paper and print media
Tray 1
be printed on facing down.
NOTE: When you add new media, make sure that you
remove all of the media from the input tray and straighten
the stack of new media. Do not fan the media. This
reduces jams by preventing multiple sheets of media from
feeding through the product at one time.
Configure tray
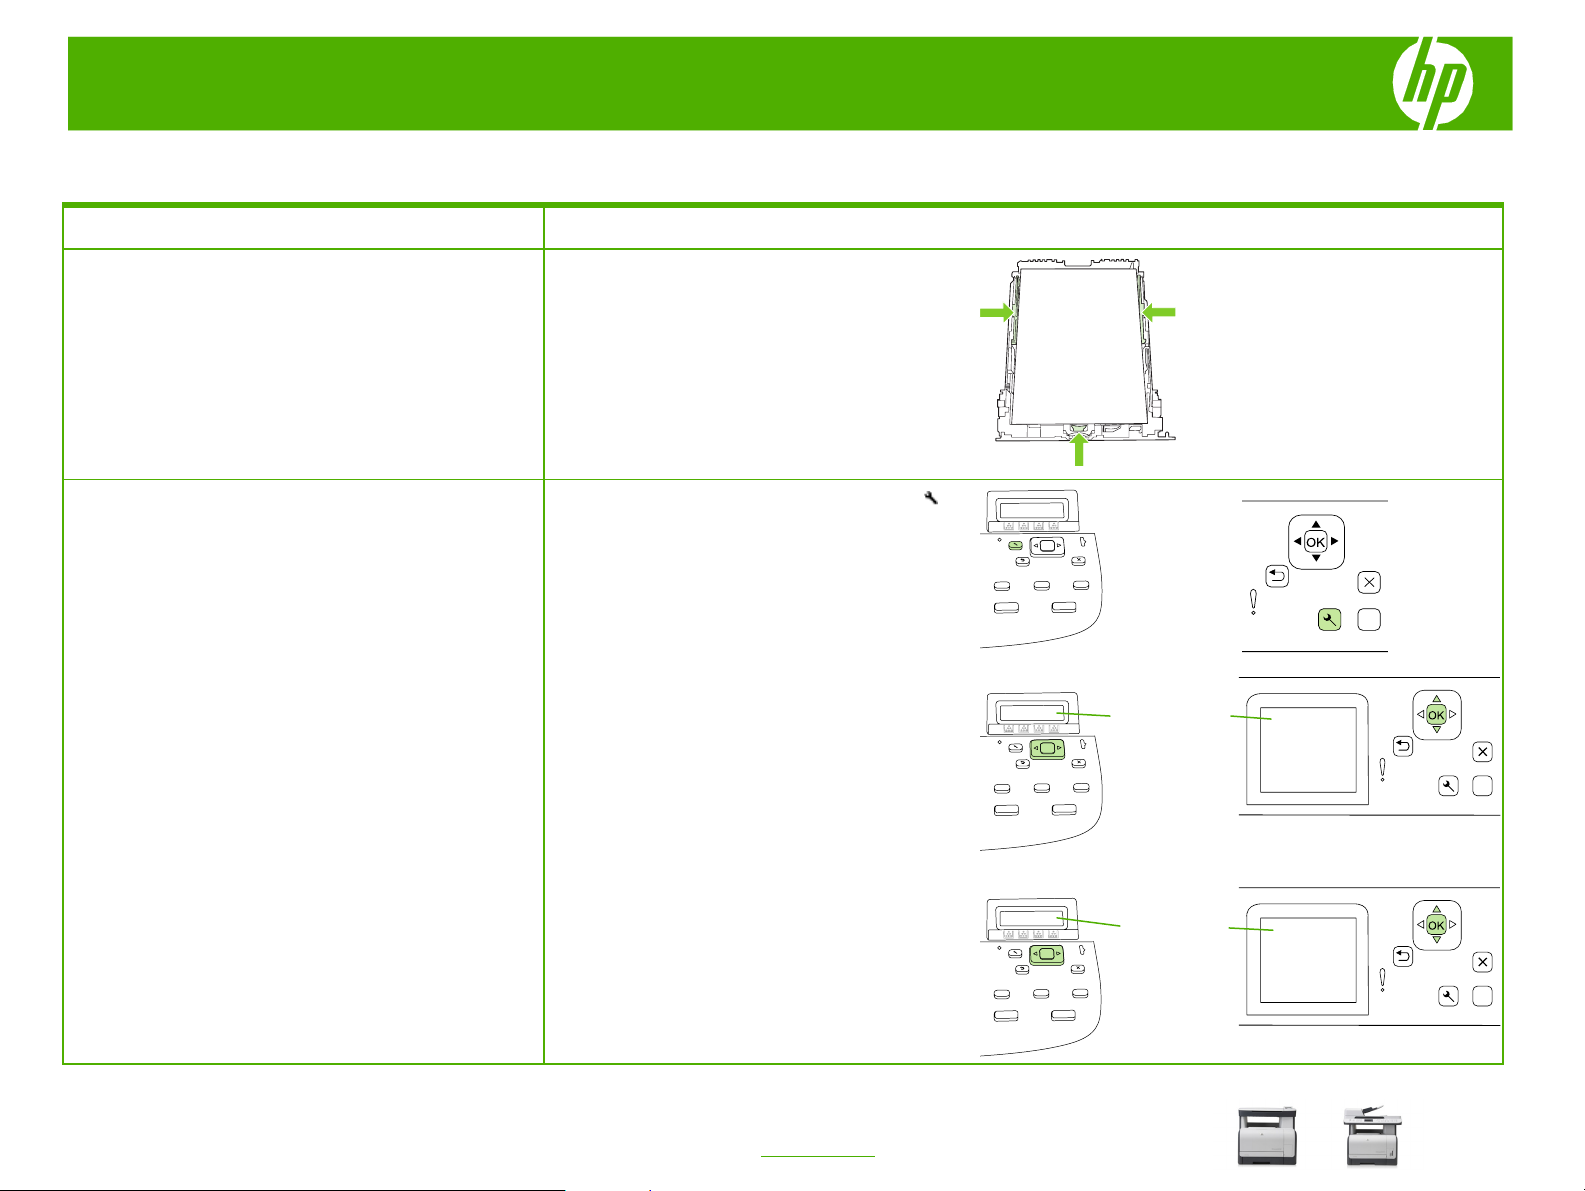
2 Media guides ensure that the media is correctly
fed into the product and that the print is not
skewed (crooked on the media). When loading
media, adjust the media guides to match the
width of the media that you are using.
1 On the product control panel, press Setup ( ).
2 Use the arrow buttons to select System setup,
and then press OK.
3 Use the arrow keys to select Paper setup, and
then press OK.
?
System setup
?
Paper setup
© 2008 Copyright Hewlett-Packard
Development Company, L.P.
?
1
www.hp.com
Page 2
HP LaserJet CM1312 MFP Series – Manage and Maintain
How do I? Steps to perform
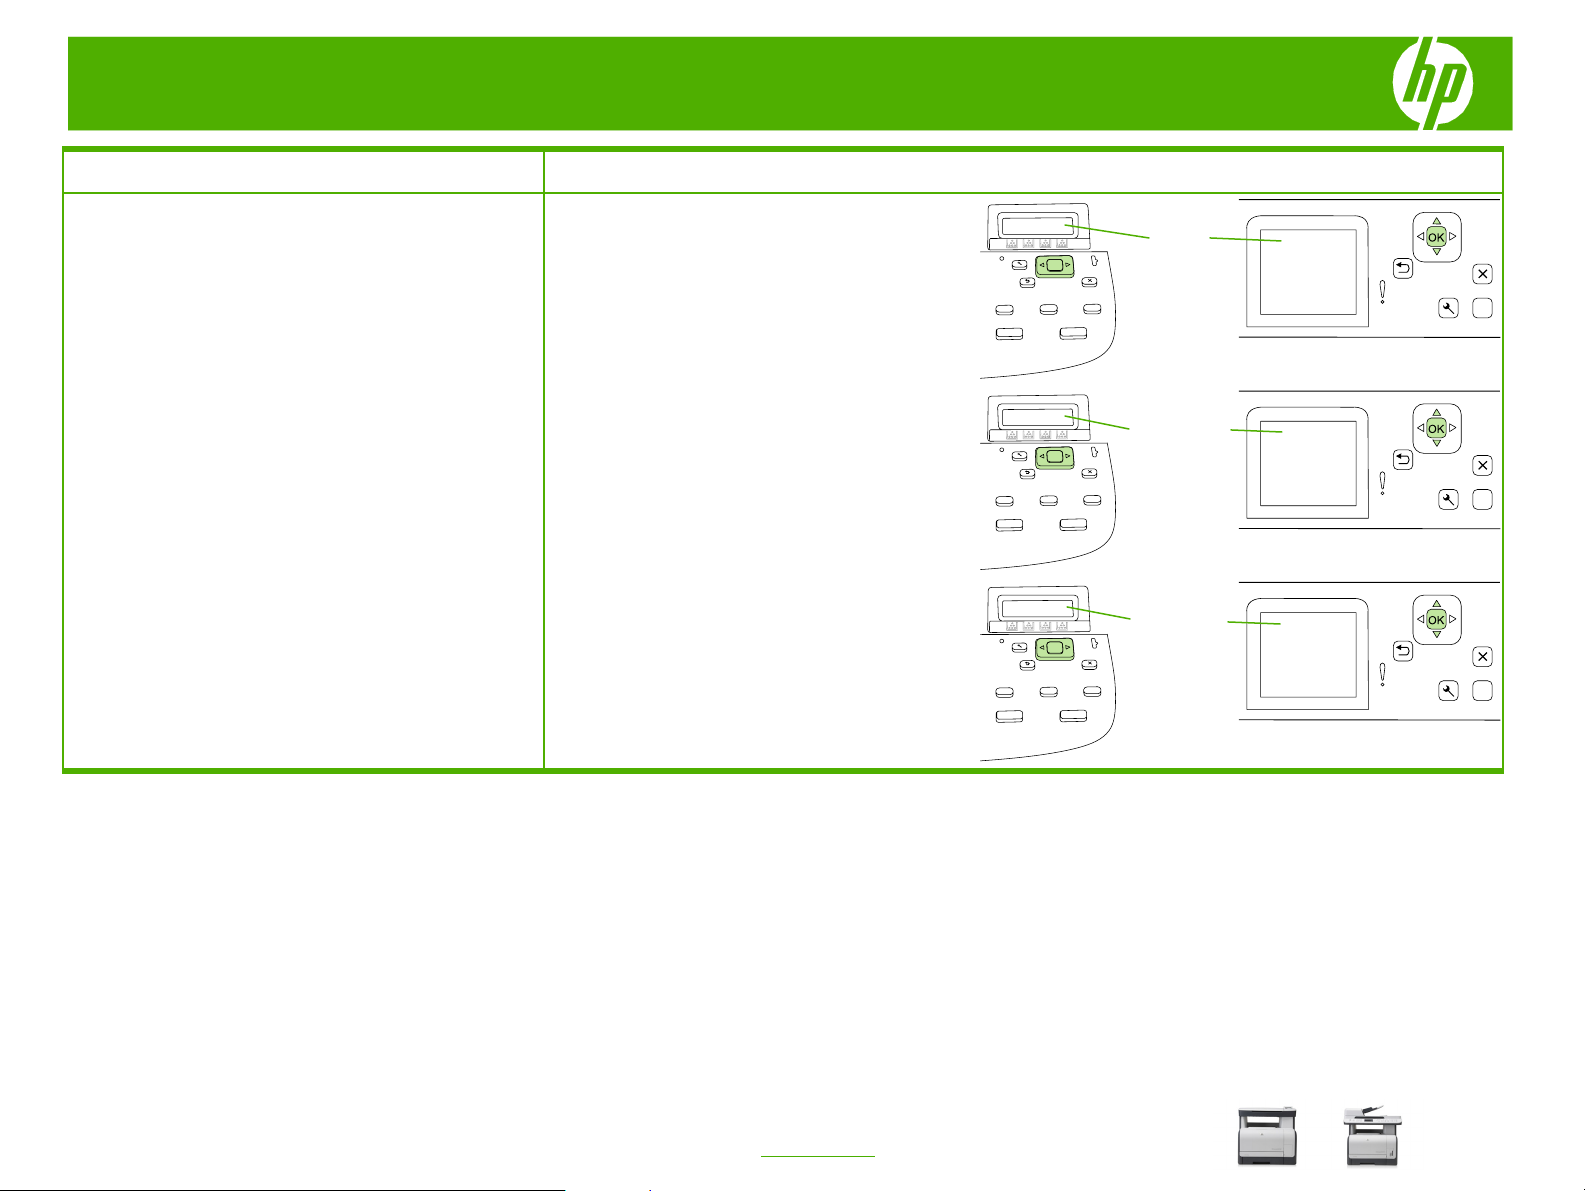
4 Use the arrow keys to select the tray to be
Load paper and print media (continued)
configured, and then press OK.
Tray 1
?
5 Use the arrow keys to select either Paper type
or Paper size, and then press OK.
6 Use the arrow keys to select a default type or
size for the tray, and then press OK.
Paper type
?
Letterhead
?
© 2008 Copyright Hewlett-Packard
Development Company, L.P.
2
www.hp.com
Page 3
HP LaserJet CM1312 MFP Series – Manage and Maintain
Replace print cartridges
How do I? Steps to perform
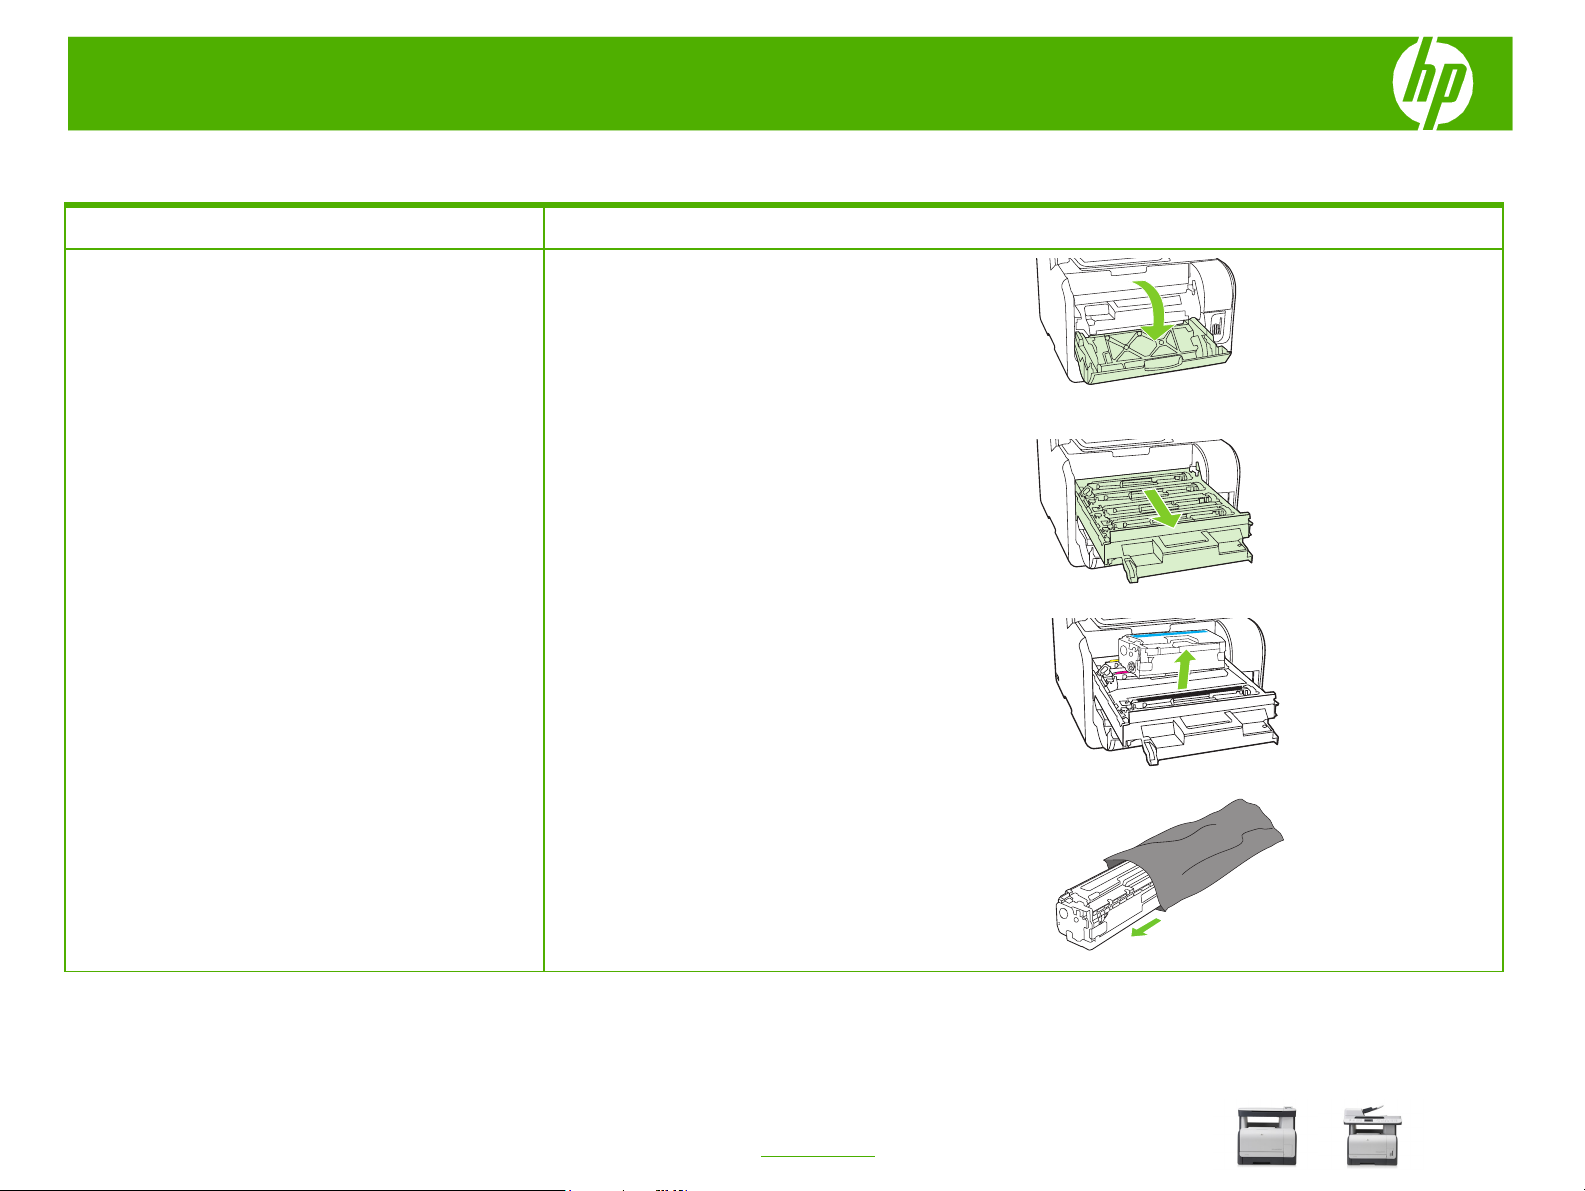
1 Open the front door.
Replace print cartridges
CAUTION: If toner gets on any clothing, wipe it off with a
dry cloth and wash the clothing in cold water. Hot water
sets toner into the fabric.
3 Grasp the handle on the old print cartridge and then
4 Remove the new print cartridge from the packaging.
2 Pull out the print-cartridge drawer.
pull the cartridge straight up to remove it.
© 2008 Copyright Hewlett-Packard
Development Company, L.P.
1
www.hp.com
Page 4

HP LaserJet CM1312 MFP Series – Manage and Maintain
How do I? Steps to perform
5 Remove the orange, plastic shield from the bottom of
Replace print cartridges (continued)
CAUTION: Do not touch the imaging drum on the bottom
of the print cartridge. Fingerprints on the imaging drum
can cause print-quality problems.
the new print cartridge.
6 Insert the new print cartridge into the product.
7 Pull the tab on the left side of the print cartridge
straight up to completely remove the sealing tape.
Discard the sealing tape.
© 2008 Copyright Hewlett-Packard
Development Company, L.P.
8 Close the print-cartridge drawer.
9 Close the front door.
2
www.hp.com
Page 5

HP LaserJet CM1312 MFP Series – Clear Jams
Clear paper jams
How do I? Steps to perform
When removing jammed media, pull the jammed media
Clear paper jams
Clear jams from the ADF (photo card models
only)
CAUTION: Do not use sharp objects, such as tweezers or
needle-nose pliers, to remove jams. Damage caused by
sharp objects will not be covered by the warranty.
straight away from the product. Pulling jammed media out
of the product at an angle can damage the product.
1 Open the ADF cover.
2 Lifting the green lever, rotate the pick mechanism until
it stays open.
3 Gently try to remove the page without tearing it. If you
feel resistance, go to the next step.
4 Open the ADF lid and gently loosen the media by
using both hands.
1
© 2008 Copyright Hewlett-Packard
Development Company, L.P.
www.hp.com
Page 6

HP LaserJet CM1312 MFP Series – Clear Jams
How do I? Steps to perform
5 When the media is free, gently pull it out in the
Clear paper jams (continued)
6 Close the lid to the flatbed scanner.
7 Lower the green lever.
direction shown.
8 Close the ADF lid.
© 2008 Copyright Hewlett-Packard
Development Company, L.P.
2
www.hp.com
Page 7

HP LaserJet CM1312 MFP Series – Clear Jams
How do I? Steps to perform
1 Open the rear output door.
Clear paper jams (continued)
Clear jams from the input-tray areas
2 With both hands, grasp the side of the media that is
most visible (this includes the middle), and carefully
pull it free from the product.
3 Remove tray 1, and lift the jam access door.
4 With both hands, grasp the side of the media that is
most visible (this includes the middle), and carefully
pull it free from the product.
© 2008 Copyright Hewlett-Packard
Development Company, L.P.
3
www.hp.com
Page 8

HP LaserJet CM1312 MFP Series – Clear Jams
How do I? Steps to perform
5 Reinsert tray 1.
Clear paper jams (continued)
6 Close the rear output door.
Clear jams from the output-bin
With both hands, grasp the side of the media that is
most visible (this includes the middle), and carefully pull
it free from the product.
© 2008 Copyright Hewlett-Packard
Development Company, L.P.
4
www.hp.com
Page 9

HP LaserJet CM1312 MFP Series – Manage and Maintain
Clean the paper path
How do I? Steps to perform
Clean the paper path from the
product control panel
If you do not have access to HP ToolboxFX, you can print
and use a cleaning page from the product control panel.
1 Press Setup (
).
?
2 Use the arrow buttons to find the Service menu, and
then press OK.
3 Use the arrow buttons to find Cleaning mode, and then
press OK.
4 Load plain letter or A4 paper when you are prompted.
5 Press OK again to confirm and begin the cleaning
process.
Service menu
Cleaning mode
?
?
© 2008 Copyright Hewlett-Packard
Development Company, L.P.
A page feeds through the product slowly. Discard the
page when the process is completed.
1
www.hp.com
?
 Loading...