


Pool swim user guide v4.2 1
Content
User Interface ................................................................... 3
FR230/FR235 Keys ........................................................ 4
FR630 Keys .................................................................... 5
Screen description ........................................................ 5
Entering main menu ......................................................... 7
Setting pool length ........................................................ 9
Customizing screen ..................................................... 10
Enabling autolap ......................................................... 15
Managing settings in Garmin express ............................. 16
Managing settings in Garmin Connect app ..................... 21
Using the app .................................................................. 27
Understanding data in Garmin Connect ......................... 31
Watching data in 3rd party sites ...................................... 36
www.sporttracks.mobi ............................................... 36
www.trainingpeaks.com ............................................. 38
www.runalyze.com ..................................................... 40
www.strava.com ......................................................... 41

Pool swim user guide v4.2 2
Appendix ......................................................................... 42
Replacing native fields in Garmin connect (gpx method)
.................................................................................... 42
Add activity with data to strava (gpx method) ........... 45
App logs ....................................................................... 48
Pool swim user guide v4.2 3
User Interface
Pop up screen is shown during 3 seconds. Buttons are not
responsive.
After pop up screen, data screen 1 is shown. There are two
data screens.
Pool swim user guide v4.2 4
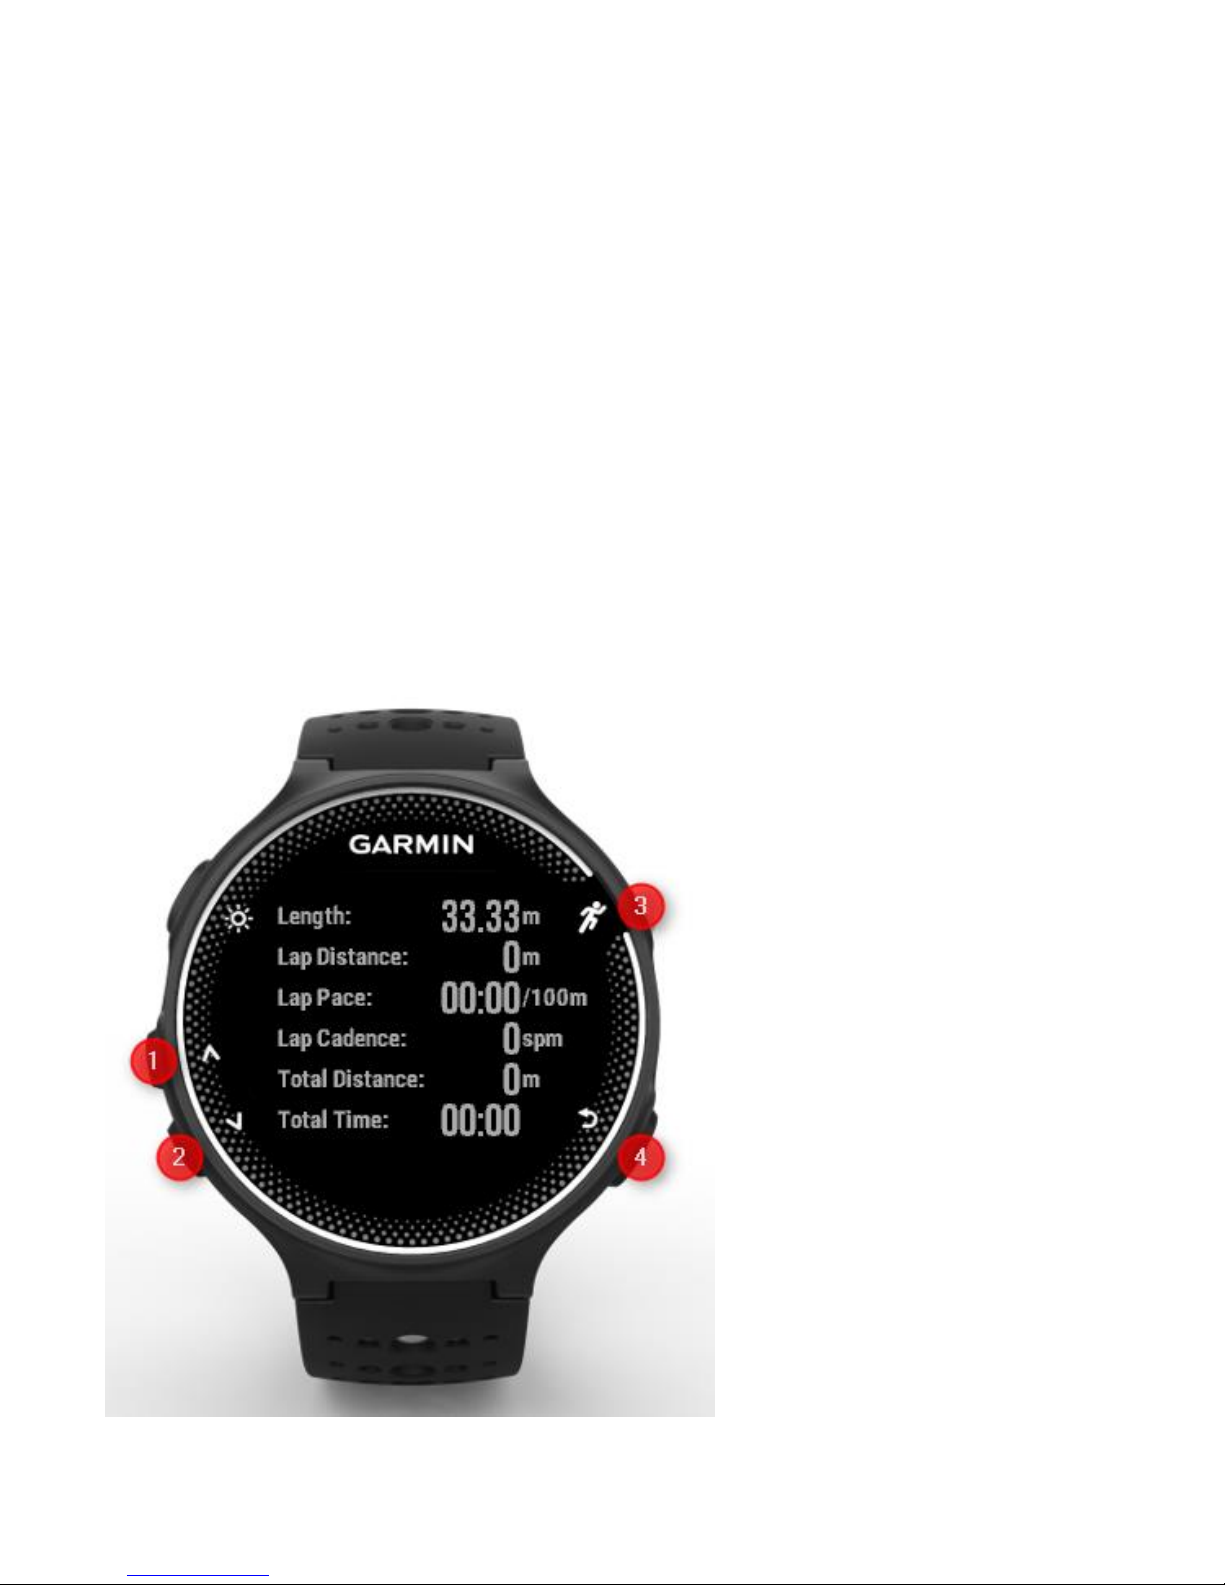
FR230/FR235 Keys
Key behavior for FR230/FR235 matches the usual behavior
in native applications such as running or cycling.
Button 3 starts/stops the activity.
Button 4 closes the app if activity is stopped. Otherwise, it
triggers an interval.
You can toggle screen 1 and screen 2 by pressing buttons 1
and 2. Data screen 1 shows summary data before activity
has started, or if activity is paused.

Pool swim user guide v4.2 5
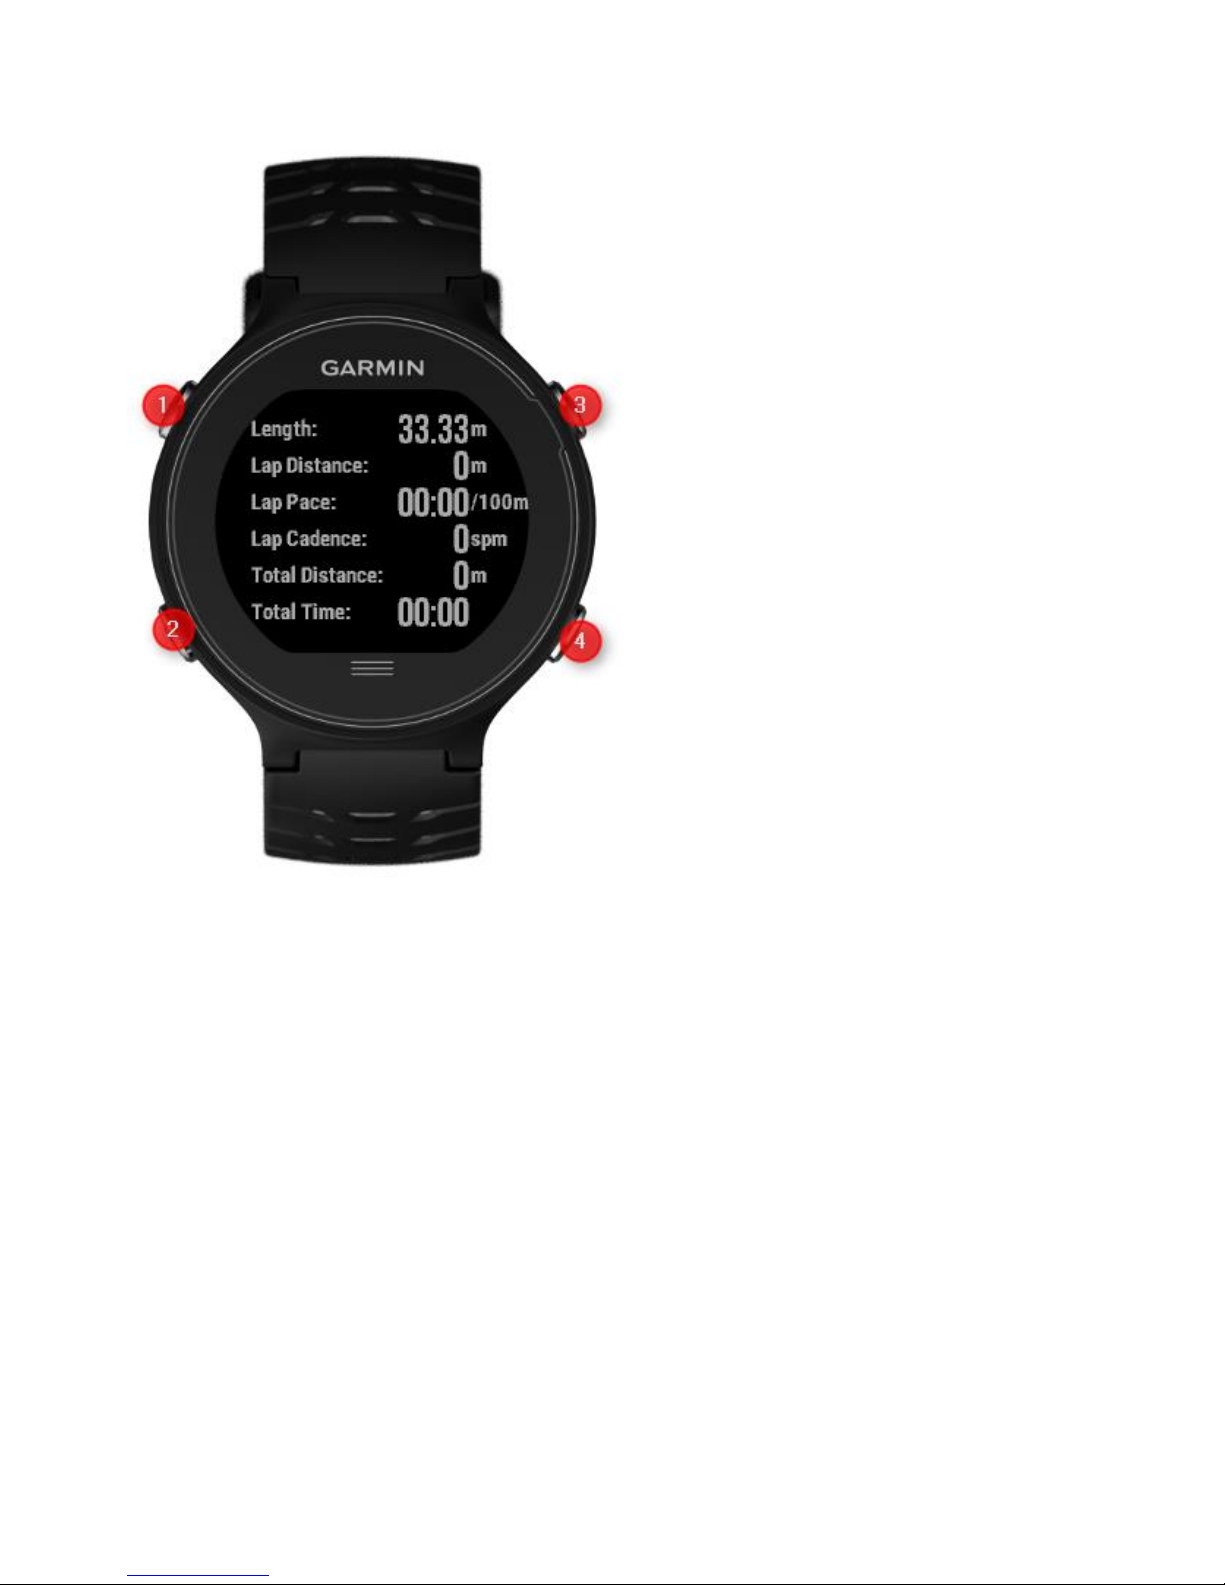
FR630 Keys
For a better user experience, touch screen function has
been limited in the app.
Button 3 starts/stops the activity.
Button 4 triggers an interval if activity is running. Otherwise,
it causes the main menu to be displayed.
You can toggle screen 1 and screen 2 by pressing button 2
while activity is running. You can use the same button to
exit the activity and enter the save/discard menu.
Touch screen is only active in menu screens (main menu or
save/discard menu).
For convenience, FR230/FR235 screenshots will be used in
the user guide. Please refer to this chapter for future
reference.
Screen description
Data screen 1 shows summary data before activity has
started, or if activity is paused. Button 4 closes the app if
activity is stopped. Otherwise, it triggers an interval.
Pool swim user guide v4.2 6
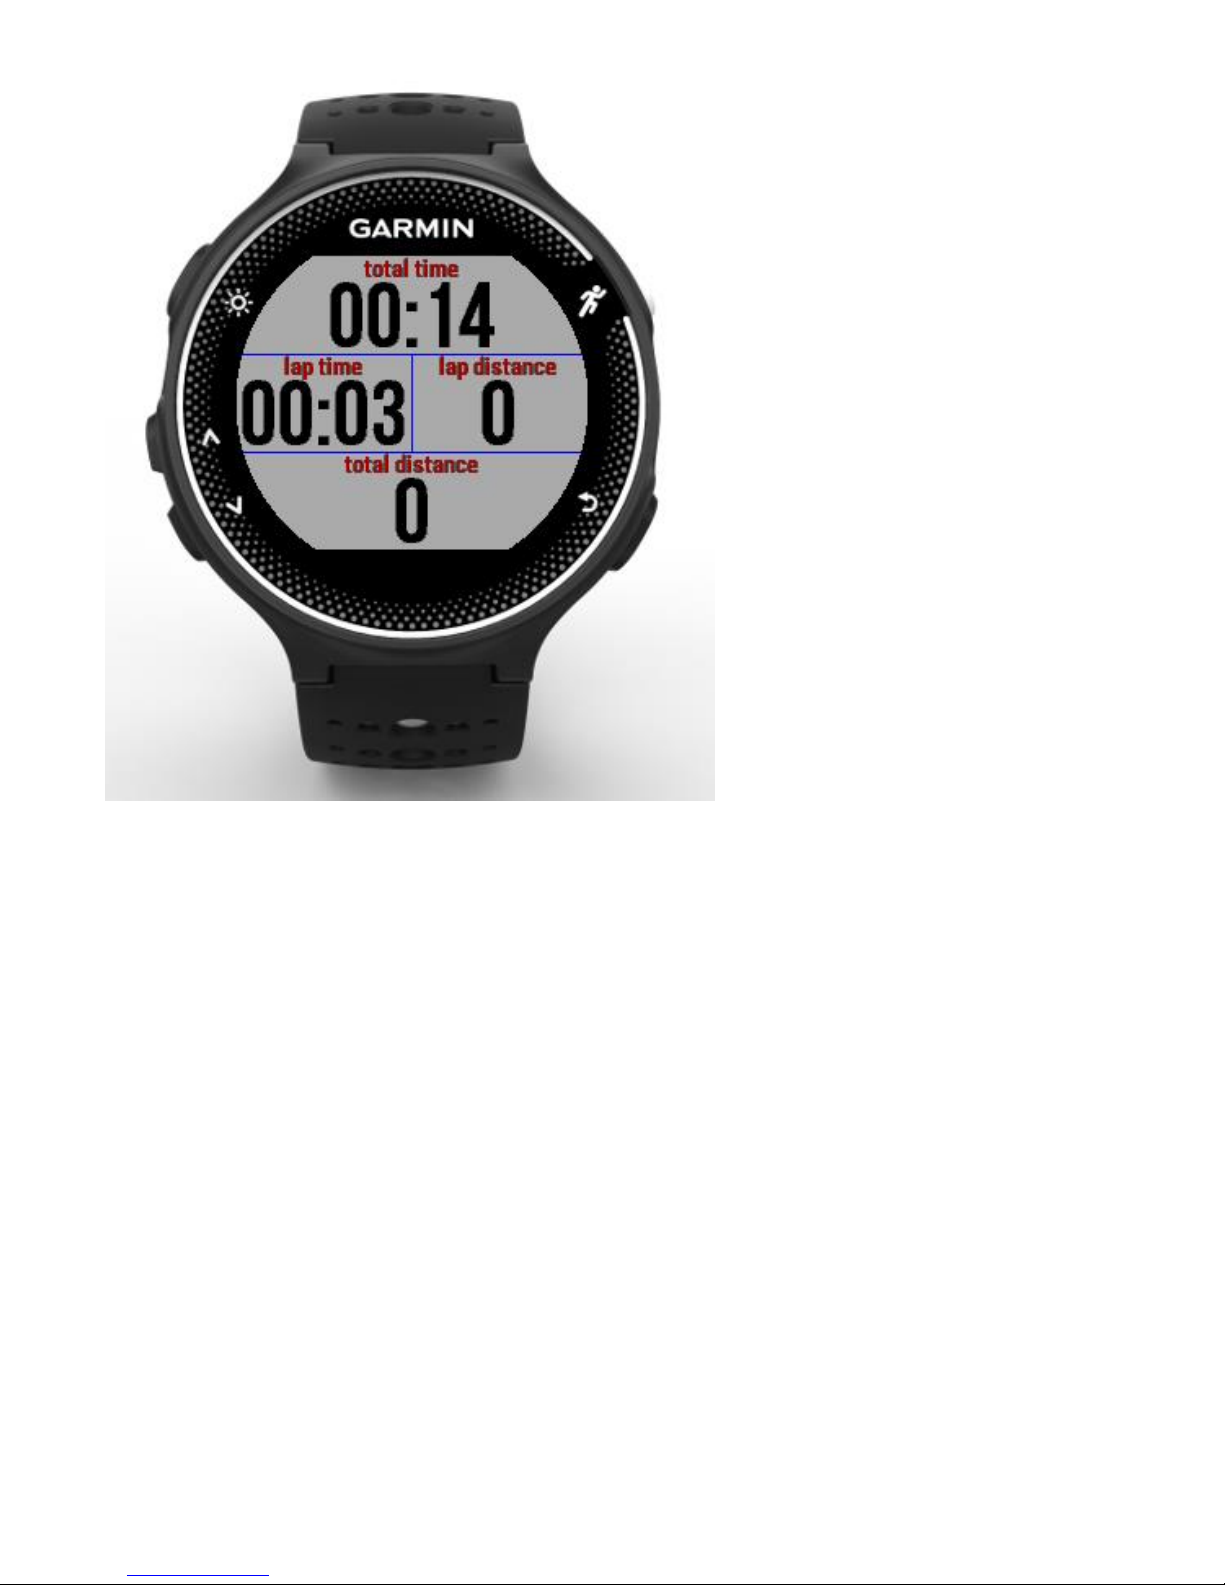
When activity is started, data screen 1 shows data fields.
Data screen 2 always show data fields (also when activity is
paused). It is recommended to use data screen 2 for data
fields which might be useful during a pause, such as heart
rate (if available), or current time of day.
Pool swim user guide v4.2 7
Entering main menu
Main menu can only be entered when activity is paused.
Hold button 1 for three seconds to enter the main menu.

Pool swim user guide v4.2 8
Use buttons 1 and 2 to choose the suitable option. Press
button 3 to select an option. Press button 4 to go back.
The main menu comprises the following options:

Pool swim user guide v4.2 9
Setting pool length
Select “length” in main menu. Most typical pool lengths are
shown. Choose your choice and press button 3. Pressing
button 4 leaves the menu without changing the pool length.
If your pool length is not shown in the list, you can still
configure the pool length by using Garmin Connect app in
your smartphone or garmin express in your PC. See next
chapter for instructions on how to achieve this.

Pool swim user guide v4.2 10
Customizing screen
Data screens 1 and 2 can be customized:
- Number of fields shown
- Fields to be shown
Choose option “Screens” in main menu to customize your
screens-

Pool swim user guide v4.2 11
Choose the screen to be customized:

Pool swim user guide v4.2 12
Select option “Format” to choose the number of fields to be
shown:

Pool swim user guide v4.2 13
Select the number of fields to be shown in that screen.

Pool swim user guide v4.2 14
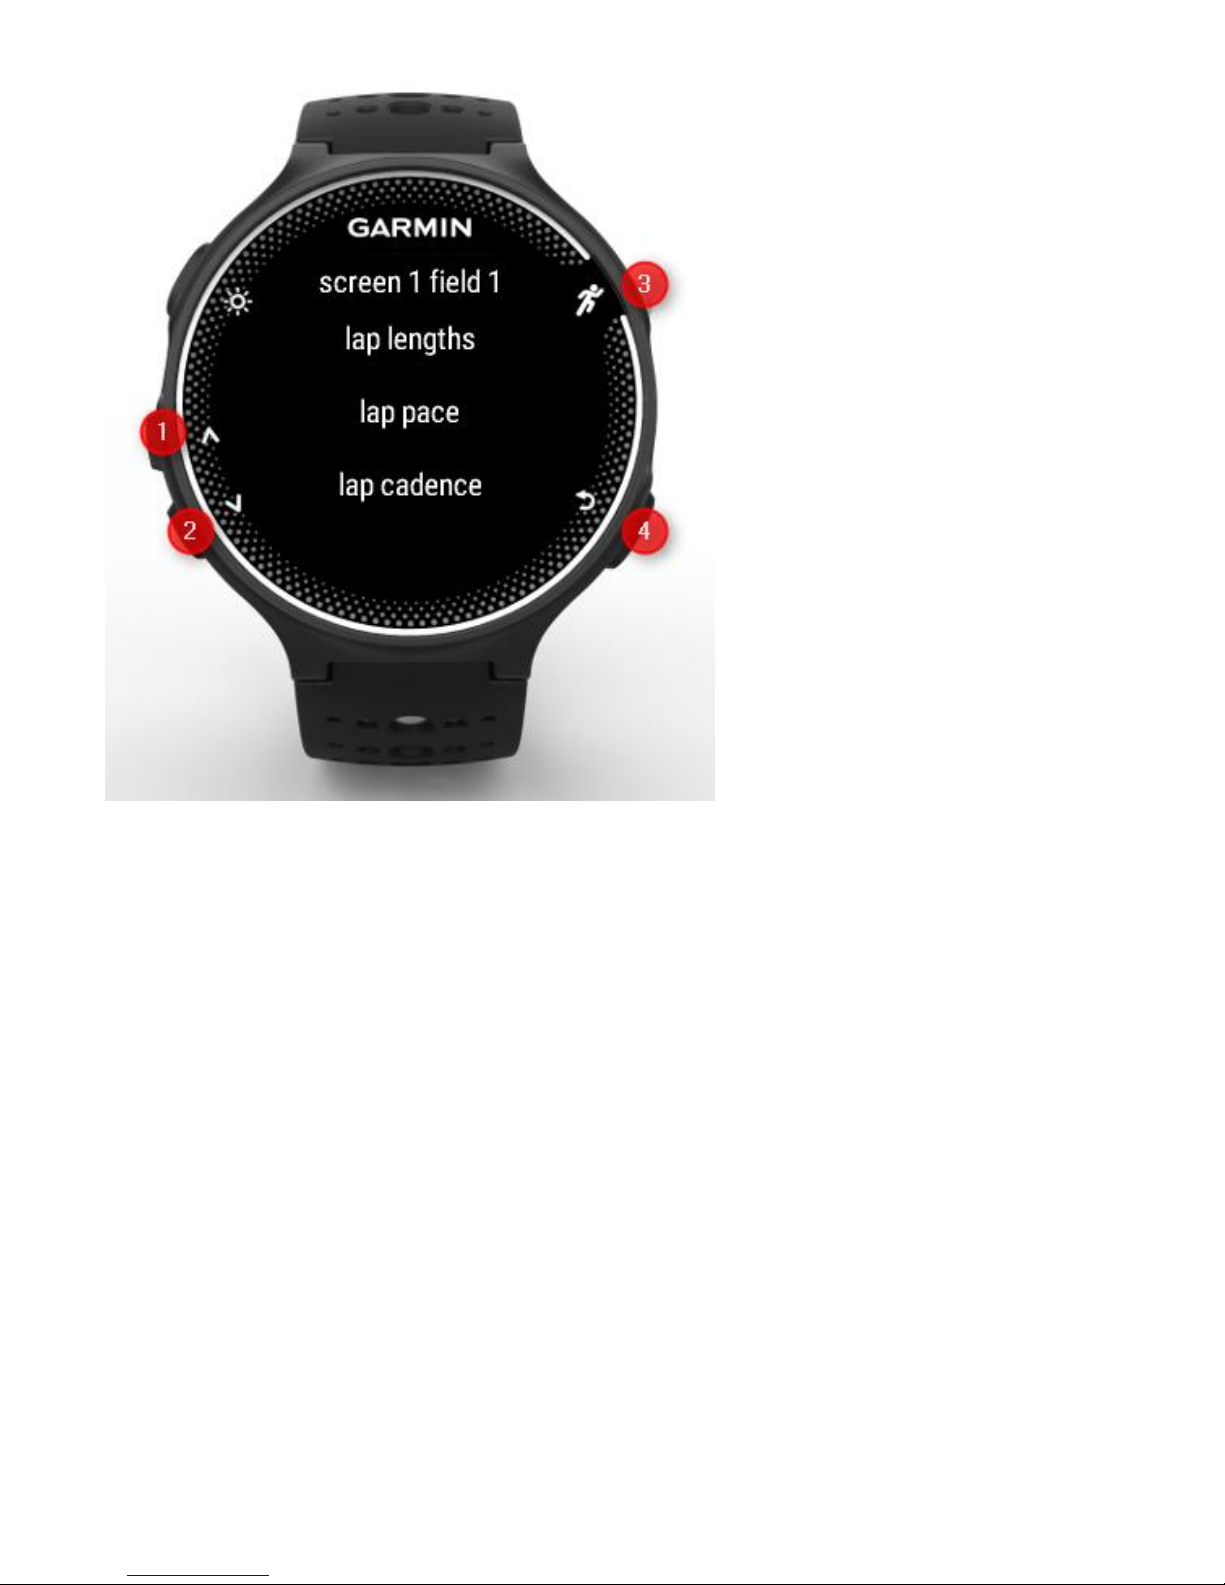
In order to customize a data field, browse till the suitable
screen and data field in the main menu. You will find a list
of of available data fields which can be shown. Choose a
data field. Repeat the same operation for the rest of the
data fields.
Pool swim user guide v4.2 15
Enabling autolap
Autolap feature triggers an interval after a certain number
of lengths (even if you don’t enable autolap, you still can
trigger intervals during an activity by pressing button 4).
To enable autolap and configure the number of lengths of
every interval, enter “autolap” option in main menu and
configure the suitable settings.
 Loading...