


TABLE OF CONTENTS
Foreword . . . . . . . . . . . . . . . . . . . . . . . . . . . . . |
ii |
Introduction . . . . . . . . . . . . . . . . . . . . . . . . . . . |
1 |
Launch Screen . . . . . . . . . . . . . . . . . . . . . . . . . . |
2 |
Installation . . . . . . . . . . . . . . . . . . . . . . . . . . . |
2 |
System Requirements . . . . . . . . . . . . . . . . . . . . . |
3 |
Quick Start Guide . . . . . . . . . . . . . . . . . . . . . . . . |
4 |
Single Player Main Menu . . . . . . . . . . . . . . . . . . . |
5 |
Controlling the Action . . . . . . . . . . . . . . . . . . . . |
12 |
Playing the Game . . . . . . . . . . . . . . . . . . . . . . . . |
14 |
Main Character . . . . . . . . . . . . . . . . . . . . . . . . . |
15 |
The Hazard Suit . . . . . . . . . . . . . . . . . . . . . |
16 |
Tactical Eye Display . . . . . . . . . . . . . . . . . . . |
16 |
Interface . . . . . . . . . . . . . . . . . . . . . . . . . . |
17 |
Weapons . . . . . . . . . . . . . . . . . . . . . . . . . . . . . |
18 |
Single Player Ingame Menu . . . . . . . . . . . . . . . . . |
19 |
Story Background . . . . . . . . . . . . . . . . . . . . . . . . |
20 |
Hazard Team Roster Alpha Squad . . . . . . . . . . . . . . |
21 |
Hazard Team Roster Beta Squad . . . . . . . . . . . . . . |
25 |
The Forge . . . . . . . . . . . . . . . . . . . . . . . . . . . . . |
28 |
Enemies . . . . . . . . . . . . . . . . . . . . . . . . . . . . . . |
29 |
Gameplay Tips . . . . . . . . . . . . . . . . . . . . . . . . . . |
31 |
Multiplayer Holomatch . . . . . . . . . . . . . . . . . . . . |
32 |
Updates and Future Releases . . . . . . . . . . . . . . . . |
45 |
Customer Support . . . . . . . . . . . . . . . . . . . . . . . |
46 |
Credits . . . . . . . . . . . . . . . . . . . . . . . . . . . . . . |
48 |
Software License Agreement . . . . . . . . . . . . . . . . . |
55 |

FOREWORD
Thank you for purchasing Star Trek: Voyager®—Elite Force™ for your PC. This manual will provide you with everything you need to know to install the game and fully enjoy all of the action and adventure that Elite Force has to offer.
Raven Software and Activision have labored long and hard to provide you, the gamer, with the best gaming experience possible. We hope you enjoy playing Elite Force as much as we enjoyed making it. Visit us on the web at http://www.ravensoft.com and http://www.activision.com and let us know what you think. We look forward to hearing from you. Have fun!
Sincerely,
The Elite Force Development Team
Raven Software
ii
INTRODUCTION
Captain’s Log. Stardate 53854.7
After Voyager responded to an urgent distress signal, we discovered what appeared to be a derelict vessel drifting in space. An intensive scan from our sensors triggered an automated defense program in the ship. The vessel proved to be a ruse, a trap laid by a malevolent intelligence that has yet to reveal itself. It attacked Voyager with a sphere of unknown energy that transported the ship and the crew to an uncharted region of space filled with a fleet of drifting, dead ships.
A powerful gravitational dampening field pervading the chasm has rendered Voyager powerless to escape. All attempts to free our ship from the grip of the field have proven unsuccessful. At the heart of the gravity field, like a spider in the center of its web, is an ominous alien mechanism. Our sensors have confirmed that this mechanism is the source of the gravitational field.
To protect the crew and free Voyager, I am authorizing Lt. Commander Tuvok to activate his newly formed elite Hazard Team. Their extraordinary abilities and expertise might be the only chance Voyager has to continue its journey home
1
LAUNCH SCREEN |
SYSTEM REQUIREMENTS |
The following buttons are available from the Splash Screen:
Single Player – Launches the single player game. Unavailable until the game is installed.
Holomatch – Launches the multiplayer game. Unavailable until the game is installed.
Install – Begins the installation of the game. Changes to Reinstall if the game is already installed.
Help/Support – Click here for help playing or installing Elite Force as well as various support files.
Extras – Learn about other Star Trek games, view previews and install demos.
Links – Links to various Star Trek and gaming sites of interest on the Internet.
Exit – Closes the splash screen.
INSTALLATION
TO INSTALL STAR TREK: VOYAGER—ELITE FORCE
Insert the game CD into your CD-ROM drive and choose one of the following options to install the game:
1.If your CD-ROM drive has AutoPlay enabled, the launch screen will appear automatically. Click Install and follow the onscreen installation instructions.
2.If AutoPlay is not enabled, double-click on the “My Computer” icon on your desktop. Double-click on the CDROM drive icon. Double-click on the Elite Force setup icon. When the launch screen appears, click Install.
COPY PROTECTION
To play Star Trek: Voyager—Elite Force single player, you must have the Elite Force CD in your CD-ROM drive.
To play Star Trek: Voyager—Elite Force multiplayer, you must enter the CD Key located on the back of your CD jewel case. Please make sure to keep your CD Key in a safe place.
MINIMUM SYSTEM REQUIREMENTS
•U.S. version Windows® 95/98/NT 4.0 SP5 with 100% compatible computer system
•3-D Hardware Accelerator with full OpenGL® support
•Pentium® II 233 MHz Processor and 8 MB video card
Or AMD® 350 MHz K6®-2 Processor with 8 MB video card
•64 MB RAM
•650 MB of uncompressed hard drive space, plus an additional 64 MB for Windows Swap file
•Quad-Speed CD-ROM drive (600 K/sec sustained transfer rate)
•DirectX® 7.0a for Windows 95/98 (included)
•100% DirectX 7 compatible Sound Card
•100% Microsoft-compatible mouse and driver
•Supports the following 3D accelerator cards:
3Dfx Voodoo Banshee, 2, 3, |
nVIDIA TNT and TNT2 |
and 5 Series Chipsets |
nVIDIA GeForce 256 |
S3 Savage 4 |
nVIDIA GeForce2 |
nVIDIA Riva 128 and 128ZX |
Matrox G400 & G200 |
|
Intel i810 |
2 |
|
3 |
||
|
|
|
|
|
QUICK START GUIDE |
SINGLE PLAYER MAIN MENU |
If you are a veteran of first-person shooter games, you will no doubt wish to circumvent this manual and get right into the action. This quick start guide is for you. If you’re new to the genre, please read on...
BASIC CONTROLS |
|
Mouse |
|
Move Forward |
Right Mouse Button |
Attack |
Left Mouse Button |
Zoom View |
Middle Mouse Button |
Switch Weapons |
Mouse Wheel Up/Down |
Keyboard |
|
Move Forward/Back |
Up Arrow or Down Arrow |
Turn Left/Right |
Left Arrow or Right Arrow |
Step Left |
, or A Key |
Step Right |
. or D Key |
Toggle Run/Walk |
SHIFT Key (left or right; hold down) |
Attack |
CTRL Key (left or right) |
Alternate Attack |
ALT Key |
Jump |
/ or X Key |
Crouch |
C Key |
Select Weapon |
1 through 9 Keys (not on Number Pad) |
Holster Weapon |
0 Key (not on Number Pad) |
Special Commands |
|
Use/Talk to People |
Spacebar |
Zoom View |
Z Key |
Check Objectives |
TAB Key |
Lean Left/Right |
Use + Step Left/Step Right |
|
Starting Weapons |
|
|
1 |
– Phaser ™ |
|
|
|
|
Primary Attack |
Low Power Setting |
|
|
Alternate Attack |
High Power Setting |
2 |
– Compression Rifle |
|
|
|
|
Primary Attack |
Single Shot Energy Bolt |
|
|
Alternate Attack |
High Power Setting |
4 |
|
||
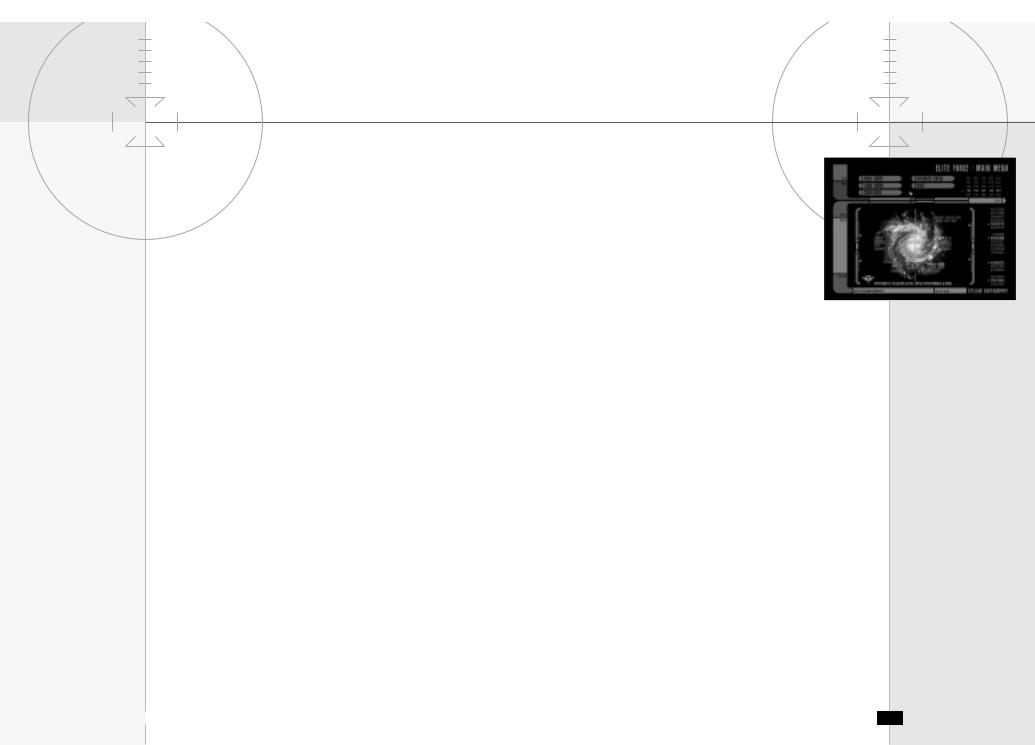
LCARS MENU SYSTEM
Elite Force’s LCARS Menu (Library Computer Access and Retrieval System) can be accessed at any time during a game by hitting the Escape key (ESC). Use the Escape key to also pause your game during game play. In the menu, maneuver the cursor with the mouse or use the Up Arrow and Down Arrow keys to highlight options inside the Main Menu.
Note: The Escape key is non-functional during cinematics.
At the Main Menu, you can choose from the following: New Game, Load Game, Configure, Voyager Crew, Credits, and Exit Program.
NEW GAME
This sub-menu of the LCARS system allows you to choose your difficulty level and gender and then launch your new game. You may access the Tutorial from this menu as well.
Game Difficulty
Easy – Recommended for players new to the first-person shooter genre.
Normal – Recommended for players with some first-person shooter experience.
Challenging – Recommended for intermediate players. Difficult – Recommended for expert players.
Gender
Male – Play the game as Ensign Alexander Munro. Female – Play the game as Ensign Alexandria Munro.
Tutorial
Lt. Commander Tuvok will lead you through the basics of the game in this holodeck simulation.
Starting the Game
Engage – Once you have chosen the difficulty and your gender, select Engage to launch a new game with your current settings. 5
LOAD GAME
This sub-menu of the LCARS system allows you to load a saved game to pick up where you left off on a previous adventure.
Current Saved Games – A list of the games you currently have saved. Select a game and click Load.
Load – Loads the selected saved game.
Delete – Deletes the selected saved game.
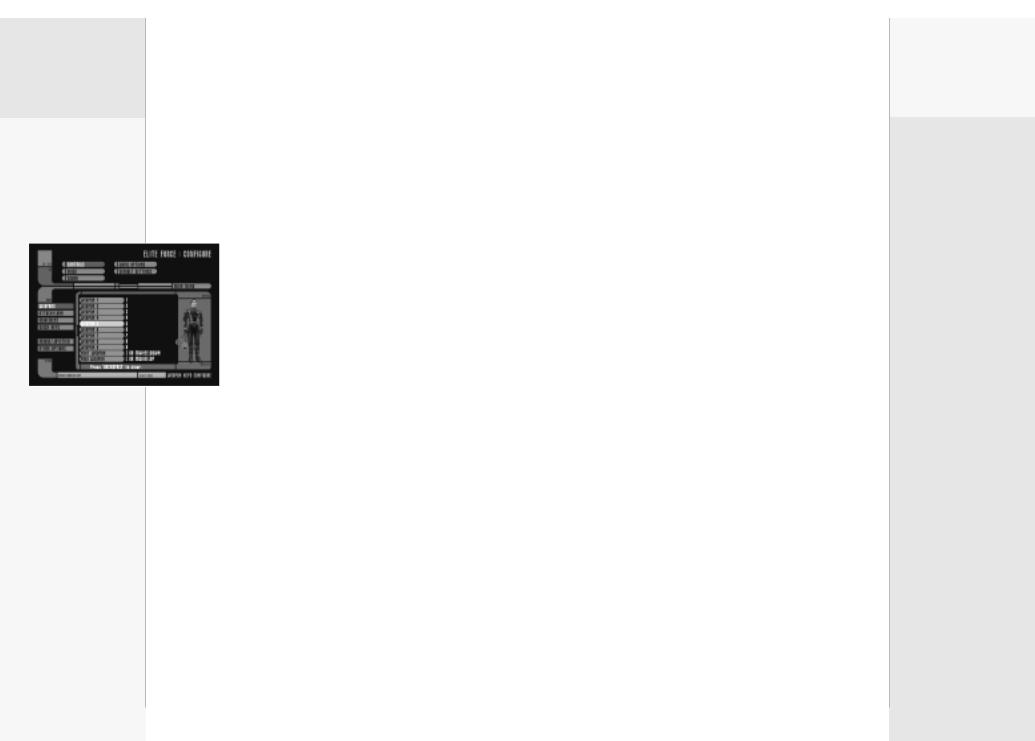
CONFIGURATION
This sub-menu of the LCARS system allows you to adjust settings to optimize your gaming experience: Video, Controls, Sound, and Game Options.
Controls
Within this sub-menu, you can customize your control set. To change a commands key, highlight the command. Hit ENTER. The next key or mouse button you press will be assigned to the command. A command may have up to two different keys and one mouse button bound to it. You can change the following settings:
Weapons
Change the controls allowing you to select your current weapon.
Attack/Look
Change the controls for combat and looking around environments.
Movement
Modify controls for moving your character throughout the game.
Quick Keys
Modify the keys for Mission Info, Mission Analysis, Skip Cinematic, Load Menu, Save Menu and Instant Save.
Mouse-Joystick
This menu controls the mouse and joystick settings.
Free Look – Allows the mouse to control the view of the player. Can be On or Off.
Mouse Speed – Slider to set mouse sensitivity. Lower settings produce slower mouse speeds.
Invert Mouse – Switch y-axis of the mouse.
Smooth Mouse – Recommended to be On for more accurate mouse tracking. Set to Off if you are experiencing difficulties in controlling the mouse.
Enable Joystick – Toggles joystick support On or Off.
Joystick Threshold – Slider to set joystick sensitivity.
Force Feedback – Enables force feedback support if your joystick supports force feedback. Only available in Single Player.
Other Options
This menu allows you to toggle several different options:
Key Turn Speed – This slider affects how fast your character turns when using the keyboard.
Always Run – Allows you to always run while moving without pressing a run key. This can be On or Off. If you have it turned On, pressing the run key will slow you to walking speed.
Look Spring – This option can be set to On or Off. If you are a keyboard-only player, turn Look Spring On to center the camera each time you move the player forward.
Autoswitch – When you pick up a new weapon, this will automatically switch your current in-view weapon to the one you just picked up. Can be Off, Best (always switch to the best weapon), or Safe (switch to the best non-radius damaging weapon).
Video
Within this sub-menu, you can adjust your video setting to optimize the performance of the game. Choose Video Data or Video Additional to change specific settings, or Driver Info to view your system’s current video driver version.
6 |
|
7 |
||
|
|
|
|
|

Video Data
The following settings can be changed to improve the performance of the game. In general, if you have a high-end system, you should be able to select High for several of the following options. If you notice a significant drop in frame rate, try selecting the settings for some of the following options:
Video Options – Click to toggle through preset video configurations.
GL Driver – Indicates the current open GL driver being used. If you have more than one 3D adapter, you can toggle which card Elite Force will use.
GL Extensions – If you are experiencing video problems, try setting this to Off. Performance will suffer, but some compatibility problems may be fixed. Normally, this should be set to On.
Video Mode – You can adjust the screen size and resolution of the game. Depending on your system, you may or may not have access to all of the video mode options.
Color Depth – Choose between Default, 16 Bit, or 32 Bit settings.
Full Screen – You may toggle this option On (default) or Off (to run the game in a desktop window).
Geometric Detail – Choose a setting from Low, Medium and High. This adjusts the amount of polygonal detail represented in the game world geometry.
Texture Detail – Choose between Low, Medium, High, or Very High. Higher texture detail is recommended for high-end video cards.
Texture Quality – Choose a setting from Default, 16 Bit, or 32 Bit. Not all video cards support 32 Bit textures. Check with your video card manufacturer if you have questions about Bit depth.
Texture Filter – Choose between Bilinear filtering or Trilinear Filtering. Bilinear is the default setting. Trilinear filtering is more system intensive.
Simple Shaders – Sets level of detail of some animating textures and blend effects. Setting to Off will lower system resources for older video cards.
Compressed Textures – If On, the game will use compressed textures to increase loading speed to the video card. Your card must support compressed textures to activate this option.
Video Additional
This sub-menu allows you to change miscellaneous video settings.
Brightness – Adjusts the brightness of the game to compensate for variations in monitors and video cards. A Star Trek icon gauges the brightness of the game. The icon should be barely visible to the eye for the best playing experience. Increase or decrease the brightness by moving the slider to the right or left.
Screensize – Adjusts the size of the game window on your desktop used to view the game. If you want to play the game in a window, you can adjust the bar to the left.
Cinematic Quality – Can be set to Low or High. This selects the quality of the video playback for optimal system performance. Set to Low if you have a low-end video card to help avoid “skipping” during the playback.
Anisotropic Filtering – If On, elements of the scene will appear smoother when viewed at near edge angles. Your card must support this feature to be activated.
Driver Info
Click on this tab to view the driver version for your video card that is currently installed on your machine. If you are having trouble with the video options, it could be the result of outdated video drivers. Check with your video card manufacturer to see what the most current driver version is. If you have older drivers, update them for optimal game performance.
Apply Changes – This will flash after you make setting changes. Click to apply changes to restart the video system with the new settings.
8 |
|
9 |
||
|
|
|
|
|
Sound
Within this sub-menu you can customize your audio options. The volume of different types of sounds in the game can be raised or lowered, depending on your gameplay preference. You can change the following settings:
Effects Volume – A slider that allows you to change the sound volume of weapon, explosion, and other ambient in-game sound effects.
Music Volume – A slider that allows you to change the sound volume of music.
Voice Volume – A slider that allows you to change the sound volume of character voices.
Sound Quality – Choose between High or Low settings. Switching modes will cause the system to restart. This is normal.
A3D – Allows you to select A3D audio if your sound card supports it. If you’re not sure if your sound card supports A3D, set this option to Off.
Game Options
Within this sub-menu, you can customize various game options. You can change the following settings:
Light Flares – The engine’s use of Light Flares or “halos” can be set to On or Off. Turning Light Flares Off will increase performance on low-end video cards.
Sync Every Frame – This option evens out the performance of various graphics cards at the possible expense of performance. This option can be turned On or Off.
Identify Target – Toggles the ability to identify a target with descriptive text phrases On or Off. The ability to identify a target can be turned On or Off.
Dynamic Lights – This option can be turned On or Off. Dynamic lights are system resource intensive. Turning them Off will increase game performance.
Wall Marks – Wall damage and decals from weapon fire can be turned On or Off. Turning wall marks Off will increase performance on low-end video cards.
Crosshair – You can choose the shape of your crosshair by cycling through the selections, or you can choose to have no crosshair at all.
Language – You may select the text and voice language of the game.
Subtitles – There are three settings for the subtitles. Cinematic Only will show subtitles only during a cinematic cut scene. On will show subtitles for any dialogue being spoken during game play and cut scenes. Off will not display any subtitles during the game.
Default Settings
This menu option resets all settings to their defaults. You will be asked to confirm this decision.
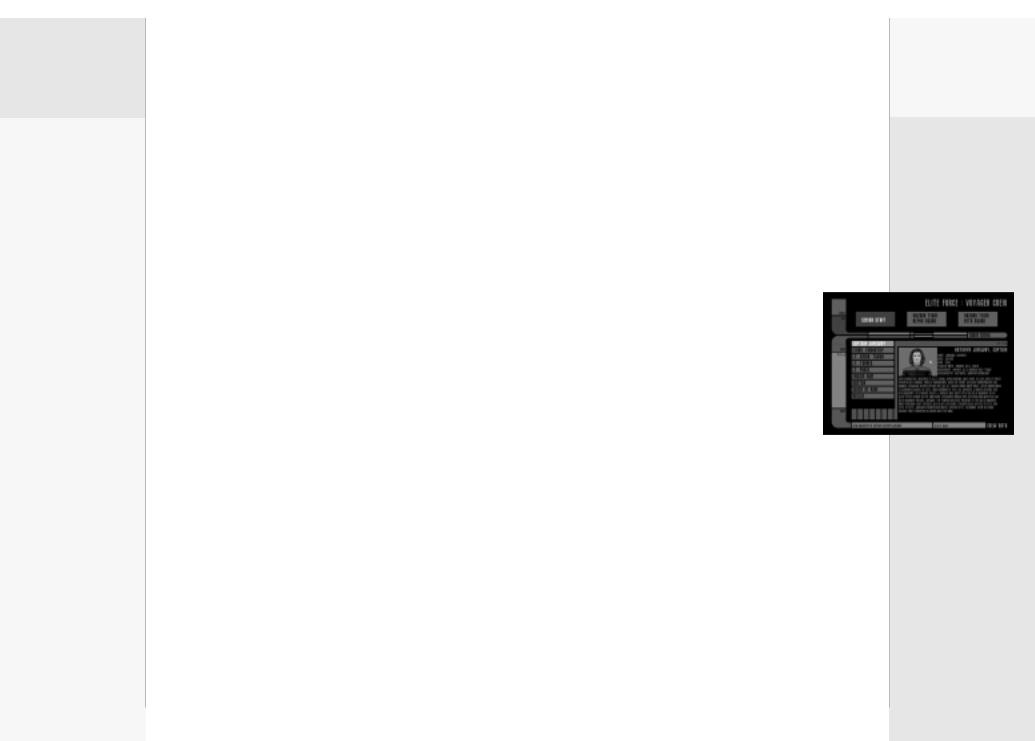
VOYAGER CREW
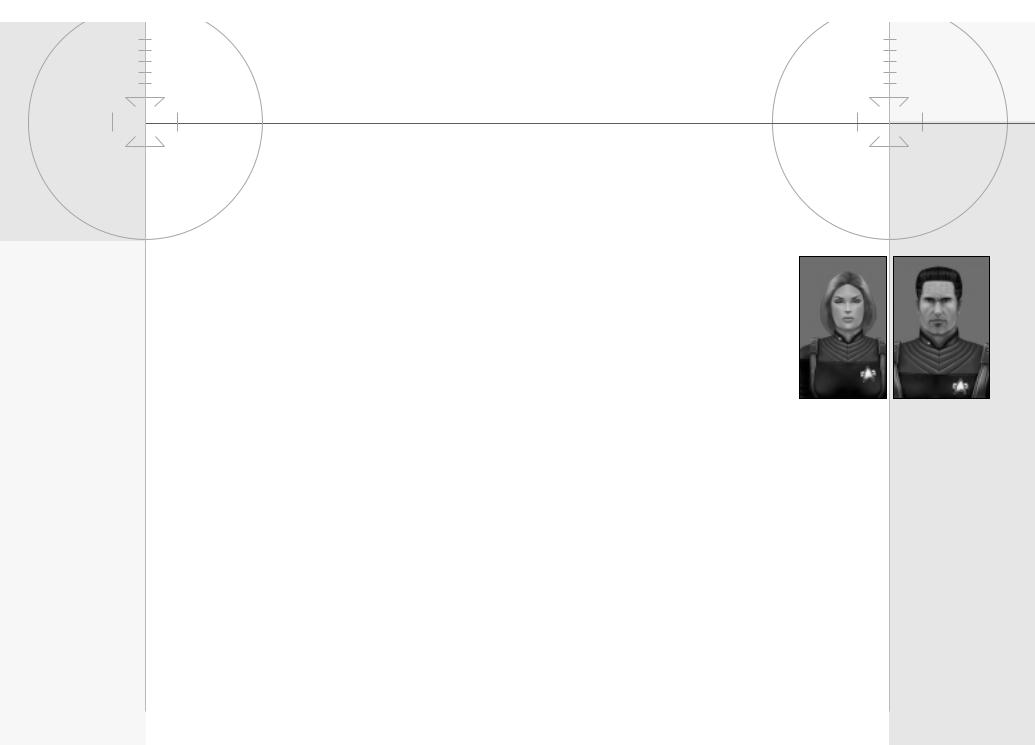
This sub-menu of the LCARS system gives images and biographies of the Voyager Senior Staff, Hazard Team Alpha Squad and Beta Squad.
Senior Staff – Portraits and biographical information for Captain Janeway, Commander Chakotay, Lt. Commander Tuvok, Lt. Torres, Ensign Paris, Ensign Kim, the Doctor, Seven of Nine, and Neelix.
Alpha Squad – Portraits and biographical information
for Lt. Foster, Ensign Munro, Crewman Chang, Crewman Biessman, Crewman Murphy, Crewman Chell, and Crewman Jurot.
Beta Squad – Portraits and biographical information for Crewman Oviedo, Crewman Lathrop, Crewman Odell, Crewman Csatlos, Crewman Jaworski, Crewman Nelson, and Crewman Laird.
CREDITS
A homage to all of the people at Raven Software, Activision and a dozen other companies who worked together to bring you Star Trek: Voyager—Elite Force.
EXIT PROGRAM
Selecting the Exit Program icon will bring up a screen that asks if you are sure that you want to quit the game. Select No or Main Menu if you want to return to the LCARS menu system. Select Yes if you want to exit the game and return to your desktop environment.
10 |
|
11 |
||
|
|
|
|
|

CONTROLLING THE ACTION
Elite Force’s default configuration is set up to use the keyboard and mouse together or the keyboard only.
CUSTOMIZING YOUR SETTINGS
You can customize your keyboard and mouse configuration through the game menu by clicking on the Configuration button.
THE DEFAULT CONTROLS
Move Forward |
Up Arrow, Right Mouse Button or W Key |
Move Backward |
Down Arrow or S Key |
|
|
Turn Left or Right |
Mouse (move the mouse left or right) |
|
Keyboard (left and right arrow keys) |
Step Left (strafe) |
A Key or , Key |
|
|
Step Right (strafe) D Key or . Key |
|
Jump |
/ Key or X Key |
|
|
Crouch |
C Key |
Toggle Run/Walk |
Left or Right SHIFT Key (hold down to run) |
|
|
Use/Talk to People |
Spacebar Key |
|
|
Look Up |
Mouse (move mouse forward) |
|
Keyboard (Page Down Key) |
Look Down |
Mouse (move mouse backward) |
|
Keyboard (Delete Key) |
Center View |
END Key |
Attack/Primary Fire Mouse (Left Mouse Button) |
|
|
Keyboard (Left CTRL Key/Right CTRL Key) |
Alt Attack/ |
|
Secondary Fire |
ALT Key |
|
|
Select Weapon |
1 - 9 Keys (Not on Numpad) |
|
|
Next Weapon |
Mouse (Mouse Wheel Down) |
|
|
|
Keyboard ( ] Key) |
|
|
Previous Weapon |
Mouse (Mouse Wheel Up) |
|
|
|
Keyboard ([ Key) |
|
|
Holster Weapon |
0 (Not on Numpad) (Single Player) |
|
|
Zoom View |
Middle Mouse Button or Z Key |
|
|
Mission |
|
|
|
Information |
TAB Key (Single Player) |
|
|
Pause Game |
Escape Key (ESC) |
|
|
Skip Cinematics |
ENTER Key (Single Player) |
|
|
|
|
|
|
Lean Left or Right |
Use + Step Left or Step Right |
|
|
Save Menu |
F3 (Single Player) |
|
|
|
|
|
|
Load Menu |
F4 (Single Player) |
|
|
|
|
|
|
HOLOMATCH DEFAULT CONTROLS
Show Scores |
TAB Key |
Chat |
Y Key |
|
|
Chat-Team |
T Key |
Team Orders |
F3 |
|
|
SoloMatch Level |
|
Select |
F4 |
12 |
|
13 |
||
|
|
|
|
|
PLAYING THE GAME |
THE MAIN CHARACTER |
Once you have installed the game and have set up your configuration in the game menus you’re ready to join the Hazard Team and take on the role of Ensign Munro. This section will introduce you to the basics of the game and show you the interface used to control Ensign Munro during your missions.
THE BASICS
When a marauding species tricks the U.S.S. Voyager with a false distress call, the fate of the crew and the ship is threatened. Transported into an alien graveyard of ships, Voyager is held captive by a powerful gravitational field, adrift among a sea of dead ships.
Captain Janeway realizes that the newly formed elite security force commanded by Lt. Commander Tuvok is the only chance to save the crew, the ship, and the galaxy itself. As Ensign Munro, second in command of this Hazard Team, you will need all of your special training and skills for the difficult adventures ahead.
You'll leap into action to defend Voyager from assault, battle through derelict spacecrafts, infiltrate a Borg cube and take on the ultimate colonization force—all the while facing annihilation at every turn. No one said being a hero was easy.
You will receive a briefing at the beginning of each mission in the form of an in-game cinematic. After each of these cut scenes, you will be asked to complete a series of mission objectives. Press the TAB key at any time during the game to view key points from your mission briefing and your mission objectives.
ENSIGN ALEXANDER/ALEXANDRIA MUNRO
Ensign Munro entered Starfleet with hopes of becoming a SAV pilot. However, Starfleet took notice of Munro’s heightened resilience and coolness under fire. After graduating from the Academy, Starfleet deemed that Munro’s skills would be better suited for more physical pursuits, so Munro was assigned to Voyager as a security specialist.
Munro never seems to get rattled by things, and even in the middle of a tense crisis mission, has the ability to turn the tables and change a negative situation into a positive one. While liked by the members of the team and crew, Munro’s natural brashness and candor is sometimes viewed as arrogant.
During an away mission with Lt. Commander Tuvok, Ensign Munro demonstrated extraordinary bravery to save a fellow
crewmember. Several months later, when Tuvok compiled a list of names to join the elite Hazard Team,
Ensign Munro was near the top of a short list of candidates.
Now, with a new threat facing Voyager, Munro has been chosen to be the second in command of Hazard Team’s Alpha squad. There will be countless dangers during the Hazard Team missions. Fortunately, Ensign Munro and the Hazard Team will be well equipped with powerful weapons and a state of the art Hazard Suit.
14 |
|
15 |
||
|
|
|
|
|
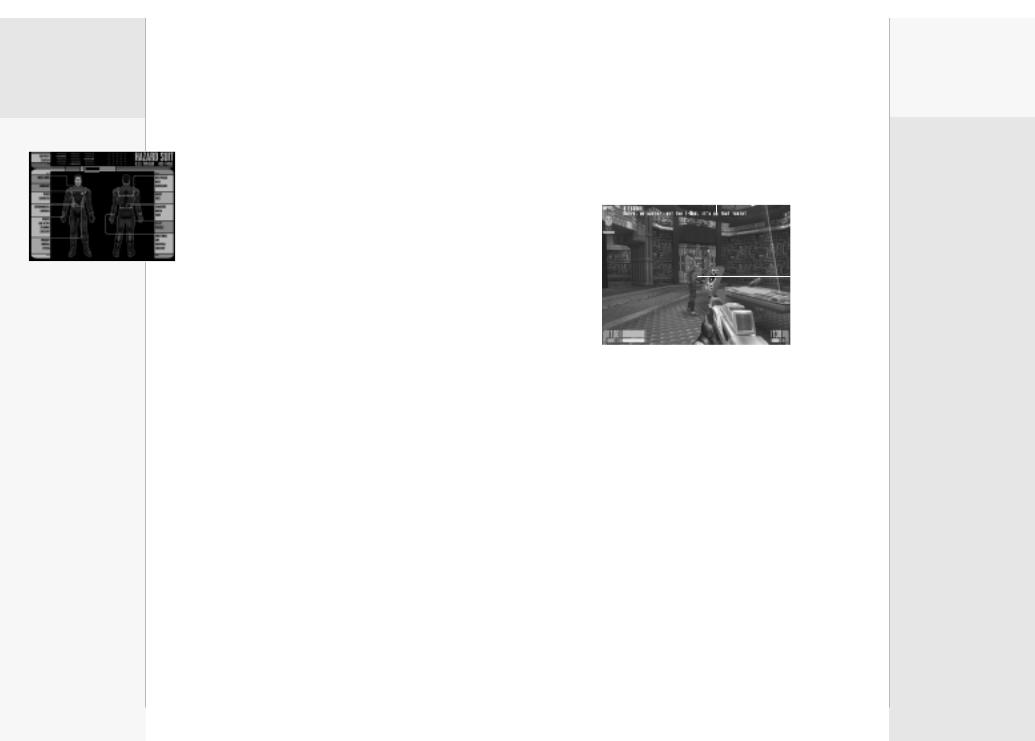
THE HAZARD SUIT
Designed by Lt. Commander Tuvok, the Hazard Suit is a powerful and versatile new asset for the Hazard Team. Each Hazard Suit
serves as a power supply for many different weapons. An internal reservoir of energy allows weapons to draw power from the suit, significantly extending the ammunition count for most weapons. The Suit has a universal power adapter that allows it to replenish its internal energy stores from almost any uplink, even some alien consoles and terminals. The Hazard Suit also has a portable transport buffer that allows a team member to store objects in a null space and rematerialize them at anytime.
TACTICAL EYE DISPLAY
The TED is an optical display that gives the wearer information that is displayed in their line of sight. The lower left corner of the TED displays your vital statistics: the orange bar represents your health and the blue bar represents remaining armor. The Hazard Suit is armored to protect a team member and is equipped with a medical system. Both are powered by a small belt-mounted energy pack. If you take damage, the Suit’s ablative armor patches will absorb the brunt of most attacks. Dermal regenerators in the suit will also work to extend the amount of physical damage you can withstand. Be careful when your Health and Armor stats are low – the Hazard Suit goes a long way to make you very durable, but it does not make you invulnerable!
The TED’s targeting computer also performs a low level scan of your surrounding area. At the center of your display, you will see a Targeting Crosshair. By looking around your area, your TED will automatically perform a scan and has been preprogrammed to highlight important objects, like an Energy Terminal capable of recharging your Suit.
INTERFACE
This is a representation of your TED display. Important interface elements have been denoted and are described below.
Communications Panel
Health |
|
|
|
|
|
|
|
|
Crosshair |
|
|
|
|
|
|
|
|
||
|
|
|
|
|
|
|
|||
|
|
|
|
|
|
|
|
Weapon Energy/ |
|
|
|
|
|
|
|
|
|
||
Level |
|
|
|
|
|
|
|
Ammo |
|
|
|
|
|
|
|
|
|
|
|
|
|
|
|
|
|
|
|
|
Remaining |
|
Armor Level |
In-View Weapon |
|||||||
1.Health Level (Orange Bar) – Displays your remaining health level.
2.Armor Level (Blue Bar) – Displays how much armor energy remains in your Hazard Suit.
3.In-View Weapon – This is your currently selected weapon.
4.Weapon Energy/Ammo Remaining – Displays the amount of energy/charges for the weapon.
5.Crosshair – A representation of your Line of Sight created by the TED.
6.Communications Panel – Displays transmissions received from Hazard Team members.
16 |
|
17 |
||
|
|
|
|
|
 Loading...