

D-Link DPH-10U, DPH-20U Quick Installation Manual
Before You Begin
You must have at least the following:
z Pentium 400MHz or Higher
z One Available USB Port
z 128MB RAM
z 100MB Space
z CD-ROM
z Windows XP/2000
z DSL/Cable Modem Internet Connection
Check Your Package Contents
These are the items included with your purchase:
If any of the above items are missing, please contact your reseller.
©2004 D-Link Systems, Inc. All rights reserved. Trademarks or registered trademarks are the property of their respective
holders. Software and specifications subject to change without notice.
This product can be used with
the following operating systems:
Windows XP
,
2000
DPH-10U
VoIP USB Phone
• DPH-10U VoIP USB Phone
• CD-ROM (containing Manual and
Installation program)
2
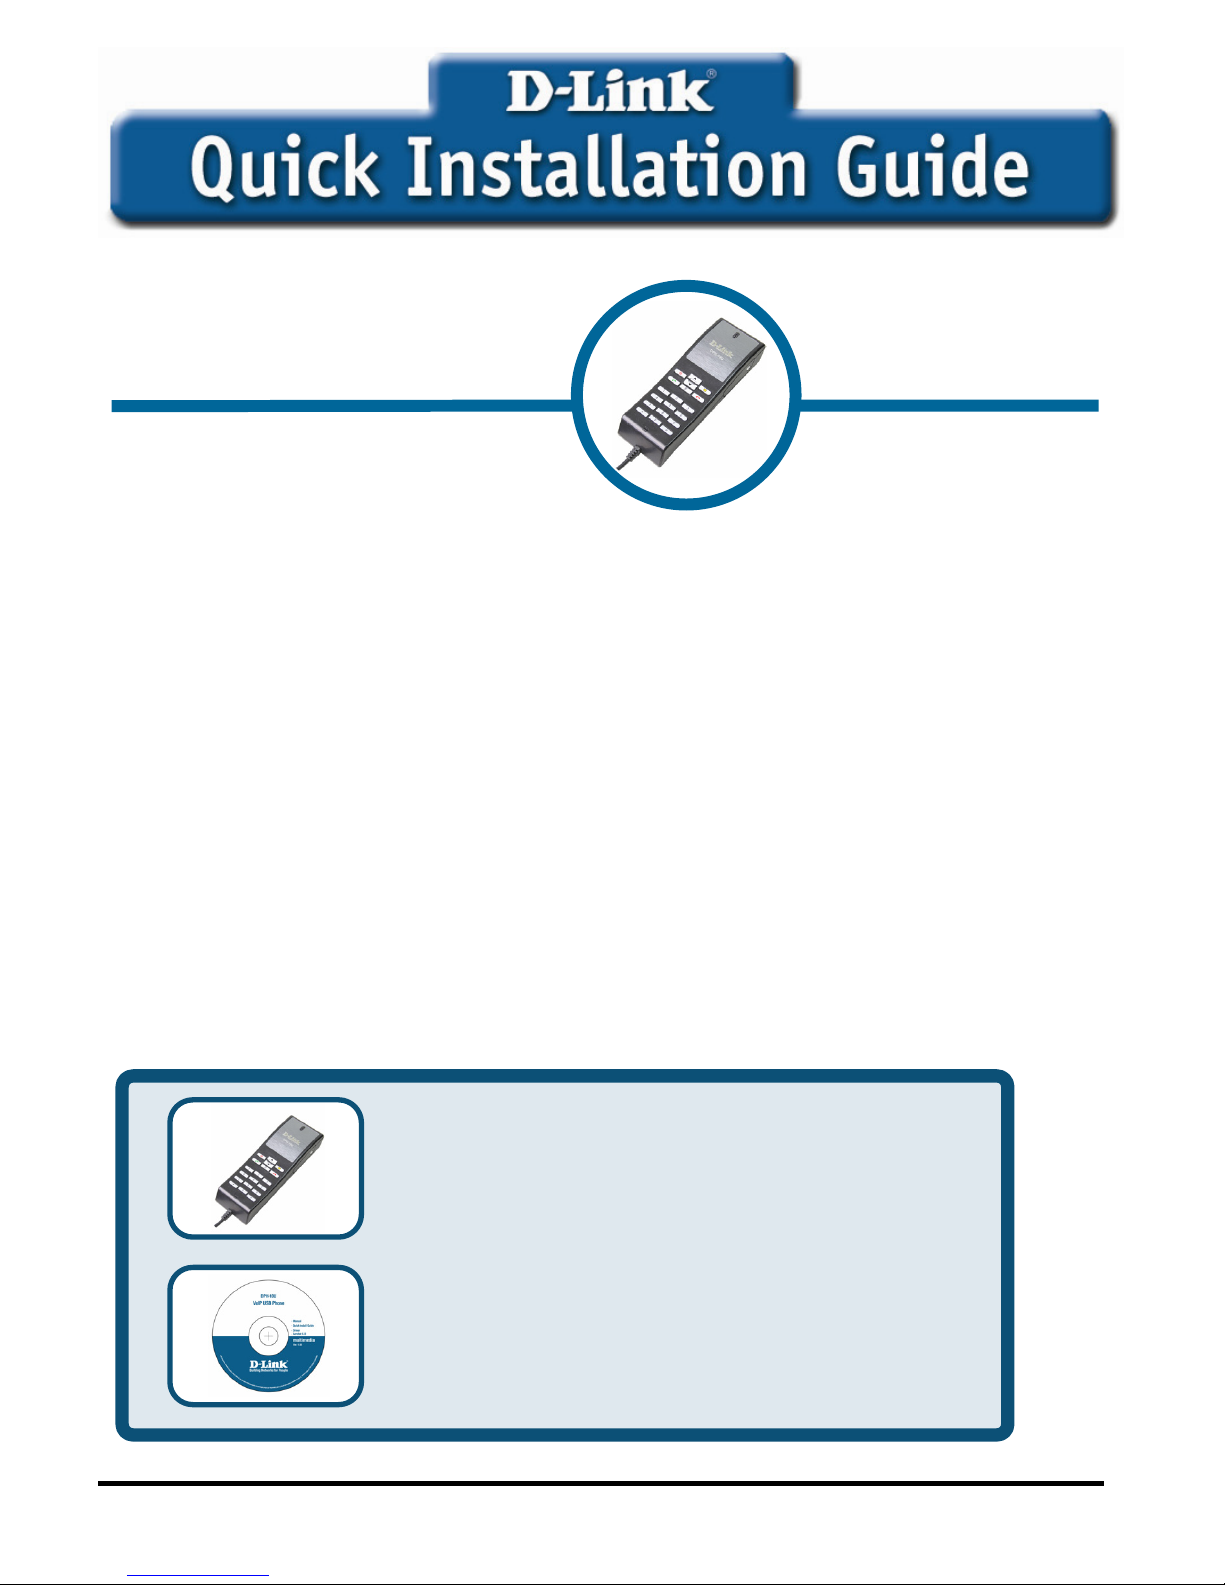
Connecting DPH-10U to your PC
Installing the Skype™
If Skype™ is not already installed on your computer, visit http://www.skype.com and
follow the instructions there to install Skype™. Verify that Skype™ is working before
installing the DPH-10U VoIP USB Phone.
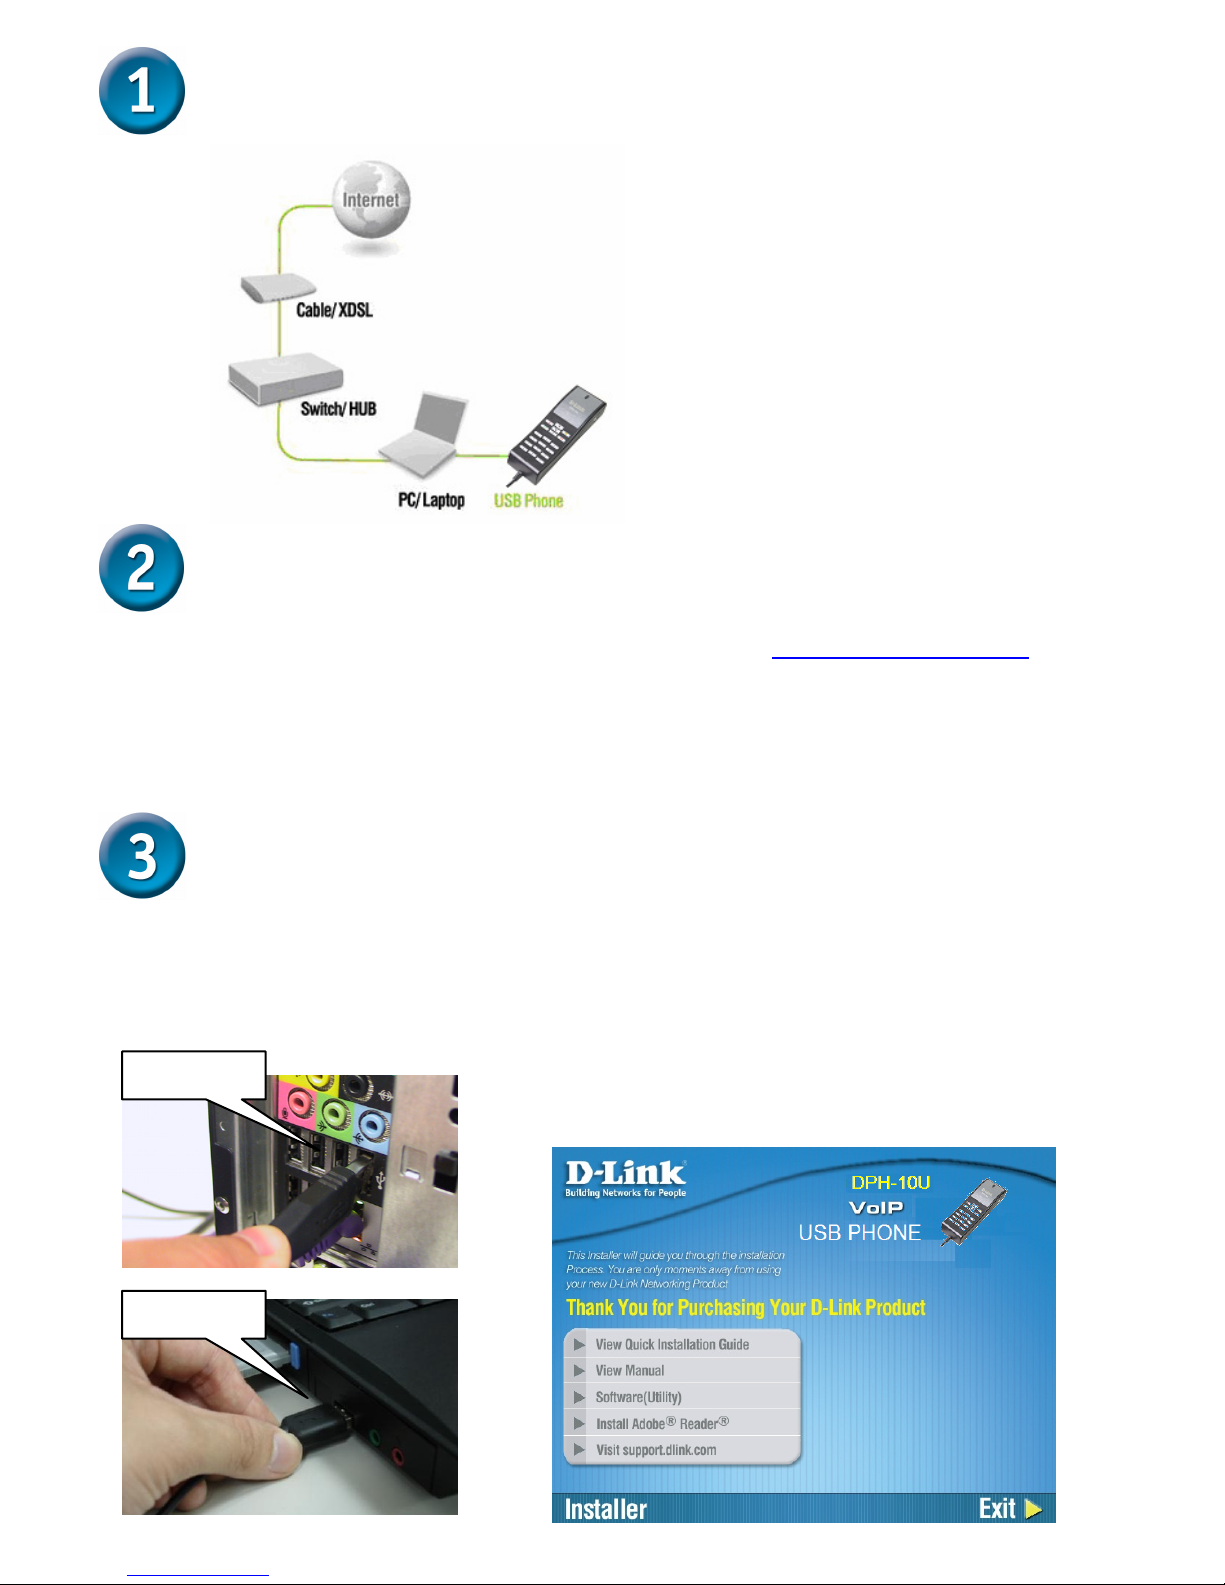
Installing the DPH-10U Utility
STEP 2.
Insert the supplied CD-ROM into
your PC CD-ROM drive. The
installation should start
automatically. Please press
“Software(Utility)”.
STEP 1.
Connect the USB cable to the PC or
NB as shown below:
Connect to PC
Connect to NB
 Loading...