

Page 1
Getting Started Guide
Page 2

Contents
Welcome to Corel VideoStudio Pro X6 . . . . . . . . . . . . . . . . . . . . . . . . . . . . 2
New Features and Enhancements . . . . . . . . . . . . . . . . . . . . . . . . . . . . . . . . 4
Understanding the Workspace . . . . . . . . . . . . . . . . . . . . . . . . . . . . . . . . . . 8
Start Creating Videos . . . . . . . . . . . . . . . . . . . . . . . . . . . . . . . . . . . . . . . . . 9
Quick Tutorials . . . . . . . . . . . . . . . . . . . . . . . . . . . . . . . . . . . . . . . . . . . . . 11
Contents | 1
Page 3
Welcome to Corel VideoStudio Pro X6
With Corel® VideoStudio® Pro X6, creativity takes center
stage. It is packed with new and enhanced features that
make creating professional-quality movies easy. Whether
you’re a beginner or an experienced video editor, it gives
you advanced tools for creating impressive projects.
The Corel VideoStudio Pro workspace is intuitive. The
editing tools are easily accessible, making your moviemaking experience more fun.
2 | Corel VideoStudio Pro X6 Getting Started Guide
• Track objects in video clips to create motion paths
that you can use to animate graphics, titles, and
more!
• Maximize the latest innovations. Shoot and edit Ultra
HD (4K) videos, capture stop motion with a DSLR, and
save movies in AVCHD 2.0 format.
• Detect the speaking parts in an audio or video clip
with a single click for instant subtitle segments. No
need to repeatedly watch clips just to get the timing
right!
• Increase or decrease playback speeds. Just import a
video clip, add key frame markers, and make it
happen.
Create movies in a snap!
Discover the powerful features of Corel VideoStudio Pro. It
includes free templates, video clips, and other awesome
content that inspire creativity. This Getting Started Guide
will help you jump right into the fun parts of video editing.
Page 4
Installing Corel VideoStudio Pro X6
To install Corel VideoStudio Pro X6
1 Close all applications.
2 Insert the DVD in the drive. If the setup does not start
automatically, navigate to the DVD drive on your
computer, and double-click Setup.exe.
Alternatively, browse to the location of the
downloaded product on your computer, and doubleclick the installation file.
3 Follow the instructions on your screen.
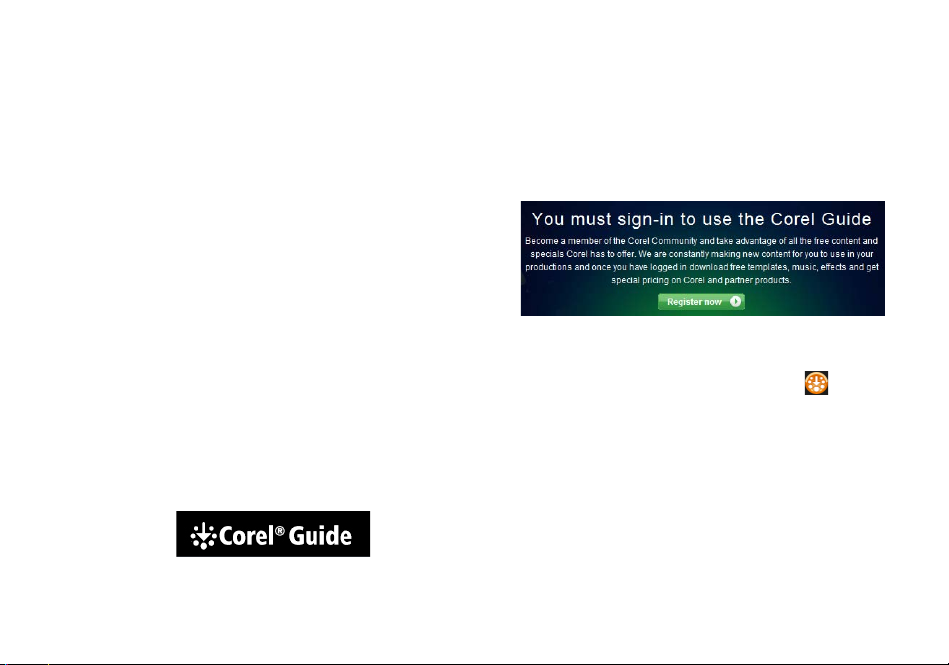
The Corel Guide
Get quick access to the latest updates, information, and
free content. You can find expert advice, download
templates, music, and effects, and get timely software
updates.
Get more and learn more by registering your
software
Don’t miss out on the special perks that members of the
Corel community enjoy. Register an account after installing
the software to get the latest news on free downloads,
tutorials, and special offers!
To access the Corel Guide
• In the upper-right corner of the application window,
click the Help and product information button.
Join community sites
There are a number of sites and forums where you can
connect with many Corel communities and user groups.
For starters, visit www.photovideolife.com to meet other
users, ask questions, and share tips, ideas, and projects.
Welcome to Corel VideoStudio Pro X6 | 3
Page 5
New Features and Enhancements
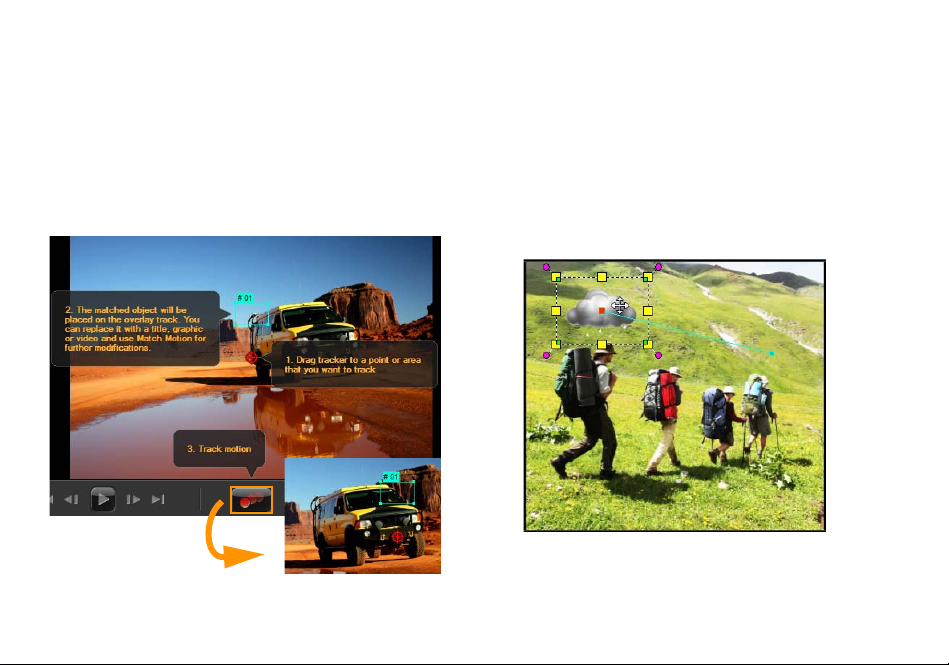
Tracking Motion
Forget the tiring steps involved in motion tracking. Simply
identify the object or area that you want to track, click the
Track Motion button, and Corel VideoStudio Pro generates
tracking paths that you can save and re-use repeatedly.
4 | Corel VideoStudio Pro X6 Getting Started Guide
Customizing object paths
Select a path from the Library or create your own to
animate objects, titles, layered graphics, and even video
clips. All it takes is a few simple steps to transform an
ordinary video clip into a fun project. Define your own
paths and apply complex motion effects like a pro!
Would you like a rain cloud to follow you around? You can do
that and more with Corel VideoStudio Pro.
Page 6
Output Ultra HD (4K) video
You can now edit and enhance videos
shot with Ultra HD (4K) cameras and
save in your preferred 4K format. You
can also make Ultra HD slideshow
videos using high-resolution photos.
With Corel VideoStudio Pro, it’s easy to
create ultra high-definition movies at
home.
Adding and editing subtitles
Add song lyrics, on-screen narration, and subtitles quickly.
The Voice Detection feature automatically detects voice
and distinct audio and transforms it into subtitle segments
for easy editing. Viewing audio tracks is also a breeze
thanks to Waveform view.
The Waveform view gives you a visual representation of the
audio clip, so you can add subtitles in no time.
New Features and Enhancements | 5
Page 7

Stop motion using DSLRs
Leverage the powerful lens and
sensors of a DSLR camera when
shooting your stop motion projects.
Connect your DSLR to the computer
and start taking high-quality images.
The Enlarged mode gives quick
access to the DSLR settings. You can
view and adjust the camera settings
in Corel VideoStudio Pro.
6 | Corel VideoStudio Pro X6 Getting Started Guide
Varying video playback speeds
Indulge your love for speed the safe way. Make objects
move faster or use technology magic to slow down time.
Just set up key frames and change the speed settings at
different intervals for an interesting twist.
Page 8

Swapping tracks
Go ahead, don’t be afraid to experiment. Create quick
variations of the same project by swapping Overlay tracks,
saving you a lot of time, and giving you more artistic
freedom.
Customizing random effects
It’s not always bad to play favorites—especially with
transition effects. Create a customized effects list so that
only the transitions you like are used when you apply
random effects to video tracks.
New Features and Enhancements | 7
Page 9
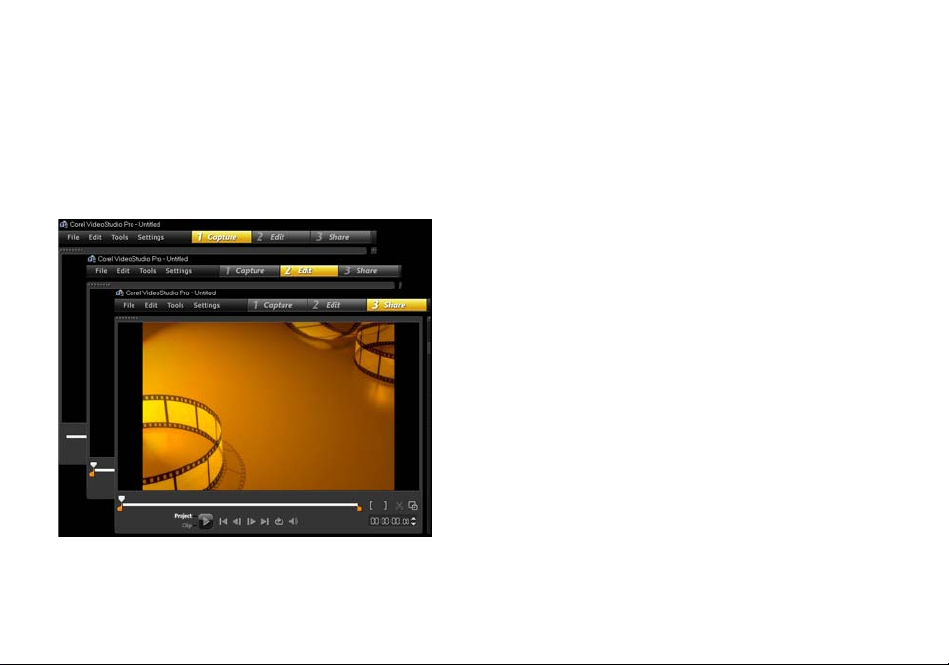
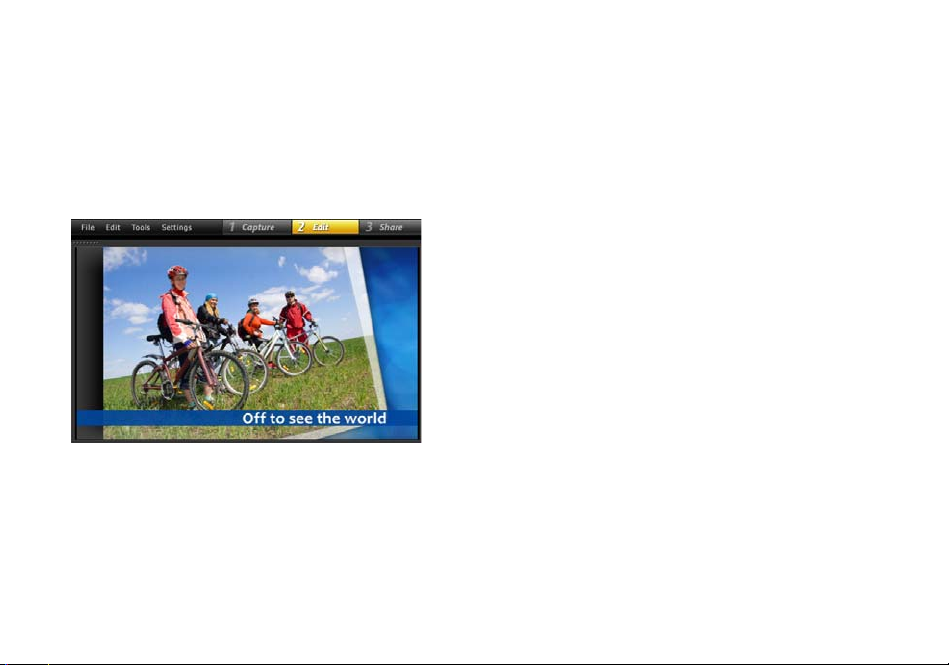
Understanding the Workspace
Corel VideoStudio Pro breaks down the video editing
process into three basic steps: Capture, Edit, and Share.
The customizable workspace allows you to rearrange the
panels to suit your preferences and ensures that you have
everything you need at a glance.
8 | Corel VideoStudio Pro X6 Getting Started Guide
Capture
Shoot videos with your camera of choice. You can capture
video files in a variety of popular video formats. Whether
you shoot with traditional camcorders or the latest DSLRs,
you can import your files into Corel VideoStudio Pro.
Edit
The editing stage is where you create real magic. Combine
video clips with layered graphics and titles. Maximize the
use of project templates for quick projects. Add flash
animation, transitions, and filters to enhance your movie
and make it Hollywood-worthy.
Share
When you finish your project, the only thing left to do is to
share your masterpiece. Corel VideoStudio Pro gives you
plenty of format options. Burn the movie files to disc, save
to SD cards, or upload to your favorite video-sharing and
social media websites.
Page 10

Start Creating Videos
Let’s take a look at the basic video creation workflow.
It all starts with a video clip
With the shoot done and your video clips saved, it’s time
to start the video-editing process. Begin by connecting the
camcorder or camera to your computer and selecting
Capture Step from the Step panel.
If you have a tape-based DV or HDV camcorder, connect
an IEEE1394 (FireWire) cable and select Capture Video. If
you have an AVCHD or other camcorder that records to
memory or hard drive, connect with USB, and select
Import from Digital Media.
Translate your vision into reality
Start with the free video, photo, and audio clips in the
Library to enhance your project. Then import more files to
make the movie truly your own. Changes made to files
imported into the Library do not affect the original files.
Trim cl i ps o n t he Timeline by dragging the Tr im ma r k ers on
either side of the clip.
Start Creating Videos | 9
Page 11

Add titles, transitions, filters, and effects. Swappable
Overlay tracks make it easier to move around video
elements.
Apart from applying enhancements, you can modify each
clip as you wish. Select a clip on the Timeline, select
Options, and choose a tool from the Options panel. You
can also right-click on the clip to reveal the drop-down
menu.
10 | Corel VideoStudio Pro X6 Getting Started Guide
Share your video
There are various ways to share your video project from the
Share Step. In the Options panel, choose your preferred
output format.
Click Create Video File if you want to save the project on
your hard disk or external hard drive. You can also burn the
movie directly to a disc by using the DVD authoring
wizard.
To export to an SD card, choose
Create Disc and decide if you want
to save it with or without a menu.
Of course, another option is to
share your video online by clicking
Upload to Web. Just select the target website and the
output format, sign into your account, and upload.
Page 12

Quick Tutorials
Learn more about Corel VideoStudio Pro and its new
features by importing your own video clips and trying the
following tutorials:
•Apply a Blur with Track Motion
• Add On-screen Narration
• Make 4 HD Videos into 1 Ultra HD (4K) Movie
Apply a Blur with Track Motion
Sometimes we need to blur objects and persons in video
clips. For instance, we might need to obscure license plates
to protect the owner’s privacy.
In this tutorial, we will use Track Motion to apply a blur to
a young boy’s face to hide his identity.
To blur a video object
1 After importing the video clip, select Edit from the
Step Panel.
2 Drag your video clip from the Library to the Timeline.
3 With the clip selected, click the Trac k M o t i o n button
on the Toolbar.
You can also right-click the video clip and choose
Track M o t i o n .
4 In the Tr a c k M otio n dialog box, drag the tracker to
the part of the video that you want to track.
In this example, the tracker is dragged to the face of
the boy.
5 Click the Tr a c k M o tion button.
Quick Tutorials | 11
Page 13

If you want to vie w the path that is generated, ensure
that the Show tracking path check box is enabled.
6 When you are satisfied with the tracking path, click
the Apply Mosaic button.
A grid appears over the prospective blurred area.
7 Adjust the size of the grid to cover the area you want
to blur by dragging the nodes at the corners.
12 | Corel VideoStudio Pro X6 Getting Started Guide
If the size of the person’s face changes throughout
the video, you can create multiple trackers and click
the Apply Mosaic button for each tracker.
8 Click OK.
9 Preview your project.
A mosaic-like effect on the boy’s face blurs his
features.
Page 14

Add On-screen Narration
Why stop at voice-overs when you can also add on-screen
narration? Subtitles are a form of on-screen narration that
makes it easier for the audience to follow the speaking
parts of the audio track. With Corel VideoStudio Pro,
adding subtitles to your home movies is fast and fun.
To add subtitles with the Subtitle Editor
1 Select a video or audio clip on the Timeline.
2 Click the Subtitle Editor button on the Toolbar.
You can also right-click on the clip and select Subtitle
Editor.
3 In the Subtitle Editor dialog box, adjust the settings in
the Voice Detection area.
The Voice recording quality and Sensitivity dropdown lists provide options to match the audio quality
in your video or audio clip.
4 Click Scan.
The program will automatically detect subtitling
segments based on the distinct voice and audio parts
in the clip.
The subtitle segments appear in the Subtitle list.
Quick Tutorials | 13
Page 15

5 You can fine tune each segment by specifying the
start and end times for each subtitle segment.
Alternatively, you can trim the subtitle segments in
the Waveform view.
6 In the Subtitle list, click each subtitle segment to add
or edit the text.
Click outside the text box when you are done.
7 Customize the appearance of your subtitles by
clicking the Text O p t i o ns button .
14 | Corel VideoStudio Pro X6 Getting Started Guide
This launches the Text O p t i o n s dialog box where you
can adjust the font properties and preview the
changes.
8 Click OK when you are done.
9 Preview your project.
Page 16

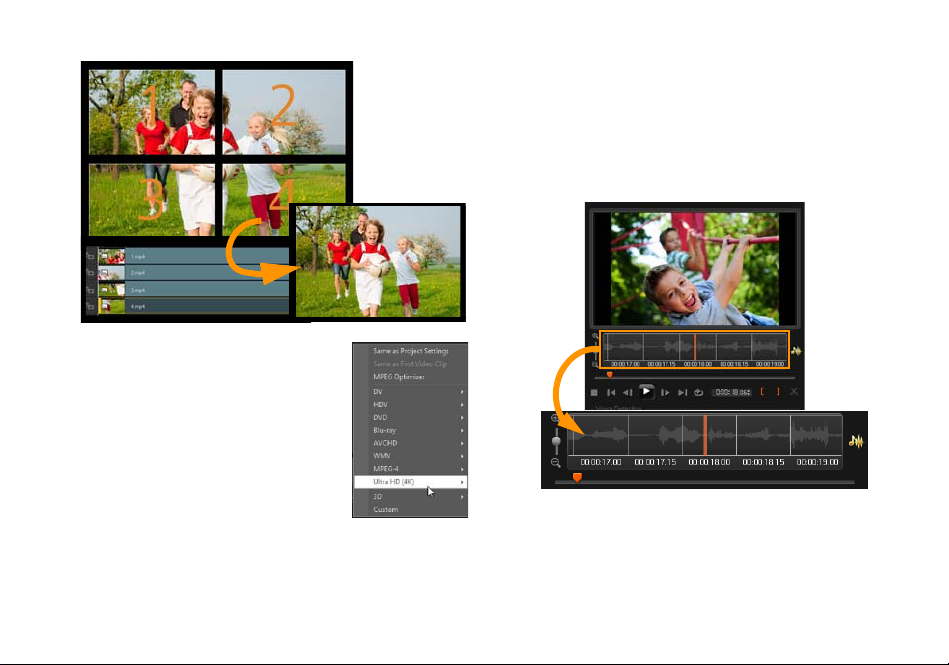
Make 4 HD Videos into 1 Ultra HD (4K) Movie
It’s true that bigger is not always better. But when it comes
to video resolution, Ultra HD makes video details clearer.
Make the most out of today’s Ultra HD devices by creating
your own 4K movies. Some Ultra HD cameras save the final
video as a single file, while others output four separate HD
files.
In this tutorial, we will combine four full HD files shot with
an Ultra HD camera.
Step 1: Merge 4 HD files using Overlay clips
1 Drag the four HD files from the Library to Overlay
Tracks o n t h e Timeline.
2 Resize the Overlay clips by dragging the nodes at the
corners.
Make the clips smaller so that you can fit and align all
four video clips.
3 Reposition the Overlay clips by dragging them across
the Preview Window.
Align the edges of the Overlay clips. You can use the
edges of the Preview Window as your guide.
4 Save the project file.
5 Open a new project and import the *.vsp file.
The Ultra HD (4K) video appears on a single track.
Quick Tutorials | 15
Page 17

6 Add transitions, titles, and other effects.
Step 2: Export your Ultra HD movie project
1 In the Step panel, click Share.
2 In the Share tab, click Create Video File.
3 Click Ultra HD (4K) from the drop-down list and
choose from the available AVC and MPEG-4 formats.
16 | Corel VideoStudio Pro X6 Getting Started Guide
4 In the Create Video File dialog box, specify a
destination in the Save in drop-down list.
5 Specify the file type in the Save as type drop-down
list.
6 Type a file name for your project.
7 Click Save.
© 2013 Corel Corporation. All rights reserved. Corel, the Corel
logo, the Corel Balloon logo and VideoStudio are trademarks
or registered trademarks of Corel Corporation and/or its
subsidiaries.
All other product names and any registered and unregistered
trademarks mention are used for identification purposes only
and remain the exclusive property of their respective owners.
 Loading...