

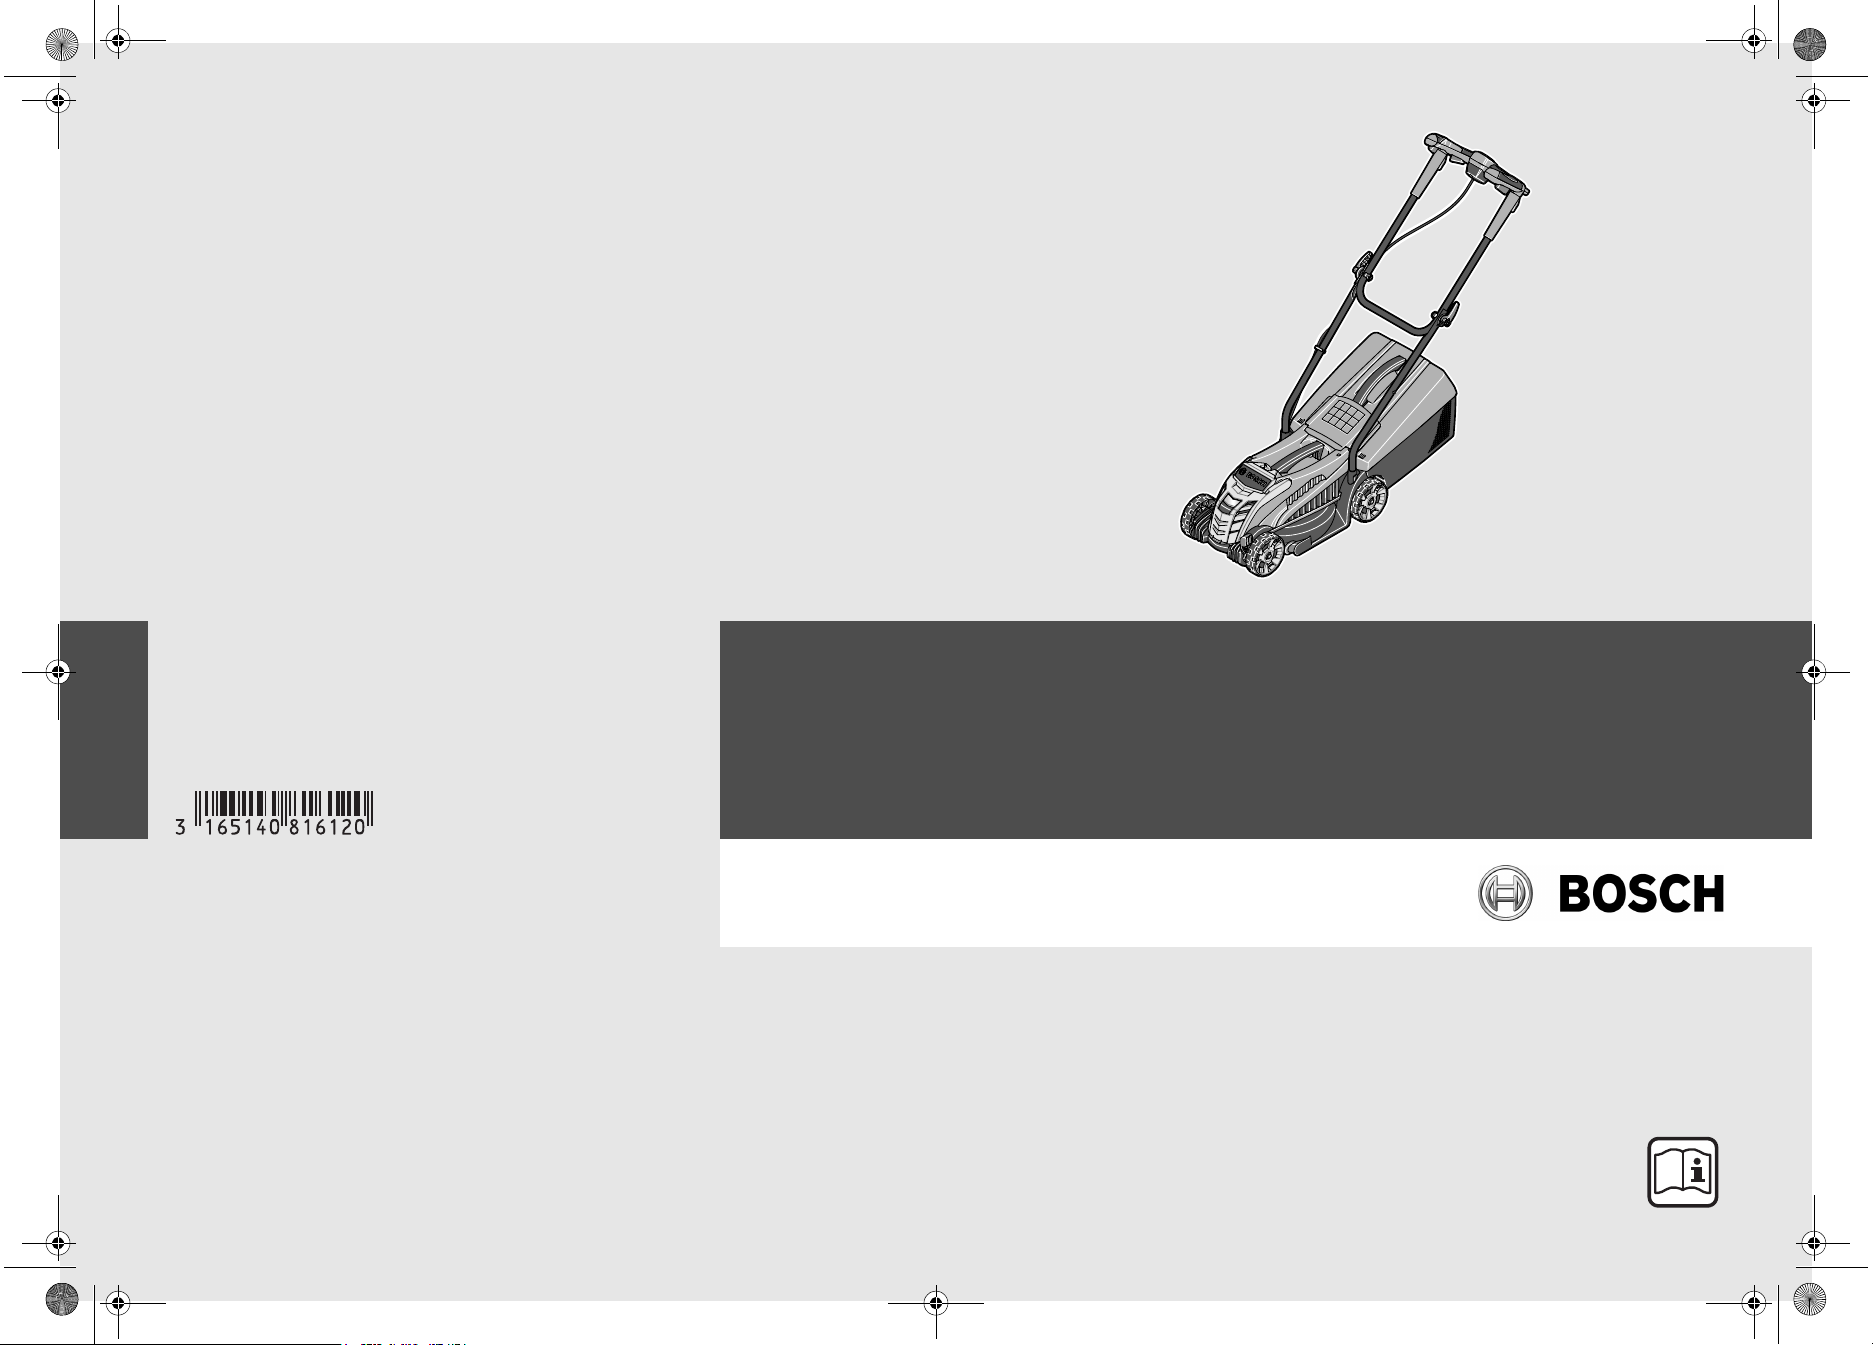
Bosch Rotak 32 LI S, Rotak 32 LI Original Instructions Manual
OBJ_DOKU-31089-008.fm Page 1 Thursday, September 8, 2016 8:25 AM
Robert Bosch Power Tools GmbH
70538 Stuttgart
GERMANY
www.bosch-garden.com
Rotak
F 016 L81 612 (2015.09) O / 24
32 LI | 32 LI S
en Original instructions
OBJ_BUCH-1741-009.book Page 2 Thursday, September 8, 2016 8:26 AM
2 | English
English
Safety Notes
Warning! Read these instructions
carefully, be familiar with the controls and the proper use of the machine. Please keep the instructions
safe for later use!
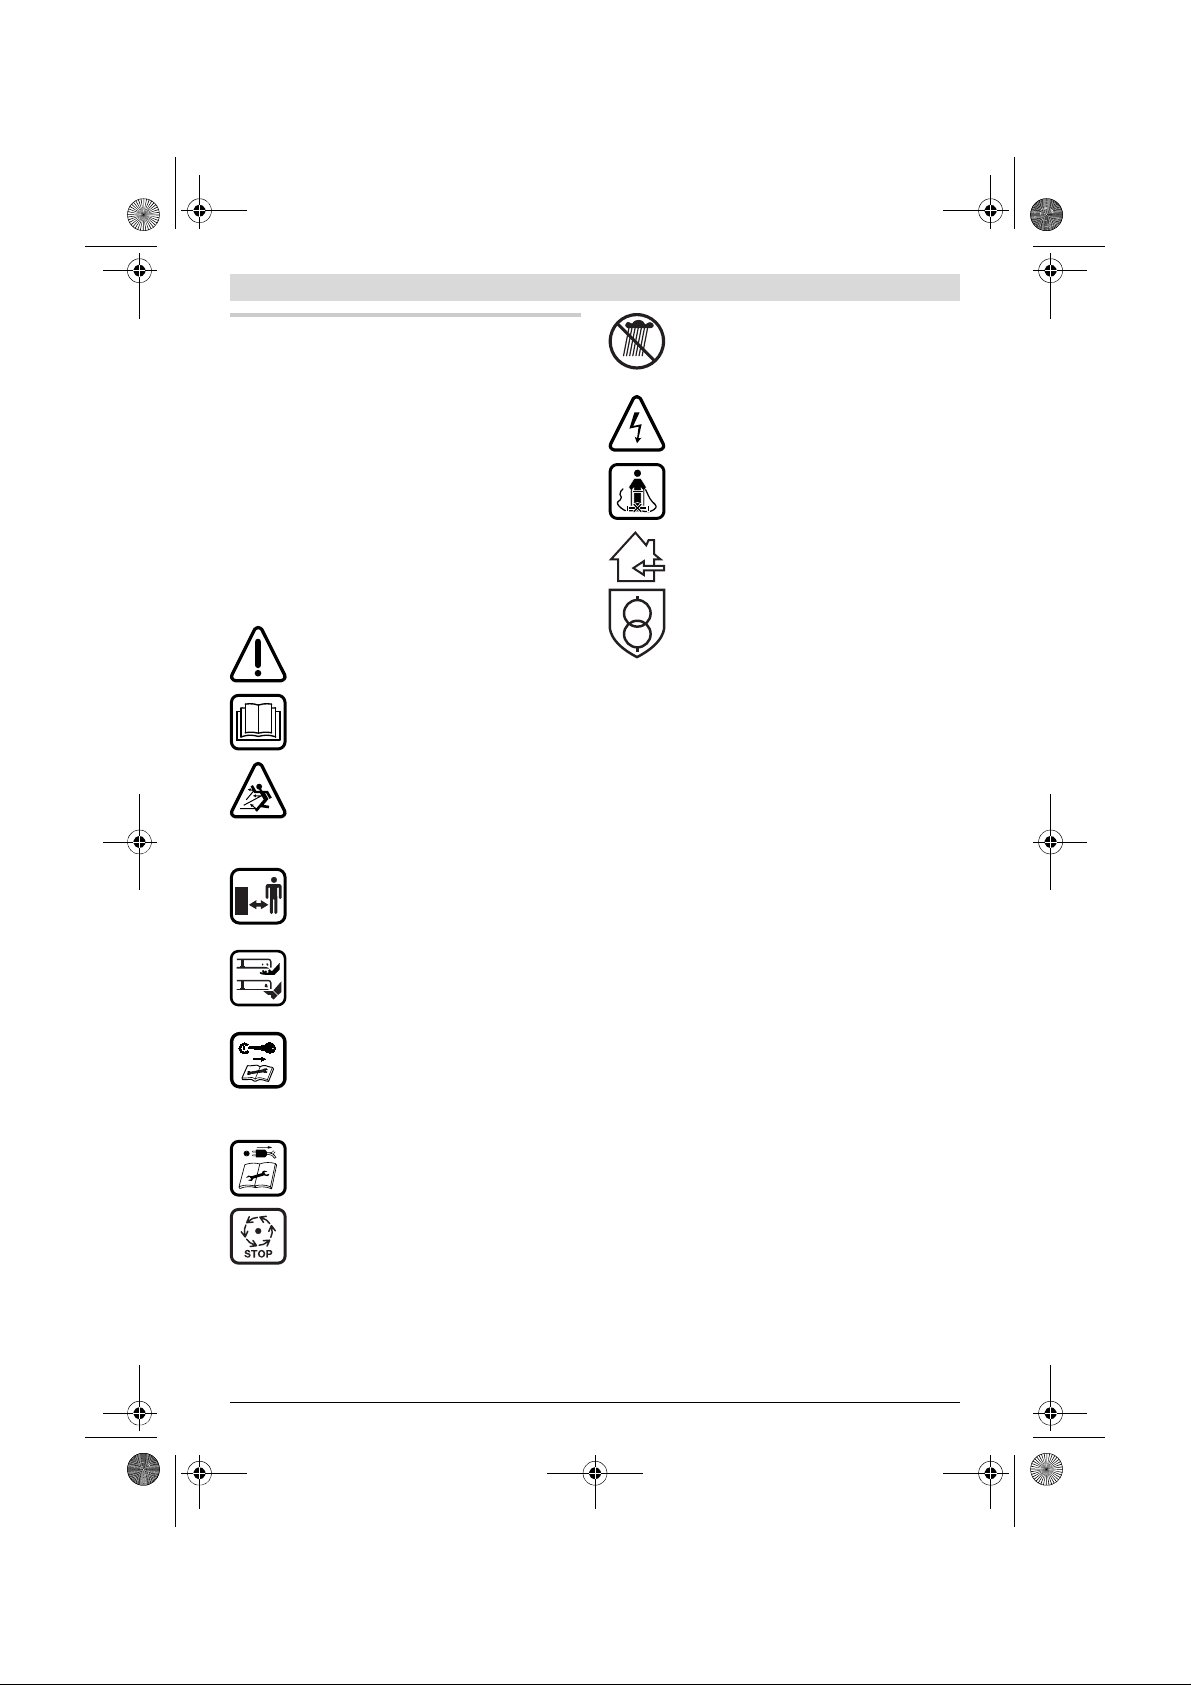
Explanation of symbols on the
machine
General hazard safety alert.
Read instruction manual.
Pay attention that bystanders
are not injured through foreign
objects thrown from the machine.
Warning: Keep a safe distance
from the machine when operating.
Caution: Do not touch rotating
blades. Sharp blade(s). Beware
of severing toes or fingers.
Switch off and remove isolator
key before adjusting, cleaning
and before leaving the product
unattended for any period.
Not applicable.
Wait until all machine components have completely stopped
before touching them. The
blades continue to rotate after the machine is switched off, a rotating blade
can cause injury.
Do not use the machine in the
rain or leave it outdoors when it
is raining.
Beware electric shock hazard.
Not applicable.
Only use the battery charger indoors.
Battery charger contains a safety transformer.
Operation
Never allow children or people unfa-
miliar with these instructions to use
the machine. Local regulations may
restrict the age of the operator. When
not in use store the machine out of
reach of children.
This machine is not intended for use
by persons (including children) with
reduced physical, sensory or mental
capabilities, or lack of experience and
knowledge, unless they have been
given supervision or instruction concerning use of the machine by a person responsible for their safety.
Children should be supervised to ensure that they do not play with the
machine.
Never mow while people, especially
children, or pets are nearby.
The operator or user is responsible
for accidents or hazards occurring to
other people or their property.
Do not operate the machine when
barefoot or wearing open sandals,
F 016 L81 612 | (8.9.16) Bosch Power Tools
OBJ_BUCH-1741-009.book Page 3 Thursday, September 8, 2016 8:26 AM
English | 3
always wear substantial footwear and
long trousers.
Thoroughly inspect the area where
the machine is to be used and remove
all stones, sticks, wires, bones and
other foreign objects.
Before using, always visually inspect
to see that the blades, blade bolts
and cutter assembly are not worn or
damaged. Replace worn or damaged
blades and bolts in sets to preserve
balance.
Mow only in daylight or in good artifi-
cial light.
Avoid mowing in bad weather condi-
tions especially when there is a risk of
lightning.
Avoid operating the machine in wet
grass, where feasible.
Walk, never run.
Never operate the appliance with de-
fective guards or shields, or without
safety devices, for example deflectors and/or grass catchers in place.
Always wear ear protection.
Working on banks can be danger-
ous.
– Do not mow on excessively steep
slopes.
– Always be sure of your footing on
slopes or wet grass.
– Mow across the face of slopes –
never up and down.
– Exercise extreme caution when
changing direction on slopes.
Use extreme caution when stepping
back or pulling the machine towards
you.
Never mow by pulling the mower to-
wards you.
Wait until the blades stop if the ma-
chine has to be tilted for transportation when crossing surfaces other
than grass and when transporting the
machine to and from the area to be
mowed.
Do not tilt the machine when starting
or switching on the motor, except if
the machine has to be tilted for starting in long grass. In this case, do not
tilt it more than absolutely necessary
and tilt only the part which is away
from the operator. Always ensure
that both hands are in the operating
position before returning the machine to the ground.
Switch on the motor according to the
instructions with feet well away from
rotating parts.
Do not put hands or feet near or un-
der rotating parts.
Always stand clear of the discharge
zone when operating the machine.
Never pick up or carry the machine
while the motor is running.
Do not modify this product. Unau-
thorized modifications may impair
the safety of your product and may
result in increased noise and vibration.
Regularly inspect the supply cable
and any extension cables. Do not connect damaged cables to the supply or
touch a damaged cable before it is
disconnected from the supply. A
damaged cable can lead to contact
with live parts. Beware electric shock
hazard.
Bosch Power Tools F 016 L81 612 | (8.9.16)
OBJ_BUCH-1741-009.book Page 4 Thursday, September 8, 2016 8:26 AM
4 | English
Remove the isolator key:
– Whenever you leave the machine.
– before clearing a blockage,
– before checking, cleaning or working
on the machine,
– after striking a foreign object. Inspect
the machine for damage and make repairs as necessary,
– if the machine starts to vibrate abnor-
mally (check immediately).
Maintenance
Always wear gardening gloves
when handling or working near the
sharp blades.
Keep all nuts, bolts and screws tight
to be sure that the machine is in safe
working condition.
Check the grass catcher frequently
for wear or deterioration.
Examine the machine and replace
worn or damaged parts for safety.
Ensure replacement cutting means of
the right type are used.
Ensure replacement parts fitted are
Bosch approved.
Recommendations for Optimal
Handling of the Battery
Ensure the switch is in the off posi-
tion before inserting battery pack.
Inserting the battery pack into machines that have the switch on can
cause accidents.
Use only Bosch battery packs in-
tended specifically for the machine. Use of any other battery packs
may create a risk of injury and fire.
Do not open the battery. Danger of
short-circuiting.
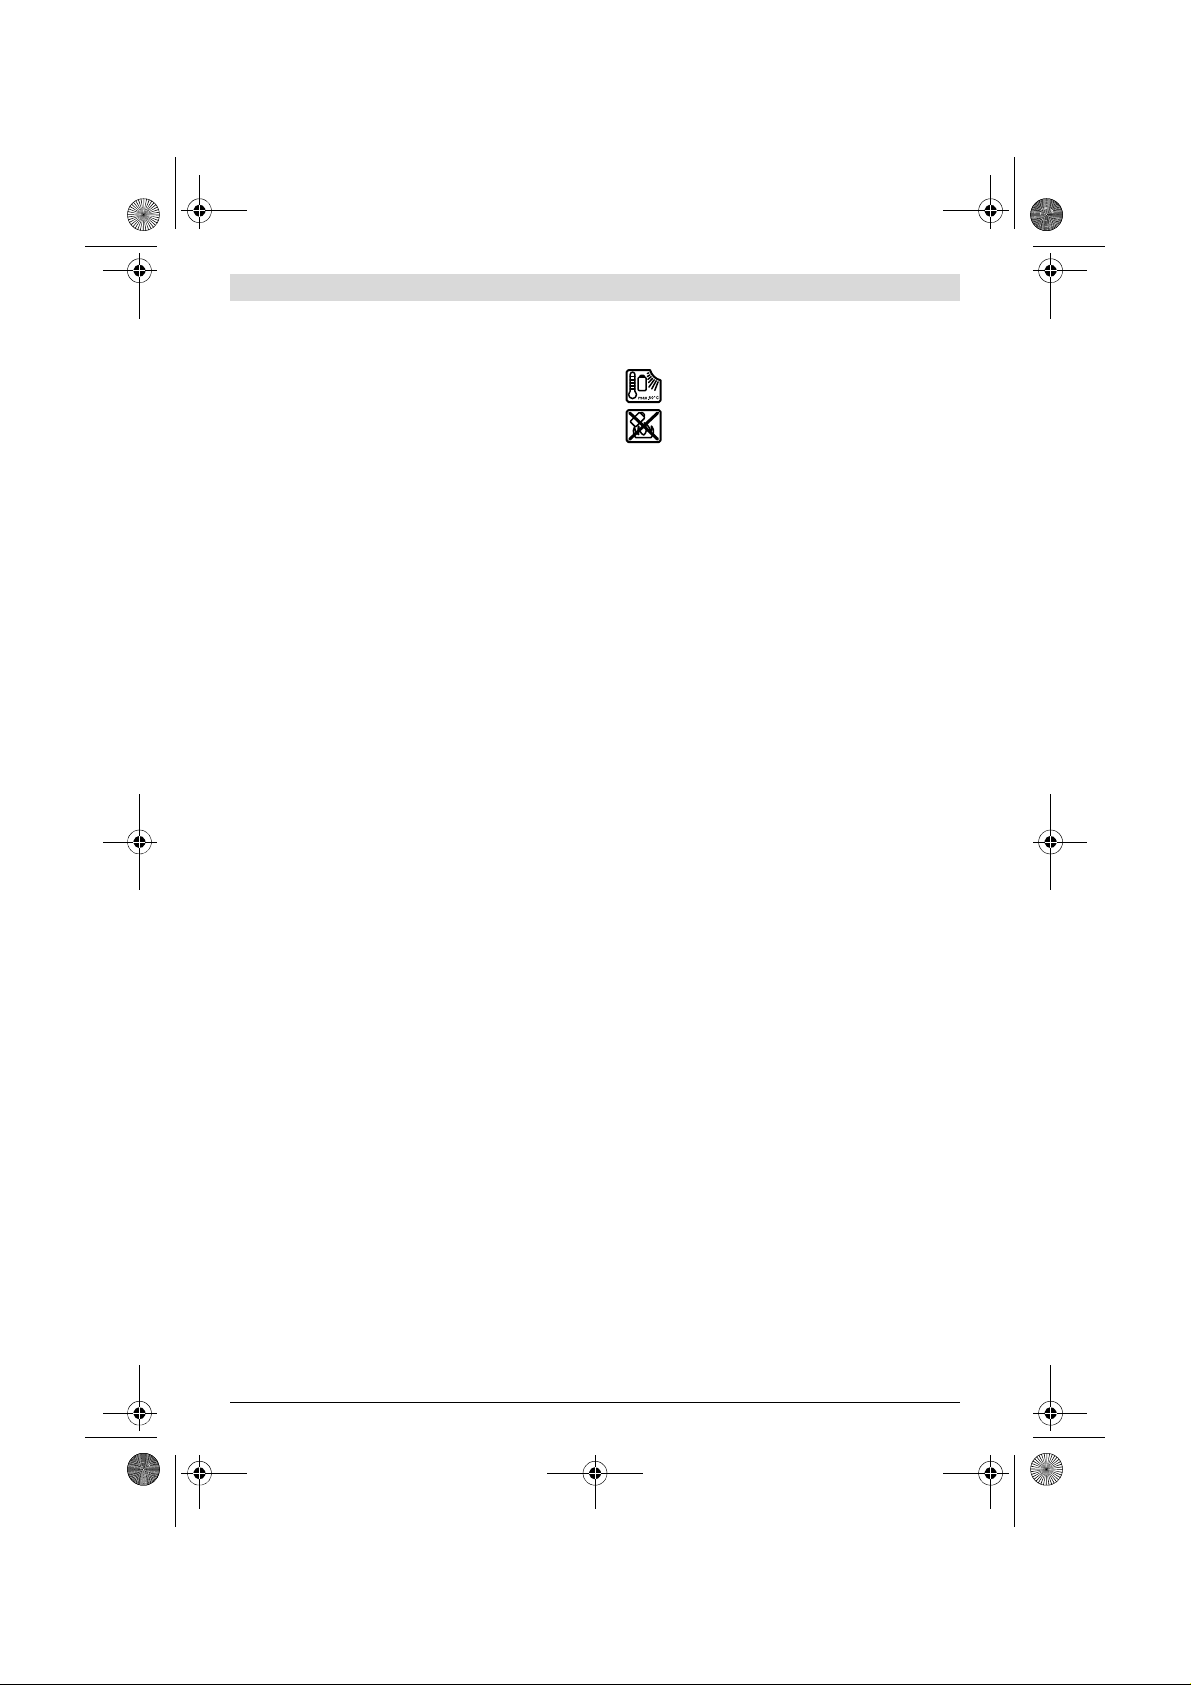
Protect the battery against
heat, e. g., against continuous
intense sunlight, fire, water,
and moisture. Danger of explo-
sion.
When battery pack is not in use,
keep it away from other metal objects like paper clips, coins, keys,
nails, screws, or other small metal
objects that can make a connection
from one terminal to another.
Shorting the battery terminals together may cause burns or a fire.
In case of damage and improper
use of the battery, vapours may be
emitted. Ventilate the area and
seek medical help in case of complaints. The vapours can irritate the
respiratory system.
Use the battery only in conjunction
with your Bosch product. This
measure alone protects the battery
against dangerous overload.
The battery can be damaged by
pointed objects such as nails or
screwdrivers or by force applied
externally. An internal short circuit
can occur and the battery can burn,
smoke, explode or overheat.
Do not short-circuit the battery.
There is danger of explosion.
Protect the battery against moisture
and water.
Store the battery only within a tem-
perature range between –20 °C and
50 °C. As an example, do not leave
the battery in the car in summer.
F 016 L81 612 | (8.9.16) Bosch Power Tools
OBJ_BUCH-1741-009.book Page 5 Thursday, September 8, 2016 8:26 AM
English | 5
Occasionally clean the venting slots
of the battery using a soft, clean and
dry brush.
Symbols
The following symbols are important for reading and understanding the operating instructions. Please take note of the
symbols and their meaning. The correct interpretation of the
symbols will help you to use the garden product in a better
and safer manner.
Symbol Meaning
Movement direction
Reaction direction
Wear protective gloves
Weight
Switching On
Switching Off
Permitted action
Prohibited action
Accessories/Spare Parts
Intended Use
The garden product is intended for domestic lawnmowing.
Technical Data
Cordless Lawnmower Rotak 32 LI
Article number
Blade width
Height of cut
Grassbox, capacity
Weight according to
EPTA-Procedure
01:2014
Serial number
**wit h AL 3620 CV Professional charger
cm 32
mm 30–60
l31
kg 10.4
Rotak 32 LI S
3 600 H85 D..
see type plate on
the garden product
Cordless Lawnmower Rotak 32 LI
Battery Li-Ion
Article number
–1.3
–2.0
–2.6
–4.0
Rated voltage
Capacity
– 2 607 336 631
– 1 607 A35 02V
– 2 607 336 633
– 2 607 337 047
Number of battery cells
–1.3
–2.0
–2.6
–4.0
Battery Charger
Article number
Charging current
Allowable charging tem-
perature range
Charging period (battery
discharged)**
–1.3
–2.0
–2.6
–4.0
Weight according to
EPTA-Procedure
01:2014
Protection class
Battery Charger
Article number
Charging current
Allowable charging tem-
perature range
Charging period (battery
discharged)**
–1.3
–2.0
–2.6
–4.0
Weight according to
EPTA-Procedure
01:2014
Protection class
**with AL 3620 CV Professional charger
Ah
Ah
Ah
Ah
V= 36
Ah
Ah
Ah
Ah
EU
UK
AU
A2.0
°C 0 – 45
min
min
min
min
kg 0.6
EU
UK
AU
A4.0
°C 0 – 45
min
min
min
min
kg 1.0
Rotak 32 LI S
2 607 336 631
1 607 A35 02V
2 607 336 633
2 607 337 047
1.3
2.0
2.6
4.0
10
10
20
20
AL 3620 CV
2 607 225 657
2 607 225 659
2 607 225 661
55
70
95
140
/II
AL 3640 CV
2 607 225 099
2 607 225 101
2 607 225 103
45
45
65
80
/II
Bosch Power Tools F 016 L81 612 | (8.9.16)
OBJ_BUCH-1741-009.book Page 6 Thursday, September 8, 2016 8:26 AM
6 | English
Noise/Vibration Information
Sound emission values determined according to
EN 60335-2-77.
Typically the A-weighted noise levels of the product are:
Sound pressure level 74 dB(A) ; sound power level 86 dB(A).
Uncertainty K =0.5 dB.
Vibration total values a
determined according to EN 60335-2-77:
<2.5m/s2, K=1.5 m/s2.
a
h
(triax vector sum) and uncertainty K
h
Note: The battery supplied is partially charged. To ensure full
capacity of the battery, completely charge the battery in the
battery charger before using your power tool for the first time.
The lithium-ion battery can be charged at any time without reducing its service life. Interrupting the charging procedure
does not damage the battery.
The “Electronic Cell Protection (ECP)” protects the lithiumion battery against deep discharging. When the battery is run
down or discha rged, the garden product is s hut off by means
of a protective circuit: The blade no longer moves.
Mounting and Operation
Action Figure Page
Delivery Scope
Handle Assembly
Snap together the Grassbox
Grassbox fitting/removing
Battery Charging
Inserting the Battery
Insert Isolator Key and fit in the Storage
Position
Adjusting the Cutting Height
Starting
Working Advice
Stopping, Remove the isolator key
Removing the Battery
Blade Maintenance
Selecting Accessories
1 11
2 11
3 12
4 12
5 12
6 13
7 14
8 14
9 15
10 16
11 16
12 17
13 18
14 18
been automatically switched off. The battery can be dam-
aged.
Charging Procedure
The charging procedure starts as soon as the mains plug of
the battery charger is plugged into the socket outlet and the
battery is inserted into the charging compartment.
Due to the intelligent charging method, the charging condition of the battery is automatically detected and the battery is
charged with the optimum charging current, depending on
battery temperature and voltage.
This gives longer life to the battery and always leaves it fully
charged when kept in the charger for storage.
Rapid-charging Procedure
Starting
For Your Safety
Warning! Switch off, remove the isolator key and the
battery before adjusting, cleaning or if cable is cut,
damaged or entangled.
The blades continue to rotate for a few seconds after
the machine is switched off.
Caution – do not touch the rotating blade.
Battery Charging
Do not use other battery chargers. The supplied battery
charger is designed for the Lithium-Ion battery in your garden product.
Observe the mains voltage! The voltage of the power
supply must correspond with the data given on the nameplate of the battery charger. Battery chargers marked with
230 V can also be operated with 220 V.
The battery is equipped with temperature monitoring that allows charging only in the temperature range between 0 °C
and 45 ° C. In this manner, a high battery service life is
achieved.
The rapid-charging procedure is indicated by flashing of the
green charge control LED.
Indication element of the battery: During the charging procedure, the three green LEDs light up one after the other and
briefly go out. The battery is fully charged when the three
green LEDs light up continuously. The three LEDs go out again
approx. 5 minutes after the battery has been fully charged.
Note: The rapid-charging procedure is only possible when the
battery temperature is within the allowable charging temperature range, see section “Technical Data”.
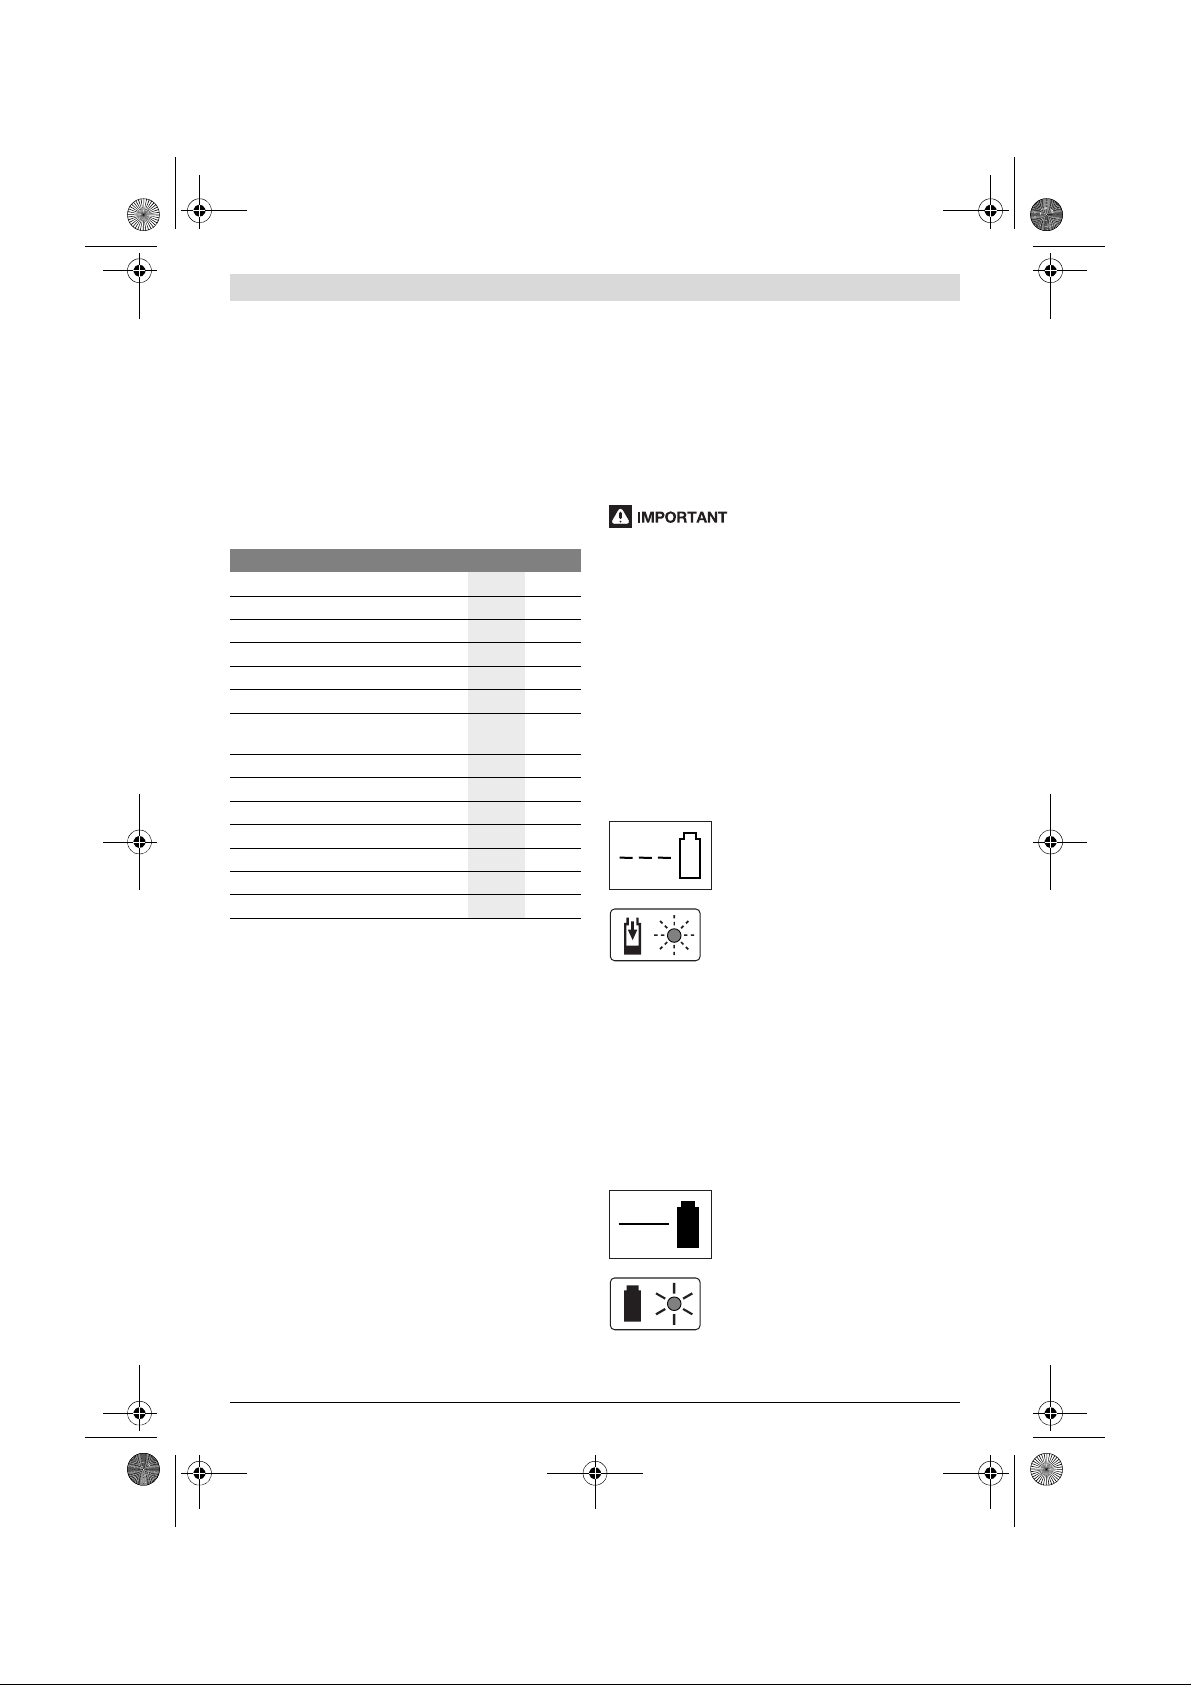
Battery Charged
Continuous lighting of the green charge control LED sig-
nals that the battery is fully charged.
Do not continue to press the On/Off
switch after the garden product has
AL 3640 CV
Professional
AL 3620 CV
Professional
AL 3640 CV
Professional
AL 3620 CV
Professional
F 016 L81 612 | (8.9.16) Bosch Power Tools
OBJ_BUCH-1741-009.book Page 7 Thursday, September 8, 2016 8:26 AM
Additionally, a signal tone sounds for approx. 2 seconds,
which acoustically indicates that the battery is fully charged.
Afterwards, the battery can be removed for immediate use.
With no battery inserted, continuous lighting of the green
charge control LED indicates that the mains plug is plugged
into the socket and that the battery charger is ready for operation.
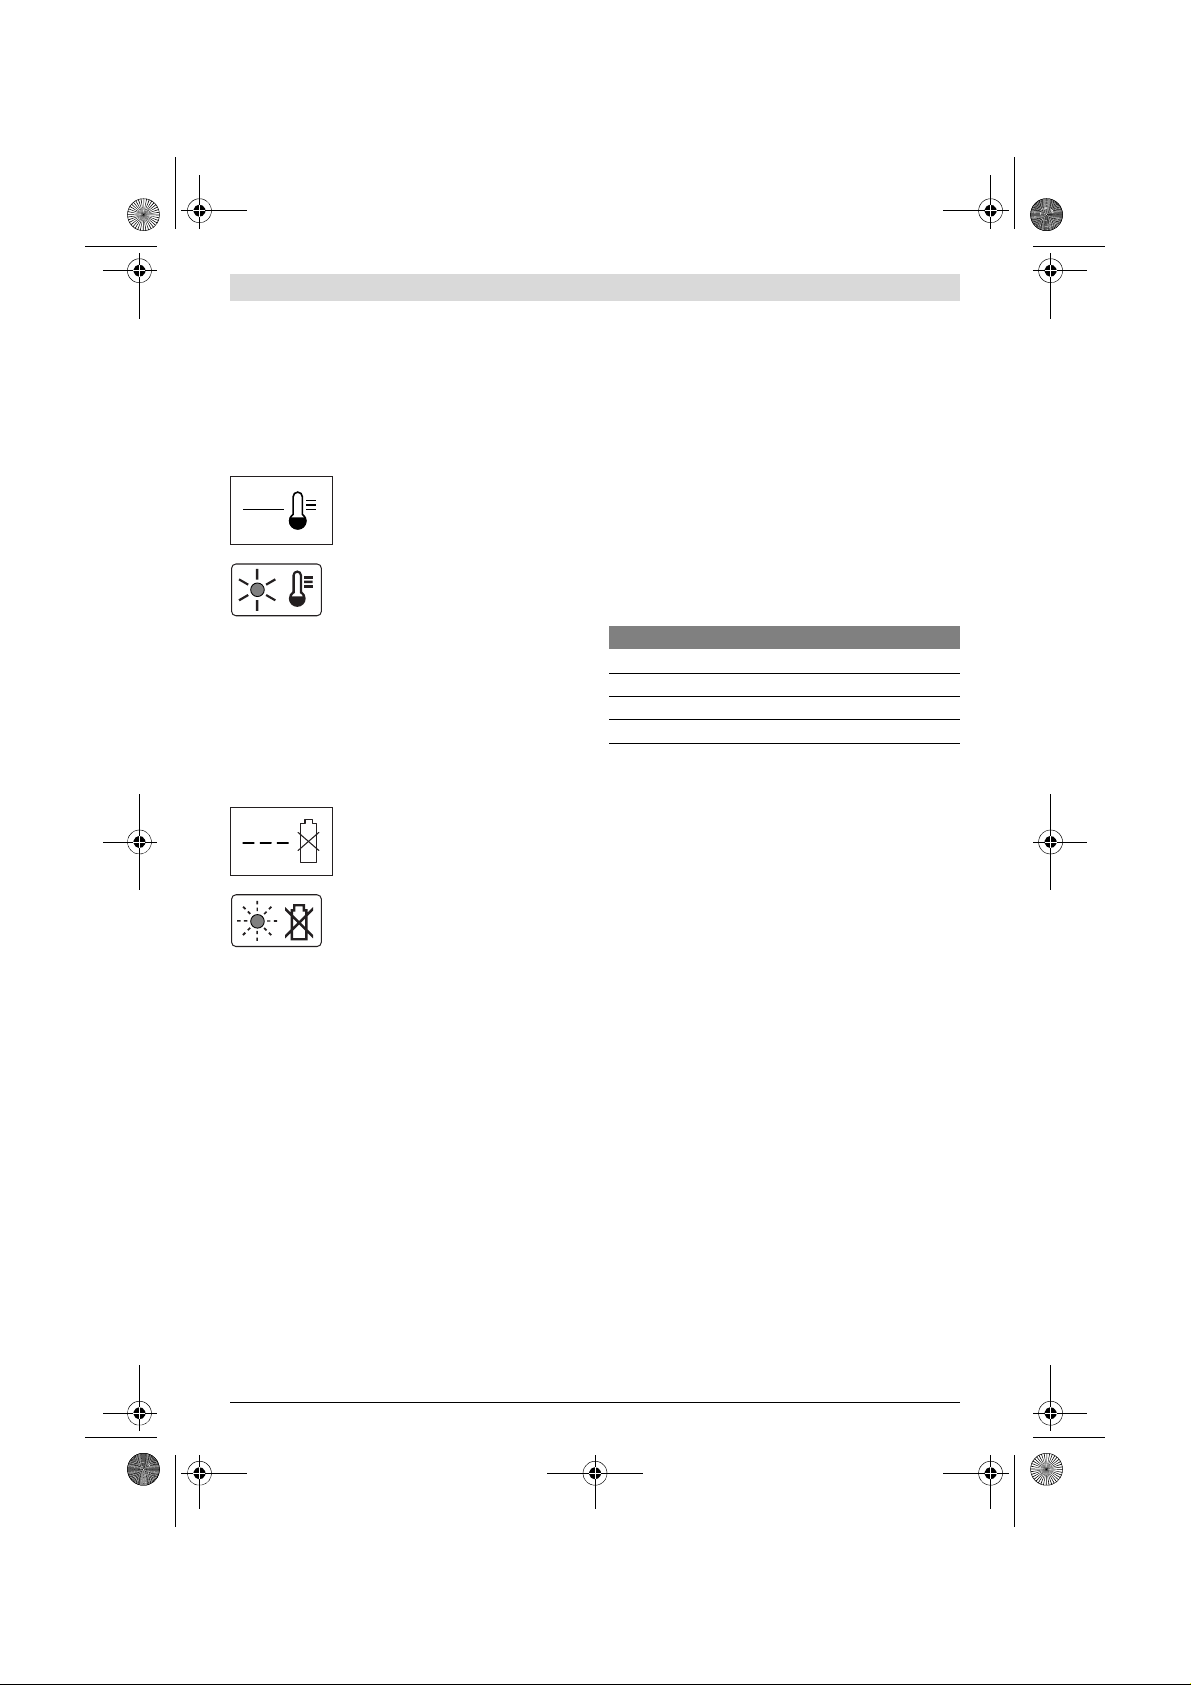
Battery Temperature below 0 °C or above 45 ° C
AL 3640 CV
Professional
AL 3620 CV
Professional
Continuous lighting of the red LED indicates that the bat-
tery temperature is not within the rapid-charging temperature
range of 0 ° C – 45 ° C. As soon as the allowable temperature
range is reached, the battery charger automatically switches
to rapid charging.
When the battery is not within the allowable temperature
range, the red battery LED lights up when inserting the battery into the battery charger.
No charging procedure possible
AL 3640 CV
Professional
AL 3620 CV
Professional
The battery temperature is within the optimal charging temperature range when the fan is not running. Another reason
for a non working fan might be that it is defective. In this case,
the charging time of the battery might be extended.
Working Advice
Battery Charge-control Indication
The battery is equipped with a charge-control indicator
which indicates its charge condition. The charge-control indicator consists of 3 green LEDs.
Press the button to actuate the charge-control indicator . After approx. 5 seconds, the charge-control indicator goes out
automatically.
The charge condition can also be checked when the battery is
removed.
LED Indicators Battery Capacity
Continuous lighting of 3 green LEDs ≥ 2/3
Continuous lighting of 2 green LEDs ≥ 1/3
Continuous lighting of 1 green LED ≤ 1/3
Flashing of 1 green LED Reserve
When no LED lights up after actuating the button, the battery
is defective and must be replaced.
For safety reasons, the charge condition of the battery can
only be checked when the garden product is at a standstill.
During the charging procedure, the three green LEDs light up
one after the other and briefly go out. The battery is fully
charged when the three green LEDs light up continuously. The
three LEDs go out again approx. 5 minutes after the battery
has been fully charged.
Temperature Control Indicator
If a different malfunction of the charging procedure is present, this will be indicated through flashing of the red charge
control LED.
The charging procedure cannot be started and the battery
cannot be charged (see section “Troubleshooting”).
Charging Advice
With continuous or several repetitive charging cycles without
interruption, the charger can warm up. This is not meaningful
and does not indicate a technical defect of the battery charger.
A significantly reduced working period after charging indicates that the battery is used and must be replaced.
Observe the notes for disposal.
Battery Cooling (Active Air Cooling)
The fan control integrated in the battery charger controls the
temperature of the inserted battery. When the battery temperature is above 30 ° C, a fan cools down the battery to the
optimal charging temperature. The switched-on fan produce s
a fan noise.
The red LED signals that the battery or the electronics of the
garden product (with battery inserted) are not within the optimum temperature range. When this occurs the garden product will not operate or not at full capacity.
Temperature Control of the Battery
The red LED flashes when you press the button or the On/Off
switch (with battery inserted): The battery is outside of the
permitted operating temperature range.
The battery switches off at a temperature above 70 ° C until
the optimum temperature range is reached again.
Temperature Control of the Garden Product
Electronics
The red LED lights up continuously when pressing the
On/Off switch: The temperature of the garden product electronics is below 5 ° C or above 75 ° C.
At a temperature above 90 ° C, the electronics of the garden
product switch off until the temperature is within the allowable temperature range again.
English | 7
Bosch Power Tools F 016 L81 612 | (8.9.16)
 Loading...