


BeoVision 4
Guide
CAUTION: To reduce the risk of
CAUTION
RISK OF EL ECTRIC SHOC K
DO NOT OPE N
electric shock, do not remove
cover (or back).
No User-serviceable parts inside.
Refer servicing to qualified service
personnel.
WARNING: To reduce the risk of fire or
electric shock, do not expose this appliance
to rain or moisture. Do not expose this equipment to dripping or splashing and ensure
that no objects filled with liquids, such as
vases, are placed on the equipment.
To completely disconnect this equipment
from the AC Mains, disconnect the mains
plug from the wall socket. The disconnect
device shall remain readily operable.
The lightning flash with arrowhead symbol
within an equilateral triangle, is intended
to alert the user to the presence of un-
insulated “dangerous voltage” within the
product’s enclosure that may be of sufficient
magnitude to constitute a risk of electric
shock to persons.
The exclamation point within an equilateral
triangle is intended to alert the user to the
presence of important operating and maintenance (servicing) instructions in the
literature accompanying the product.
For the US -market only!
NOTE: This equipment has been tested and
found to comply with the limits for a class B
digital device, pursuant to part 15 of the FCC
Rules. These limits
reasonable protection against
interference in a residential installation.
This equipment generates, uses and can radiate
radio frequency energy and, if not installed and
used in accordance with the instructions, may
cause
harmful interference to radio
communications. However, there is no
guarantee that inter ference will not occur in a
particular installation. If this equipment does
cause harmful interference to radio or television
reception, which can be determined by turning
the equipment off and on, the user is
encouraged to try to correct the inter ference by
one or more of the following measures:
– Reorient or relocate the receiving antenna.
– Increase the separation between the
equipment and receiver.
– Connect the equipment into an outlet on a
circuit different from that to which the
receiver is connected.
– Consult the retailer or an experienced radio/
TV technician for help.
For the Canadian market only!
This class B digital apparatus meets all requirements of the Canadian Interference -Causing
Equipment Regulations.
are designed to provide
harmful
Set up BeoVision 4
1
A
2 3
3
This Guide contains all the relevant
information about the connection,
setting-up and use of your plasma
screen with a Bang & Olufsen
BeoSystem.
If you wish to mount the screen in a
wall bracket, please refer to the
Guide enclosed with the bracket.
This chapter describes how to set up the
screen in a BeoSystem setup.
Cautions
– The screen is developed for indoor use in
dry, domestic environments only, and for
use within a temperature range of 10–40°C
(50 –105°F).
– The picture can be distorted at altitudes
where the air pressure is lower than 833 hPa
(approximately 1500 m (5000') or higher.
– Do not place any items on top of the screen.
– When lifting the screen, grip the top and
bottom edges (or the appropriate carrying
handles – if any). Remember to carry the
screen in such a way that it is in an upright
position at all times.
– The screen is not designed to stand on its
own. It must be supported until mounted on
a wall bracket or stand. To prevent injury,
use Bang & Olufsen approved stands or wall
brackets only!
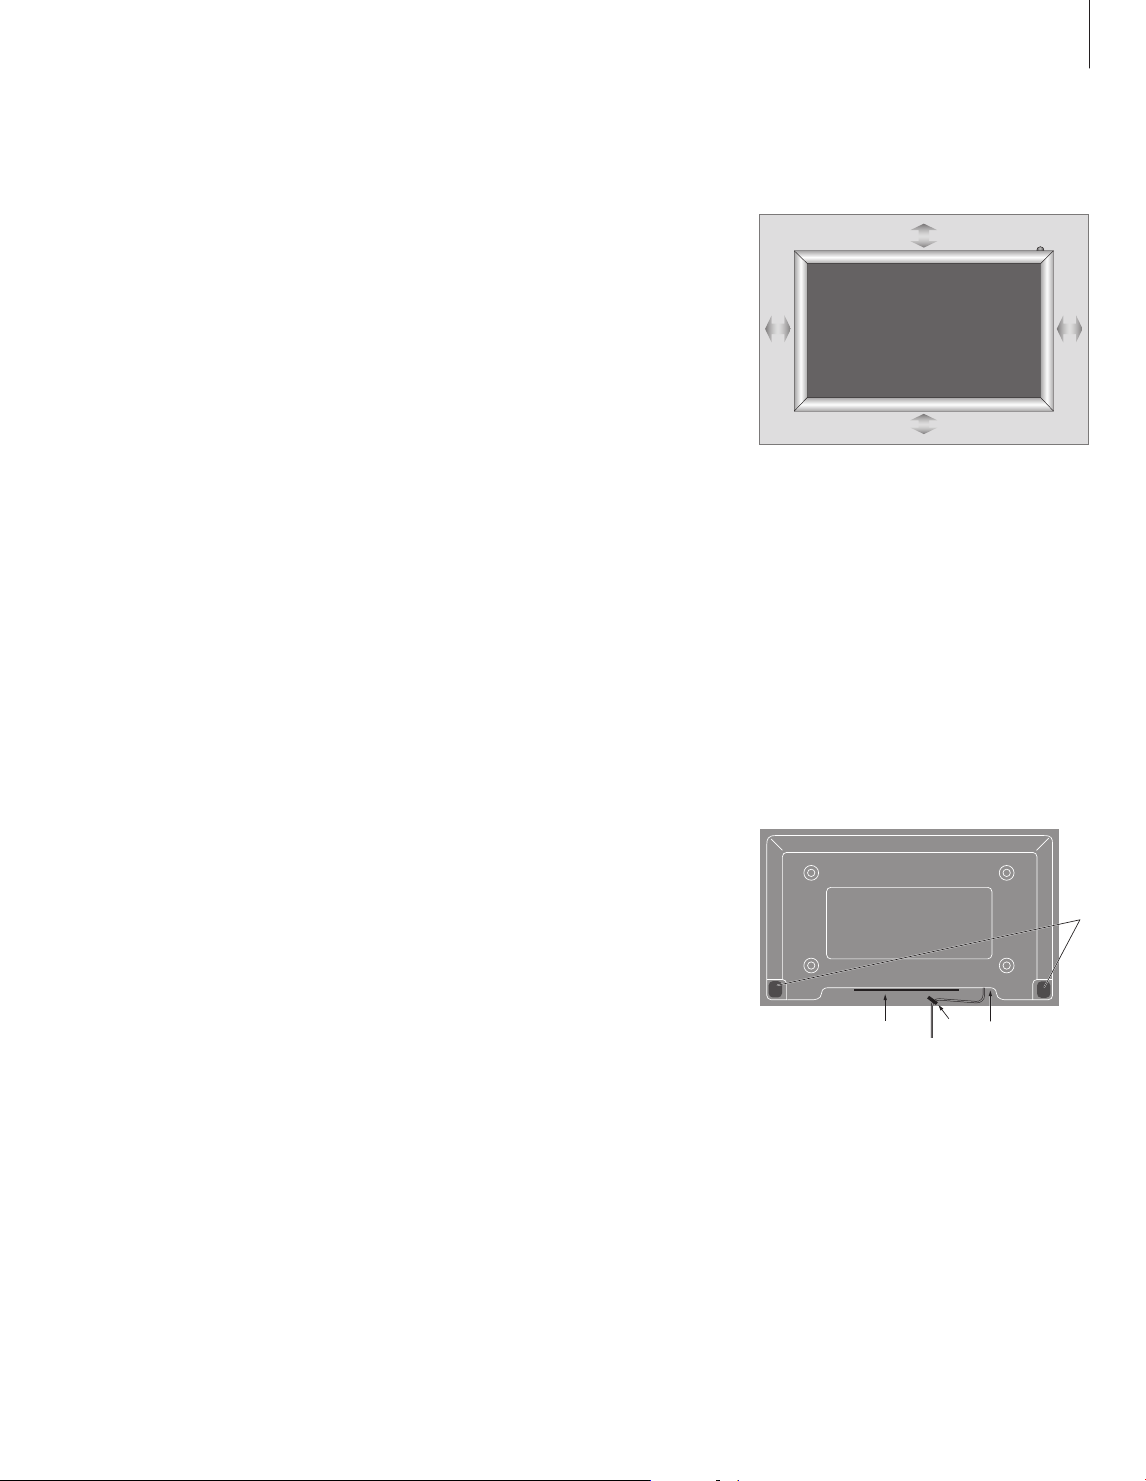
– When mounting the screen in a wall bracket,
leave a space of at least 10 cm (4") at the
top, bottom and sides.
– Do not attempt to open the screen. Leave
such operations to qualified service
personnel!
Make sure to leave adequate space around the
screen for ventilation purposes. Do not cover the
ventilation holes on the rear, as this may cause the
screen to overheat.
Overview of connection panels
1 Speaker connection panels. These socket are
not to be used when setting the screen up
with a Bang & Olufsen system – use the
Power Link sockets on the BeoSystem
instead.
2 System connection panels.
3 Mains supply connection.
For safety reasons, you must secure the mains
lead in the cable clamp (A). Otherwise, the mains
cable can be tugged free of the socket.
 Loading...