

Page 1

Newton Press
User’s Guide
For Windows
Page 2

Apple Computer, Inc.
© 1996 Apple Computer, Inc. All rights reserved.
Under the copyright laws, this manual may not be copied, in whole or in part, without the written
consent of Apple. Your rights to the software are governed by the accompanying software license
agreement.
The Apple logo is a trademark of Apple Computer, Inc., registered in the US and other countries.
Use of the “keyboard” Apple logo (Option-Shift-K) for commercial purposes without the prior
written consent of Apple may constitute trademark infringement and unfair competition in
violation of federal and state laws.
Every effort has been made to ensure that the information in this manual is accurate. Apple is not
responsible for printing or clerical errors.
Apple Computer, Inc.
1 Infinite Loop
Cupertino, CA 95014-2084
(408) 996-1010
Apple, the Apple logo, LaserWriter, LocalTalk, Macintosh, Message Pad, and Newton are
trademarks of Apple Computer, Inc., registered in the U.S. and other countries.
The light bulb logo is a trademark of Apple Computer, Inc.
Adobe, Adobe Illustrator, Adobe Photoshop, and PostScript are trademarks of Adobe Systems
Incorporated, which may be registered in certain jurisdictions.
Helvetica and Times are registered trademarks of Linotype Company.
PC Paintbrush is a registered trademark of ZSoft Corporation.
QMS is a registered trademark of QMS, Inc.
QuarkXPress is a registered trademark of Quark, Inc.
Tektronix is a registered trademark of Tektronix, Inc.
Windows is a trademark of Microsoft Corporation.
Simultaneously published in the United States and Canada.
Mention of third-party products is for informational purposes only and constitutes neither an
endorsement nor a recommendation. Apple assumes no responsibility with regard to the
performance or use of these products.
Page 3

Newton Press
About New ton Pr ess
What is Newton Press? vii
What is a Newton book? viii
How do I create a book? x
Reading the book on a Newton PDA xii
1Getting Started 1
In this package 1
System requirements 2
Connecting your Newton PDA to your computer 3
Attaching the cable 3
Installing Newton Press 5
Installation troubleshooting 6
Sta rting Newton Press 7
Getting your computer ready 7
Creating a book 9
Getting your Newton PDA ready 12
Locating the new book 13
Problems? 13
Contents
iii
Page 4

Exiting Newton Press 14
2Creating a Book 15
Dragging and dropping a book onto a Newton PDA 16
Creating a new book 17
Navigating your document 18
Copying and pasting 19
Bringing documents into a book 19
Adding a new document 20
Dragging and dropping a document for editing 22
Adding multiple documents into a book file 23
Bringing graphics into a book 23
Naming and identifying a book 26
Saving and opening your work in progress 27
Saving your work in progress 27
Opening your work in progress 28
3Formatting Your Newton Book 29
About the Newton Press application window 30
Inserting a page break 31
Removing a page break 32
Creating a header 33
Usi ng fonts 34
Adding documents that use different fonts 35
Aligning text 36
Usi ng tabs 38
Creating tables 40
Creating borders 41
Inverting text 42
iv
Contents
Page 5

4Creating a Table of Contents 43
Usi ng the Table of Contents window 44
Adding topics to the table of contents 45
Viewing topic markers in a book 46
Adding topics automatically 46
Editing topics in the Table of Contents window 46
Deleting topics from the Table of Contents window 47
5Linking 49
Creating link s 50
Breaking links 52
Checking links 52
6Saving and Installing Book Packages 53
Creating a book package 53
Installing a package on a Newton PDA 54
Preparing the computer 55
Preparing the Newton PDA 55
7Setting Preferences 57
Selecting preference settings 58
Text preferences 58
Import preferences 59
Install preferences 61
Location for saved packages 62
Contents
v
Page 6

8Viewing Your Book on a Newton PDA 63
Opening a book on a Newton PDA 64
Viewing pages 65
Usi ng a table of contents 65
Using Newton Book Reader controls 66
Going to a specific page 67
Copying parts of a book 70
Annotating books 72
Printing and faxing a book 73
Closing a Newton Book 74
9Troubleshooting 75
Problems installing the software 75
Problems editing and formatting a book 75
Problems adding documents to a book 76
Problems installing a book package on a Newton PDA 77
General questions 78
Appendix A Setting up Windows 3.1 for Newton Press 79
Index XX
vi
Contents
Page 7

About Newton Press
What is Newton Press?
Newton Press is an ideal application for creating and distributing electronic
documents as Newton books that can be reviewed and annotated on a Newton
PDA. With Newton Press, you can create read-only electronic documents,
complete with text and graphics, that anyone with a Newton PDA can use.
You can quickly create Newton books by combining text and graphics from
other applications into your Newton Press do cuments. You can also type and
edit text as you create a Newton book and easily format it to match the
screen-size and display characteristics of Newton PDAs.
After creating an electronic do cument on your computer, you can save it as a
book package and install it on Newton PDAs. You can use the Newton Press
application or use other Newton applications, such as the Newton Backup
Utility to install your packages on Newton PDAs. In fact, Newton Press
provides ways to quickly create books and install them on a Newton PDA
automatically without typing or formatting documents yourself. So if you just
want to move information from your computer onto your Newton PDA, you
can do so in a few easy steps.
vii
Page 8

What is a Newton book?
A Newton book is an electronic document created for viewing on a Newton
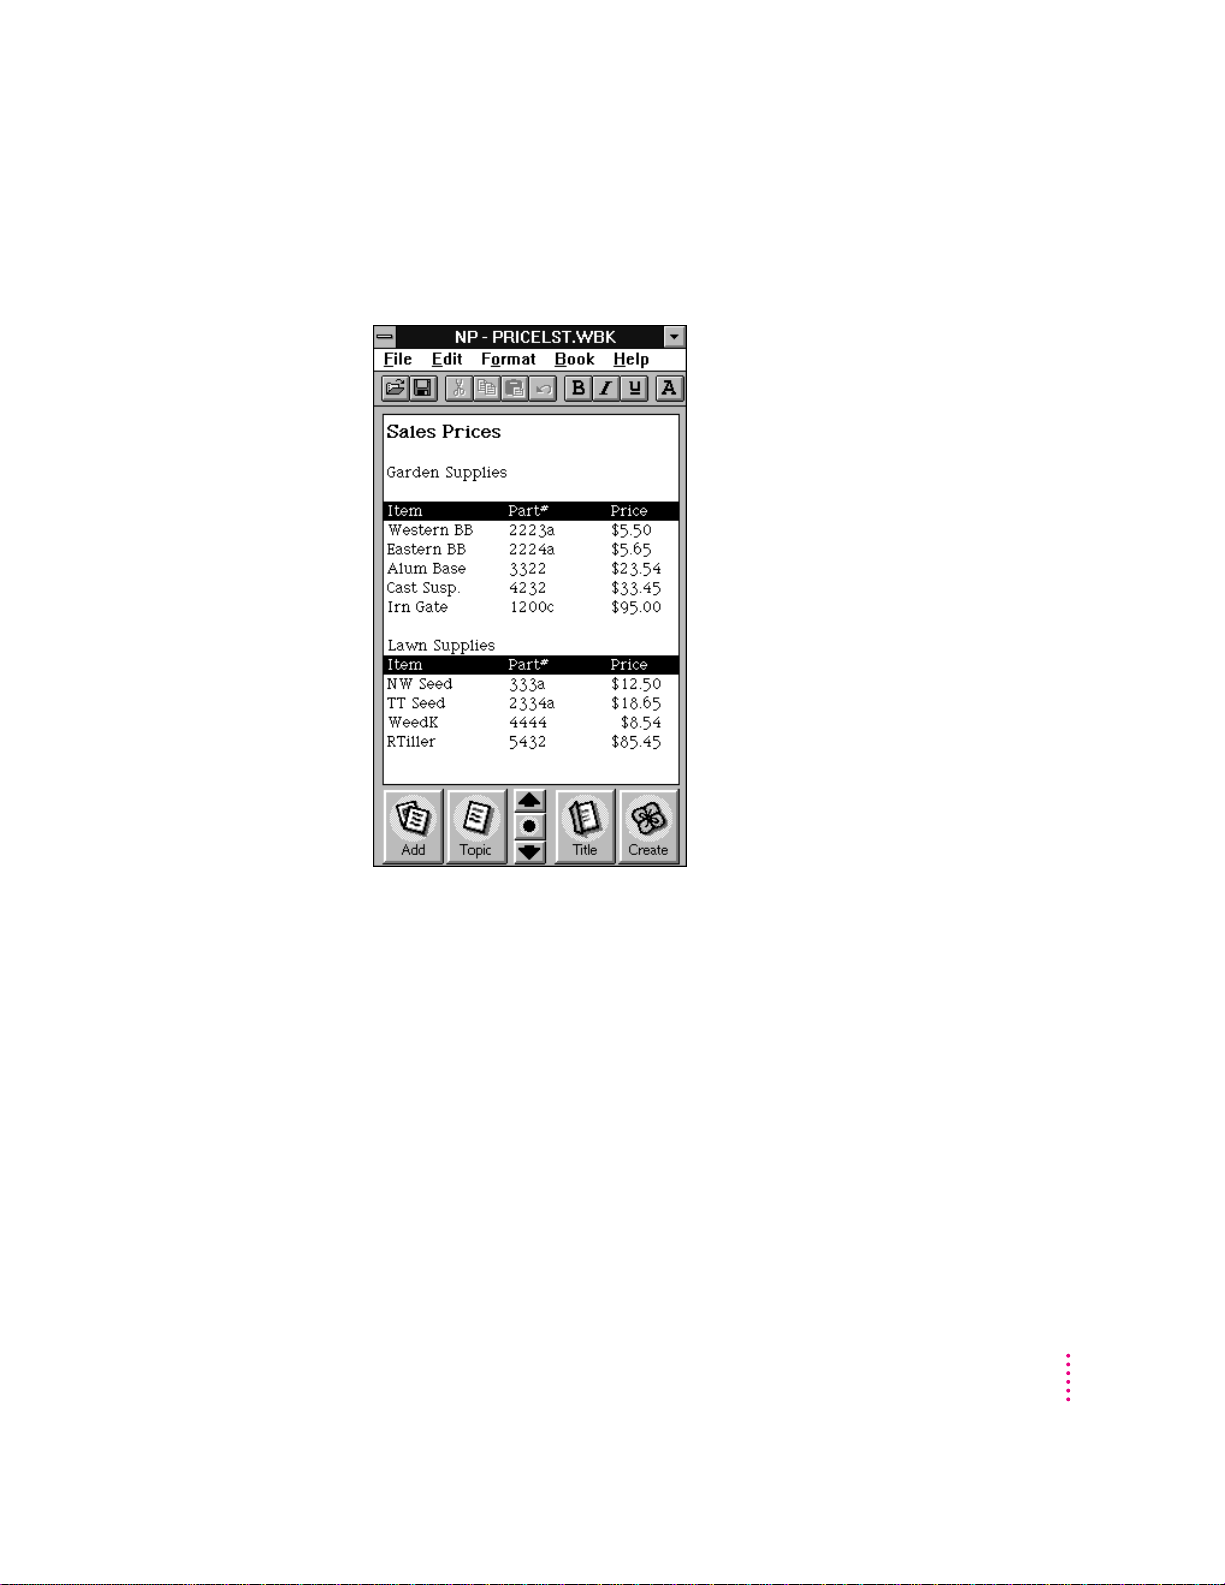
PDA. With Newton Press, you can create and publish a variety of documents
such as business reports, reference materials, price sheets, product listings
and tables for display on Newton PDAs.
You can create company reports and documents that someone with a Newton
PDA can keep for easy reference. You can also distribute Newton books to
employees with reference tables of prices, products, or other lists of
information.
viii
Chapter 1
Page 9
You can create company directories and other lists that Newton PDA users
can refer to on the job or in the field, taking adva ntage of the portability of
the Newton PDA.
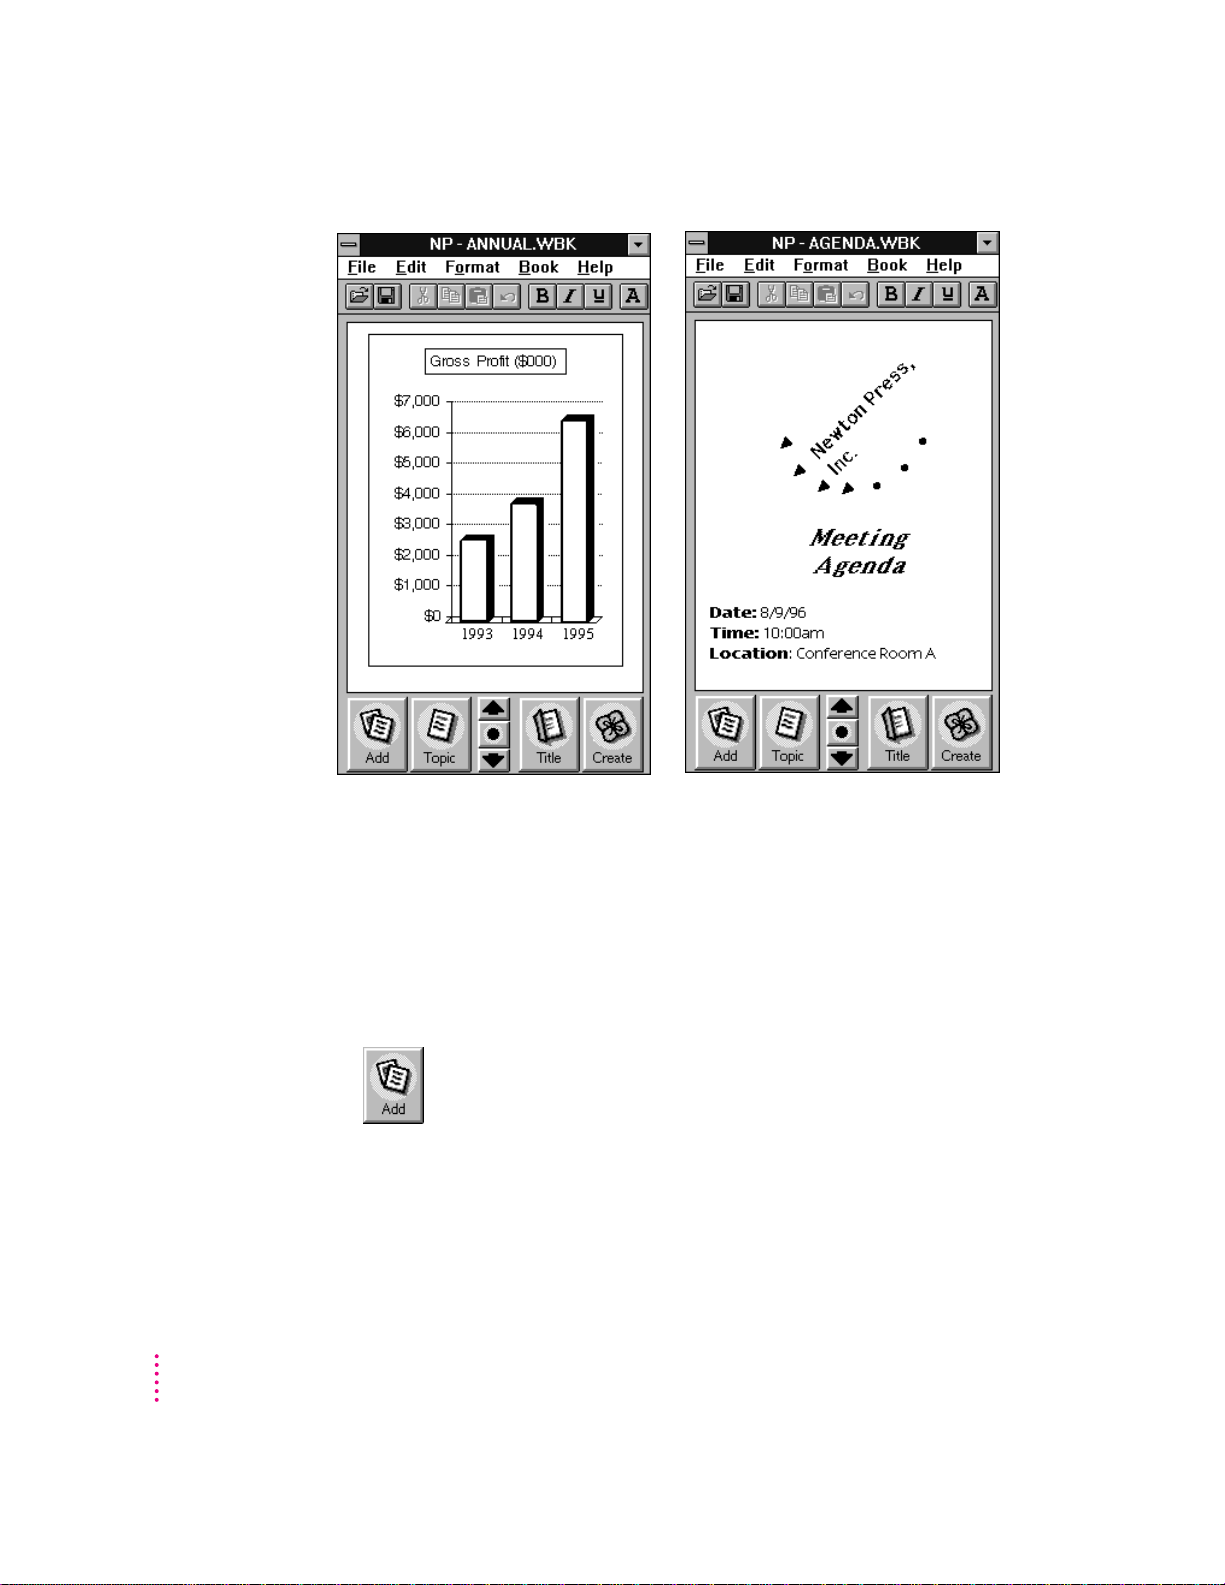
And you can create documents with graphics and charts that provide Newton
PDA users with effective and persuasive visual tools for communicating
information.
Getting Started
ix
Page 10
x
Newton Press enables you to create a wide variety of books that can
effectively convey your information.
How do I create a book?
Creating a book is roughly a four-step process:
m You first op en the Newton Press application and type or add the content of
your book. You can then format the book to look the way you want it.
m You can create a table of contents that readers can use to move about the
different topics of a book.
Chapter 1
Page 11

m You can name and record identifying information about your book.
m And last, you save the book as a package that you can install on a Newton
PDA.
Add documents to
your book, including
text and graphics.
Type and edit text and
format your book for
easy readability.
Create a book package
and install it on a
Newton PDA.
With Newton Press, you can easily take the text and graphics from many
commonly used applications on your computer and place them in a new
book. Documents that you frequently use ca n most often be converted to
Newton books.
If you find it easier, you can format your documents in your computer
application to use the fonts and line widths that fit a Newton PDA screen
before bringing them into Newton Press.
Getting Started
xi
Page 12

As you work with a book in Newton Press, you can see how it will appear on
a Newton PDA screen. You can then edit and format the book to give it a
polished look that’s easy to read. You can also create books that have special
features such as tables of contents a nd linked pages that let readers quickly
jump to the information they want to see.
Once your book is complete, you then save the book as a package. By
connecting a Newton PDA to your computer, you can transfer your book
package to the Newton PDA where readers can open and view it at any time.
Reading t he book on a Newton PDA
When you install a book on a Newton PDA, users can open books, view and
annotate pages, and even fax and print the document.
xii
For more information about using the Newton Book reader, see Chapter 8,
“Viewing Your Book on a Newton PDA.”
Chapter 1
Page 13

1
In This Package
Getting Started
This chapter explains how to i nstall and set up the Newton Press software. It
also provides instructions for connecting your computer a nd Newton PDA
and trying out the Newton Press application.
Check the contents of your Newton Press package. You’ll find:
1
Page 14

System Requirements
To in stall the Newton Press application and use it with a Newton PDA, you
need
m An IBM PC or a compatible computer with Intel 80386 or later version
microprocessor
m A VGA display or better
m Windows 3.1, or Windows NT 3.5 or later version,or Windows 95. (If you
are using Windows 3.1, you must turn on your computer’s filesharing and
virtual memory functions. If they are not already on, see Appendix A for
information about turning on these functions.
m 2 megabytes (MB) of free random access memory (RAM) available
m a hard disk drive with 3 MB of available disk space
m an available serial port
m a serial cable (9-pin or 25-pin corresponding to the available serial port).
This cable is not included with the Newton Press package. See
“Connecting A Newton PDA to Your Computer” for more i nformation
about obtaining a cable.
m a Newton PDA
2
A mouse or pointing device is recommended.
Chapter 1
Page 15

Connecting Your Newton to Your Compute r
Before you can tra nsfer information between the PC and Newton PDA, you
need to connect the two machin es with a serial cable. Newton Press
communicates with the Newton PDA through a serial port on your PC.
PC serial ports come in two sizes—9-pin and 25-pin. On some computers a
serial port may be labeled COM1, COM2, COM3, COM4, or SERIAL. For
more information on setting serial port settings, see “Setting a Typ e of
Connection” later in this chapter.
9-pin serial port
If your computer has a 25-pin serial port,
you can use an adapter to connect.
To connect your Newton PDA to your PC, you n eed a serial cable with a 9pin to 8-pin connector. If your serial port has a 25-pin connector, you also
need a 9-pin to 25-pin adapter.
If you do not have a cable or adapter, Apple can provide one for you. See an
Apple-authorized dealer for more information.
Attaching the cable
To connect your Newton PDA and PC by cable:
1Choose an available serial port on your PC.
2Connect the end of the cable with 9 holes to the appropriate port.
If you have a 25-pin serial port, use the enclosed adapter. Push the smaller
end of the DB9-DB25 adapter onto the 9-hole end of the cable. Then plug the
larger end of the adapter into a matching 25-pin serial port.
Getting Started
3
Page 16

3Plug the other end of the cable into the Newton PDA’s communication port.
Serial ports
Newton PDA
communication port
Serial cable
That’s it! You can go on to “Installing Newton Press,” next.
IMPORTANT
You can use the Newton Press application to create and format
books on your computer without connecting a Newton PDA to your
computer. To install a book package on a Newton PDA, however, you must
connect it. To complete the installation procedure given here and to test
whe t her Newton Press is installed correctly, be sure to follow the connection
instructions given next.
4
Chapter 1
Page 17

Installing Newton Pres s
Before your computer can communicate with your Newton PDA, you need to
install Newton Press on your computer. You’ll need the disks that came with
this manual.
The Newton Press installation program, SETUP.EXE, installs the Newton
Press files. For information about the files installed on your hard disk, see the
Readme file installed with your Newton Press software.
Before you begin to install the Newton Press software, you should verify that
your system meets the necessary minimum requirements. For a list of system
requirements, see “System Requirements” earlier i n this chapter.
To in s t a ll the Newton Press software:
1Place the
2 In Program Manager, choose Run from the File menu, or if you have Windows 95, click
the Start button and then choose Run.
Install
disk in the appropriate floppy drive.
To run Install, choose
Run from the File menu
in Program Manager.
A window appears.
Getting Started
5
Page 18

3Type a:\setup and choose OK.
Type the drive
and command
here to run the
Install program.
4Follow the on-screen instructions.
If you are using the B drive, type B:\SET UP instead.
When you’re ready to
begin, click OK.
Click here to move to
the floppy drive and
select INSTALL.EXE.
Newton Press is installed in the Press directory. Dep ending on the version of
Windows that you’re usi ng, you may be asked to restart Windows. It’s
important that you restart Windows so that communications can work
properly.
Yo u’ ll find a directory named Press on your hard disk.
Installation troubleshooting
6
If the Installer can’t complete the installation, you’ll see a message. Here are
some ways to fix some common problems.
m Make sure that you have the correct hardware or system software. (If you
don’t, the Installer tells you what you’re missing.)
m Make sure you have enough free disk space on your hard disk. If necessary,
delete old files you no longer need to make more room. The Newton Press
application requires 3 MB of free hard disk space.
Chapter 1
Page 19

Starting Newton Press
Now that you’ve installed the computer software, you must set your computer
software a nd the Newton PDA to communicate.
Getting your computer ready
After connecting your computer and Newton PDA, you next must open the
Newton Press application program and specify the communications port that
you have used. You don’t need to specify the port again unless you change to a
different port later.
To set th e Newton Press connection preferences:
1Double-click the Newton Press icon to open the application.
The Newton Press screen appears.
Getting Started
7
Page 20

2Choose Preferences from the Edit menu.
The Preferences window appears.
3Click the Install tab.
The Install options appear.
8
4If the Port option isn’t set to the correct port, click the Port drop- down list and select the
communications port you want to use.
5Click OK.
Chapter 1
Page 21

Yo u’ve now set up the Newton Press application to communicate over your
selected communications port.
Next, let’s start creating a book by adding some text to an empty document.
Creating a book
1Click the Add button in the Newton Press window.
The Add wi ndow appears.
2Select the Annual file in the Samples directory and click OK.
Newton Press adds the Annual Report file to the book, formatting it for
display on a Newton PDA screen.
Getting Started
9
Page 22

3 Inspect the newly added text by clicking the Up and Down arrows on the Newton Press
window to move from page to page.
You can browse the information that you’ve added to this book.
The information that appears on the screen, however, is not yet a Newton
package that can be installed on a Newton PDA. Now you’ll save th e book as
a package and then install it on your Newton PDA
4Click the Create button.
The Create window appears.
10
Chapter 1
Page 23

5Type a new name for the package, or use the one that already appears in the File Name
box, and click OK.
Newton Press saves the Newton book as a package in the Press directory. It
also automatically prepares to install the package on your Newton PDA. (You
can turn this automatic installation feature off, if you wish. See Chapter 9,
“Setting Preferences” for more information.)
Yo u’r e now ready to set up the Newton PDA to communicate with the
computer.
Getting Started
11
Page 24

Getting your Newton PDA ready
To get your Newton PDA ready to receive a n ew package, you must specify
the type of connection you’ve made b etween the device and your computer.
To set up and op en a connection on the Newton PDA:
1Turn on the Newton PDA.
2Tap the Extras drawer ´.
3 In the Extras Drawer, tap Connection
k
.
You may have to show all icons to see the Connection icon.
A slip appears. This slip shows the type of connection currently set for your
Newton PDA.
Shows the connection set for your Newton PDA.
Tap to select
another connection
type, if necessary.
Note: If your Newton PDA uses a versionof he Newton operati ng system
earlier than 2.0, the slip may appear different.
4If the type of connection that appears in the slip is not correct, tap “Connect via” to
change the connection. If it is correct, skip to step 6.
A list of connections appears.
5Choose Serial.
12
Chapter 1
IMPORTANT
If your Newton PDA uses a version of the Newton operating
system earlier than 2.0, choose the “Macintosh Serial” option. Do not choose
the “DOS or Windows PC” option.
6Tap Connect.
Page 25

Your computer and Newton PDA establish a connection, and Newton Press
installs the new Newton Book package in the Extras Drawer.
Loc a ting the new book
You can now open and view the new book package on your Newton PDA.
1 On the Newton PDA, tap the Extras Drawer.
A new book with the title you gave it appears in the extras drawer.
2Tap the book to open it.
Congratulations! You’ve created and installed your first book on a Newton
PDA.
Review the Readme file for important late-breaking information about
Newton Press. For more information about how to review the book, see
Chapter 8, “Viewing Your Book on a Newton PDA.”
Problems?
If the Newton book didn’t transfer to your Newton, make sure that:
m the connections between your Newton PDA and the computer are properly
attached
m you installed the software and set up the computer and Newton PDA
correctly, as described earlier in this chapter
m you have specified the correct port in the Preferences window in the
Newton Press application on your computer, as explained in “Getting Your
Computer Ready”
m you have opened a connection using the Newton PDA, as explained in
“Getting Your Newton PDA Ready”
If problems persist, see Chapter 9, “Troubleshooting,” for solutions to
common problems encountered wh en installing software or installing books
on a Newton PDA.
Getting Started
13
Page 26

Exiting Newton Press
When you no longer want to use Newton Press, you can exit the application
and unplug the Newton PDA from its connection to the computer or network.
To exit the Newton Press application:
m
On your computer, choose Exit from the File menu to close the Newton Press
application.
If you have a book open that you haven’t saved, the application displays a n
alert box aski ng if you want to save your work. Click Save to save your work
or Don’t Save to discard the book.
To unplug the Newton PDA:
1To disconnect cables, turn off the computer and the Newton PDA
2Turn off the Newton PDA and unplug the end of the cable connected to the device.
You can also unplug the cable from the computer connection, if you want.
14
Chapter 1
Page 27

2
Creating a Book
Newton Press provides fast and flexible ways of creating Newton books. With
the N ewton Press application you can
m Create books automatically by dragging and dropping documents onto the
Newton Press icon and have them automatically installed onto a Newton
PDA
m Create an empty Newton Press document to start a new book
m Move from page to page through a book or jump to a specific page
m Edit a book and copy and paste text and graphics
m Add documents from your computer applications to a book
m Add graphics, including charts, clip ar t, company logos, and more, to a
book
m Record information about a book, including a title, author, and unique ID
number or ISBN number
m Save and open your work in progress
For information about formatting books, see Chapter 3, “Formatting Your
Newton Book.”
15
Page 28

Dragging and dropping a book onto a Newton PDA
Once your computer and Newton PDA are connected, you ca n quickly move
information from your computer to your Newton PDA. Drag a document onto
the Newton Press application icon. The application automatically creates a
fully formatted book. After creating the book, the application installs it as a
package on the Newton PDA.
IMPORTANT
You must have the “I nstall package after Create” option selected
in the Preferences window to create books by dragging and dropping. For
more information, see Chapter 7, “Setting Preferences.”
To drag and drop a document onto a Newton PDA:
1Connect the Newton PDA to the computer.
2 On your computer, drag a document onto the Newton Press icon.
The Newton Press application opens, adds the document to a book, and then
prepares to install the book. A message appears telling you to establish a
connection using your Newton PDA.
3 On your Newton PDA, set up the connection by opening the Extras Drawer and tapping
Connection.
4Specify the type of connection used by the Newton PDA and tap Connect.
The Newton PDA and computer establish a connection and you see a
progress message as the book package is transferred to the Newton PDA.
You can also select several documents in the File Manager and drag them
onto the application all at once.
16
Chapter 2
Page 29

Creating a new book
In addition to dragging and dropping information on the application, you can
create new books by opening the Newton Press application. When the
application opens, it creates a new empty document.
If Newton Press is already open, a nd you have a Newton book open, you save
the cur rent book and then open a new one.
To create a new empty book when Newton Press has a document open:
Choose New from the File menu.
m
If you haven’t saved your changes, Newton Press asks if you want to save your
work. Click Save to save the currently open document.
The new book appears in an untitled empty window.
You can type or add text into
your book and it appears
here.
Click here to add
a document to
your book.
Click here to
move from page
to page.
Click here to create the final
package that will be installed
on the Newton PDA.
Click here to see
the table of contents
for a book.
Creating a Book
17
Page 30

Text you type appears at the insertion point. Text is automatically formatted
to fit the size of a Newton PDA screen, providing an accurate picture of how
your book will look.
You can select and edit text using standard editing procedures. You can select
an entire document and change its font characteristics a nd text alignment by
choosing the Select All command in the Edit menu. You can cut, copy, a nd
paste text and graphics and choose font characteristics, alignment, and other
formatting options. For more information about formatting your document,
see Chapter 3, “Formatting Your Newton Book.”
To edit text:
m Select the text you want to change and type or choose commands from the
menus to change it.
Navigating in your do cu men t
As you create a document, the application automatically divides it into pages
that fit withi n a Newton PDA’s screen. You can move from page to page or
jump directly to the page you want.
18
Chapter 2
Page 31

Click these arrows to move forward or
backward page by page.
To move from page to page:
m Click the down or up arrow to move to the next or previous page.
To move to a specific page:
1Choose Go To Page from the Book menu.
The Go to Page window appears.
2Type a page number and click Go To.
You can also click the Last Page button to go to the end of the document.
If you have created a table of contents, you can also use it to go to specific
pages. For more information about creating and usi ng a table of contents, see
Chapter 4, “Creating a Table of Contents.”
Creating a Book
19
Page 32

 Loading...