

Page 1
30
M
PE
TONE GENERATOR
OWNER’S MANUAL
BEDIENUNGSANLEITUNG
MODE D’EMPLOI
PLAY
PLAY EDIT
RT MIDI BANK/PGM# VOL EXP PAN REV CHO VAR KEY
UTIL EFFECT
XG
TG300B
C/M
PERFORM
MUTE/
SOLO
MODE EQ
PART
ENTER
ALL
EXIT
SELECT
VALUE
XG
TG
PART MIDI BANK/PGM# VOL EXP PAN REV CHO VAR KEY
C/
Page 2
1. IMPORTANT NOTICE : DO NOT MODIFY THIS UNIT!
This product, when installed as indicated in the instructions contained in this manual, meets FCC requirements. Modifications not
expressly approved by Yamaha may void your authority, granted by the FCC, to use the product.
2. IMPORTANT: When connecting this product to accessories and/or another product use only high quality shielded cables. Cable/s
supplied with this product MUST be used. Follow all installation instructions. Failure to follow instructions could void your FCC
authorization to use this product in the USA.
3. NOTE: This product has been tested and found to comply with the requirements listed in FCC Regulations, Part 15 for Class “B”
digital devices. Compliance with these requirements provides a reasonable level of assurance that your use of this product in a
residential environment will not result in harmful interference with other electronic devices. This equipment generates/uses radio
ENGLISH
frequencies and, if not installed and used according to the instructions found in the user’s manual, may cause interference harmful to
the operation of other electronic devices. Compliance with FCC regulations does not guarantee that interference will not occur in all
installations. If this product is found to be the source of interference, which can be determined by turning the unit “OFF” and “ON”,
please try to eliminate the problem by using one of the following measures:
Relocate either this product or the device that is being affected by the interference.
Utilize power outlets that are on different branch (circuit breaker or fuse) circuits or install AC line filter/s.
In the case of radio or TV interference, relocate/reorient the antenna. If the antenna lead-in is 300 ohm ribbon lead, change the lead-in
to co-axial type cable.
If these corrective measures do not produce satisfactory results, please contact the your local retailer authorized to distribute this type of
product. If you can not locate the appropriate retailer, please contact Yamaha Corporation of America, Electronic Service Division,
6600 Orangethorpe Ave, Buena Park, CA 90620
The above statements apply ONLY to those products distributed by Yamaha Corporation of America or its subsidiaries.
*
FCC INFORMATION (U.S.A)
NEDERLAND / THE NETHERLANDS
• Dit apparaat bevat een lithium batterij voor geheugen back-up.
• This apparatus contains a lithium battery for memory back-up.
• Raadpleeg uw leverancier over de verwijdering van de batterij
op het moment dat u het apparaat ann het einde van de
levensduur afdankt of de volgende Yamaha Service Afdeiing:
Yamaha Music Nederland Service Afdeiing
Kanaalweg 18-G, 3526 KL UTRECHT
Tel. 030-2828425
• For the removal of the battery at the moment of the disposal at
the end of the service life please consult your retailer or Yamaha
Service Center as follows:
Yamaha Music Nederland Service Center
Address: Kanaalweg 18-G, 3526 KL UTRECHT
Tel : 030-2828425
• Gooi de batterij niet weg, maar lever hem in als KCA.
• Do not throw away the battery. Instead, hand it in as small
chemical waste.
ADVARSEL!
Lithiumbatteri—Eksplosionsfare ved fejlagtig håndtering.
Udskiftning må kun ske med batteri af samme fabrikat og
type. Levér det brugte batteri tilbage til leverandoren.
VARNING
Explosionsfara vid felaktigt batteribyte. Använd samma
batterityp eller en ekvivalent typ som rekommenderas av
apparattillverkaren. Kassera använt batteri enligt fabrikantens
instruktion.
VAROITUS
Paristo voi räjähtää, jos se on virheellisesti asennettu. Vaihda
paristo ainoastaan laitevalmistajan suosittelemaan tyyppiin.
Hävitä käytetty paristo valmistajan ohjeiden mukaisesti.
Page 3
SPECIAL MESSAGE SECTION
This product utilizes batteries or an external power supply
(adapter). DO NOT connect this product to any power
supply or adapter other than one described in the manual, on
the name plate, or specifically recommended by Yamaha.
WARNING: Do not place this product in a position where
anyone could walk on, trip over ,or roll anything over power
or connecting cords of any kind. The use of an extension cord
is not recommended! IF you must use an extension cord, the
minimum wire size for a 25' cord (or less ) is 18 AWG. NOTE:
The smaller the AWG number ,the larger the current handling
capacity. For longer extension cords, consult a local electrician.
This product should be used only with the components
supplied or; a cart, rack, or stand that is recommended by
Yamaha. If a cart, etc., is used, please observe all safety
markings and instructions that accompany the accessory
product.
SPECIFICATIONS SUBJECT TO CHANGE:
The information contained in this manual is believed to be
correct at the time of printing. However, Yamaha reserves
the right to change or modify any of the specifications
without notice or obligation to update existing units.
This product, either alone or in combination with an amplifier and headphones or speaker/s, may be capable of producing sound levels that could cause permanent hearing loss.
DO NOT operate for long periods of time at a high volume
level or at a level that is uncomfortable. If you experience
any hearing loss or ringing in the ears, you should consult an
audiologist.
IMPORTANT: The louder the sound, the shorter the time
period before damage occurs.
Some Yamaha products may have benches and / or accessory
mounting fixtures that are either supplied with the product or
as optional accessories. Some of these items are designed to
be dealer assembled or installed. Please make sure that
benches are stable and any optional fixtures (where applicable) are well secured BEFORE using.
Benches supplied by Yamaha are designed for seating only.
No other uses are recommended.
products and the production methods used to produce them,
meet these goals. In keeping with both the letter and the
spirit of the law, we want you to be aware of the following:
Battery Notice:
This product MAY contain a small non-rechargeable battery
which (if applicable) is soldered in place. The average life
span of this type of battery is approximately five years.
When replacement becomes necessary, contact a qualified
service representative to perform the replacement.
This product may also use “household” type batteries. Some
of these may be rechargeable. Make sure that the battery
being charged is a rechargeable type and that the charger is
intended for the battery being charged.
When installing batteries, do not mix batteries with new, or
with batteries of a different type. Batteries MUST be installed correctly. Mismatches or incorrect installation may
result in overheating and battery case rupture.
Warning:
Do not attempt to disassemble, or incinerate any battery.
Keep all batteries away from children. Dispose of used
batteries promptly and as regulated by the laws in your area.
Note: Check with any retailer of household type batteries in
your area for battery disposal information.
Disposal Notice:
Should this product become damaged beyond repair, or for
some reason its useful life is considered to be at an end,
please observe all local, state, and federal regulations that
relate to the disposal of products that contain lead, batteries,
plastics, etc. If your dealer is unable to assist you, please
contact Yamaha directly.
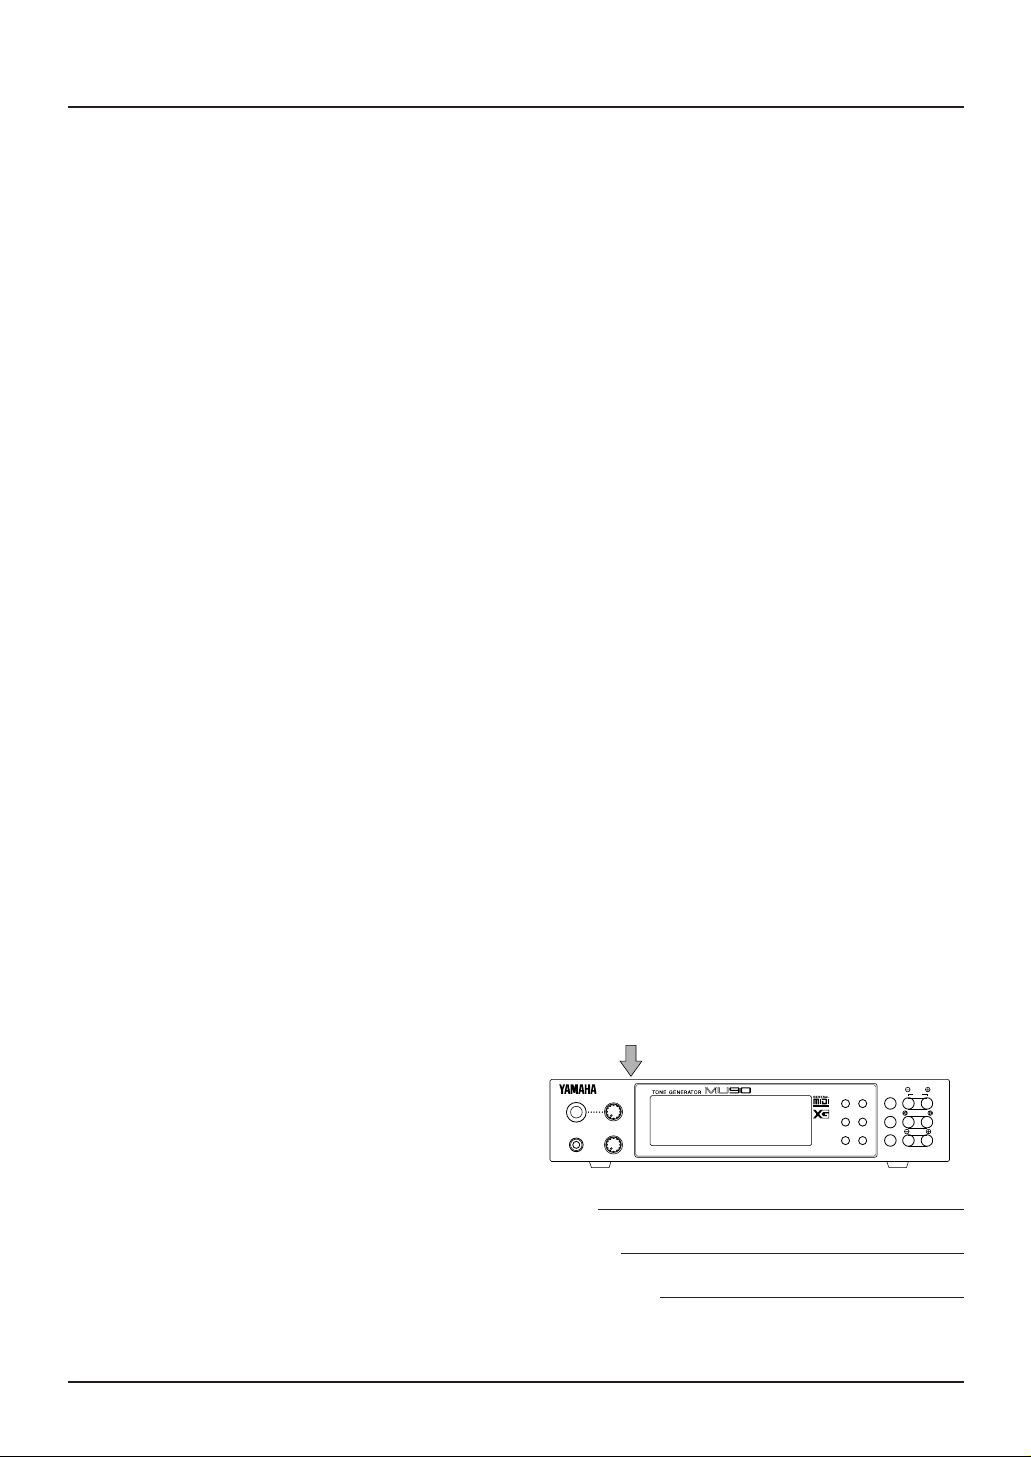
NAME PLATE LOCATION:
The name plate is located on the rear of the product. The
model number, serial number, power requirements, etc., are
located on this plate. You should record the model number,
serial number, and the date of purchase in the spaces provided below and retain this manual as a permanent record of
your purchase.
ENGLISH
NOTICE:
Service charges incurred due to a lack of knowledge relating
to how a function or effect works (when the unit is operating
as designed) are not covered by the manufacturer’s warranty, and are therefore the owners responsibility. Please
study this manual carefully and consult your dealer before
requesting service.
ENVIRONMENTAL ISSUES:
Yamaha strives to produce products that are both user safe
and environmentally friendly. We sincerely believe that our
PLEASE KEEP THIS MANUAL
92-BP
A/D
INPUT
PHONES POWER/VOL
PUSH ON/OFF
Model
Serial No.
Purchase Date
PART MIDI BANK/PGM# VOL EXP PAN REV CHO VAR KEY
XG
TG300B
C/M
PERFORM
PLAY EDIT
UTIL EFFECT
MODE EQ
MUTE/
SOLO
ENTER
PART
ALL
SELECT
EXIT
VALUE
Page 4

How to Use this Manual
ENGLISH
HOW TO USE THIS MANUAL
The MU90 Tone Generator is almost identical in function to its partner, the
MU90R. For this reason, the owner’s documentation for the MU90R has
been coupled with this manual to help you to use the MU90 to its maximum potential. When combined with the relevant sections of the MU90R
Owner’s Manual, the following sections will provide you with the easiest
and fastest way to become familiar with the MU90. We strongly suggest
that you read all of these materials thoroughly.
Differences between the MU90R and your MU90
Two of the Output Select parameters of the Multi Edit Mode (“Others”
and “Drum Setup Controls”) as well as the Output Select Lock parameter
of the Utility Mode (System Functions) are exclusive to the MU90R and
are not supported by your MU90. Explanations for these parameters are
found on the following pages of the MU90R OWNER’S MANUAL as
well as the SOUND LIST & MIDI DATA.
MU90R OWNER’S MANUAL
Output Select (Others): page 72
Output Select (Drum Setup Controls): page 79
Output Select Lock (System Functions): page 116
MU90R SOUND LIST & MIDI DATA
MIDI Parameter Change table
Output Select (Table 1-8): page 29
Output Select (Table 1-11): page 30
Output Select Lock (Table 2-2): page 32
Additionally, there is a difference between the Identity Reply parameters
that appear on page 20 of the SOUND LIST & MIDI DATA and the parameters that are used by the MU90. Please refer to the chart below.
2.1.2.3 Identity Reply
Parameter MU90R MU90
Universal Non-realtime Messages 00H 00H
41H 41H
52H 37H
02H 02H
Please keep these differences in mind and make notations in the materials provided.
4
How to Use This Manual
Page 5

Unpacking
Your MU90 package should inc lude the items listed below. Make sure that
you have them all. Also, write down the serial number of your MU90 in the
box below, for future reference.
MU90 Serial No.:
PA-3B AC Power Adaptor*
MU90 Owner’s Manual / MU90R Owner’s Manual
CD-ROM “XGtools”
XGtools Setup Guide
* Power supply recommendation may vary from country to country.
Please check with your nearest Yamaha dealer for further details.
UNPACKING / TABLE OF CONTENTS
ENGLISH
Table of Contents
How to Use this Manual ........................................................................................................ 4
Unpacking ............................................................................................................................... 5
Table of Contents ................................................................................................................... 5
PRECAUTIONS..................................................................................................................... 6
The Controls of the MU90 .................................................................................................... 7
Front Panel........................................................................................................................ 7
Rear Panel ......................................................................................................................... 9
Specifications ........................................................................................................................ 10
MIDI Implementation Chart for MU90 ............................................................................... i
How to Use This Manual
5
Page 6

PRECAUTIONS
PLEASE READ CAREFULLY BEFORE PROCEEDING
* Please keep these precautions in a safe place for future reference.
WARNING
Always follow the basic precautions listed below to avoid the possibility of serious injury or even death from electrical
ENGLISH
ENGLISH
shock, short-circuiting, damages, fire or other hazards. These precautions include, but are not limited to, the following:
• Do not open the instrument or attempt to disassemble the internal parts
or modify them in any way. The instrument contains no user-serviceable
parts. If it should appear to be malfunctioning, discontinue use
immediately and have it inspected by qualified Yamaha service
personnel.
• Do not expose the instrument to rain, use it near water or in damp or wet
conditions, or place containers on it containing liquids which might
spill into any openings.
• If the AC adaptor cord or plug becomes frayed or damaged, or if there is
a sudden loss of sound during use of the instrument, or if any unusual
CAUTION
smells or smoke should appear to be caused by it, immediately turn off
the power switch, disconnect the adaptor plug from the outlet, and have
the instrument inspected by qualified Yamaha service personnel.
• Use the specified adaptor (PA-3B or an equivalent recommended by
Yamaha) only. Using the wrong adaptor can result in damage to the
instrument or overheating.
• Before cleaning the instrument, always remove the electric plug from
the outlet. Never insert or remove an electric plug with wet hands.
• Check the electric plug periodically and remove any dirt or dust which
may have accumulated on it.
Always follow the basic precautions listed below to avoid the possibility of physical injury to you or others, or damage
to the instrument or other property. These precautions include, but are not limited to, the following:
• Do not place the AC adaptor cord near heat sources such as heaters or
radiators, and do not excessively bend or otherwise damage the cord,
place heavy objects on it, or place it in a position where anyone could
walk on, trip over, or roll anything over it.
• When removing the electric plug from the instrument or an outlet, always
hold the plug itself and not the cord.
• Do not connect the instrument to an electrical outlet using a multipleconnector. Doing so can result in lower sound quality, or possibly cause
overheating in the outlet.
• Unplug the AC power adaptor when not using the instrument, or during
electrical storms.
• Before connecting the instrument to other electronic components, turn
off the power for all components. Before turning the power on or off for
all components, set all volume levels to minimum.
• Do not expose the instrument to excessive dust or vibrations, or extreme
cold or heat (such as in direct sunlight, near a heater, or in a car during
the day) to prevent the possibility of panel disfiguration or damage to
the internal components.
• Do not use the instrument near other electrical products such as
televisions, radios, or speakers, since this might cause interference which
can affect proper operation of the other products.
• Do not place the instrument in an unstable position where it might
accidentally fall over.
• Before moving the instrument, remove all connected adaptor and other
cables.
• When cleaning the instrument, use a soft, dry cloth. Do not use paint
thinners, solvents, cleaning fluids, or chemical-impregnated wiping
cloths. Also, do not place vinyl, plastic or rubber objects on the
instrument, since this might discolor the panel or keyboard.
• Do not rest your weight on, or place heavy objects on the instrument,
and do not use excessive force on the buttons, switches or connectors.
• Do not operate the instrument for a long period of time at a high or
uncomfortable volume level, since this can cause permanent hearing
loss. If you experience any hearing loss or ringing in the ears, consult a
physician.
■REPLACING THE BACKUP BATTERY
• This instrument contains a non rechargeable internal backup battery
which permits internal data to remain stored even when the power is off.
When the backup battery needs replacing, the message "Battery Low!"
will display in the display. When this happens, immediately back up
your data (using an external device such as the floppy disk-based
Yamaha MIDI Data Filer MDF3), then have qualified Yamaha service
personnel replace the backup battery.
• Do not attempt to replace the backup battery yourself, in order to prevent
the possible serious hazards. Always have qualified Yamaha service
personnel replace the backup battery.
• Never place the backup battery in a location that a child can reach, since
a child might accidentally swallow the battery. If this should happen,
consult a physician immediately.
■SAVING USER DATA
• Save all data to an external device such as the Yamaha MIDI Data Filer
MDF3, in order to help prevent the loss of important data due to a
malfunction or user operating error.
Yamaha cannot be held responsible for damage caused by improper
use or modifications to the instrument, or data that is lost or destroyed.
Always turn the power off when the instrument is not in use.
6
How to Use This Manual
Page 7

The Controls of the MU90
58
Front Panel
THE CONTROLS OF THE MU90
PLAY EDIT
UTIL EFFECT
MODE EQ
7
9
MUTE/
SOLO
ENTER
EXIT
PART
ALL
SELECT
VALUE
4
A/D
INPUT
PHONES POWER/VOL
PUSH ON/OFF
132
PART MIDI BANK/PGM# VOL EXP PAN REV CHO VAR KEY
XG
TG300B
C/M
PERFORM
60
1 PHONES jack
For connection to a set of stereo headphones (mini-pin).
2 POWER/VOL control
Controls the power off/on functions as well as adjusts the ov erall volume of the
MU90.
3 A/D INPUT
For connection of a microphone, electric guitar or other electronic instrument
(stereo 1/4” plug).
4 A/D INPUT level control
For control of the level of the A/D input.
ENGLISH
5 PLAY button
For entering the Play mode and switching among the different Play displays.
(See page 39 of the MU90R User’s Manual.)
6 UTIL (UTILITY) button
For entering the Utility mode. (See page 114 of the MU90R User’s Manual.)
7 MODE button
For entering the Sound Module mode. (See page 126 of the MU90R User’s
Manual.)
8 EDIT button
For entering the Edit mode. (See pages 49 and 89 of the MU90R User’s Man ual.)
9 EFFECT button
For entering the Effect Edit mode. (See page 101 of the MU90R User’ s Manual.)
0 EQ button
For entering the EQ Edit mode. (See page 112 of the MU90R User’s Man ual.)
How to Use This Manual
7
 Loading...