


AWZ 2419
Whirlpool AWZ 2419, AWZ 6516, AWZ 7815 AL, AWZ 8812, AWZ 9999 INSTRUCTION FOR USE
...
3
CONTENTS
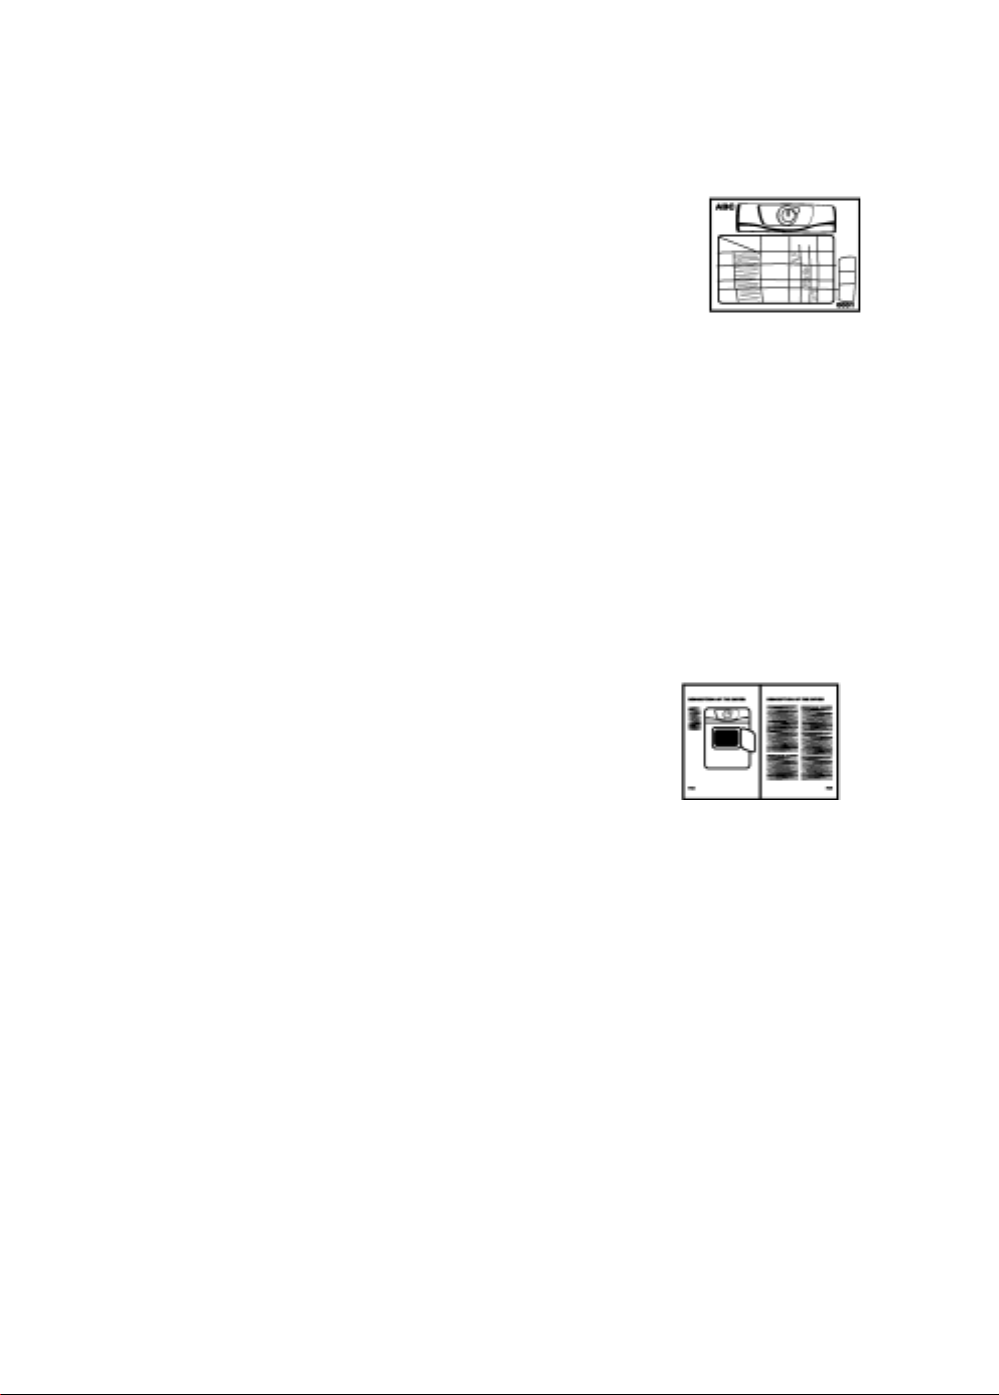
QUICK REFERENCE GUIDE
PROGRAMME CHART
PREPARING THE LAUNDRY
SELECTING A PROGRAMME AND OPTIONS
STARTING AND COMPLETING A PROGRAMME
CHANGING A PROGRAMME
INTERRUPTING A PROGRAMME
DAILY MAINTENANCE AND CLEANING
INSTRUCTIONS FOR USE
BOOKLET
BEFORE USING THE DRYER / CONNECTIONS
PAGE
4
ELECTRICAL CONNECTION
PAGE
5
PRECAUTIONS AND GENERAL
RECOMMENDATIONS
PAGE
6
DESCRIPTION OF THE DRYER
PAGE
7
DRAINAGE SYSTEM
PAGE
8
DOOR REVERSIBILITY / CHILD SAFETY LOCK
PAGE
9
HEAT EXCHANGER
PAGE
10
TROUBLESHOOTING GUIDE / AFTER-SALES
SERVICE
PAGE
11
4
BEFORE USING THE DRYER / CONNECTIONS
1. Removing the packaging and check
•
After unpacking, make sure that the dryer is
undamaged. If in doubt, do not use the dryer.
Contact After-Sales Service or your local retailer.
•
Keep the packaging materials (plastic bags,
polystyrene parts, etc.) out of reach of children, as
they are potentially dangerous.
•
Remove the protective foil from the control panel.
2. Electrical Connections
•
Electrical connections must be carried out by a
qualified technician in compliance with the
manufacturer's instructions and current standard
safety regulations.
•
Electrical connection must comply with local
Electricity Board regulations.
•
Voltage information, power consumption and the
required fuse protection is shown on the rating
plate mounted at the rear of the dryer.
•
The manufacturer cannot accept any liability for
personal injury or damage to property resulting
from failure to adhere to these instructions.
•
The dryer must be earthed as prescribed by law.
•
Do not use extension leads or multiple adaptors.
•
Before any maintenance on the dryer disconnect it
from the mains supply.
•
Do not operate the dryer if it has been damaged
during transport. Contact one of our After-Sales
Service technicians.
•
Mains cable replacement is only to be carried out by
After-Sales Service.
•
After installation access to the mains plug has to be
guaranteed, or the all-pole disconnection has to be
possible with a switch.
3. Installation
•
Do not install your dryer where it can be subject to
extreme conditions, such as: poor ventilation,
temperatures around freezing or above 35° C.
•
Before running the first cycle ensure the water
container and heat exchanger are correctly
positioned.
•
Only for water container top version: if possible use
a hose to drain the water directly into the domestic
plumbing system. This will avoid having to empty
the water container at the end of each drying cycle
since the condensation water can be directly
drained away. See also chapter “Drainage System”.
•
Take care not to install the dryer on a deep-pile
carpet.
•
Take care not to trap the mains cable between the
dryer and the wall.
Stability:
When installing the dryer always carefully level the
dryer adjusting the four feet and check the correct
levelling with a spirit level.
To built in the dryer
Remove the work-top and replace it with the Built-
In kit UBS 10 (according to Eec Electrical
Regulations), available at your dealer.
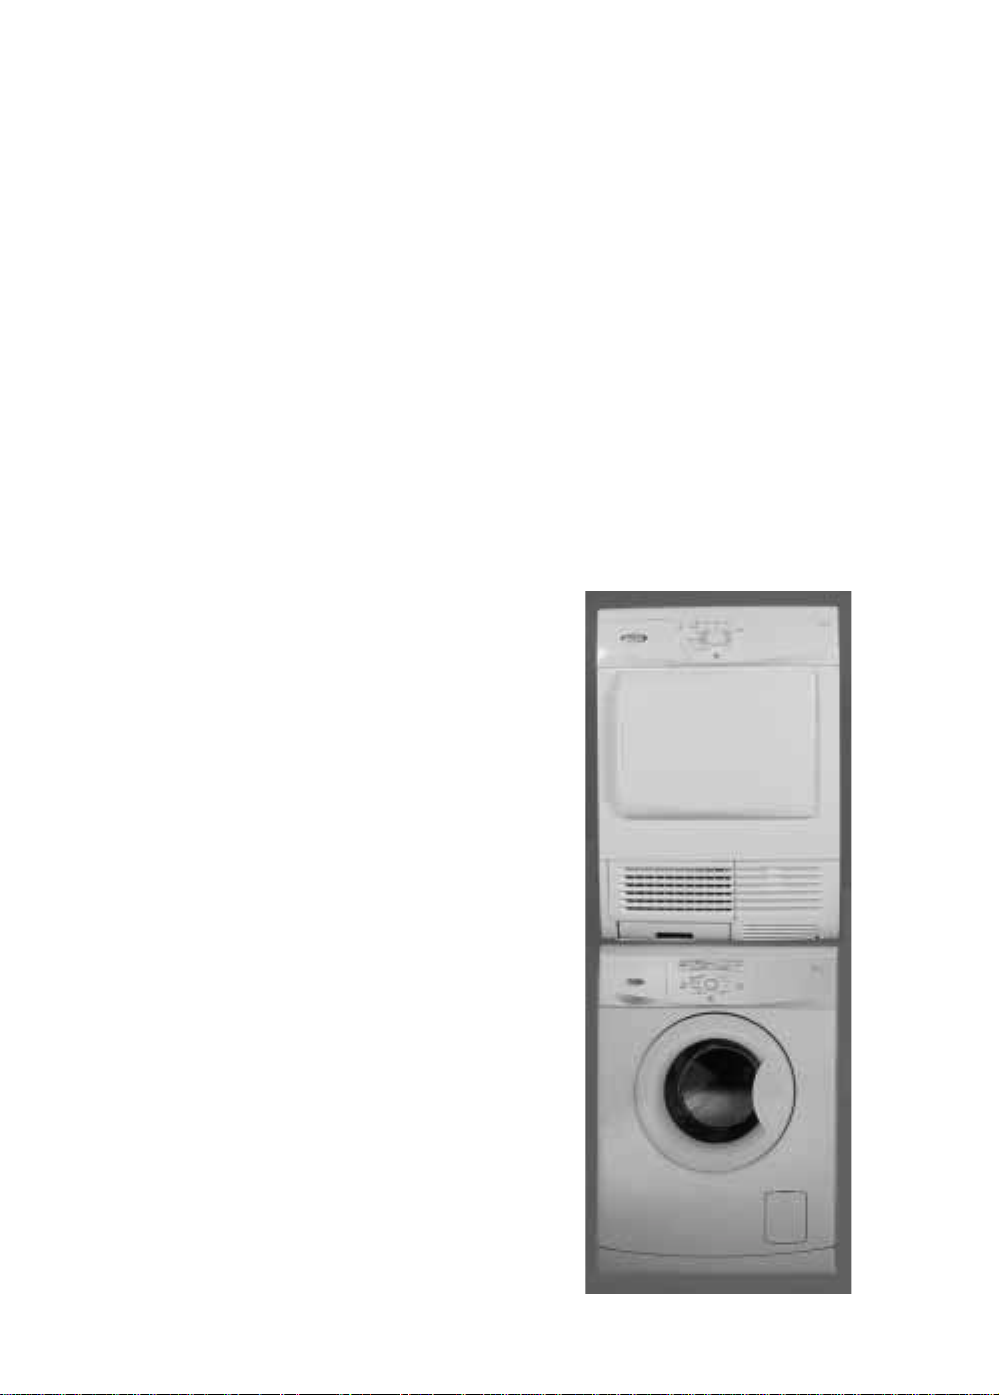
Stacking kit
Your dryer can be stacked on top of your front
loading washing machine. The type of stacking kit is
stated in the Instruction for use of your washing
machine or pls. contact your dealer or our After
Sales Service.
Minimum housing dimensions:
Width: 600 mm
Height: 850 mm
Depth: 600 mm
5
ELECTRICAL CONNECTION
1) For Great Britain only
Warning - this appliance must be earthed
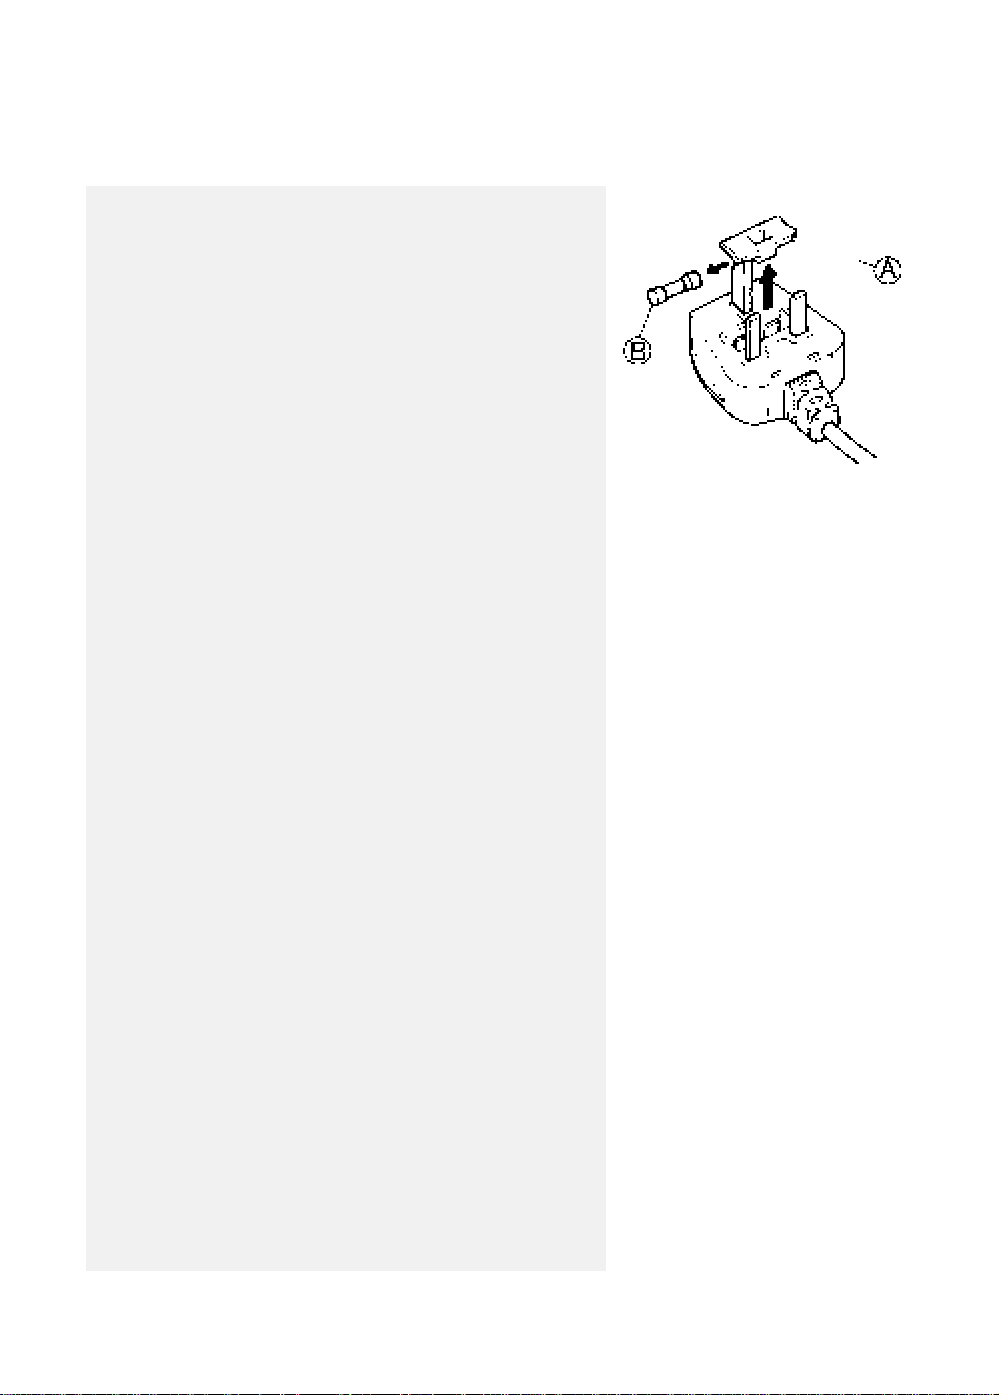
Fuse replacement
If the mains lead of this appliance is fitted with a BS 1363A 13amp
fused plug, to change a fuse in this type of plug use an A.S.T.A.
approved fuse to BS 1362 type and proceed as follows:
1.
Remove the fuse cover (
A
) and fuse (
B
).
2.
Fit replacement 13A fuse into fuse cover.
3.
Refit both into plug.
Important:
The fuse cover must be refitted when changing a fuse and if the fuse
cover is lost the plug must not be used until a correct replacement is
fitted.
Correct replacement are identified by the colour insert or the colour
embossed in words on the base of the plug.
Replacement fuse covers are available from your local electrical
store.
2) For the Republic of Ireland only
The information given in respect of Great Britain will frequently
apply, but a third type of plug and socket is also used, the
2-pin, side earth type.
3) Socket outlet / plug (valid for both countries)
If the fitted plug is not suitable for your socket outlet , plea se conta ct
Whirlpool Service for further instruction. Please do not attempt to
change plug yourself. This procedure needs to be carried out by a
qualified Whirlpool technician in compliance with the manufactures
instructions and current standard safety regulations.
 Loading...