


Teradek Bond User Manual
Setup Guide
Contents
Introduction.................................................................................................................................................... 2
Connect and power your devices .................................................................................................................. 2
Connect to Cube and Bond ........................................................................................................................... 3
Configure Bond and Sputnik Streaming ........................................................................................................ 4
Network Configuration and Status LEDs .................................................................................................... 11
Version 2.0 Jun ‟12 © Teradek, LLC 2012. All rights reserved.
Page | 1
Introduction
Thank you for purchasing the Teradek Bond. Bond allows you to stream video from a Cube encoder over
up to five cellular modems for live broadcasting from any location with cell coverage. Set up involves
installing and running Sputnik (detailed in the separate Sputnik Installation and Configuration Guide),
and following the three main steps outlined in this guide.
Connect and power your devices
Connect to Cube and Bond
Configure Bond and Sputnik Streaming
For more information about the available configuration options, please refer to the Cube Reference
Guide available on the USB drive included with Cube.
Connect and power your devices
1. Getting started
1. Begin by connecting the included USB cable between Cube‟s USB port and the mini-B USB port
on Bond.
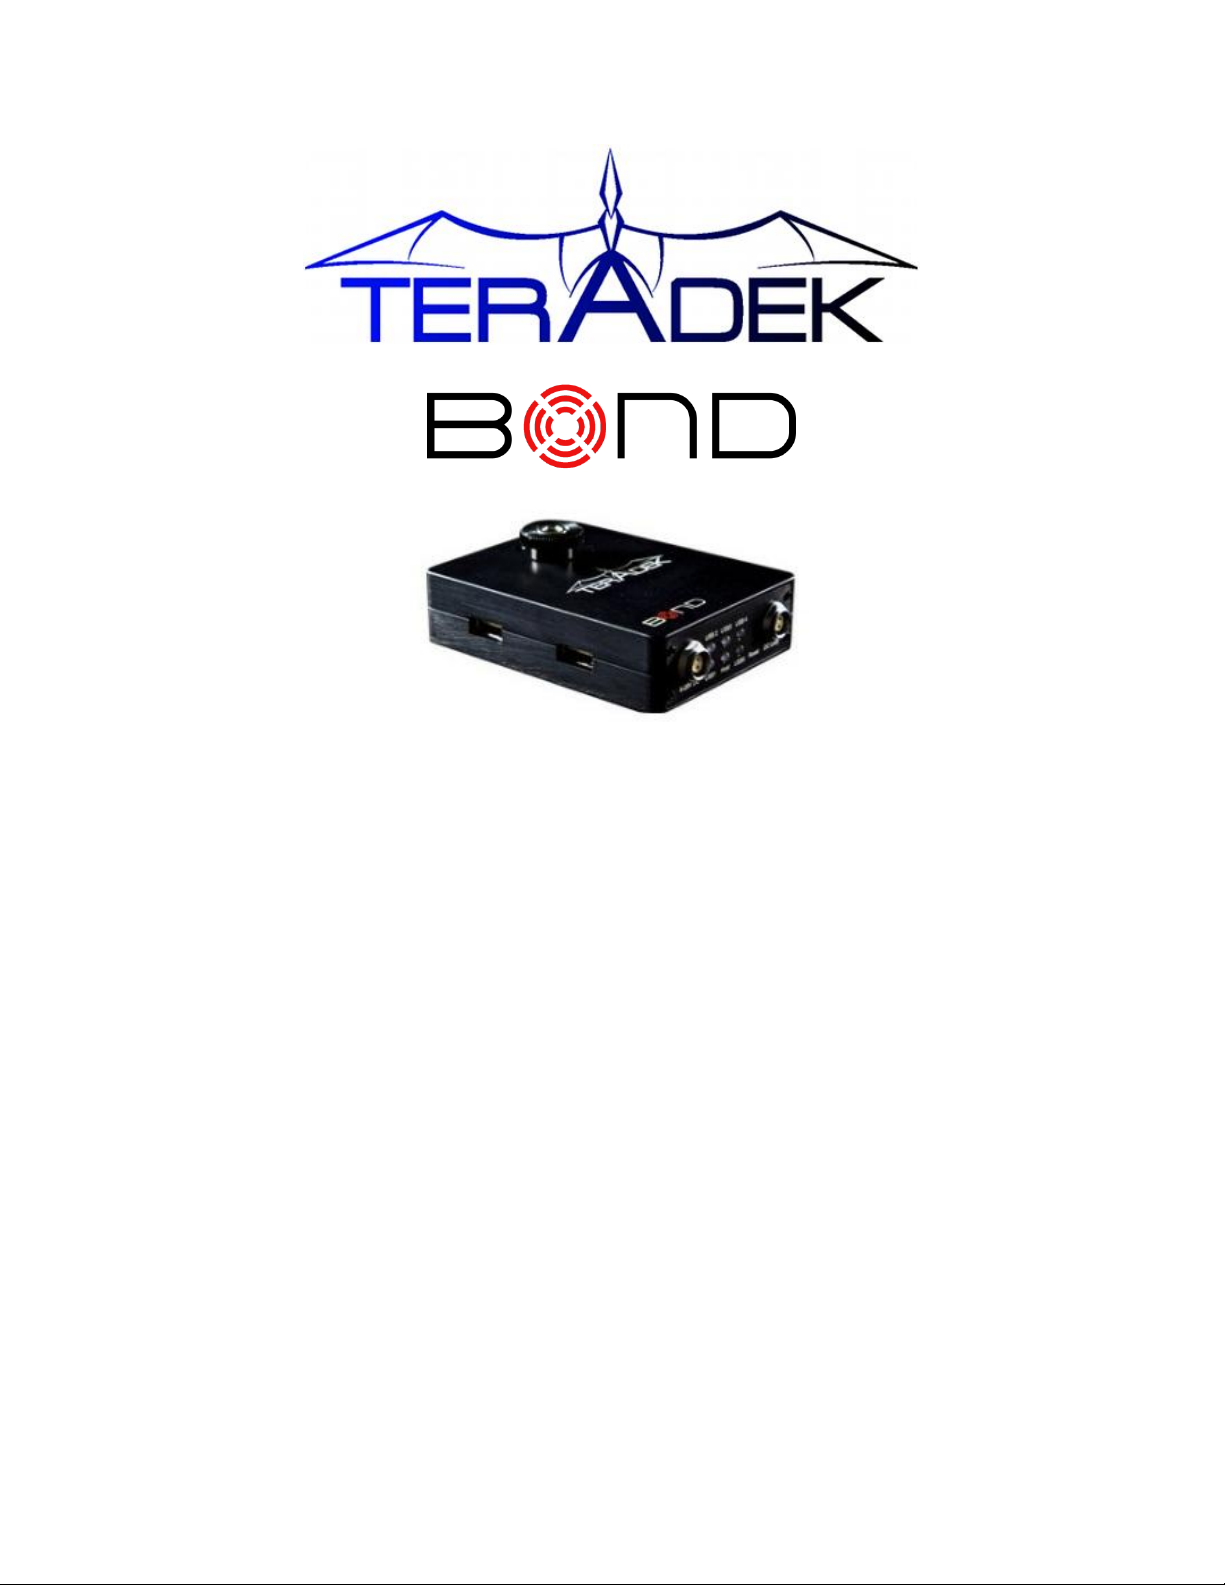
Bond back plate:
Cube back plate:
2. To power Bond, connect the included AC adapter (or accessory power cable, sold separately) to
Bond via the 2 pin LEMO connector marked „6-28 DC Input.‟
Bond front plate:
Page | 2
Version 2.0 Jun ‟12 © Teradek, LLC 2012. All rights reserved.
3. To power Cube from Bond, connect the included or 2 pin to 2pin (for Cube x55 encoders) 2 pin to
4 pin (for Cube x00/x50 encoders) power cable from Bond‟s „DC Loop‟ to Cube‟s LEMO
connector marked „6-28 DC Input.‟
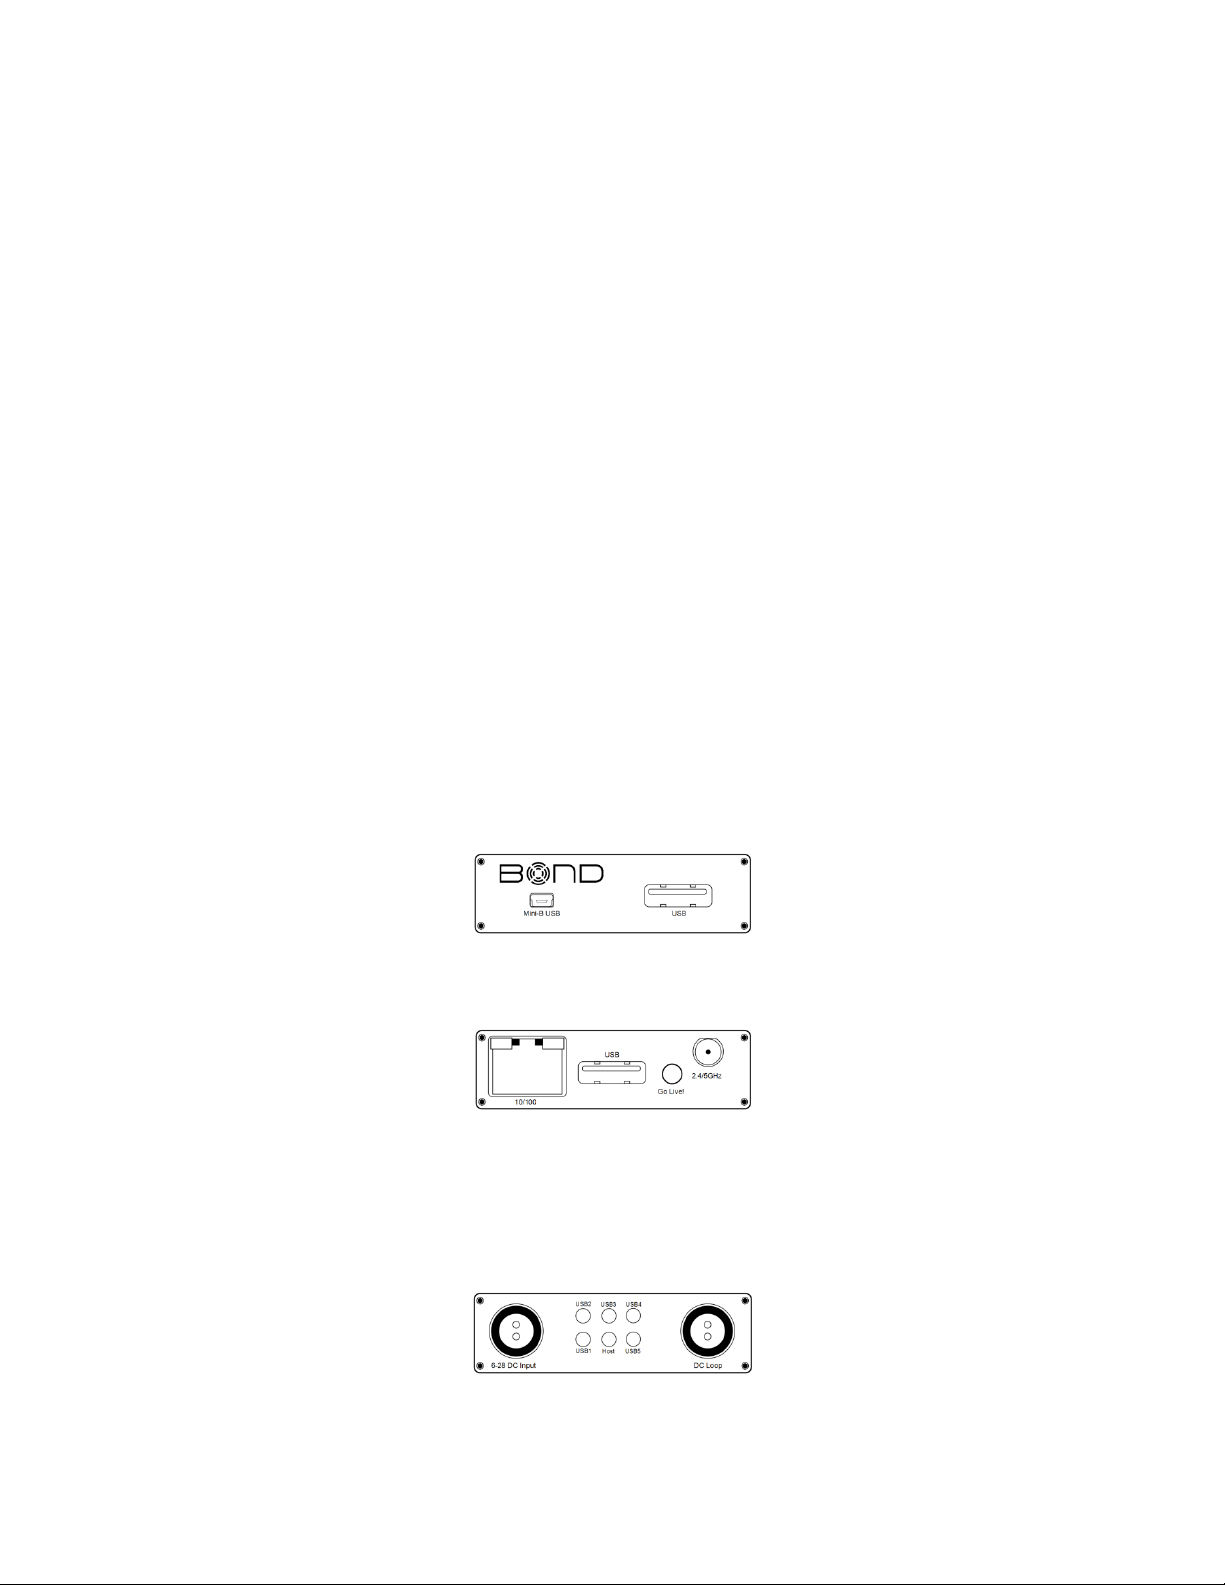
Cube front plate (Cube 155 encoder shown):
4. Connect your video source to Cube via BNC cable (SD/HD-SDI, 1xx models) or HDMI cable (2xx
models).
5. Attach the antenna(s) to Cube (if applicable) via the threaded RP-SMA connector.
6. Use the included hot shoe mount and/or ¼” screw to mount Cube and Bond to your camera,
tripod mount, or other accessory mount, if desired.
7. Once Cube has booted, verify that the „ENC‟ and „VID‟ LEDs are green, indicating video is
successfully detected.
For more information about Cube‟s physical connections and power options, please refer to the full Cube
reference manual (available on the included USB drive).
Connect to Cube and Bond
Initial set up for wireless-equipped Cubes (x50 models) can be done via Cube‟s Ad Hoc wireless network.
For Cube models without wireless (x00 models), connect an Ethernet cable between Cube and your
computer. For other network configurations, please refer to the Cube Reference Guide.
1. Ad Hoc instructions
1.1. Connect video and power to your Cube Encoder (see the previous section).
1.2. On your computer, open your wireless networking utility.
Page | 3
Version 2.0 Jun ‟12 © Teradek, LLC 2012. All rights reserved.
1.3. Choose your Cube from the list of WiFi devices in your area and connect to that network.
2. Log in to Cube
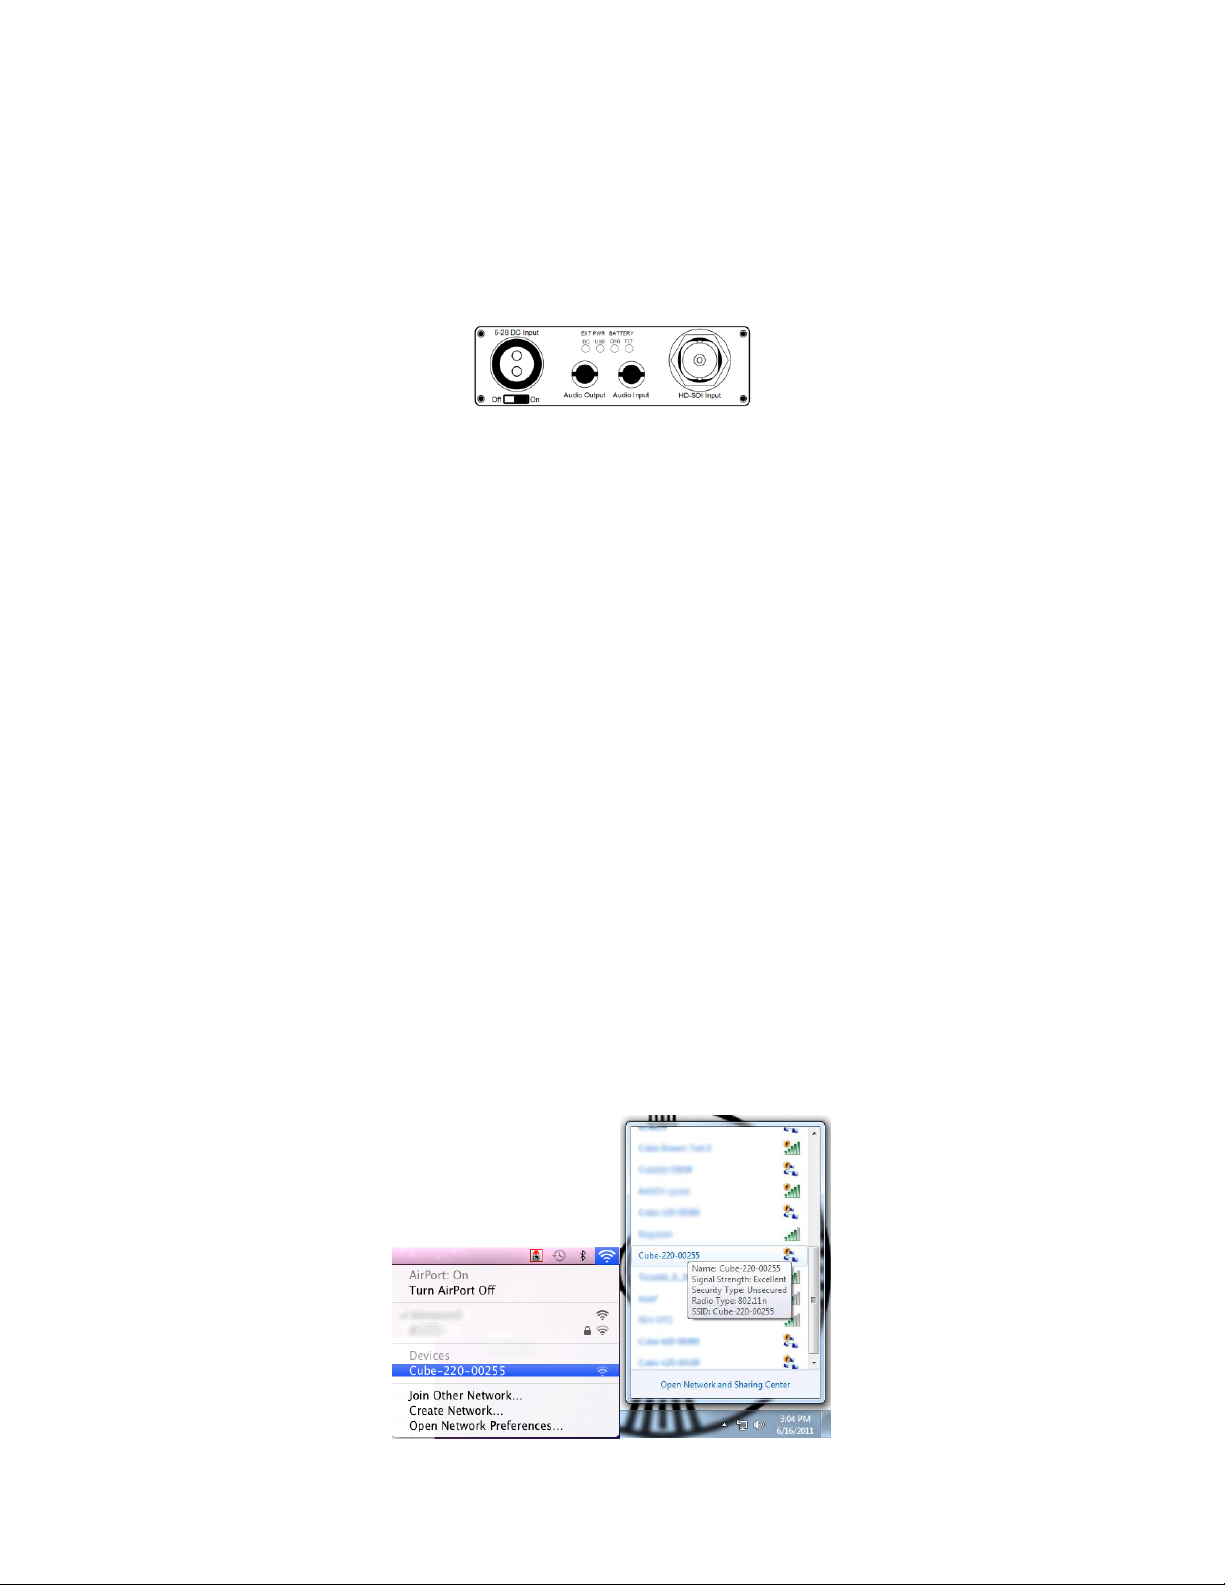
2.1. Launch TeraCentral (included on the USB drive), and click the „Configure Settings‟ button next to
your Cube‟s listing. Your web browser will open to Cube‟s web UI.
2.2. If the Wizard appears, click „Skip the Setup Wizard.‟
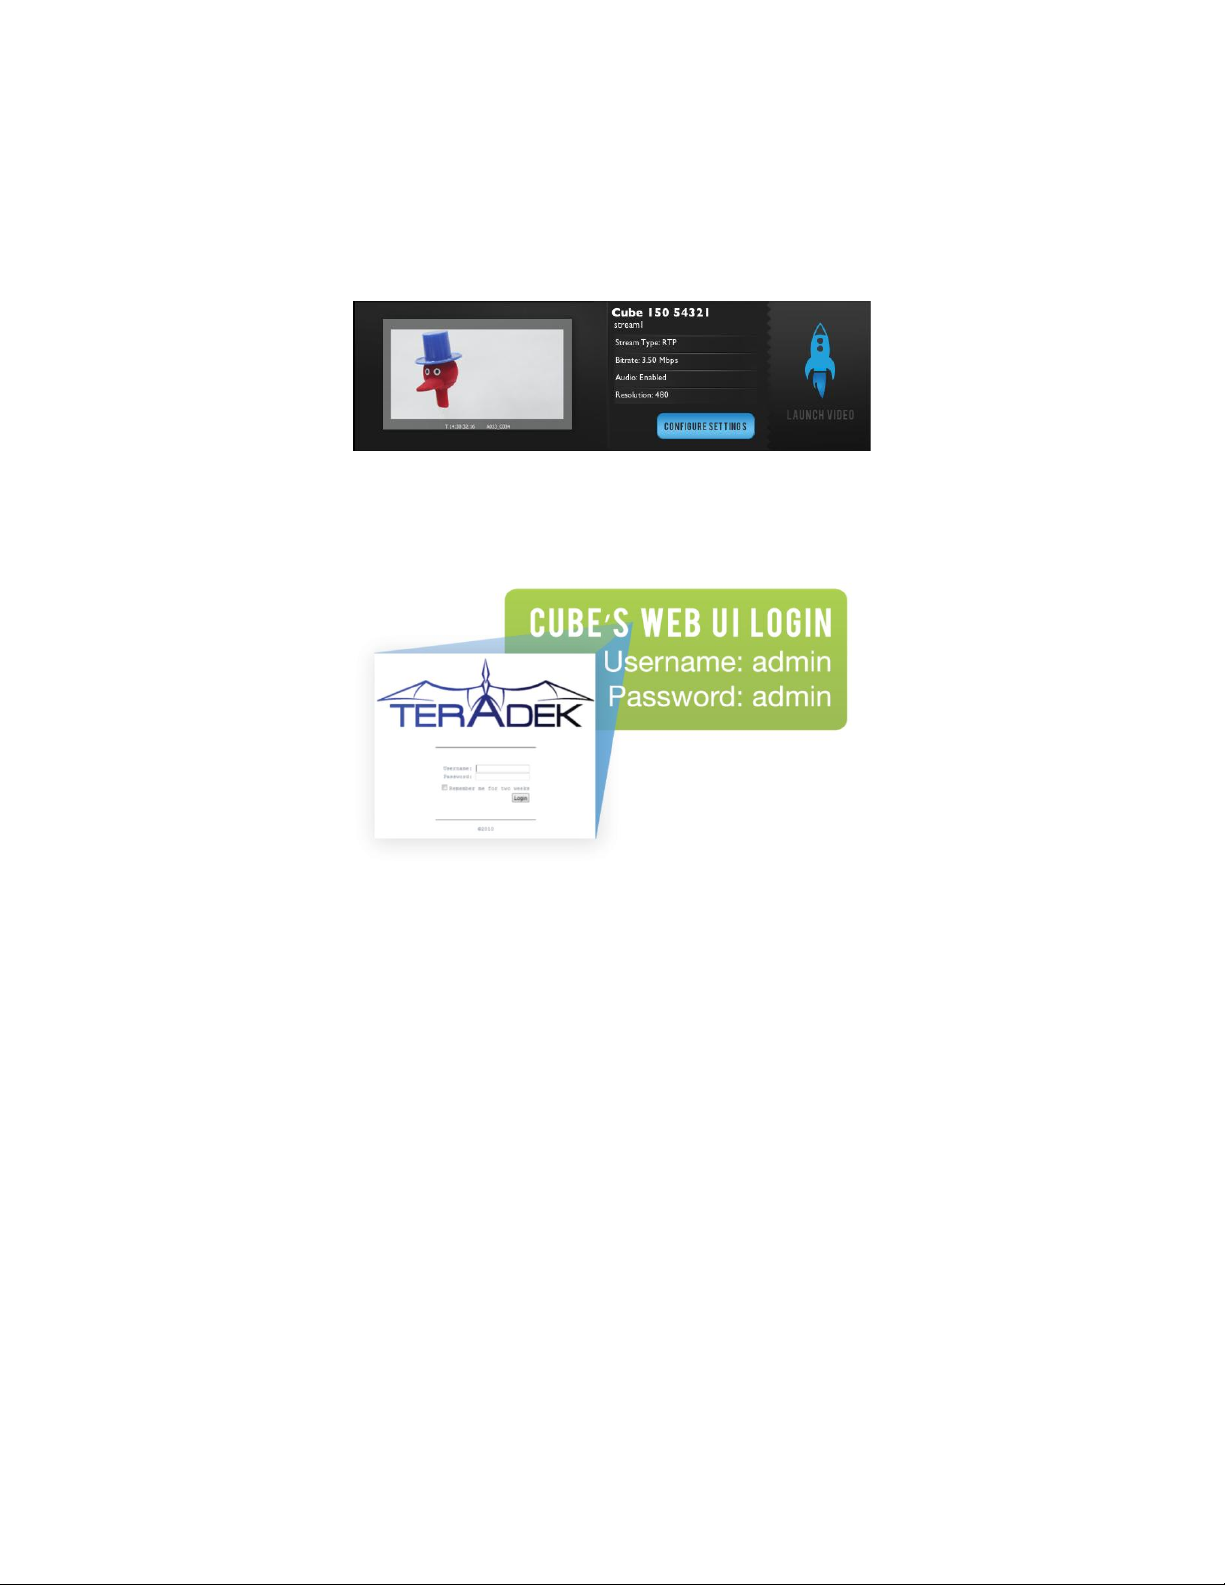
2.3. Log in to Cube with the username „admin‟ and password „admin.‟ Cube‟s Dashboard will appear.
Configure Bond and Sputnik Streaming
Configuration options for the Bond and Sputnik streams are located on the „Video Setup‟->‟Stream
Settings‟ page. We recommend setting up your Sputnik server before proceeding with this configuration.
For instructions on installing and running Sputnik, please refer to the separate “Sputnik Installation and
Configuration Guide.” The Bond and Sputnik configuration options are only displayed when Bond is
connected to Cube.
PLEASE NOTE: A software license must be installed on your Cube to activate the Bond configuration
options. If you purchased your Cube with Bond this license should be pre-installed. If Bond is purchased
separately, please contact Teradek to obtain the license.
1. Configure Sputnik Settings
1.1. These settings specify the Sputnik server location and parameters for the between Bond and
Sputnik.
Page | 4
Version 2.0 Jun ‟12 © Teradek, LLC 2012. All rights reserved.