

Page 1
Installation, Operation and Maintenance
Watts® Home Mobile App
IOM-WattsHome
!
WARNING
Please read carefully before proceeding with
installation. Your failure to follow any attached
instructions or operating parameters may lead
to the product’s failure.
Keep this Manual for future reference.
Works with the
®
Watts
Home Mobile App
NOTICE
Watts is not responsible for failures due to connectivity
issues, power outages, or improper installation.
Page 2

Table of Contents
Before You Begin .................................................................................................... 3
Legal ..................................................................................................................3
Download the Mobile App .................................................................................3
Get Started .............................................................................................................3
Create Account ......................................................................................................4
Login .......................................................................................................................4
Locations - Create a Location ...............................................................................5
Locations - Standard and Custom Ordering ..........................................................6
Locations - Edit Locations List ...............................................................................7
Away and Home Modes Toggle .............................................................................8
Adding a tekmar® Device to Watts Home ..............................................................9
Adding a SunStat® Device to Watts Home ...........................................................10
Menu ....................................................................................................................11
Account & App Settings .......................................................................................11
Dashboard ............................................................................................................12
Dashboard - Standard and Custom Ordering .....................................................13
Dashboard - Edit Devices List .............................................................................14
Users ....................................................................................................................15
Setpoint Control ...................................................................................................16
Models tekmar® 170 ........................................................................................ 17
Thermostat ...........................................................................................................18
Models tekmar® 561 and SunTouch® SunStat® ...............................................18
Models tekmar® 562, 563 and 564 .................................................................. 19
Snow Melting Control ...........................................................................................21
Models tekmar® 670 and 671 .........................................................................21
Technical Data ...................................................................................................... 23
2
Page 3
Before You Begin
Legal
Before using the Watts® Home mobile application, you must agree to the Watts Terms
of Use and Privacy Policy. These are available on the Watts.com website.
• https://www.watts.com/terms-of-use
• https://www.watts.com/privacy-policy
Download the Mobile App
The Watts Home mobile application supports both iOS and Android versions.
iOS: https://apps.apple.com/us/app/watts-home/id1500497974
Android: https://play.google.com/store/apps/details?id=com.watts.home
Get Started
Welcome to Watts Home!
On the welcome page, select “Get Started” button.
3
Page 4
Create Account
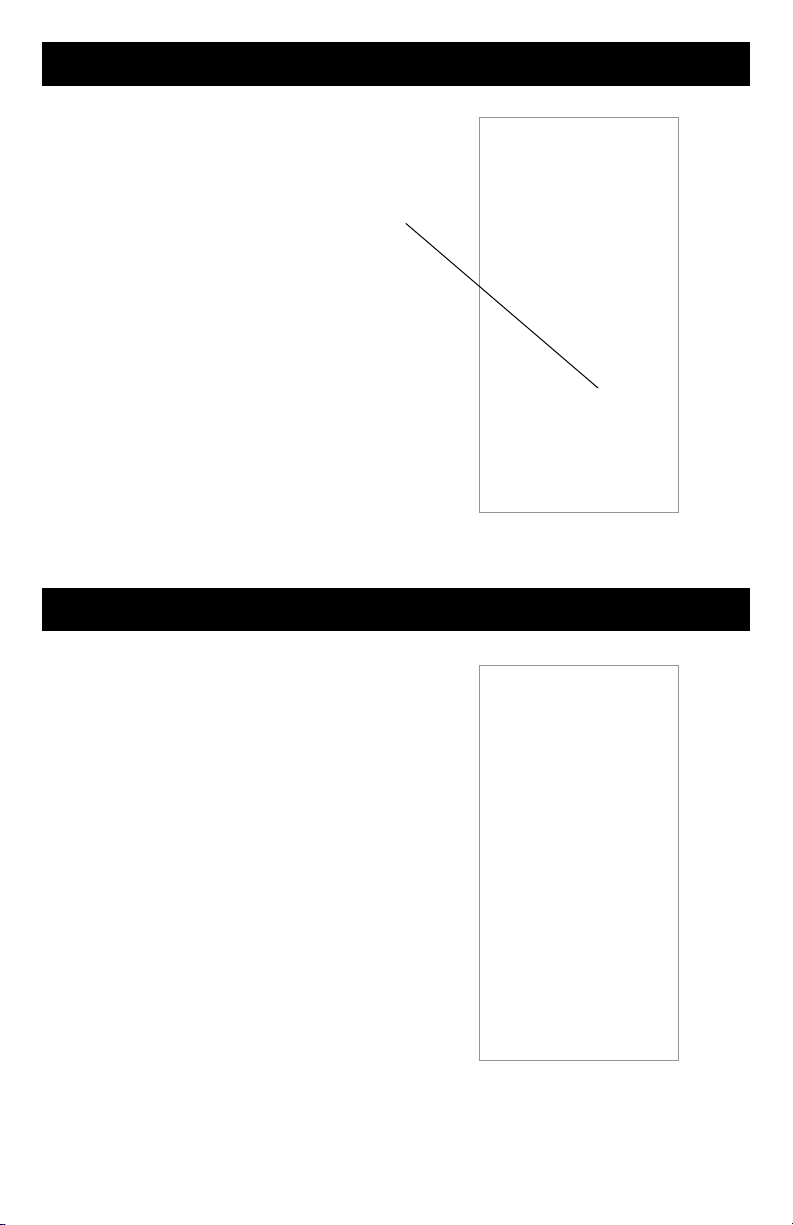
Select “Sign up now” to create a Watts
account.
Scroll down to the bottom of the Terms of Use
and Privacy Policy and select the “Accept
& Continue” button.
Enter your email address. This is used to
create your Watts account.
To protect your identity, a verification code
will be sent your email inbox. Please enter
the verification code provided in the email
into the app.
Lastly, please create a password.
Login
Click the “Sign In” button to login to the app
using your Watts account email address
and password.
To protect your identity, please keep your
password secret and do not share with other
users. Watts technical support will not ask
you to share your password.
Watts uses Microsoft Azure for hosting the
mobile app services. It is normal for a dialog
box to appear asking if you wish to use
watts.io to login.
If you forget your password, press “Forgot
password.” A notification email will be sent
to your account with a link to create a new
password.
4
Page 5
Locations - Create a Location
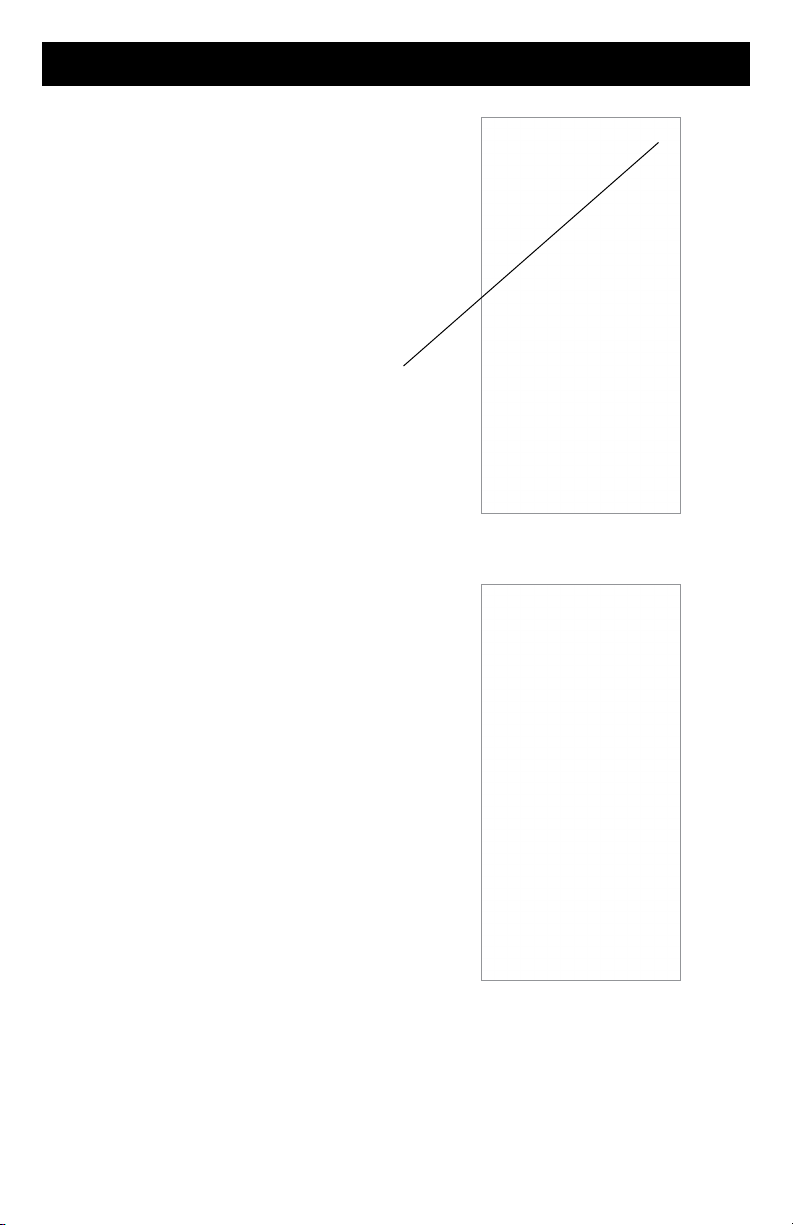
The app uses Locations to organize where
your devices are installed and which users are
able to view, change and receive information.
The locations shows the number of devices
and users.
Selecting the location directs you to
the dashboard for that location.
Press the ellipsis icon to edit, delete or
leave (if it is a shared location) a location.
To add a new location, click on the icon
located at the top right corner of the screen.
When creating a new location you can assign
it to be the primary location, where you
must have at least one location associated
with your Watts Home account, and one of
your locations must be designated as your
primary location.
To create a location, enter the following
information:
• Location Name
• Address
• Country
• State or Province
• City
• Zip or Postal Code
When you create a location, you become
the location’s “Owner.” You can then share
this location to other users.
5
Page 6
Locations - Standard and Custom Ordering
Every user will have at least one location
and in some cases may have several.
If you have two or more Locations, you
can arrange them in either the “Standard
Order (A-Z)” or create a customized list
using “Custom Order.”
1. “Standard Order (A-Z)” shows
Locations in alphanumerical order
(1, 2, 3, ... a, b, c ... ).
You can personalize your order
of Locations by pressing the
“Standard Order (A-Z)” drop-down
and choosing “Custom Order.”
2. Number of devices.
3. Shared location tile. The shared
location tile does not display
the number of users.
4. Number of users (only shown for
a location that you are the Owner).
5. When Custom Order is active
press “Edit Order” button to
change the Locations order.
6
Page 7
Locations - Edit Locations List
To rearrange your locations
in the “Edit Locations List”
mode, press and hold
a location tile until its color
changes, then drag it to
your preferred position, or
use arrow icons to move
tile up or down
Pressing the “Save”
button after updating
your Locations order will
display the updated order
on the Locations page.
7
Page 8
Away and Home Modes Toggle
The Away toggle saves energy by reducing
the heating setpoints and increasing the
cooling setpoints on your devices when the
location is not occupied. For a snow melting
control, selecting the Away toggle turns off
the device, and as melting won’t occur, this
saves energy.
Press the away toggle to switch between
home and away state.
1. “Away Mode” is enabled when
the toggle is turned on.
2. “Home Mode” is enabled when
the toggle is turned off.
8
Page 9
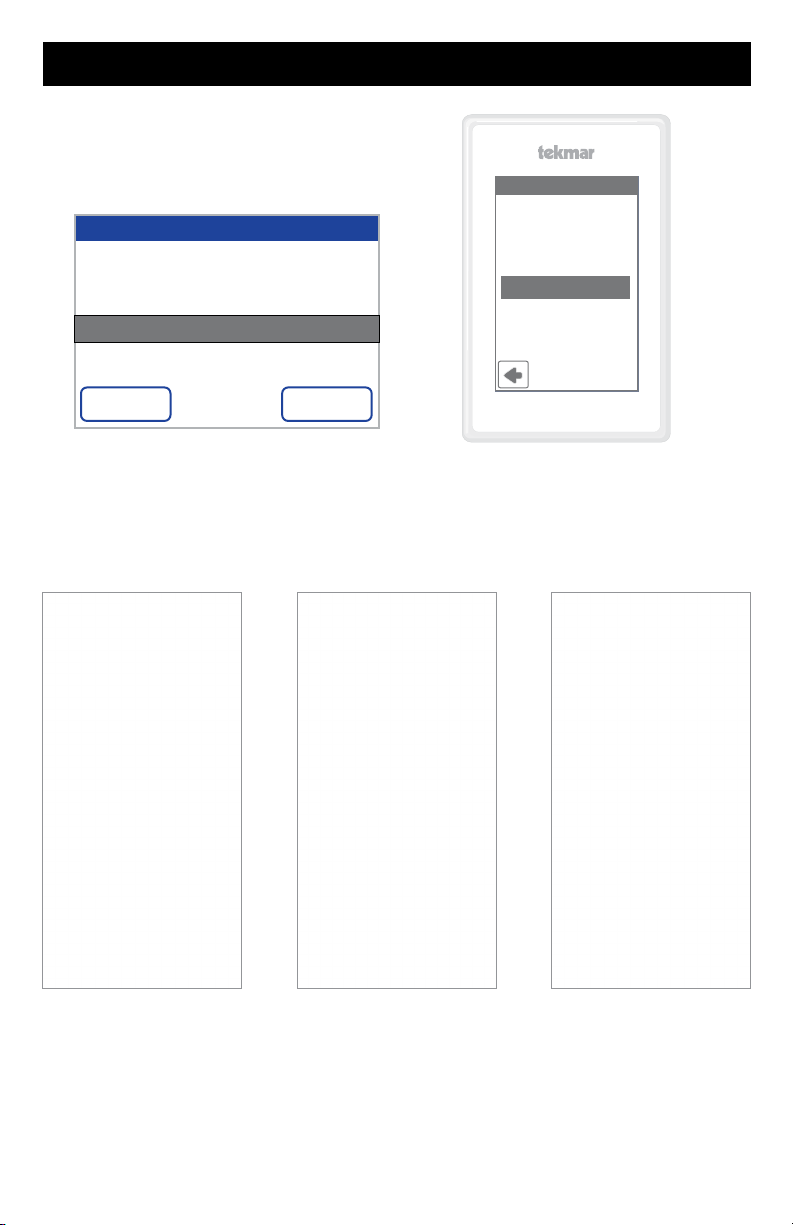
Adding a tekmar® Device to Watts Home
Step 1
Select the Location that you want
to add a device to.
Registration
To finish registering your snow melt control, enter the
code displayed below in the Watts Home mobile app.
12345678
Back Help
On your device, go to WiFi menu
and press Register Device.
Step 2
REGISTRATION
To finish registering your
thermostat, enter the code
displayed below in the
Watts Home mobile app.
12345678
The registration code will
expire in 30:00 minutes.
Step 3
Go the application’s
Dashboard screen and click
on the icon at the top
right corner of the screen.
Step 4
Select “Add Device” from
the bottom sheet.
Step 5
Enter the Device Code that
appears on the device,
enter a device nickname,
then press “Add Device”
button.
9
Page 10
Adding a SunStat® Device to Watts Home
Step 1
Please choose the location within the
Watts Home app where you'd like to add
a new device.
Step 2
On the thermostat, go to Menu
and select Settings then Services
(or Services & Voice) and choose the
“Connect” button.
Step 3
Go the application’s
Dashboard screen and click
on the icon at the top
right corner of the screen.
10
Step 4
Select “Add Device” from
the bottom sheet.
Step 5
Enter the Device Code that
appears on the device,
enter a device nickname,
then press “Add Device”
button.
Page 11
Menu
Select the menu by pressing the BARS
icon.
The app version is listed at the bottom
of the menu.
Account & App Settings
You can update your
personal information by
selecting Account
Select your notification
and language preferences.
Supported languages include
English, Español, Français
11
Page 12
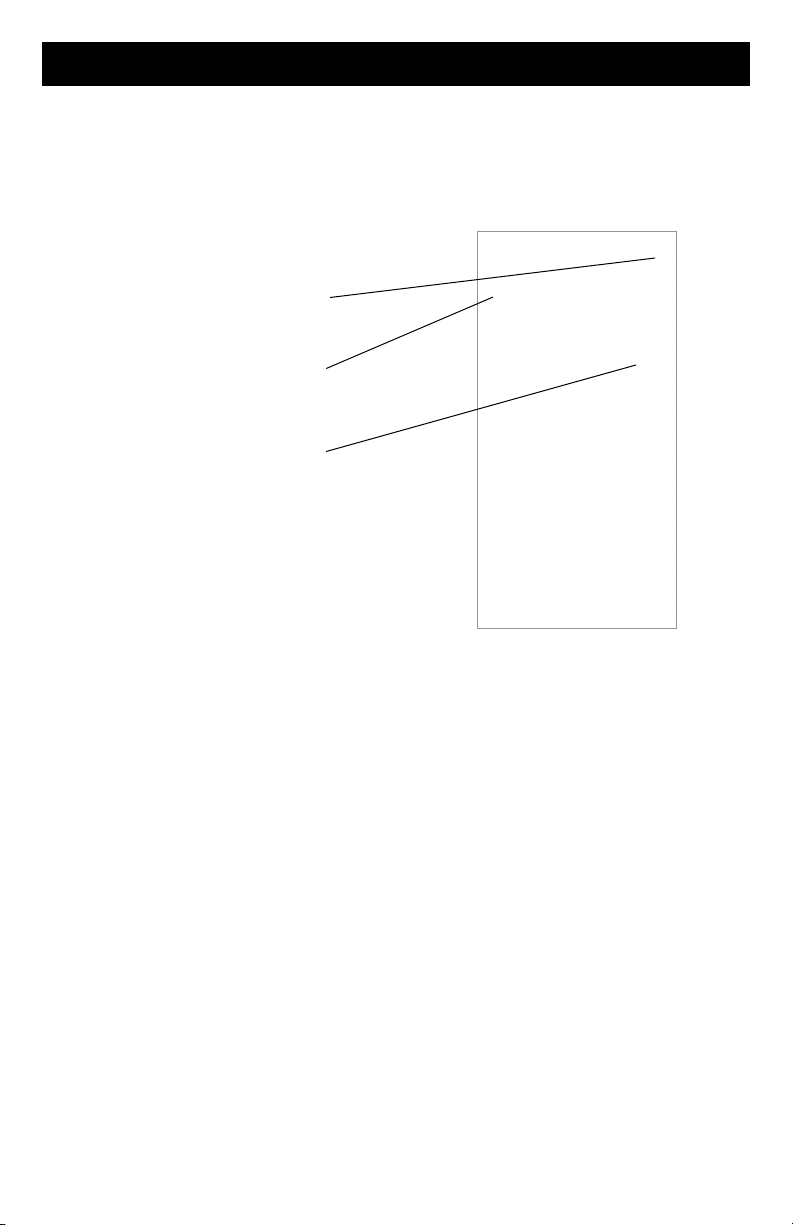
Dashboard
The dashboard shows a list of all your devices.
Each device displays its nickname together with a summary of the device’s status such
as the device’s temperature and operating mode.
1. To add a new device, click on
the icon located at the top
right corner of the screen.
2. Location name and locations’
drop-down list. Select the
drop-down list to change
the location.
3. Switch between Home and
Away Modes using the toggle.
12
Page 13
Dashboard - Standard and Custom Ordering
If you have two or more devices, you
can arrange them in either the “Standard
Order (A-Z)” or create a customized list
using “Custom Order.”
1. “Standard Order (A-Z)” shows
devices in alphanumerical order
(1, 2, 3, ... a, b, c ... ).
This feature is enabled if you
have two or more devices. You
can personalized your order
of devices by pressing the
“Standard Order” drop down and
choosing “Custom Order.”
2. When Custom Order is active
press “Edit Order” button to
change the device’s order.
This feature is enabled if you
have two or more devices.
13
Page 14
Dashboard - Edit Devices List
To rearrange your devices
in the “Edit Devices List”
mode, press and hold a
device tile until its color
changes, then drag it to
your preferred position, or
use arrow icons to move
tile up or down.
Pressing the “Save”
button after updating your
device order will display
the updated order on
the Dashboard.
14
Page 15
Users
When you create a location, you become the location’s “Owner.” You can then share
this location to other users.
The location’s owner can invite other users to join the location as either a “Contractor”
or a “Guest.” This could be a spouse, child or property caretaker.
Invited users will receive an email in their inbox with instructions to create a Watts account.
Once the invited user has accepted their invitation, their name will be listed on the location
users screen.
1. Owner tile information.
2. Invited contractors section.
3. Invited guests section.
Note: Both “Contractor” and “Guest” are considered a Shared User to the
“Owner’s” location, and both types have the same permissions in monitoring/
controlling a device, as the “Owner’s” location. Also, both types are restricted
in not being able to add or delete a device from the “Owner’s” location. As
such, when inviting a Shared User, the classification of a Shared User as either
“Contractor” or “Guest” is at the location’s “Owner” discretion.
15
Page 16
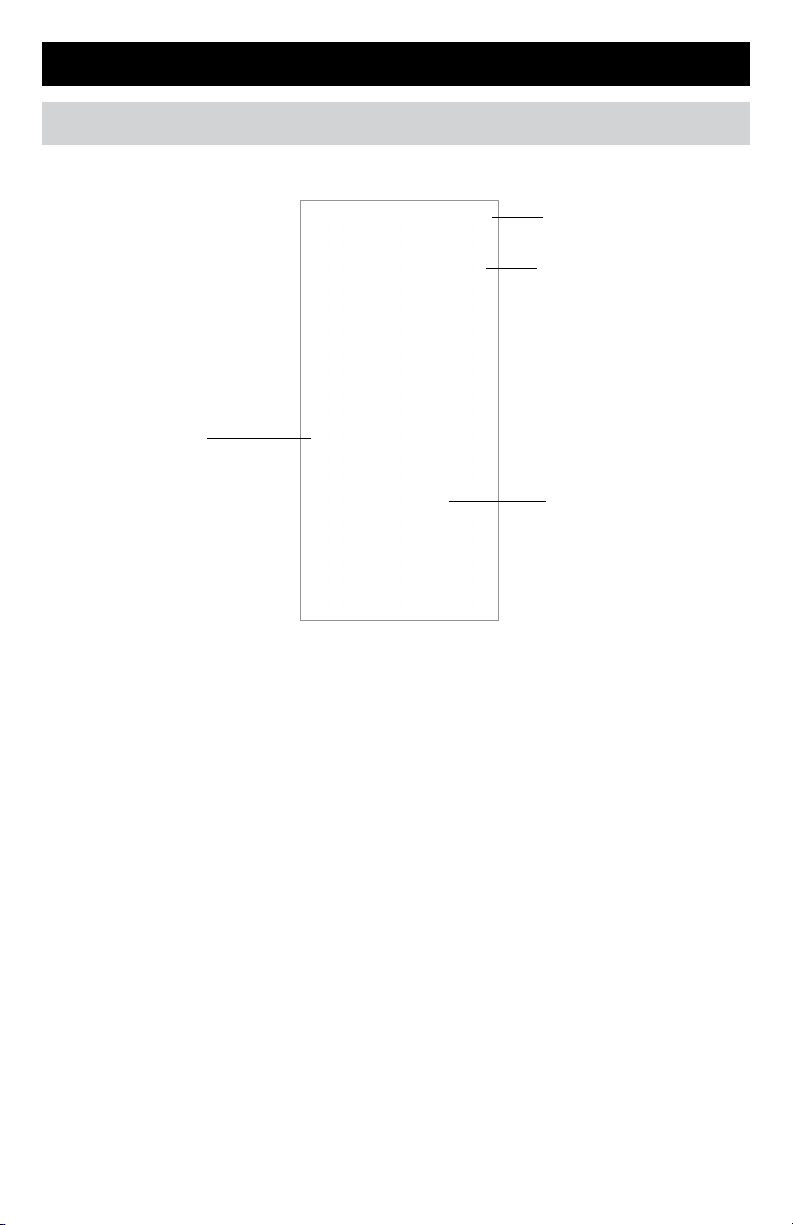
Setpoint Control
Models tekmar® 170
Background colors
Gray: not heating or cooling
Orange: heating
Blue: cooling
Heating setpoint
Go to device settings
Sensor temperature
Press Up or Down to
adjust temperature
16
Page 17
Setpoint Control
The Device Settings set the
temperature units and Heat to
Away setpoint or Cool to Away
setpoint when in cool mode.
Indication that Freeze Protection
has been enabled to prevent
your system from freezing.
17
Page 18
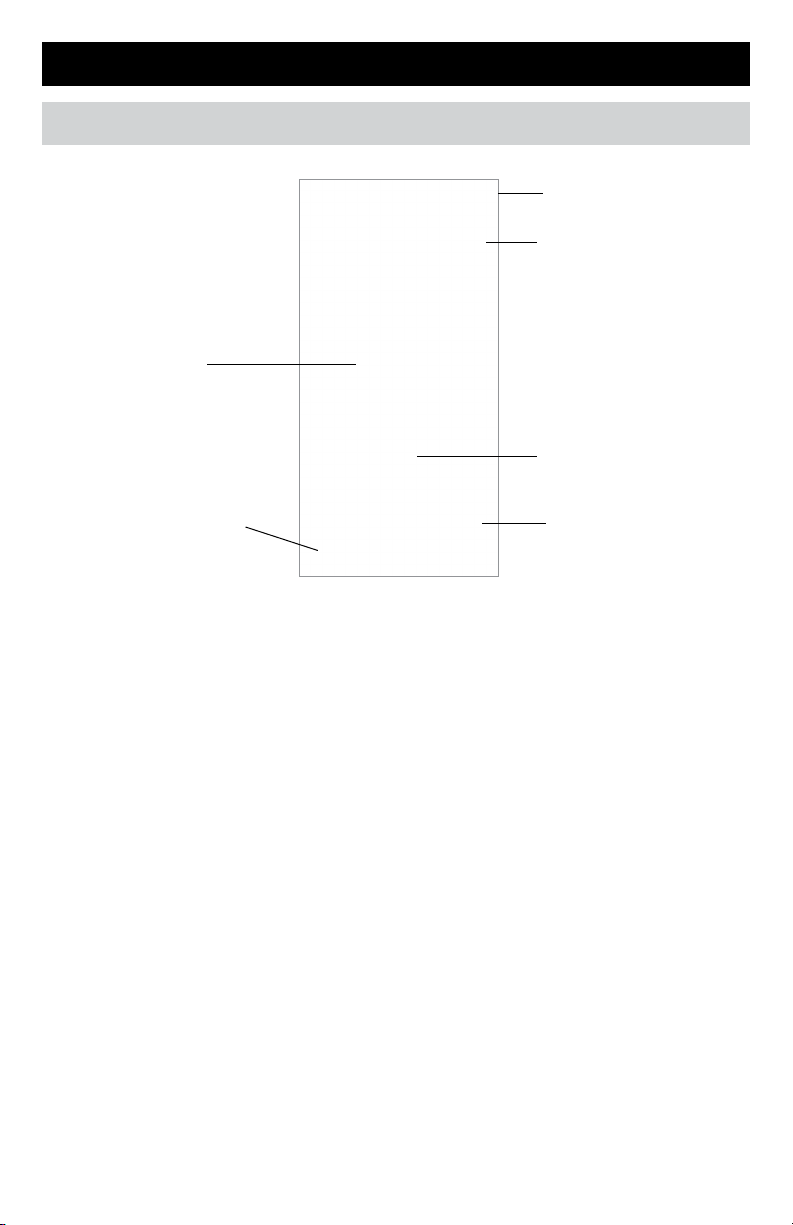
Thermostat
Models tekmar® 561 and SunTouch® SunStat®
Go to device settings
Background colors
Gray: not heating
Orange: heating
Heating setpoint
Indoor or floor temperature
Thermostat mode
Save the temperature
change to the schedule
Cancel the temporary
override
18
Page 19
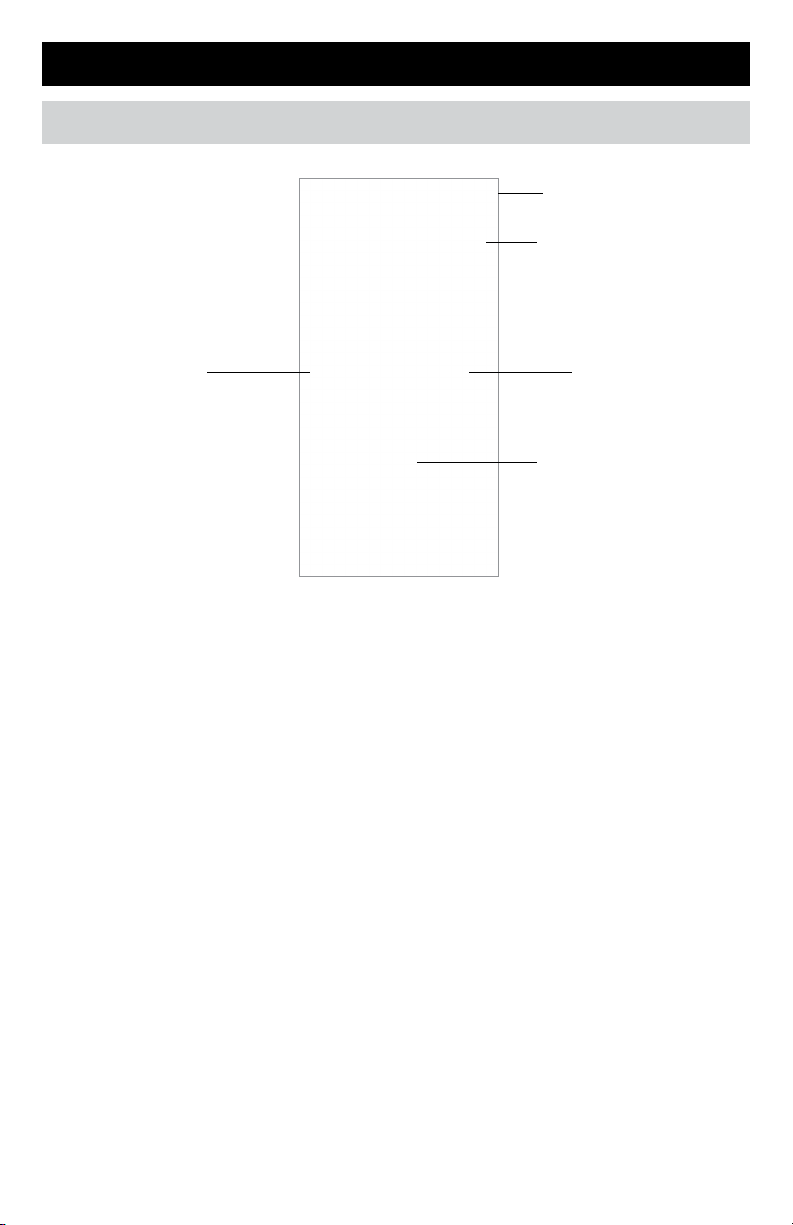
Thermostat
Models tekmar® 562, 563 and 564
Go to device settings
Indoor temperature
Heating setpoint
Background colors
Gray: not heating or cooling
Orange: heating
Blue: cooling
Cooling setpoint
Thermostat mode
19
Page 20
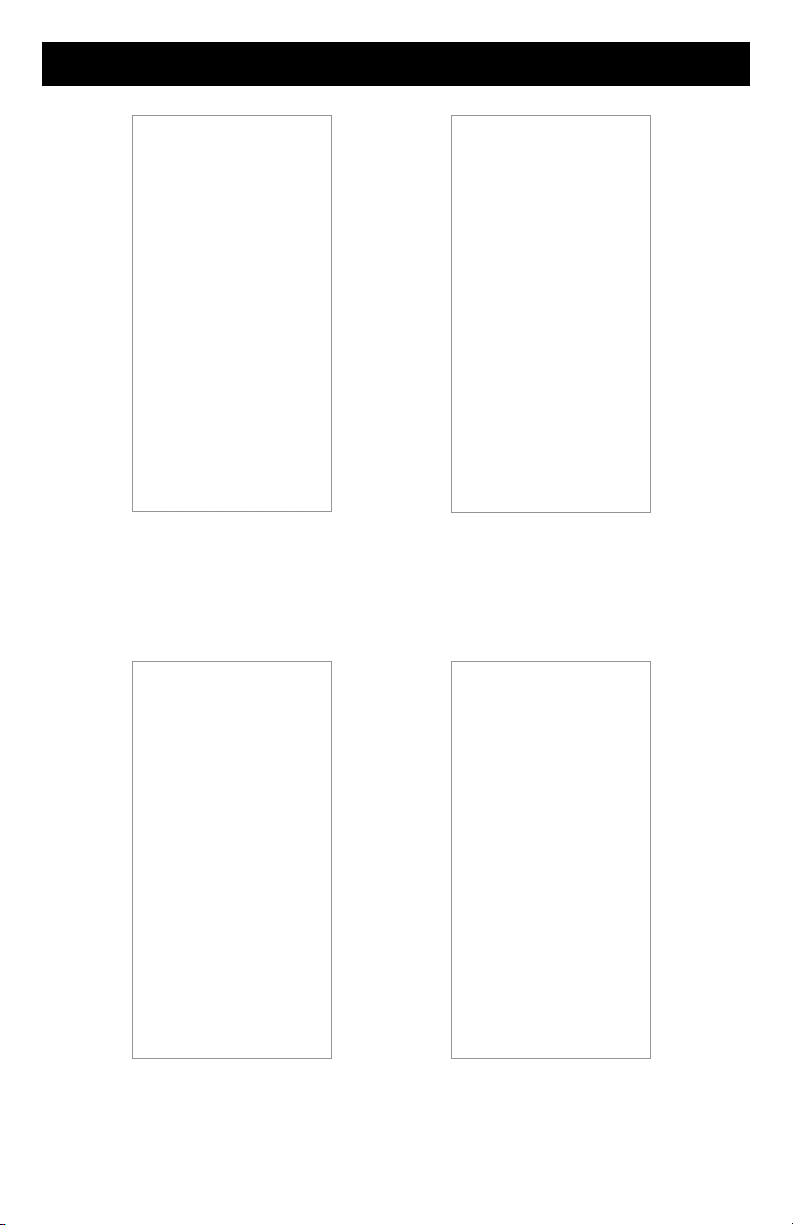
Thermostat
Enter the time and
temperatures for your
schedule.
Select Usage to view
the weekly or monthly
equipment run time.
When creating a new
schedule, the days of the
week can be grouped
together.
The Device Settings set the
temperature units, fan, relative
humidity and floor setpoints.
20
Page 21
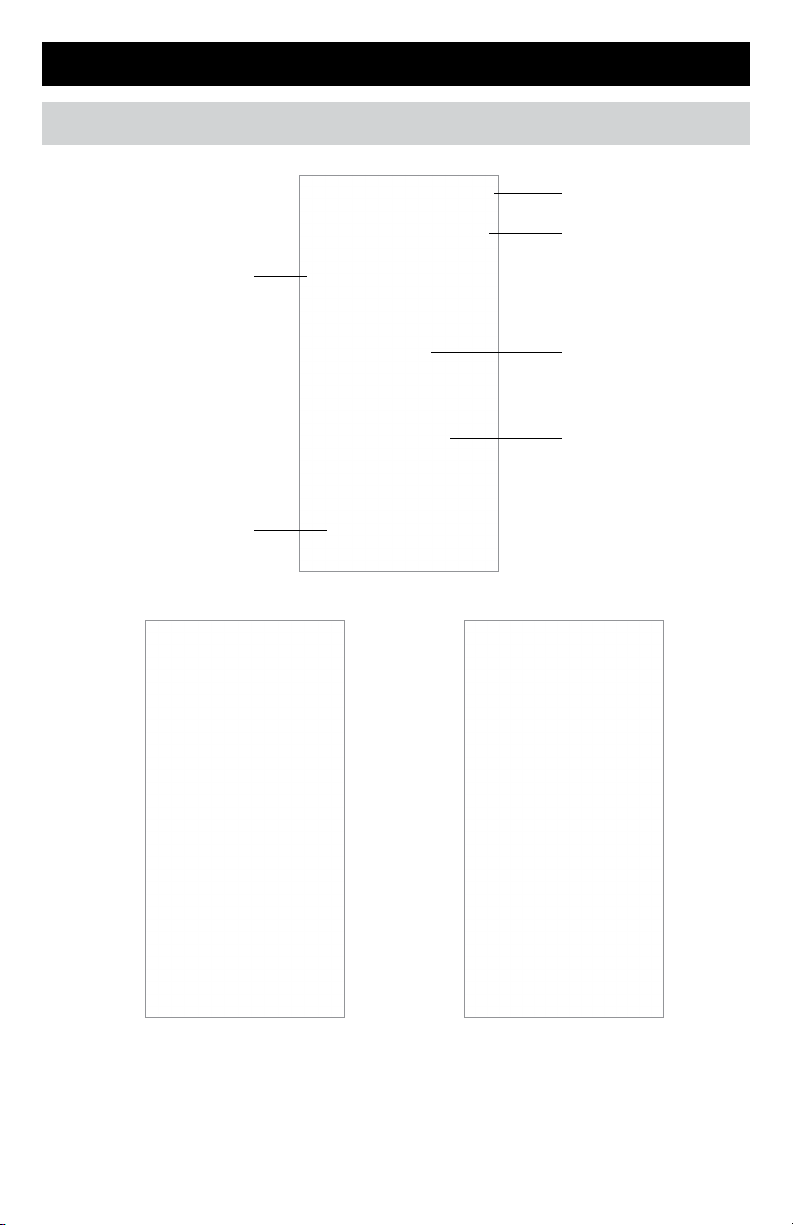
Snow Melting Control
Models tekmar® 670 and 671
Toggle Through Screens
Manual start and stop
melting
Device Settings
Slab temperature
Melting temperature
Melt time remaining
View current status of
all sensors.
Select Usage to view
the weekly or monthly
equipment runtime.
21
Page 22
Snow Melting Control
Enter the settings for your temperature
setpoints, shutdown setpoints,
runtimes, and temperature preference.
Scroll down to see all the settings.
You must hit save for the settings
to take effect.
22
Page 23
Technical Data
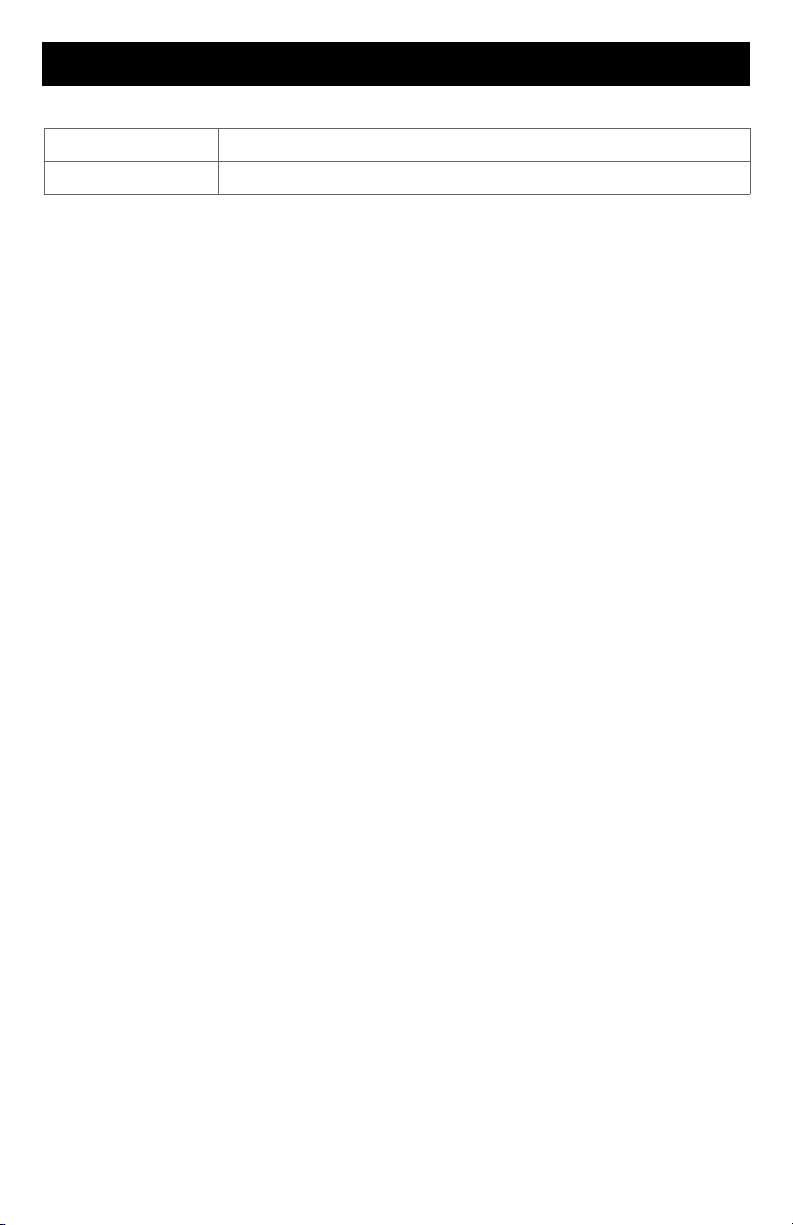
Communications WiFi 802.11n, 2.4 GHz, WPA2 encryption
Mobile app Apple iOS 12 or higher, Android 10 or higher
23
Page 24

Need help? Go to our website or contact us.
Watts.com/support/WattsHome
tekmarControls.com | [email protected] | 1-800-438-3903
SunTouch.com | [email protected] | 1-888-432-8932
USA: T: (978) 689-6066 • F: (978) 975-8350 • Watts.com
Canada: T: (888) 208-8927 • F: (905) 481-2316 • Watts.ca
Latin America: T: (52) 55-4122-0138 • Watts.com
IOM-WattsHome 2433 EDP# 81021133
©2024 Watts
 Loading...