

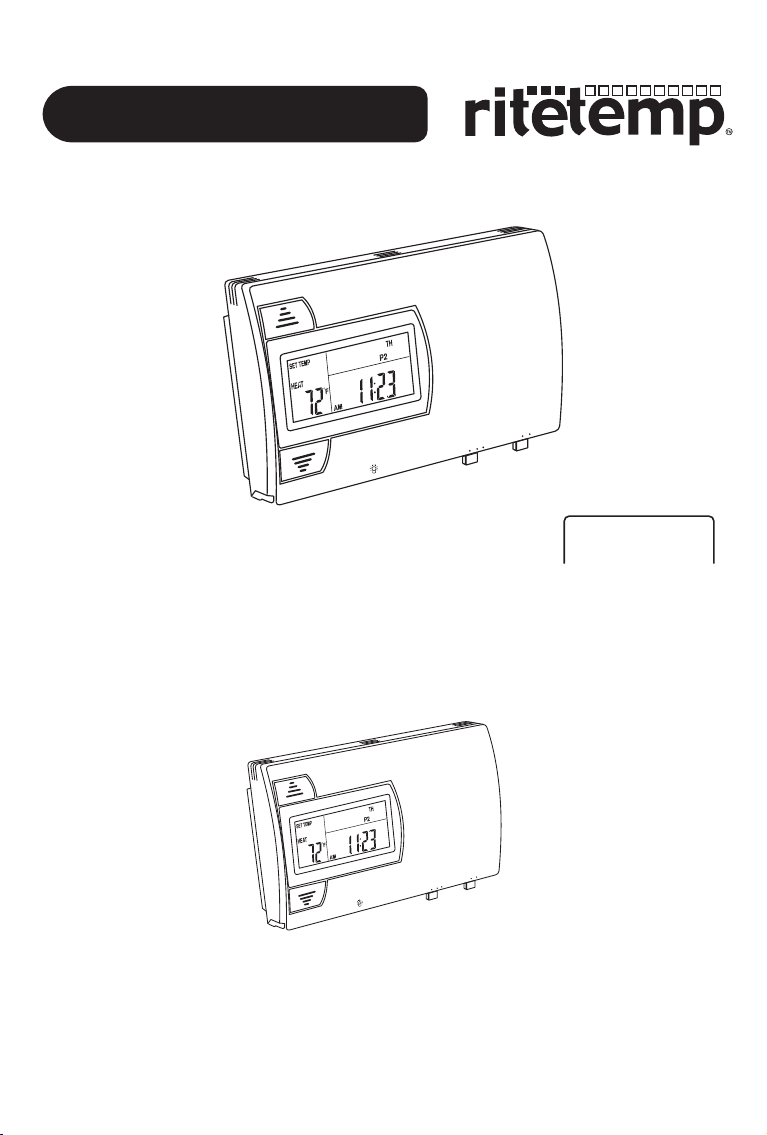
Install guide 8050C
N
FA
ON
O
UT
A
FF
O
COOL
T
HEA
ENGLISH
N
A
F
N
O
O
T
U
A
F
L
OF
O
O
C
T
A
E
H
Customer Support: 888-515-2585 or
Visit our website www.ritetemp-thermostats.com
Made in China
1-405-061
Install guide 8050C
To avoid electrical shock and to prevent damage to the furnace, air conditioner,
Caution
and thermostat, disconnect the power supply before beginning work.
This can be done at the circuit breaker, or at the appliance.
Tools
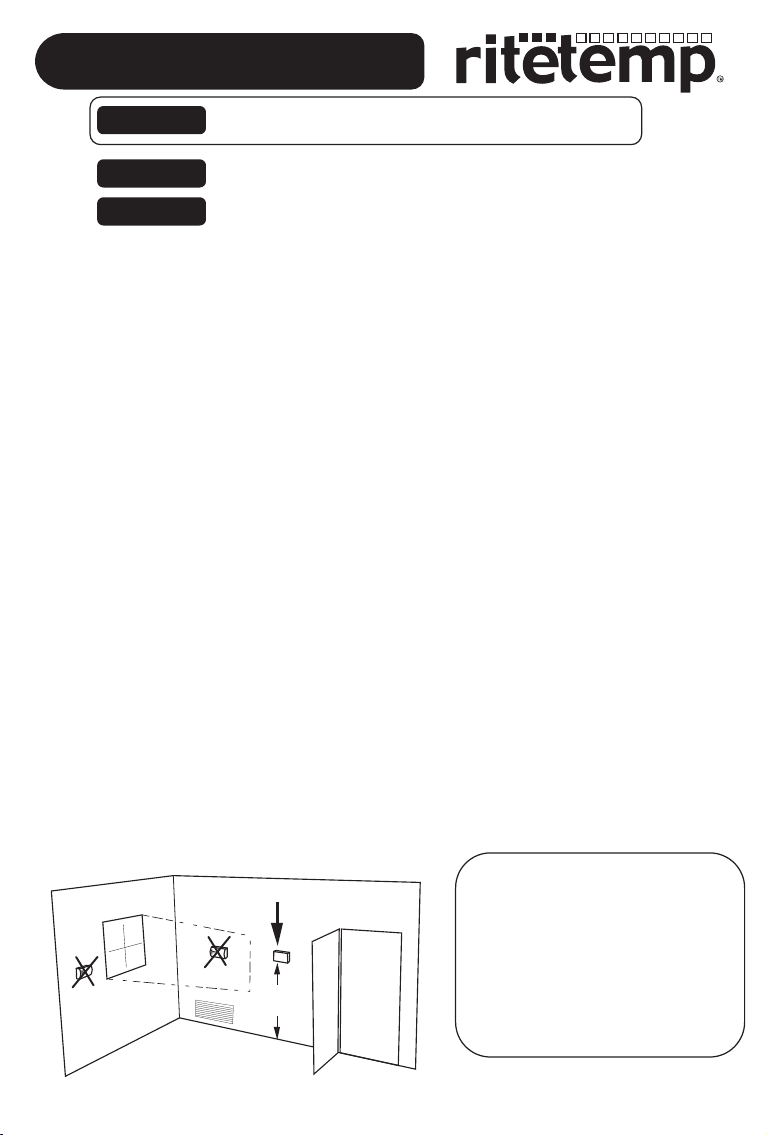
1 Location
.
On replacement installations, mount the new thermostat in place of the
old one if possible.
.
On new Installations, follow the guidelines listed below.
.
Locate the thermostat on an inside wall, about 5 ft. (1.5m) above the floor,
and in a room that is used often.
.
Do not install it where there are unusual heating conditions, such as: in
direct sunlight; near a lamp, radio, television, radiator register, or fireplace;
near hot water pipes in a wall; near a stove on the other side of a wall.
.
Do not locate in unusual cooling conditions, such as: on a wall separating
an unheated room; or in a draft from a stairwell, door, or window.
.
Do not locate in a damp area. This can lead to corrosion that will shorten
thermostat life.
.
Do not locate where air circulation is poor, such as: in a corner or an
alcove; or behind an open door.
.
Do not install the unit until all construction work and painting has been
completed.
.
This thermostat does not require leveling.
You will need #1 Phillips screwdriver (small) and
Drill with 3/16-in. (4.8mm) bit for this installation.
PG 1
Good
5ft.
(1.5m)
C A U T I O N
ï Your thermostat is a precise instrument.
ï Please handle it with care.
ï Turn off electricity to the appliance before installing or
servicing thermostat or any part of the system. Do not
turn electricity back on until work is completed.
ï Do not short (jumper) across electric terminals at control
on furnace or air conditioner to test the system.
ï This will damage the thermostat and void your warranty.
ï All wiring must conform to local codes and ordinances.
ï This thermostat is designed for use with 24 volt AC and
millivolt systems. The thermostat should be limited to a
maximum of 1.0 amps; higher amperage may cause
damage to the thermostat.
PG 2
2 Label Wires from Old Unit
.
Switch electricity to the furnace and air conditioner OFF;
then proceed with the following steps.
.
Remove cover from old thermostat. Most are snap-on types and simply pull off.
Some have locking screws on the side or front. These must be loosened.
.
Note the letters printed near the terminals.
.
Carefully attach labels (enclosed) to each wire.
You must have all the wires labeled before you proceed.
Label the wires one at a time.
Read instructions carefully before removing any wiring from existing thermostat. Wires
Caution
must be labeled before they are removed. THERE IS NO STANDARD COLOR CODE.
When removing wires from their terminals, ignore the color of the wires since these may
not comply with the standard.
3 Remove old unit
Remove the wires from the terminals of the old thermostat.
.
Make sure the wires do not fall back inside the wall.
.
Wind them around a pencil to keep them from falling.
.
Remove the old thermostat from the wall. Fill wall
B
G
opening with fiber glass insulation to prevent drafts.
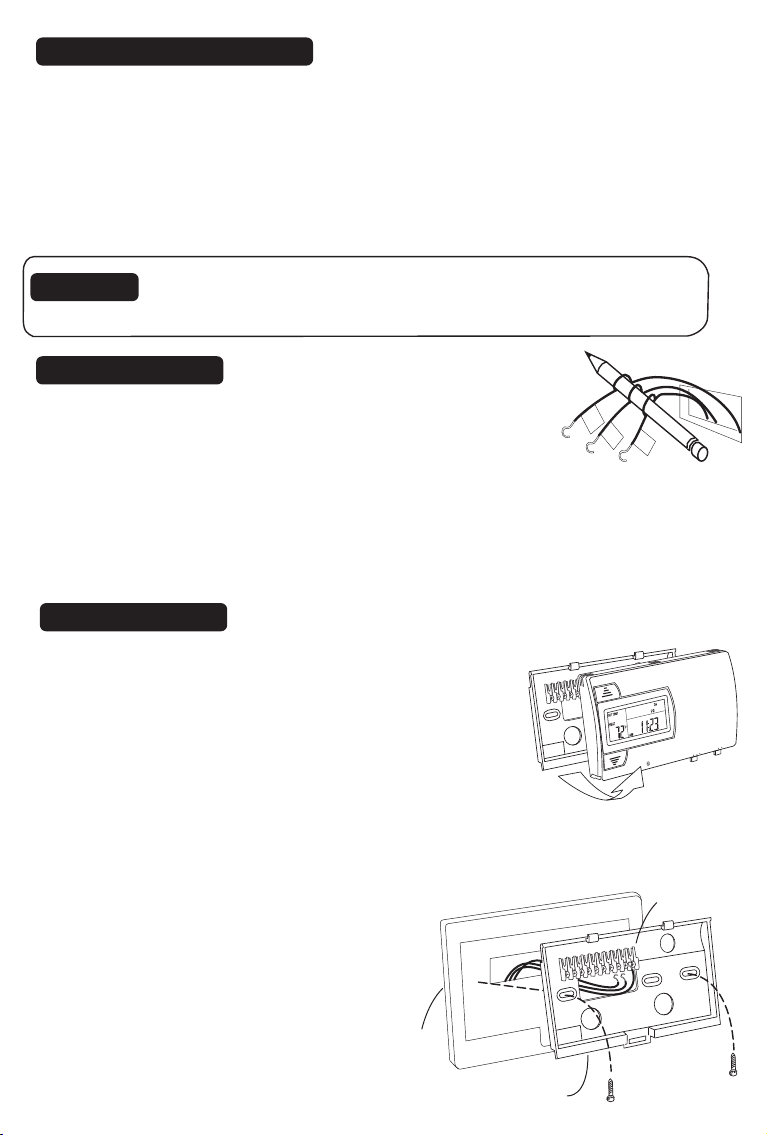
4 Mount the 8050C
.
Separate front from back of unit. Press up on the
catch on the bottom of the thermostat and swing the
C
G
Y
W
H
R
B
O
C
R
2
W
body away from the base, lift up to remove the body
from the base.
.
Hold the base against the wall, with the wires coming
through the opening below the terminal block.
.
Position the base for best appearance (If you choose
to use the optional wall plate, hold the wall plate
against the wall with the wires coming through the
opening.)
.
Attach the base to the wall with the two
screws provided.
.
If you are mounting the base to sheet
rock or if you are using the old
mounting holes, use the plastic anchors
Y
W
H
R
B
O
RC
W2
C
provided. Drill a 3/16-in. (4.8mm) hole
for the insert at each screw location,
and then mount the base.
Wall Plate
W
Terminal
Block
A
G
PG 3
N
A
F
N
O
O
T
U
A
F
F
L
O
O
O
C
T
A
E
H
Thermostat Base
PG 4
 Loading...