

USER MANUAL
QSDL506W
Wireless Alarm System
Rev 12.21.2009

QSDL506W USER MANUAL
TABLE OF CONTENTS
Section 1: USAGE ................................................................................................................................ 1
Section 2: FEATURES ......................................................................................................................... 1
Section 3: PACKAGE CONTENTS ...................................................................................................... 1
Section 4: SYSTEM INSTALLATION ................................................................................................... 1
4.1: Main Unit with Zone List ................................................................................................... 1
4.2: Magnetic Window/Door Sensor Alarms .......................................................................... 2
4.3: Infrared Sensor (with Mounting Bracket)........................................................................ 2
4.4: Keychain Remote Control ................................................................................................ 3
Section 5: TECHNICAL DATA ............................................................................................................. 4
Section 6: LOCATION SUGGESTIONS ............................................................................................... 5
Q-SEE PRODUCT WARRANTY .......................................................................................................... 6
CUSTOMER INFORMATION CARD .................................................................................................... 7
Section 1: USAGE
Ideal for home security. This Wireless Alarm System deters unwanted intruders from entering
by emitting a high pitched alarm signal if the parameters of the secured area have been
breached. Once the alarm is triggered, the system will notify you of the l ocation of the intrusion.
Section 2: FEATURES
• Wireless 434MHz Alarm System
• Remote Control Arm and Disarm
• Easy Do-It-Yourself Installation
• Easy to Program and Use
QSDL506W USER MANUAL
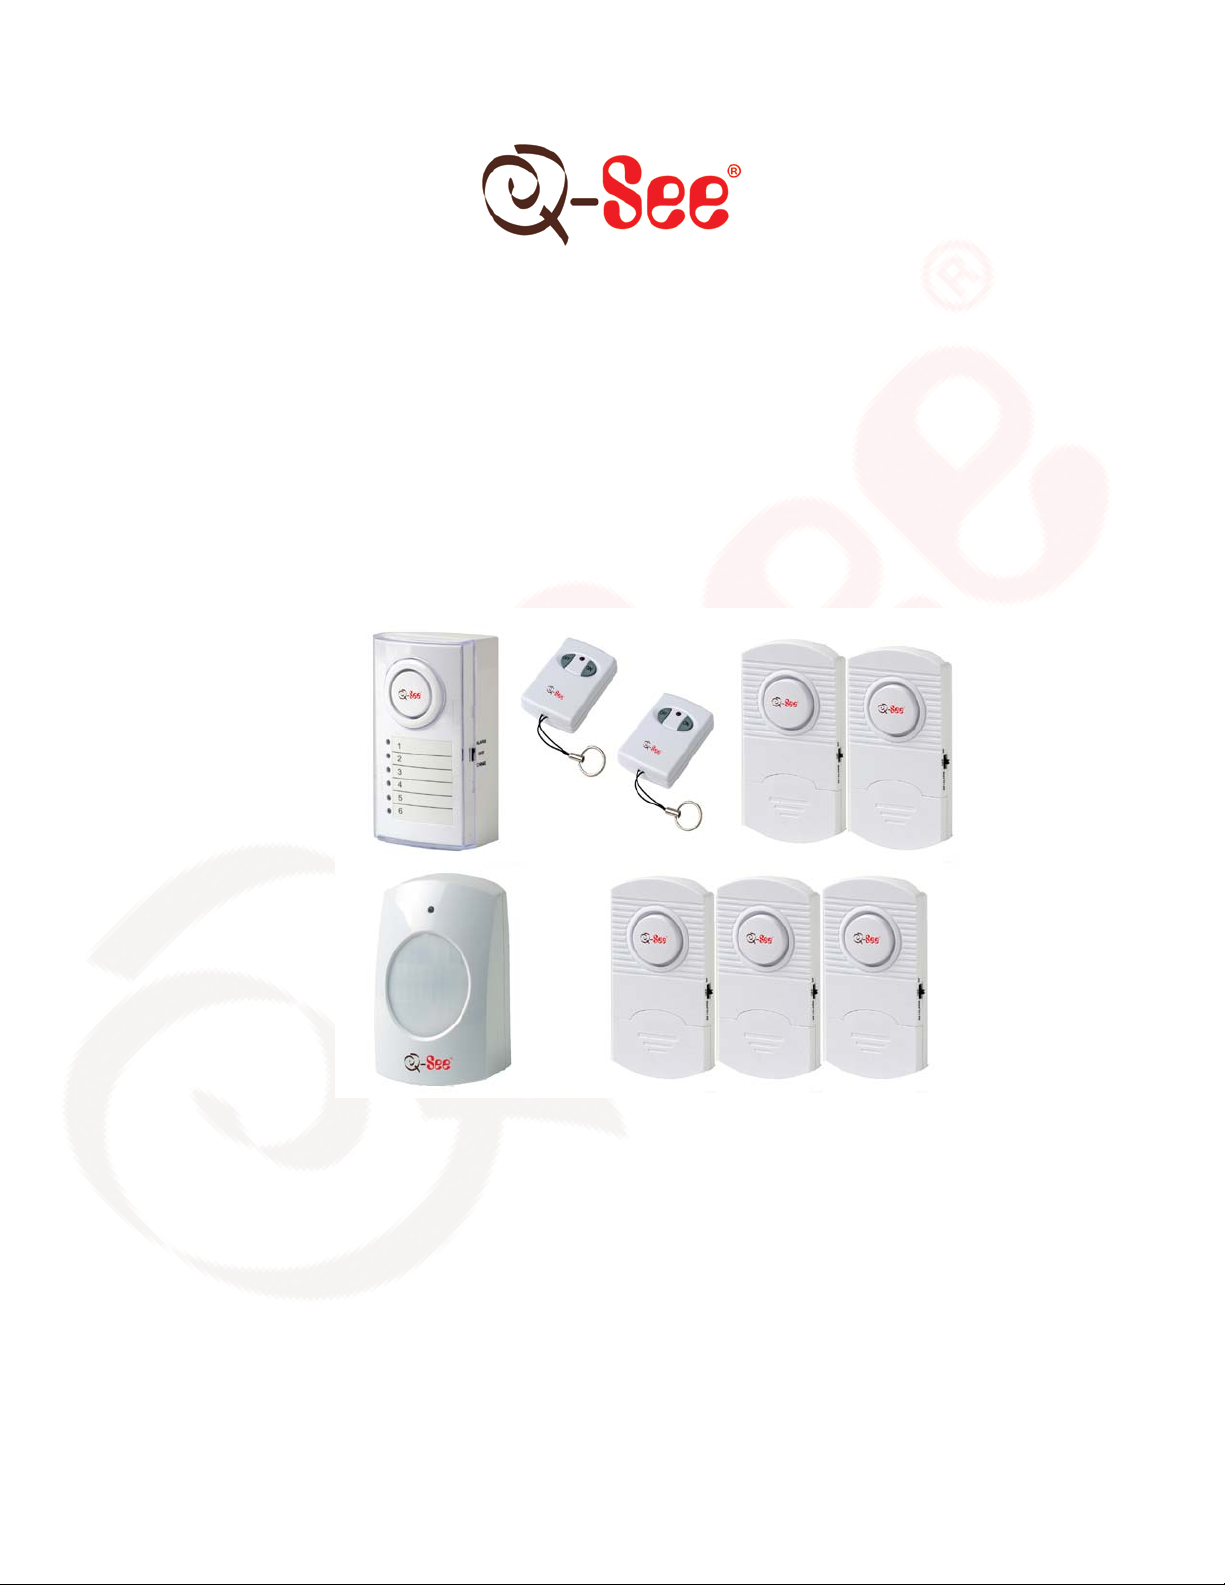
Section 3: PACKAGE CONTENTS
• One Main Unit with Zone List
• One Wireless Indoor Lighted Siren
• Five Magnetic Window/Door Sensor Alarms (Batteries Included)
• One Infrared Sensors (With Brackets)
• Two keychain Remote Controls (Batteries Included)
Section 4: SYSTEM INSTALLATION
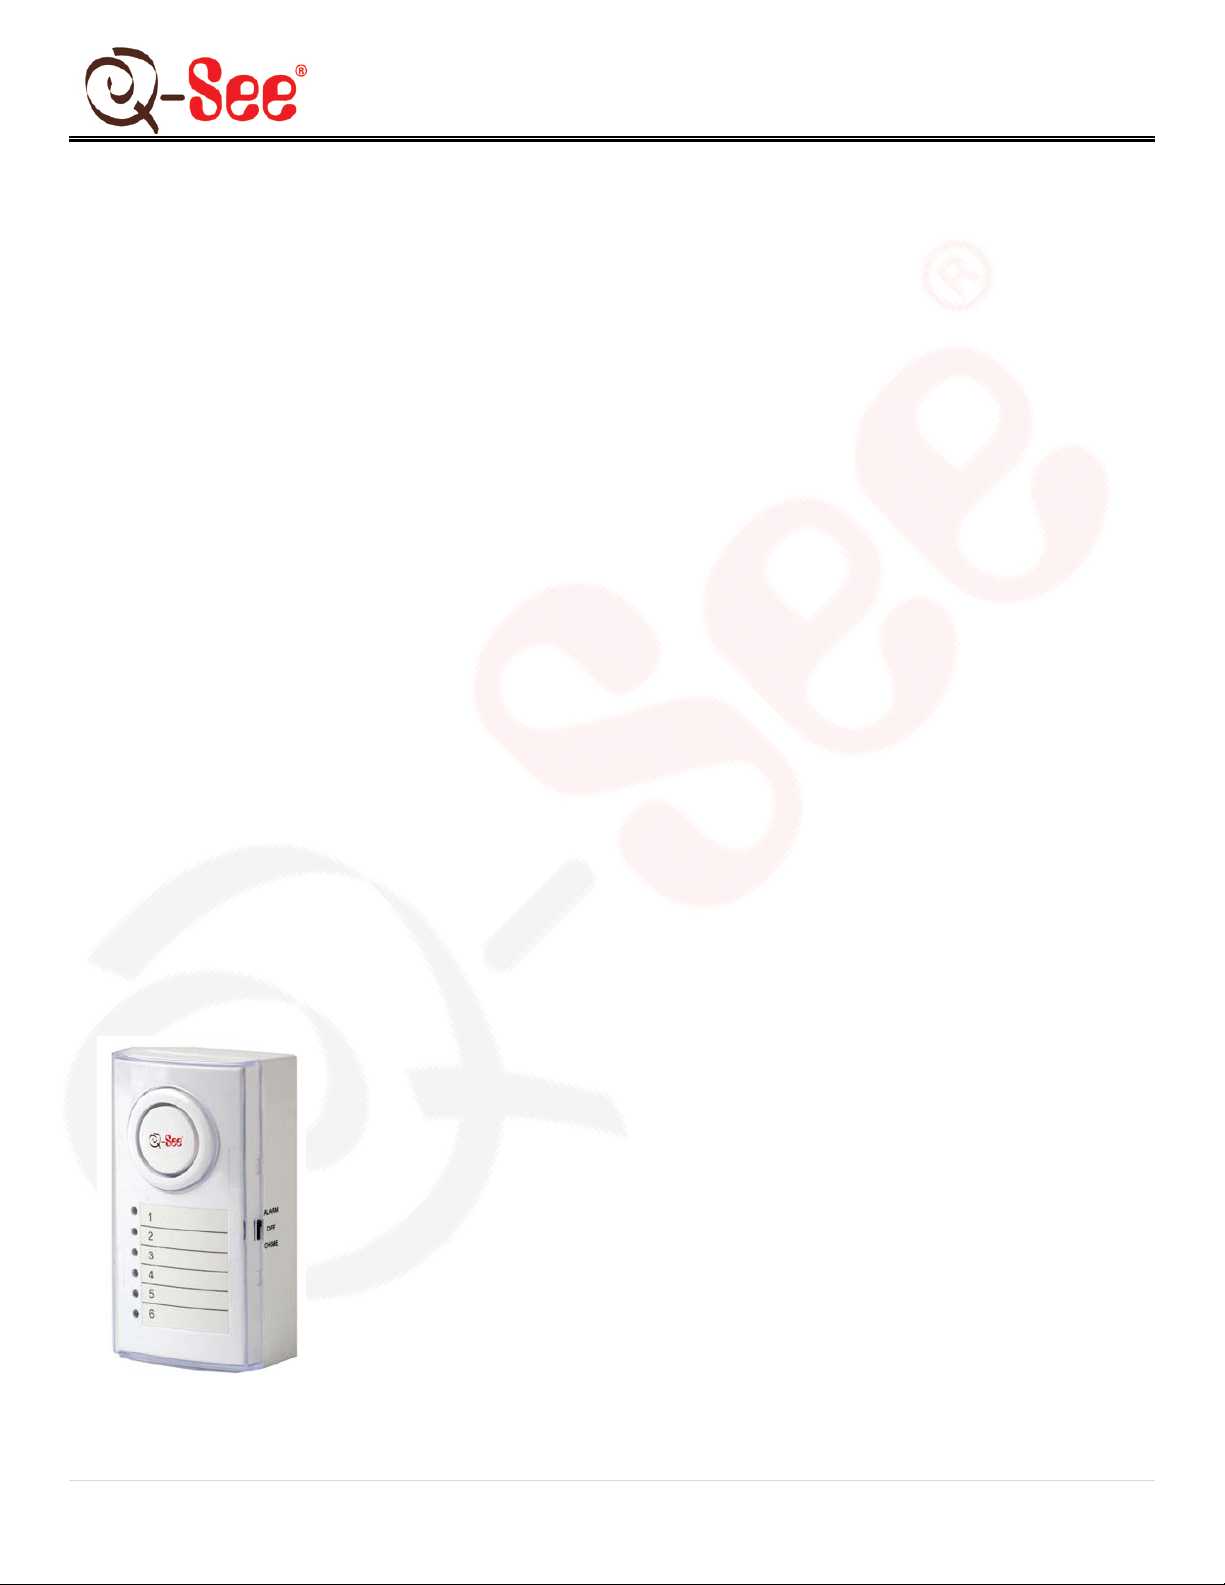
4.1: Main Unit with Zone List
1. Hang the unit in the desired location.
2. Remove the cover of the unit.
3. Fill in the locations of the six numbered alarm locations and replace
the cover.
4. Switch the unit to the alarm position if you want the sensors to emit
a siren to frighten off intruders if a sensor is triggered.
5. Switch the unit to the chime position if you want the unit to chime to
alert you if a sensor is triggered.
(Picture 1)
1 | Page

(Picture 3)
(Picture 2)
QSDL506W USER MANUAL
4.2: Magnetic Window/Door Sensor Alarms
1. Position the Magnetic Window/Door Sensor Alarm (Picture 2)
along the conjoining edges of any window or door you wish to
protect using heavy duty doubl e-s ided adhesive tape. It is
recommended to use your Magnet ic Window/Door Sensor
Alarms on entries and windows that are most susceptible to
break-ins and vulnerable to intruders.
2. To ensure maximum performance of your Magnetic
Window/Door Sensor Alarms, position the edge of the alarm
transmitter no mor e than 10mm away from the edge of the
magnet.
4.3: Infrared Sensor (with Mounting Bracket)
1. Remove the battery com par tment cover on the back of the
Infrared Sensor, insert 4 “AA” alkaline batteries and replace t he
battery compartment cover.
2. Hang the Mounting Bracket (using the included hardware) at
approximately 3-5 feet high in an area that is free from
obstruction.
3. Attach the Infrared Sens or (Picture 4) to the Mounting Bracket
after you have decided on your desir ed location and adjust the
directional angle to a degr ee that maximizes the scope of the
Infrared Sensor. It is suggested that you keep the area around
your Infrared Sensor cl ear of obstacles and avoid placing it in
direct sunlight.
2 | Page

QSDL506W USER MANUAL
(Picture 4)
(Picture 5)
4.4: Keychain Remote Control
1. Remove the battery compartment cover on the front remote controls (Picture 4), insert 23A batteries
and replace the battery compartment cover.
2. You can now use the remotes to arm or disarm the system.
3 | Page

Section 5: TECHNICAL DATA
Main Unit with Zone List:
• Input voltage: DC4.5V (AAx3)
• Receive frequency: 433.5MHZ-434MHZ
Infrared Sensor:
• Input volts: DC4.5V (AAAx4)
• Stand by current: <0.1mA
• Transmission current : < 8mA
• Transmission frequency: 433.5MHZ-434MHZ
• Transmission distance: >100m (330 ft) (open area)
• Inductive distance: >5m (16 ft) (open area)
• Low voltage indication: <3.1V +/- 0.1V
Magnetic Window/Door Sensor Alarm:
• Input volts: DC4.5V (Lr44x3)
• Standby current: <10uA
• Transmission current : < 8mA
• Transmission frequency: 433.5MHZ-434MHZ
• Transmission distance: >100m (300 ft) (open area)
Keychain Remote Controls:
• Power volts: DC12V (23AEx1)
• Transmission frequency: 433.5MHZ-434MHZ
QSDL506W USER MANUAL
4 | Page

Zone List
Controller
Section 6: LOCATION SUGGESTIONS
Main Unit with
QSDL506W USER MANUAL
Magnet Sensors
Infrared Sensor
Magnetic Code
5 | Page

QSDL506W USER MANUAL
Q-SEE PRODUCT WARRANTY
Thank You for Choosing a Q-See Product!
All of our products are backed by a conditional service warranty covering all hardware for 12 months from the
date of purchase. Additionally, our products also come with a free exchange policy that covers all
manufacturing defects for one month from the date of purchase.
Liability Exclusions:
Any product malfunction or abnormalities in operation or damage caused by the following reasons are not
within the free service scope of our company:
(1) Equipment damage caused by improper operation.
(2) Improper equipment operation environment and conditions (e.g., improper power, extreme
environmental temperatures, humidity, lightning and sudden surges of electricity).
(3) Damage caused by acts of nature (e.g., earthquake, fire, etc).
(4) Equipment damage caused by the maintenance of personnel not authorized by Q-See.
(5) Product sold over 12 months ago.
In order to fulfill the terms of your warranty, you must complete the registration process after purchasing our
product. To do this, simply fill out the User’s Information Card below and fax or mail it in to us at the
information listed below. You can also register the product by going to the www.q-see.com website and
clicking on the Register link.
6 | Page
 Loading...