

Page 1

ser Guide: Copy Function
s
Page 2

[Copy Functions] Contents-1
Table of contents
1 Copy Operations
1.1 Copying (basic operation flow)...................................................................................................... 1-2
1.2 Interrupting for copying.................................................................................................................. 1-5
1.3 Making a trial printing (Proof Copy) .............................................................................................. 1-6
1.4 Recalling a program for copying ................................................................................................... 1-7
Program ..............................................................................................................................................1-7
Registering a program ........................................................................................................................1-7
Recalling a program for copying.........................................................................................................1-8
2 Specifying the Color and Image Quality for Copying
Selecting the Copy Color ([Color]) ......................................................................................................2-2
Adjusting the copy density ([Density]).................................................................................................2-2
Selecting the appropriate image quality level for the contents of the original ([Original Type])..........2-2
Adjusting the background density of the original ([Background Removal])........................................2-2
Making the image glossy ([Glossy]) ....................................................................................................2-2
Adjusting the image quality according to the original ([Image Adjust])...............................................2-3
Enlarging or reducing an image for copying ([Zoom]).........................................................................2-3
Adding a margin on pages ([Page Margin]).........................................................................................2-4
3 Saving the Number of Print Sheets
Copying on both sides of paper ([Duplex]) .........................................................................................3-2
Copying multiple pages on the same side of a single sheet ([Combine]) ...........................................3-3
Copying the front and back sides of a card on the same side of a single sheet of paper
([ID Copy]) ...........................................................................................................................................3-4
4 Specifying the Size or Type of the Paper to Be Copied
Selecting the paper size and paper type ([Paper])..............................................................................4-2
Copying on paper of a special size ([Custom Size]) ...........................................................................4-2
5 Specifying the Method to Scan the Original and the Method to Output Copy
Specifying the size of the original to be scanned ([Original Size]) ......................................................5-2
Scanning a number of originals in several batches ([Separate Scan])................................................5-2
Printing out on a set basis ([Group/Sort])............................................................................................5-3
Outputting by page number or by set ([Offset]) ..................................................................................5-3
Stapling ([Staple])................................................................................................................................5-3
Erasing text or shadows in the margins of an original ([Frame Erase])...............................................5-4
6 Adding Text or Images to the Original
Adding a date and time ([Date/Time]) .................................................................................................6-2
Adding page numbers ([Page Number])..............................................................................................6-2
Adding a stamp ([Stamp]) ...................................................................................................................6-3
Adding a water mark ([Watermark]) ....................................................................................................6-3
Adding distribution control numbers ([Distribution Control Number]) ................................................6-3
7Index
Page 3

1
Copy Operations
Page 4
[Copy Functions] 1-2
1.1 Copying (basic operation flow)
1
1 Copy Operations
1.1 Copying (basic operation flow)
1
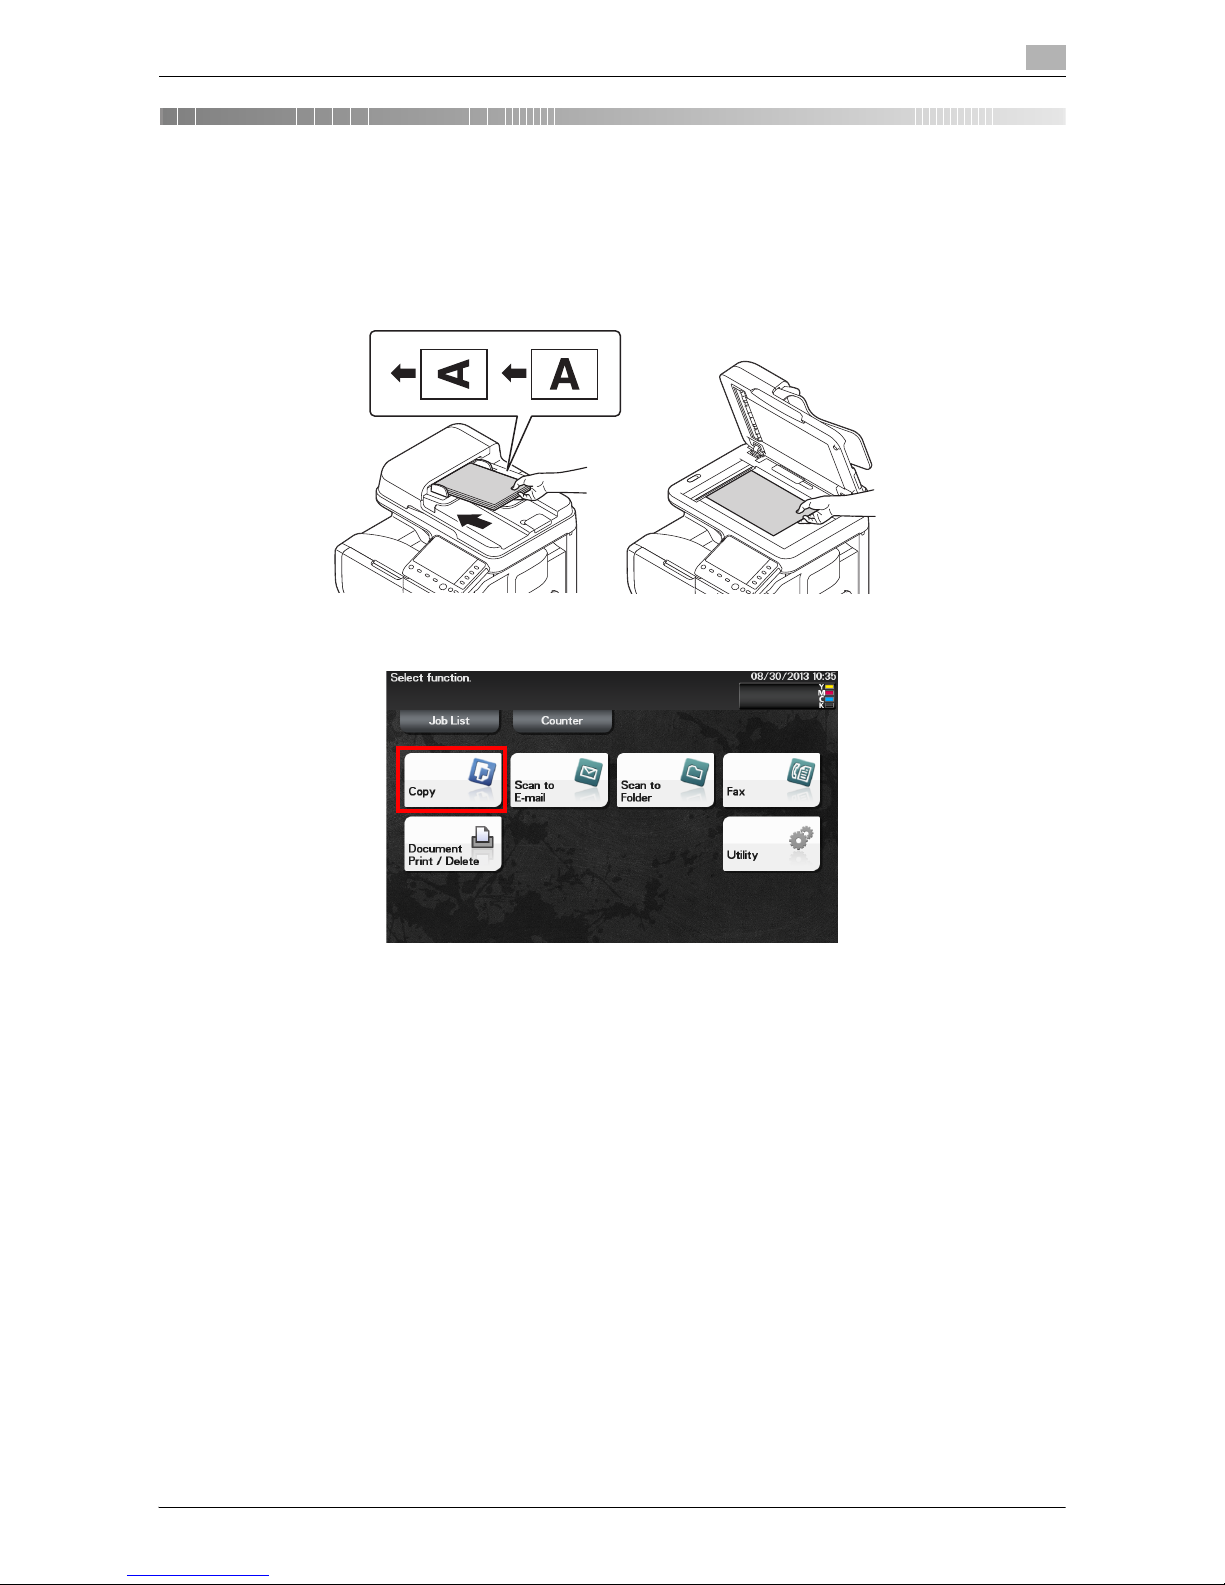
Load the original.
2 Tap [Copy].
Page 5

[Copy Functions] 1-3
1.1 Copying (basic operation flow)
1
3 If necessary, configure copy settings.
% Before scanning the original on this machine, specify the size of the original to be scanned. If you
fail to set the original size correctly, the image may be cut off. For details on how to specify the original size, refer to page 5-2.
% The setting change is reflected on the image of [Output]. Therefore, you can configure the settings
while checking the output image.
% For details on copy settings, refer to the respective columns of the following table.
4 If necessary, specify the number of copies using the Keypad.
% Tapping [No. of Sets] displays the Keypad.
% If [Keypad] is assigned to a Register key, you can press the Register key to display the Keypad on
the Touch Panel and enter data.
% To re-enter the number of copies, tap [C].
Purpose Reference
To specify the color, image quality, density, etc. for copying page 2-2
To reduce paper consumption using 2-sided copying or the Combine function page 3-2
To change the size or type of the paper to be copied page 4-2
To specify the original scanning method and copy output method page 5-2
To add the date, page number, stamp, etc. on copied documents page 6-2
Page 6
[Copy Functions] 1-4
1.1 Copying (basic operation flow)
1
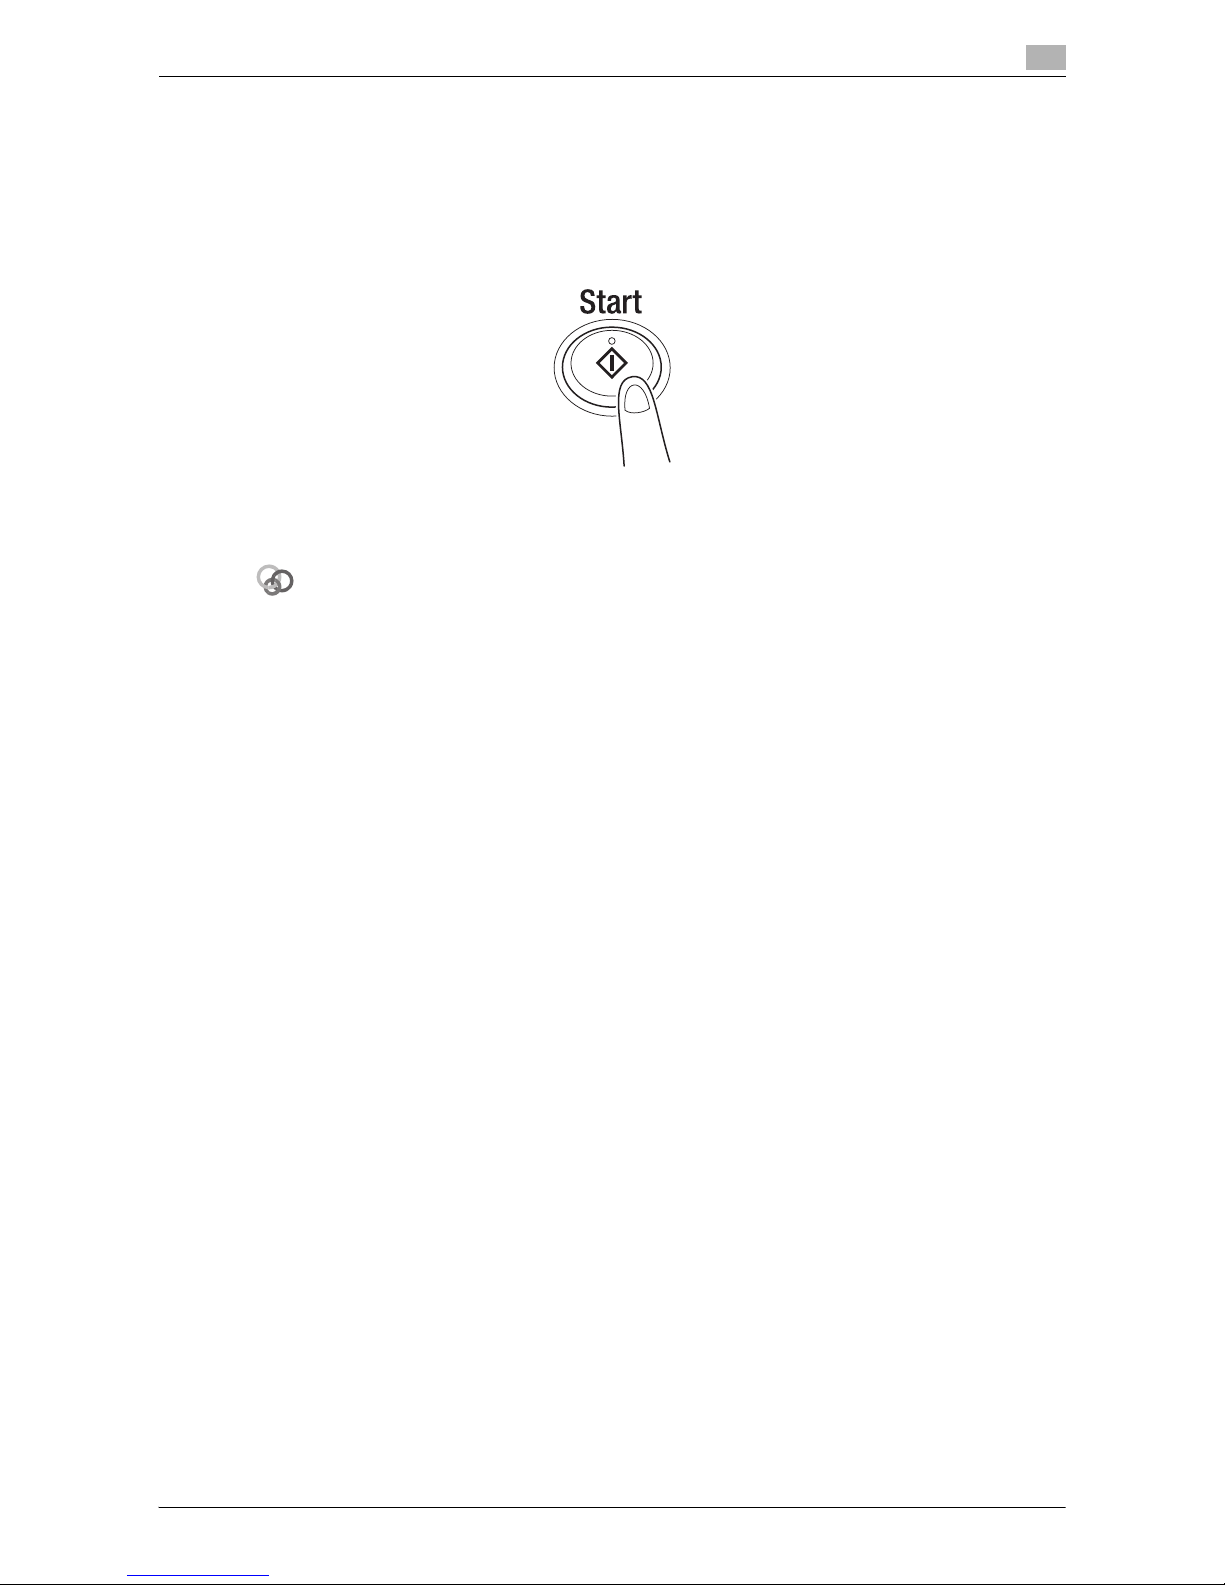
5 Press the Start key.
% If necessary, before starting a copy, tap [Check Settings] to check the settings.
% If you press the Stop key while scanning the original, scanning stops. To cancel scanning the orig-
inal, delete inactive jobs from the Job screen.
The original is scanned, and copying starts.
Related setting
You can change the default copy settings to suit your environment.
To configure settings: [Utility] - [User Settings] - [Copier Settings] - [Default Copy Settings]
Page 7
[Copy Functions] 1-5
1.2 Interrupting for copying
1
1.2 Interrupting for copying
If you urgently want to make a copy, even if the machine is printing an original, you can interrupt the active
job and make an intruder copy.
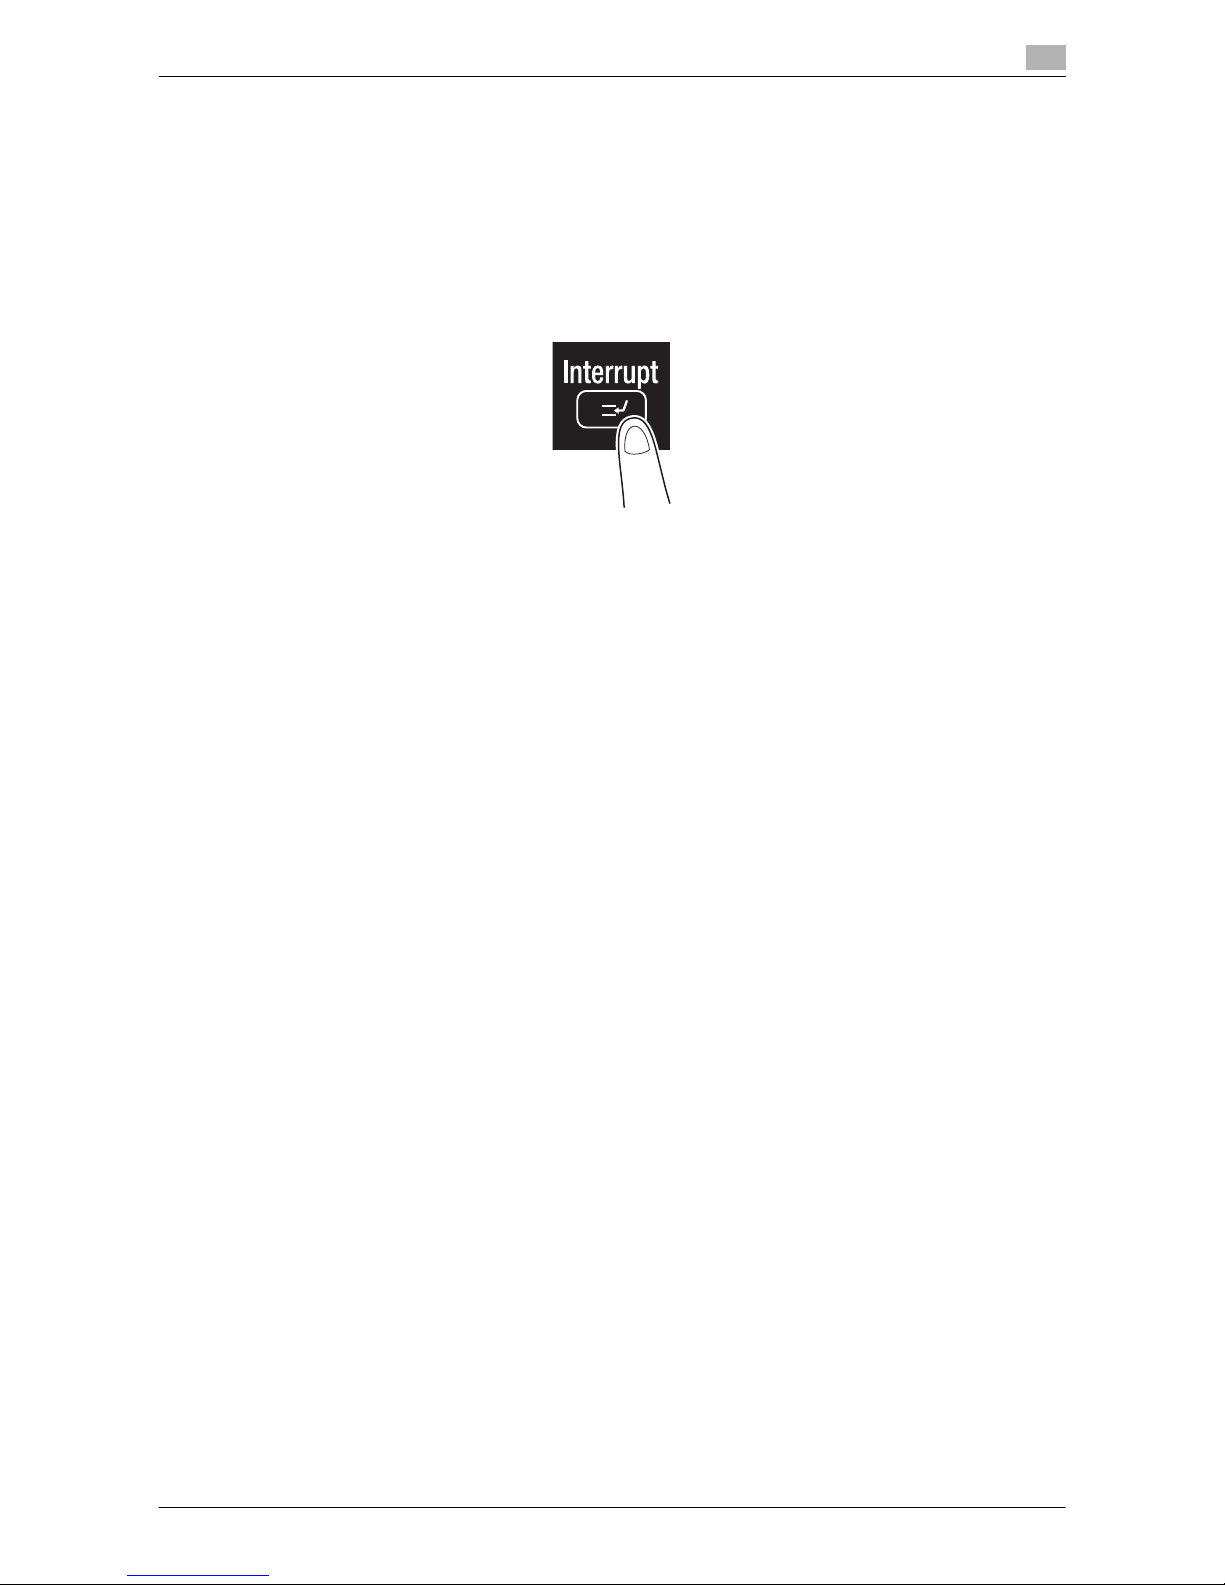
1 Tap [Interrupt].
The indicator of [Interrupt] lights up in blue and printing of the current job is suspended.
2 Load the original.
3 Configure copy settings.
4 Press the Start key.
The original is scanned, and copying starts.
5 After the copy job is completed, tap [Interrupt].
The indicator of [Interrupt] goes off and the interrupting status is canceled.
The suspended print job is resumed.
Page 8
[Copy Functions] 1-6
1.3 Making a trial printing (Proof Copy)
1
1.3 Making a trial printing (Proof Copy)
Before beginning actual copying, do a single test copy and check it is acceptable.
When making a large number of copies, use the proof copy function to prevent a large number of copy errors
from occurring.
1 Load the original.
2 Tap [Copy].
3 Configure copy settings.
4 Using the Keypad, enter the number of copies.
% Tapping [No. of Sets] displays the Keypad.
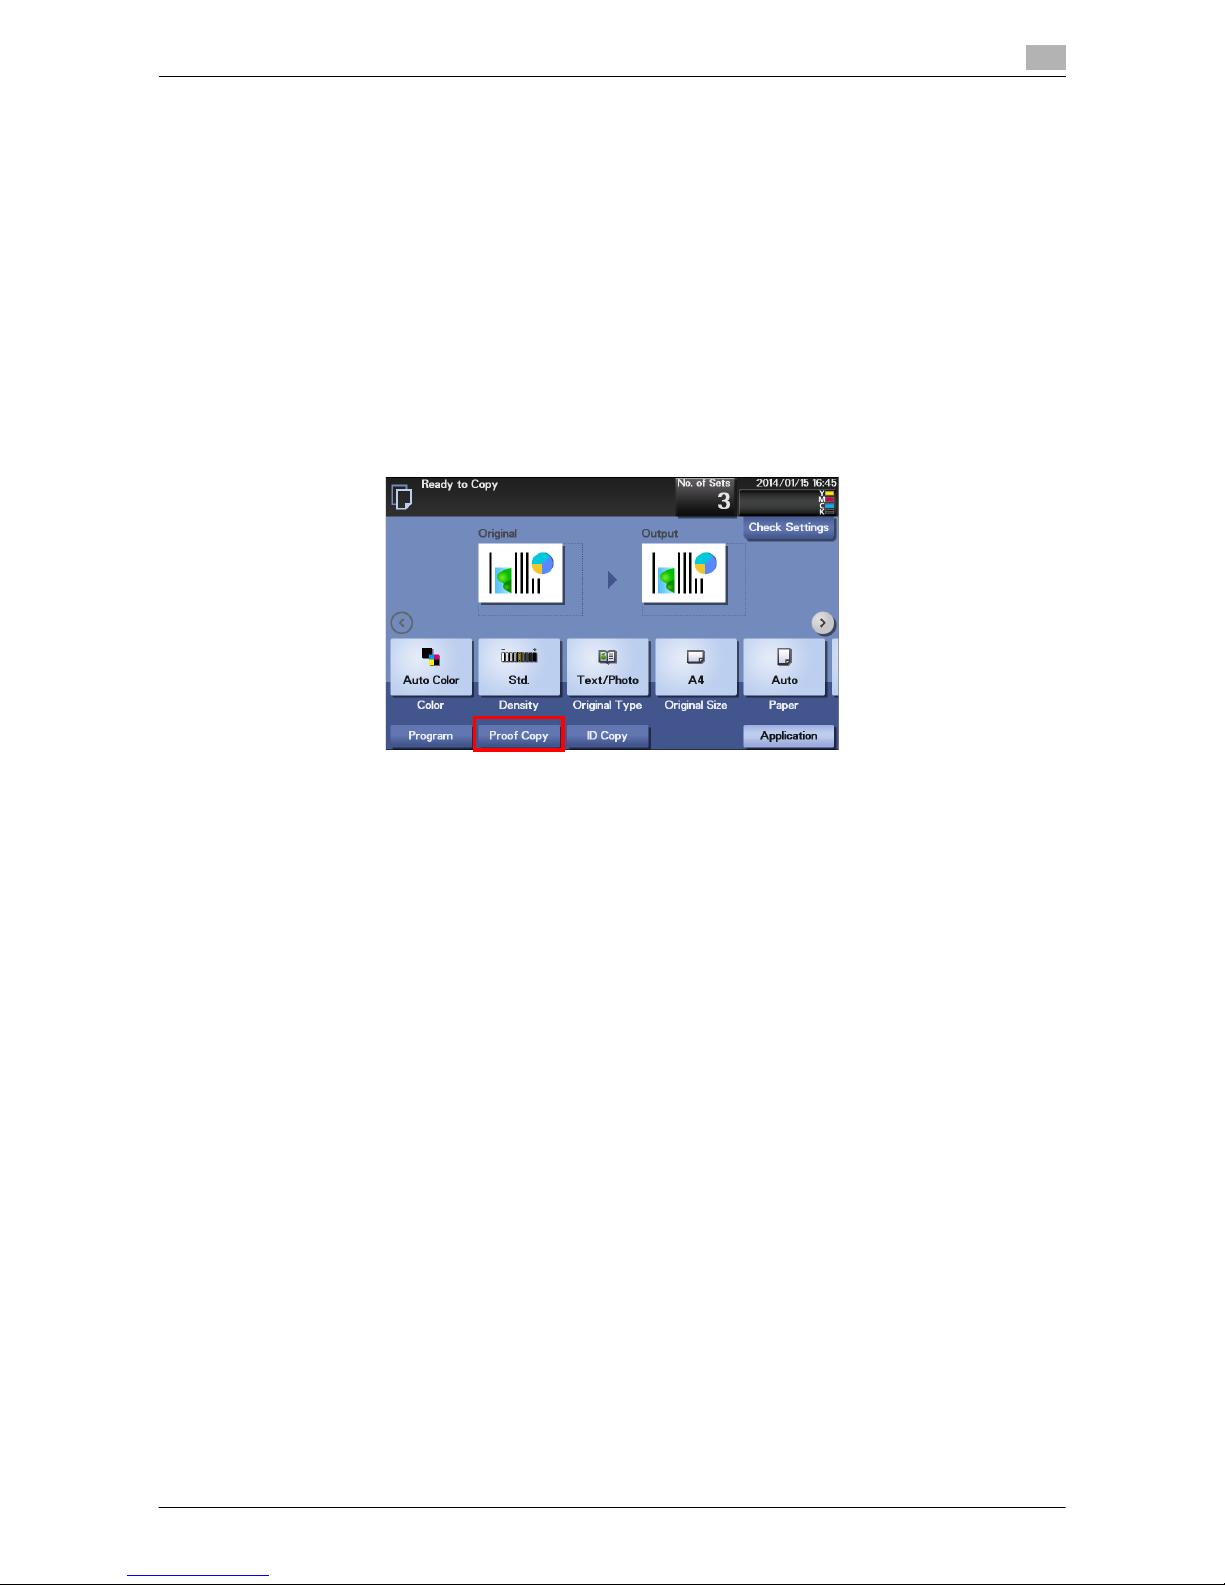
5 Tap [Proof Copy].
6 Tap [Start] or press the Start key.
Copying begins for only one copy.
7 Check the proof copy.
% To check the copy result again, tap [Proof Copy].
% To reconfigure settings, tap [Cancel].
8 Check that no problem is detected on the copy result, then tap [Print].
Copying begins for the remaining copies.
Page 9
[Copy Functions] 1-7
1.4 Recalling a program for copying
1
1.4 Recalling a program for copying
Program
Program is a function used to register a combination of various copy settings as a recall key.
When you register a program, you can easily recall the combination of various copy settings from the main
screen.
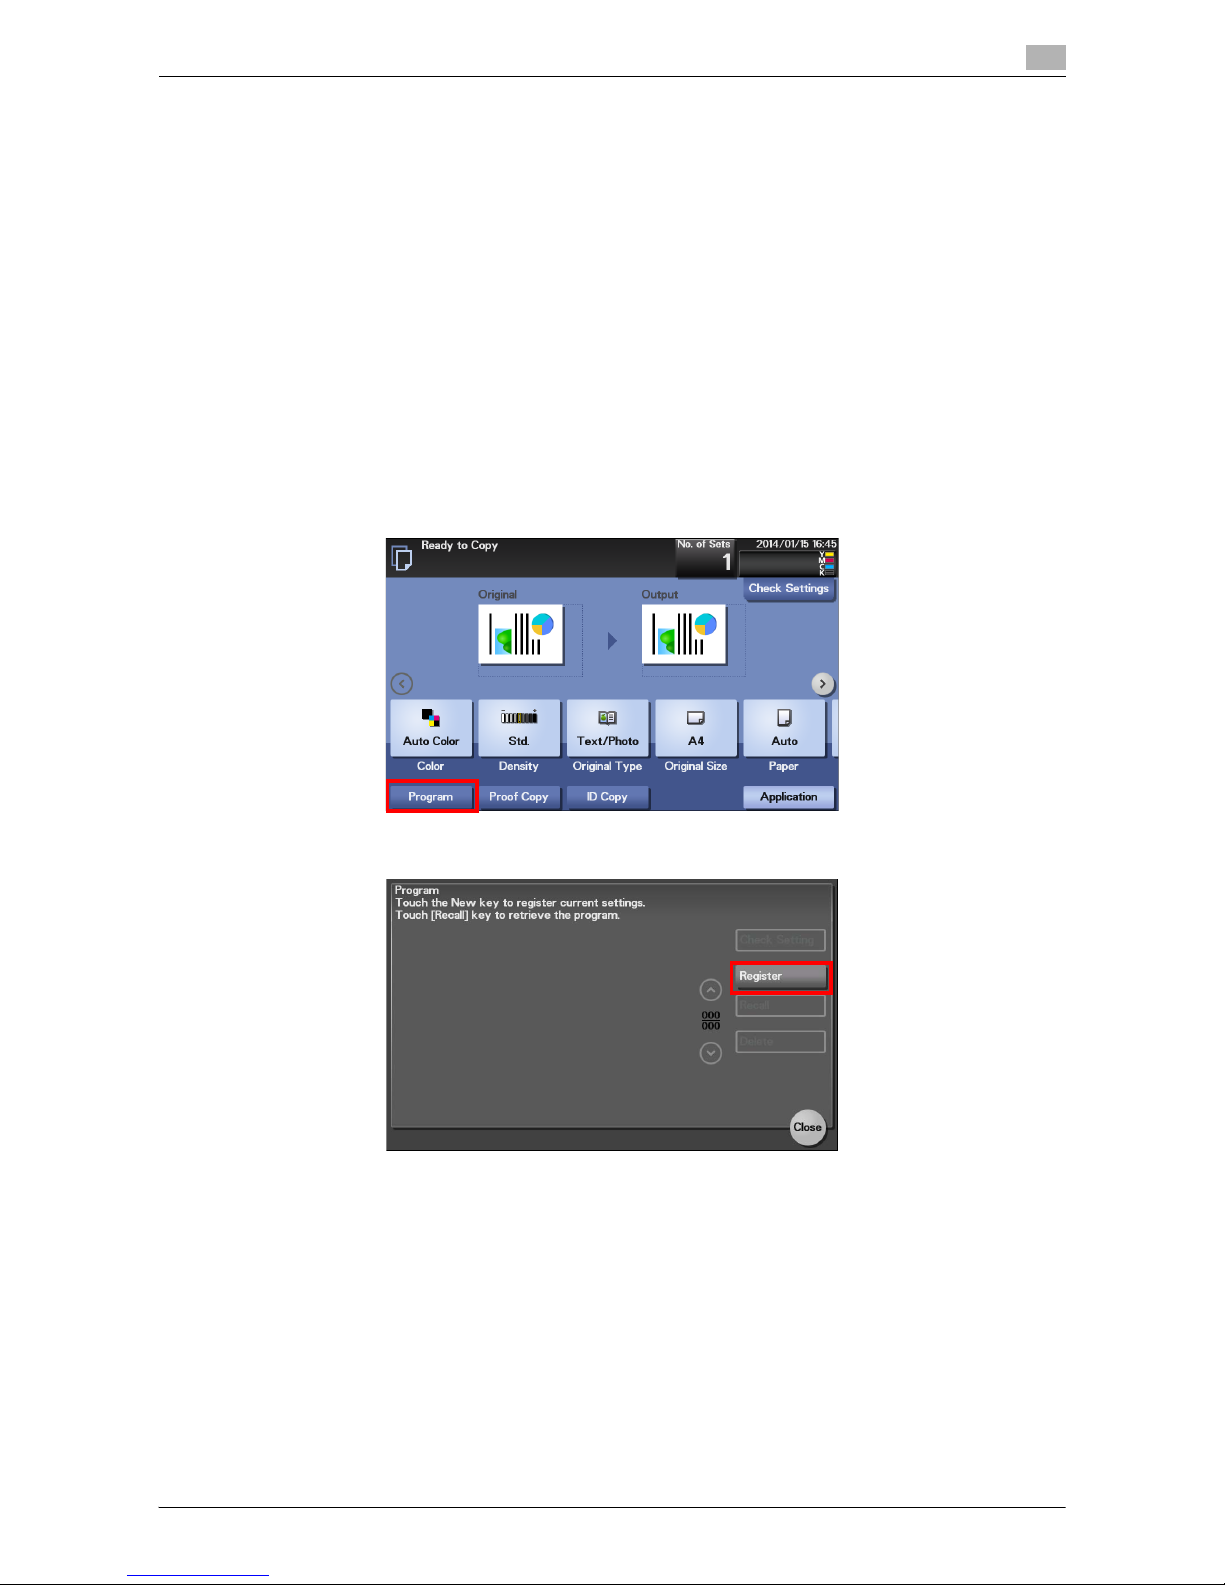
Registering a program
You can register up to 15 programs.
1 Tap [Copy].
2 Configure copy settings.
% The settings configured here are registered as a program.
3 Tap [Program].
4 Tap [Register].
Page 10
[Copy Functions] 1-8
1.4 Recalling a program for copying
1
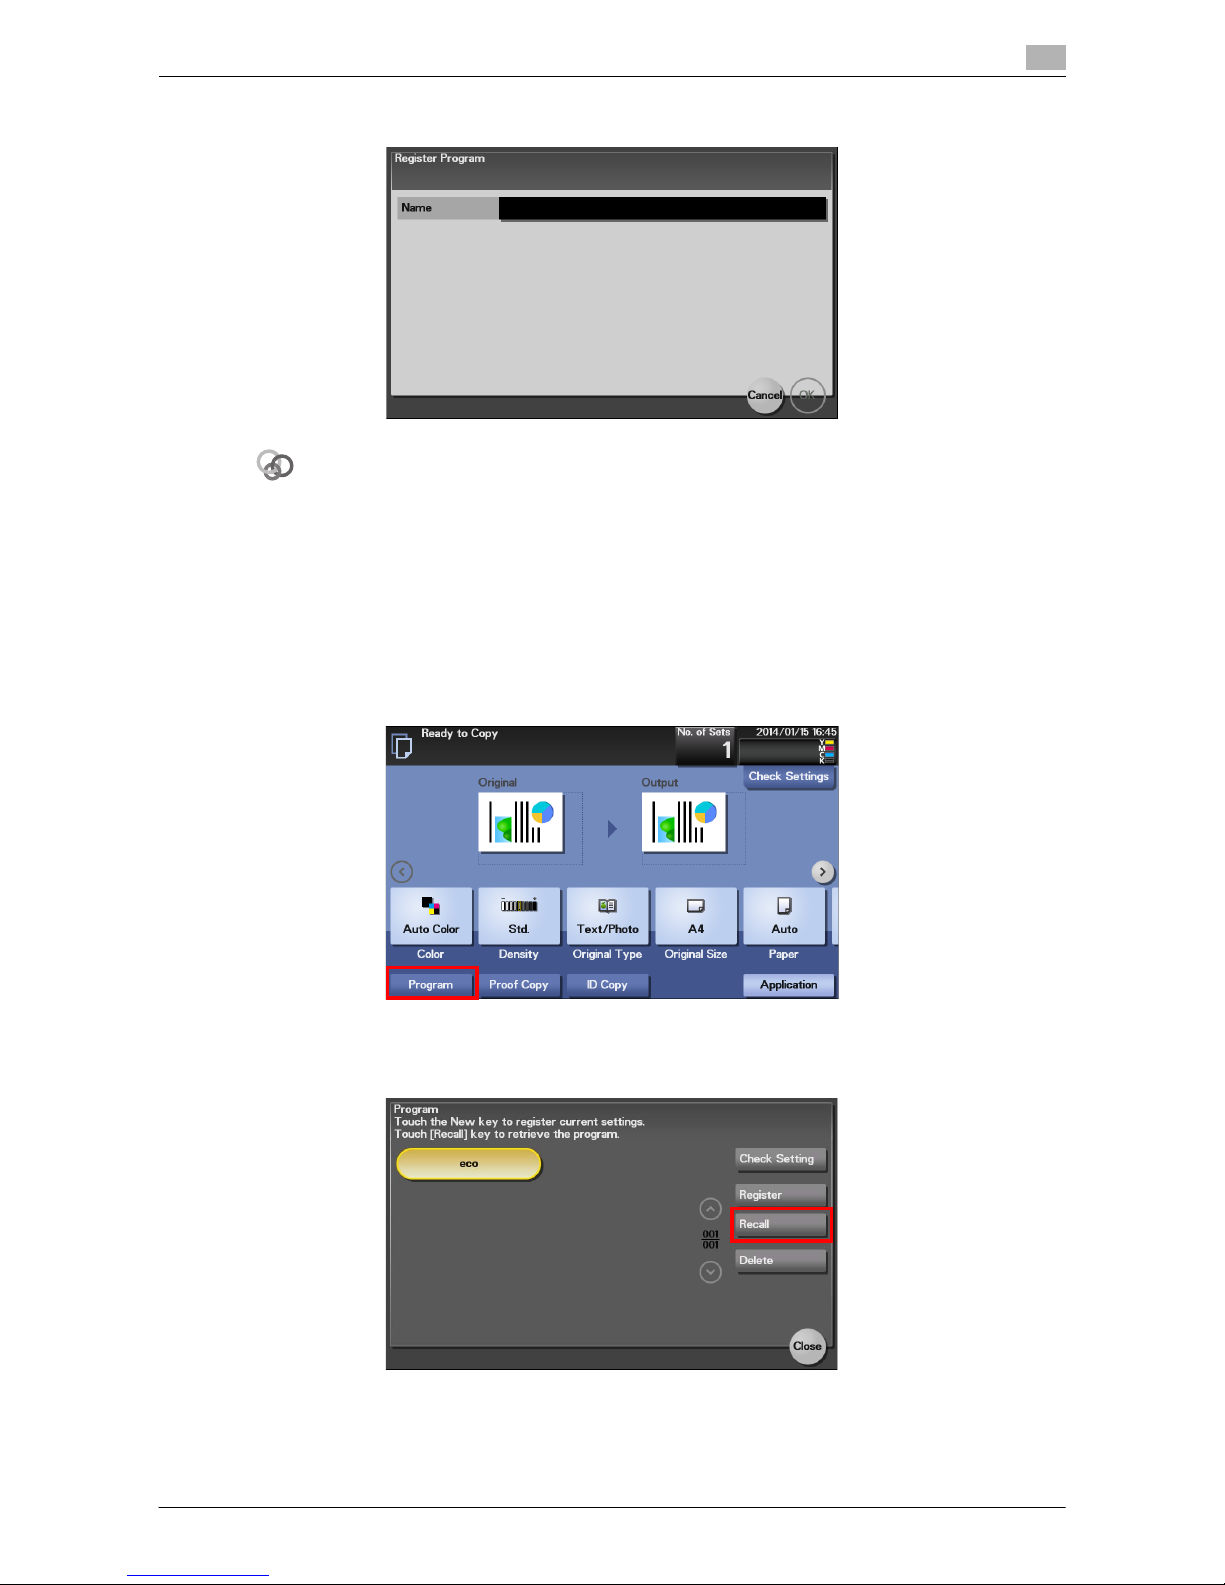
5 Tap the entry field of [Name] to enter the program name, then tap [OK].
Related setting (for the administrator)
The shortcut key for a registered program can be arranged on the main menu.
To configure settings: [Utility] - [Administrator Settings] - [System Settings] - [Main Menu Default Settings]
Recalling a program for copying
1 Load the original.
2 Tap [Copy].
3 Tap [Program].
4 Select the program you want to recall, and tap [Recall].
The registered content of the program is applied.
% When you tap [Check Setting], you can view the registered content of the selected program.
% Tap [Delete] to delete the selected program.
Page 11

[Copy Functions] 1-9
1.4 Recalling a program for copying
1
5 Press the Start key.
% If necessary, before starting a copy, tap [Check Settings] to check the settings.
The original is scanned, and copying starts.
Page 12

2
Specifying the Color and
Image Quality for Copying
Page 13

[Copy Functions] 2-2
2
2 Specifying the Color and Image Quality for Copying
Selecting the Copy Color ([Color])
To display: [Color]
Select a color for copying.
Adjusting the copy density ([Density])
To display: [Density]
Adjust the density of a copy image.
Selecting the appropriate image quality level for the contents of the original
([Original Type])
To display: [Original Type]
Select the optimum settings for the original to copy it at the optimum image quality level.
Adjusting the background density of the original ([Background Removal])
To display: [Application] - [Quality/Density] - [Background Removal]
Adjust the background density of an original with the colored background such as newspaper or an original
made with recycled paper.
Making the image glossy ([Glossy])
To display: [Application] - [Quality/Density] - [Glossy]
Images are copied with a glossy finish.
Settings Description
[Auto Color] The machine automatically selects [Full Color] or [Black] according to the color
of the scanned original when copying.
[Full Color] Print the copy in full color, regardless of whether the scanned original is in color
or in black and white.
[Black] Print the copy in black and white, regardless of whether the scanned original
is in color or in black and white.
[Black + Red]
[Black + Blue]
[Black + Green]
[Black + Yellow]
[Black + Cyan]
[Black + Magenta]
Copy in the specified two colors.
In the scanned original, an area judged to be color is copied with the specified
color, and an area judged to be black is copied in black.
Settings Description
[Text] Copy originals primarily containing text at the optimum image quality level.
This function sharpens the edges of each character, creating easy-to read images.
[Text/Photo] Tap this button to copy the original, which consists of text and photos, at the
optimum image quality level.
This function sharpens the edges of the text, and reproduces smoother photos.
[Photo] Tap this button to copy an original consisting of only photos at the optimum
image quality level.
Page 14

[Copy Functions] 2-3
2
Adjusting the image quality according to the original ([Image Adjust])
To display: [Application] - [Edit Image] - [Image Adjust]
Adjust the color quality of the original for copying.
Enlarging or reducing an image for copying ([Zoom])
To display: [Zoom]
Copy an original image enlarged or reduced by an arbitrary zoom ratio.
Settings Description
[Brightness] Adjust the brightness level of the original.
[Contrast] Adjust the shading of an image.
Lower contrast makes the image softer and smoother while higher contrast
makes it sharper.
[Saturation] Adjust the saturation level.
[Copy Density] Adjust the copy density.
[Sharpness] Sharpen the edges of the image to improve legibility.
Smoothen the rough contour or sharpen the blurred image.
[Color Balance] Adjust the density for yellow (Y), magenta (M), cyan (C), and black (K). By
changing the amount of each of the four toners, tints in the copy can be adjusted.
Settings Description
[+]/[-] Enter a zoom ratio manually. You can also enter the zoom ratio from the Key-
pad. To display the Keypad, tap the input area for the numeral.
[Zoom Ratio] Tap this button to make a copy with the pre-registered zoom ratio ([400.0%],
[200.0%], [50.0%], or [Minimal]). Selecting [Minimal], an original image will be
placed in the center after the size of the original is slightly reduced when copying. Select this option when copying the entire original image, including its
edges.
Selecting [Set Zoom] enables you to change the zoom ratio value displayed in
[Set Zoom].
[Auto] Tap this button to automatically make a copy with the optimal zoom ratio to
match the image of the original with the paper size. It is convenient that you do
not need to specify the zoom ratio.
[100.0%] Tap this button to copy an original image with the same size as for the original.
Fixed Zoom Select a preset zoom when copying from a standard size original onto a stand-
ard size sheet of paper.
When [Paper] is set to [Auto], the paper tray is automatically switched depending on the selected zoom ratio.
Page 15

[Copy Functions] 2-4
2
Adding a margin on pages ([Page Margin])
To display: [Application] - [Layout] - [Page Margin]
If you want to add a binding margin to bind copied sheets, adjust the margin size.
Left Bind
Top Bind
Right Bind
Tips
If part of the image is lost when copied with the specified binding margin settings, reduce the zoom to perform copying.
Settings Description
[ON]/[OFF] Select [ON] to set a page margin.
[Margin Position] Select the paper binding position.
• [Auto]: The binding direction is automatically set. When the long side of the
paper is 11-11/16 inches (297 mm) or less, the binding position is set to the
long edge of the paper. When the long side of the paper exceeds 11-11/16
inches (297 mm), the binding position is set to the short edge of the paper.
• [Left Bind]: Select this option to add a binding margin at the left of the paper.
• [Right Bind]: Select this option to add a binding margin at the right of the
paper.
• [Top Bind]: Select this option to add a binding margin at the top of the paper.
[Margin Width] Use the [+]/[-] key or Keypad to adjust the margin size. To display the Keypad,
tap the input area for the numeral.
When not specifying the margin size, select [None].
[Original Direction] Specify the orientation of the loaded original.
This machine copies in the same direction as for the original so that the front
and back sides of paper do not turn upside down.
4
4
ABC
DEF
GHI
3
3
ABC
DEF
GHI
2
2
ABC
DEF
GHI
1
1
ABC
DEF
GHI
3
3
ABC
DEF
GHI
1
2
AB
DE
GH
4
4
ABC
DEF
GHI
2
2
ABC
DEF
GHI
2
2
ABC
DEF
GHI
1
1
ABC
DEF
GHI
4
4
ABC
DEF
GHI
2
2
ABC
DEF
GHI
2
2
ABC
DEF
GHI
1
1
ABC
DEF
GHI
4
4
ABC
DEF
GHI
3
3
ABC
DEF
GHI
2
2
ABC
DEF
GHI
1
1
ABC
DEF
GHI
3
3
ABC
DEF
GHI
ABC
1
2
ABC
4
4
ABC
DEF
GHI
ABC
DEF
GHI
2
2
ABC
DEF
GHI
1
1
ABC
DEF
GHI
3
3
ABC
DEF
GHI
1
2
HI
4
4
ABC
DEF
GHI
2
2
ABC
DEF
GHI
2
2
ABC
DEF
GHI
1
1
ABC
DEF
GHI
Page 16

3
Saving the Number of Print
Sheets
Page 17

[Copy Functions] 3-2
3
3 Saving the Number of Print Sheets
Copying on both sides of paper ([Duplex])
Copy the 1-sided original on both sides of paper, or copy the 2-sided original on both sides or on a single
side of sheets of paper.
By using both sides of paper for copying, you can reduce paper consumption by half. You can further reduce
the amount of paper used by using the Combine function.
This section describes the operation flow in the case where a 1-sided original of multiple pages is copied onto
both sides of sheets of paper.
1 Load the original.
2 Tap [Duplex/Combine].
3 In [Duplex], tap [1-Sided > 2-Sided].
% For 2-sided original, select [2-Sided > 1-Sided] or [2-Sided > 2-Sided]. Select an arbitrary key ac-
cording to the original condition and copy result.
4 In [Binding Position], specify [Original] and [Output].
% For 1-sided originals, select the copy binding position in [Output]. If [Auto] is selected, the copy
binding position is automatically determined to fit the length of the long side of the paper.
% For 2-sided originals, select the original and copy binding positions in [Original] and [Output]. If [Au-
to] is selected, the copy binding position is automatically determined to fit the length of the long side
of the original and the paper.
5 Tap [Original Direction], then select the original loading direction.
6 Tap [OK].
7 Press the Start key.
The original is scanned, and copying starts.
Page 18

[Copy Functions] 3-3
3
Copying multiple pages on the same side of a single sheet ([Combine])
Multiple pages (such as two or four pages) can be reduced and copied on the same side of a single sheet,
enabling you to reduce paper consumption. You can further reduce paper consumption by combining with
the 2-Sided copy function.
You can select the page layout when copying a 4-page image onto the same side of one sheet.
The following describes the operation flow in the case where multiple 1-sided originals are copied, two pages
are reduced into the same side of one page, and printed on both sides of paper.
1 Load the original.
2 Tap [Duplex/Combine].
3 In [Duplex], tap [1-Sided > 2-Sided].
% For 2-sided original, select [2-Sided > 1-Sided] or [2-Sided > 2-Sided]. Select an arbitrary key ac-
cording to the original condition and copy result.
4 In [Binding Position], specify [Original] and [Output].
% For 1-sided originals, select the copy binding position in [Output]. If [Auto] is selected, the copy
binding position is automatically determined to fit the length of the long side of the paper.
% For 2-sided originals, select the original and copy binding positions in [Original] and [Output]. If [Au-
to] is selected, the copy binding position is automatically determined according to the specified
Combine setting (1 in 1, 2 in 1, and 4 in 1) and the length of the long side of the original and the
paper.
5 Tap [Combine].
6 Tap [2 in 1].
% To copy four pages on the same side of a single sheet, select [4 in 1 Horizontal] or [4 in 1 Vertical],
taking into account the layout.
7 Tap [Original Direction], then select the original loading direction.
8 Tap [OK].
9 Press the Start key.
The original is scanned, and copying starts.
Page 19

[Copy Functions] 3-4
3
Copying the front and back sides of a card on the same side of a single sheet
of paper ([ID Copy])
When you want to copy cards, such as an insurance card, a driver license card and a business card, you can
arrange the front and back sides of the card on a single page and copy the images on to the same side of
one sheet. This can reduce the number of sheets used.
0 The zoom ratio is fixed to 100%.
1 Place a card on the Original Glass.
% When placing a card on the Original Glass, align it to the left back of the Original Glass. However,
the copied card is located 13/16 inches (20 mm) from the top and left edges of a sheet; change the
card location, if necessary.
% The areas, which are 1/16 inches (2 mm) at the top and left edges of a card, are not scanned be-
cause shade clear processing is carried out.
2 Tap [Paper], and specify the paper tray for printing the card.
% The available paper sizes are A4, letter (8-1/2 e 11), and legal (8-1/2 e 14).
3 Tap [ID Copy].
4 Press the Start key.
The front side of the card is scanned.
5 Turn the card over and place it on the Original Glass.
% Place the card at the same position as that placed in Step 1.
% If you print the card without scanning the back side, tap [Print].
6 Press the Start key.
The back side of the card is scanned, and copying starts.
A
B
Page 20

4
Specifying the Size or Type of
the Paper to Be Copied
Page 21

[Copy Functions] 4-2
4
4 Specifying the Size or Type of the Paper to Be Cop-
ied
Selecting the paper size and paper type ([Paper])
To display: [Paper]
Select the size and type of the paper for copying. You can also change the size and type settings of the paper
loaded in paper trays.
dReference
For details on the paper available for this machine, refer to Chapter 6 "Loading Paper" in [User's Guide: Introduction].
Copying on paper of a special size ([Custom Size])
Copy on custom-size paper loaded in the Manual Feed Tray.
1 Tap [Paper].
2 Select Manual Feed Tray, then tap [Change Tray Settings].
3 In [Paper Size], tap [Custom Size].
4 Tap the [+]/[-] key or Keypad to enter the length (X) and width (Y) of the paper.
% To display the Keypad, tap the input area for the numeral.
5 Tap [OK].
Settings Description
[Auto] Tap this button to automatically select paper fitting the size of the original when
making a copy.
[1] to [3] Tap this button to specify paper loaded into any of Tray 1 to Tray 3 and make
a copy.
Tray 2 and Tray 3 are available when the optional Paper Feed Unit is installed.
[#] (Manual Feed) Tap this button to copy onto the paper loaded into the Manual Feed Tray.
[Change Tray Settings] If necessary, change the size and type settings of the paper loaded in the se-
lected paper tray.
• [Paper Type]: Select the type of the paper loaded into the selected paper
tray. If you have loaded a special type of paper into the paper tray, be sure
to specify the paper type.
• [Paper Size]: Select the size of the paper loaded into the selected paper
tray.
Page 22

5
Specifying the Method to
Scan the Original and the
Method to Output Copy
Page 23

[Copy Functions] 5-2
5
5 Specifying the Method to Scan the Original and the
Method to Output Copy
Specifying the size of the original to be scanned ([Original Size])
To display: [Original Size]
Select the size of the original to be scanned.
Tips
Using the ADF, you can collectively scan originals of letter and legal sizes that have the same width. In this
case, set [Original Size] to [8 1/2 e 11, 14 Mixed].
Scanning a number of originals in several batches ([Separate Scan])
If the number of original sheets is so large that they cannot be loaded into the ADF at the same time, you can
load them in several batches and handle them as one job.
In [Separate Scan], you can switch between the ADF and Original Glass to scan the originals.
1 Load the original.
NOTICE
Do not load more than 50 sheets at a time into the original tray, and do not load the sheets up to the
point where the top of the stack is higher than the
,
mark. Doing so may cause a paper jam involving
the originals, damage the originals, and/or cause an ADF failure.
2 Tap [Application] - [Original] - [Separate Scan], then set to [ON].
3 Press the Start key.
The original is scanned.
4 Load the next original, then press the Start key.
% Press [Change Settings] to change the option settings according to the new original if necessary.
5 Repeat Step 4 until all originals have been scanned.
6 After all original pages have been scanned, tap [Finish] to start copying.
Settings Description
[Standard Size] Select the original size to scan the original in the standard size such as the met-
ric or inch size.
[Custom Size] Select this option to scan originals in custom size.
Tap the [+]/[-] key or Keypad to enter the length (X) and width (Y) of the original.
To display the Keypad, tap the input area for the numeral.
Page 24

[Copy Functions] 5-3
5
Printing out on a set basis ([Group/Sort])
To display: [Finishing]
Select whether to sort the output sheets or group them when printing multiple sets of copies.
Sort
Group
Outputting by page number or by set ([Offset])
To display: [Finishing]
When multiple sets of copies are printed, the output position of each set is staggered to enable easy separation.
You can offset each set of copies by using the Sort and Offset functions. This function is useful for preparing
handouts.
Tips
This function is only available when bizhub C3850FS is used.
Stapling ([Staple])
To display: [Finishing]
Feed out each set of copied sheets of paper after stapling them in one corner. This function is useful when
preparing a project proposal or other booklet materials.
Tips
This function is only available when bizhub C3850FS is used.
Settings Description
[Auto] The Sort and Group functions are switched automatically according to the
number of printed sheets for each set.
For example, if the number of printed sheets for each set is one, this option is
automatically switched to Group, and the sheet is output. If the number of
printed sheets is two or greater, this option is automatically switched to Sort,
and the sheets are output.
[Group] Select this item to feed out separately page by page such as "111", "222",
"333", "444", and "555".
[Sort] Select this item to feed out copies separately one by one such as "12345",
"12345", and "12345".
1
1
1
4
3
2
1
4
3
2
1
1
1
1
Page 25

[Copy Functions] 5-4
5
Erasing text or shadows in the margins of an original ([Frame Erase])
To display: [Application] - [Erase] - [Frame Erase]
Erases the four sides of the original to the same width. You can specify the width to be erased for each side.
Settings Description
[ON]/[OFF] Select [ON] to specify Frame Erase.
[Frame] Select this option to erase the four sides of the original to the same width.
In [Erase Amount], tap [+]/[-] or Keypad to specify the width to be erased. To
display the Keypad, tap the input area for the numeral.
[Top]/[Bottom]/[Left]/[Right]
Select this option to erase the four sides of the original to different widths.
[Frame] setting, select a side ([Top], [Bottom], [Left], or [Right]), then tap the [+]
or [-] key or the Keypad in [Erase Amount] to specify the width you want to
erase for each side. To display the Keypad, tap the input area for the numeral.
If you do not want to erase the side, cancel the setting for [Erase].
Page 26

6
Adding Text or Images to the
Original
Page 27

[Copy Functions] 6-2
6
6 Adding Text or Images to the Original
Adding a date and time ([Date/Time])
To display: [Application] - [Stamp/Composition] - [Date/Time]
Add a date and time to make a copy.
Tips
If [Date/Time] cannot be changed to [OFF], your administrator has configured a setting to ensure that the date
and time are always printed out.
Adding page numbers ([Page Number])
To display: [Application] - [Stamp/Composition] - [Page Number]
Add page numbers to make a copy.
Tips
If [Page Number] cannot be changed to [OFF], your administrator has configured a setting to ensure that page
numbers are always printed out.
Settings Description
[ON]/[OFF] Select [ON] to print the date/time.
[Date Format] Select the date/time format.
[Time Format] Select the time format. If you do not want to print time, select [OFF].
[Text Details] Specify the size of the text to be printed.
[Print Position] Select the position of the text to be printed.
Settings Description
[ON]/[OFF] Select [ON] to print page numbers.
[Page Number Type] Select the format of the page number.
[Starting Page Number] Enter the starting page number to be printed on the first page using the Key-
pad.
To display the Keypad, tap the input area for the numeral.
[Text Details] Specify the size of the text to be printed.
[Print Position] Select the position of the text to be printed.
Page 28

[Copy Functions] 6-3
6
Adding a stamp ([Stamp])
To display: [Application] - [Stamp/Composition] - [Stamp]
Add text such as "PLEASE REPLY" or "DO NOT COPY" to make a copy.
Tips
- If [Stamp] cannot be changed to [OFF], your administrator has configured a setting to ensure that a
stamp is always printed out.
- [Stamp] cannot be specified together with [Watermark] or [Distribution Control Number].
Adding a water mark ([Watermark])
To display: [Application] - [Stamp/Composition] - [Watermark]
Add text such as "Copy" or "Private" in the center of each page in a tint color to make a copy.
Tips
[Watermark] cannot be specified together with [Stamp] or [Distribution Control Number].
Adding distribution control numbers ([Distribution Control Number])
To display: [Application] - [Stamp/Composition] - [Distribution Control Number]
When printing multiple sets of copies, add distribution control numbers to make a copy.
Tips
- If [Distribution Control Number] cannot be changed to [OFF], your administrator has configured a set-
ting to ensure that distribution control numbers are always printed out.
- [Distribution Control Number] cannot be specified together with [Stamp] or [Watermark].
Settings Description
[ON]/[OFF] Select [ON] to print a stamp.
[Stamp Imprint] Select the stamp you want to print.
[Text Details] Specify the size of the text to be printed.
[Print Position] Select the position of the text to be printed.
Settings Description
[ON]/[OFF] Select [ON] to print a watermark.
[Watermark Type] Select the watermark you want to print.
Settings Description
[ON]/[OFF] Select [ON] to print out distribution control numbers.
[+]/[-] Use the [+] or [-] key or the Keypad to enter the starting number of distribution
control numbers.
To display the Keypad, tap the input area for the numeral.
[Text Size] Specify the size of the text to be printed.
[Density] Select the density of the text to be printed.
Page 29

7
Index
Page 30

[Copy Functions] 7-2
7
7Index
B
Background Removal ..................................................2-2
C
Color ............................................................................2-2
Combine
......................................................................3-3
Custom Size
................................................................4-2
D
Date/Time ....................................................................6-2
Density
........................................................................2-2
Distribution Control Number
.......................................6-3
Duplex
.........................................................................3-2
F
Finishing ......................................................................5-3
Frame Erase
................................................................5-4
G
Glossy .........................................................................2-2
Group ..........................................................................5-3
H
How to Copy ...............................................................1-2
I
ID Copy .......................................................................3-4
Image Adjust ...............................................................2-3
Interrupt
.......................................................................1-5
O
Offset ...........................................................................5-3
Original Size ................................................................5-2
Original Type
...............................................................2-2
P
Page Margin ................................................................2-4
Page Number
..............................................................6-2
Paper
...........................................................................4-2
Program
.......................................................................1-7
Recalling ................................................................1-8
Register .................................................................1-7
Proof Copy
..................................................................1-6
S
Separate Scan .............................................................5-2
Sort ..............................................................................5-3
Stamp
..........................................................................6-3
Standard Size
..............................................................5-2
Staple ..........................................................................5-3
W
Watermark ...................................................................6-3
Z
Zoom ...........................................................................2-3
Page 31

A3GN-9566-22A
2
014.
7
© 201
3
http://konicaminolta.co
m
 Loading...