


KitchenAid KSB1570WH0, KSB1570SL0, KSB1570QG0, KSB1570OB0, KSB1570IC0 Owner’s Manual
...
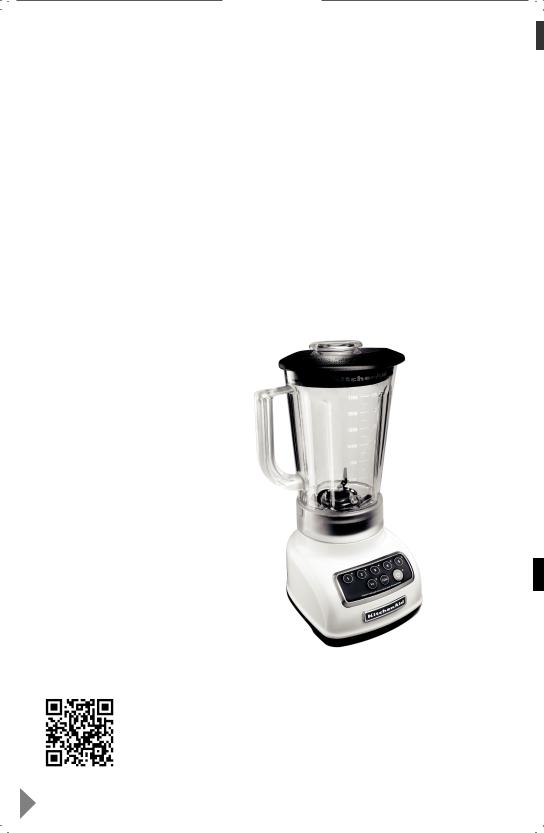
KSB1570
INSTRUCTIONS INSTRUCTIONS INSTRUCCIONES
Welcome to the world of KitchenAid®.
We’re committed to helping you create a lifetime of delicious meals for family and friends. To help ensure the longevity and performance of your appliance, keep this guide handy. It will empower you with the best way to use and care for your product. Your satisfaction is our #1 goal. Remember to register your product online at www.kitchenaid.com or by
mail using the attached Product Registration Card.
Join us in the kitchen at www.kitchenaid.com.
Scan with your mobile device for recipes, tips, and more.
2 |
USA: 1.800.832.7173 |
KitchenAid.com |
|
Canada: 1.800.807.6777 |
KitchenAid.ca |
||
|
|||
|
|
|

BLENDER INSTRUCTIONS |
|
Table of Contents |
|
blender SAFETY |
|
Important safeguards.......................................................................................... |
4 |
Electrical requirements....................................................................................... |
5 |
PARTS AND FEATURES |
|
Parts and accessories.......................................................................................... |
6 |
Assembling the blender |
|
Preparing the Blender for use............................................................................. |
6 |
operating the blender |
|
Using the Blender................................................................................................ |
8 |
Crushing ice........................................................................................................ |
9 |
Using Pulse mode.............................................................................................. |
10 |
Using the Blender pitcher ingredient cup, and Soft Start blending feature....... |
11 |
Speed control guide.......................................................................................... |
11 |
Tips for great results |
|
Quick tips.......................................................................................................... |
12 |
How to.............................................................................................................. |
12 |
CARE AND CLEANING |
|
Cleaning the Blender......................................................................................... |
13 |
Troubleshooting |
|
Blender does not operate when a setting is selected....................................... |
14 |
Blender stops while blending............................................................................ |
14 |
WARRANTY........................................................................................................... |
15 |
English
Proof of Purchase & Product Registration
Always keep a copy of the itemized sales receipt showing the date of purchase of your Blender. Proof of purchase will assure you of in-warranty service. Before you use your
Blender, please fill out and mail your product registration card packed with the unit, or register on-line at www.kitchenaid.com. This card will enable us to contact you in the unlikely event of a product safety notification and assist us in complying with the provisions of the
Consumer Product Safety Act. This card does not verify your warranty. Please complete the following for your personal records:
Model Number_________________________________________________________________________
Ser_ial Number_ ________________________________________________________________________
Date Pur_chased_______________________________________________________________________
Stor_e Name_ _________________________________________________________________________
3

BLender Safety
IMPORTANT SAFEGUARDS
When using electr_ical appliances, basic safety pr_ecautions should always be followed, including the following:
1.Read all instructions.
2.To protect against risk of electrical shock, do not put Blender in water or other liquid.
3.Close supervision is necessary when any appliance is used by or near children.
4.Unplug from outlet when not in use, before putting on or taking off parts, and before cleaning.
5.Avoid contact with moving parts.
6.Do not operate the Blender with a damaged cord or plug or after appliance malfunctions, or is dropped or damaged in any manner. Return appliance to the nearest Authorized Service Center for examination, repair or electrical or mechanical adjustment.
7.Do not use outdoors.
8.Do not let cord hang over edge of table or counter.
9.Keep hands and utensils out of container while blending to reduce the risk of severe injury to persons or damage to the Blender. A scraper may be used but must be used only when the Blender is not running.
10.Blades are sharp. Handle carefully.
11.Always operate Blender with cover in place.
4
Blender Safety
12.The use of attachments, including canning jars, not recommended by KitchenAid may cause a risk of injury to persons.
13.When blending hot liquids, remove center piece of two-piece cover.
14.Flashing light indicates ready to operate - avoid any contact with blades or moveable parts.
15.This product is designed for household use only.
SAVE THESE INSTRUCTIONS
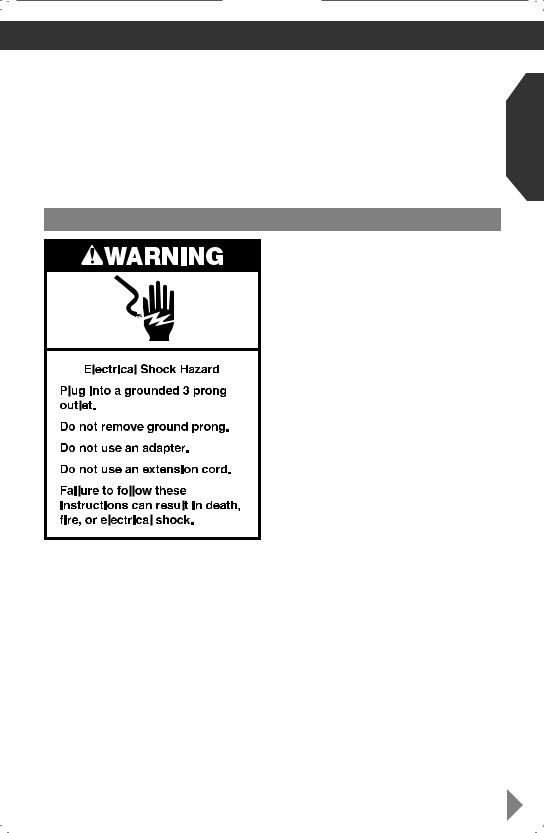
Electr_ical r_equir_ements
Voltage: 120 Volts A.C. only Frequency: 60 Hz
NOTE: If the plug does not fit in the outlet, contact a qualified electrician. Do not modify the plug in any way. Do not use an adapter.
Do not use an extension cord. If the power supply cord is too short, have a qualified electrician or serviceman install an outlet near the appliance.
English
5

Parts and Features
Par_ts and accessor_ies
 Lid with ingr_edient cup
BPA Fr_ee
pitcher_
Stainless steel blade
Speed selection buttons
Clean touch contr_ol pad
 Die-cast
metal base
Assembling the blender
Pr_epar_ing the Blender_ for_ use
Befor_e Fir_st Use
Before using your Blender for the first time, wipe Blender base with a warm damp cloth, then wipe clean with a damp cloth. Dry with a soft cloth. Wash pitcher, lid, and ingredient cup in warm, sudsy water (see “Care and Cleaning” section). Rinse parts and wipe dry.
6
Tab
Slot 
1 |
Align the pitcher tabs with the slots on |
the base. The pitcher handle may be on |
the right or left side of the blender base.
 Loading...