


KMC
MEDIA CENTER
Owner’s Manual
KMC100
KMC MULTI-MEDIA RECEIVER WITH USB, BLUETOOTH and SiriusXM-Ready™
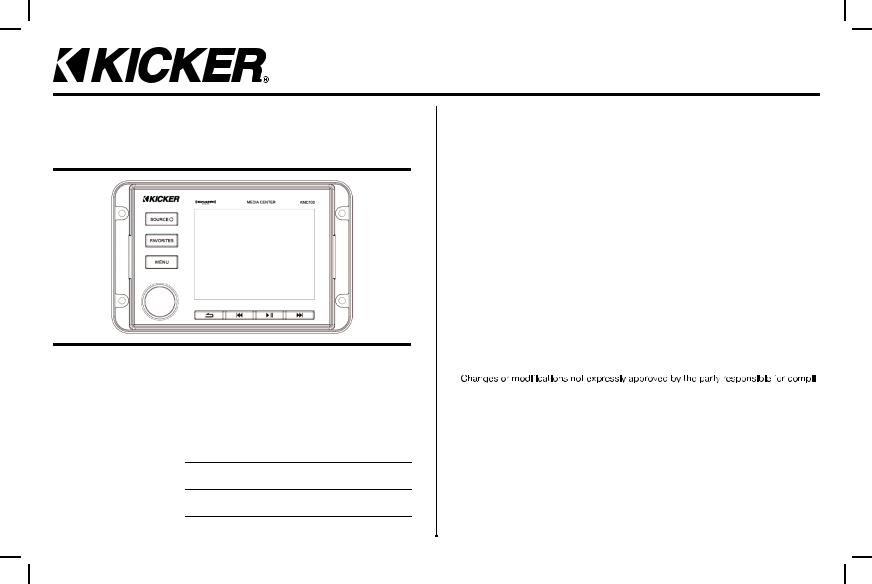
Media Center
Multi-Media Receiver w/ USB, Bluetooth and SiriusXM-Ready™
Thank you for purchasing the KMC100 Media Center. We recommend reading through the entire manual for detailed instructions on how to install and operate the unit. For support please call: 1-800-844-2774
ITEMS INCLUDED:
(1)KMC100 (1) Trim Ring (1) Wiring Harness (1) UV Cover
(1)Mounting Gasket (1) Owner’s Manual
Purchase Date:
Serial Number:
SiriusXM Radio ID:
2 |
(SiriusXM® Connect Tuner sold separately) |
|
KMC100
Owner’s Manual
FCC Compliance Statement
This equipment has been tested and found to comply with the limits for a Class B digital device, pursuant to part 15 of the FCC Rules. These limits are designed to provide more reasonable protection against harmful interference in a residential installation.
Operation is subjected to the following two conditions: (1) This device may
not cause harmful interference, and (2) the device must accept any interference received, including interference that may cause undesired operation.
This equipment generates, uses, and can radiate radio frequency energy and, if not installed and used in accordance with the instructions, may cause
harmful interference to radio communications. However, there is no guarantee that interference will not occur in a particular installation. If this equipment does cause harmful interference to radio or television reception, which can be determined by turning the equipment off and on, you are encouraged to try to correct the interference by one of the following measures:
•Reorient or relocate the receiving antenna.
•Increase the separation between the equipment and receiver.
•Connect the equipment into an outlet on a circuit different from that to which the receiver is connected.
•Consult the dealer or an experienced radio/TV technician for help
-
ance could void the user’s authority to operate the equipment.
The equipment should be installed and operated with minimum distance 20cm between the radiator & your body.
CE
Operation temperature: (-25°C~55°C ) Bluetooth: 2402-2480MHz
Bluetooth transmitter power: 0~4dBm
Hereby declares that this equipment is in compliance with essential requirements and other relevant provisions of Directive 2014/53/EU.
All radio frequencies can be used in all EU member safe without restrictions.

3” Hole Cutout
5.5”
n
1
2
3
4
5
6
7
8
9
10
11
12
13
14
15
16
3.5”
KMC100
Installation Overview
1.Main Harness
2.Zone 2 Harness
3.RGB Input Harness
4.USB Port
5.NMEA Port
6.SiriusXM Port
7.Digital Remote Port
8.Antenna Input
9.Remote Port
10.Video RCA Input
11.Reverse Trigger Wire
12.AUX Input
13.Front RCA Output
14.Rear RCA Output
15.Subwoofer RCA Output
16.Zone 2 RCA Output
1- Red, Switched 12V+
2- White/Blk, Left Front Spkr, Negative
3- White, Left Front Spkr, Positive
4- Orange, Dimmer
5- Grey/Blk, Right Front Spkr, Negative
6- Grey, Right Front Spkr, Positive
7- Blue/Wht, Amp Turn-on
8- Green/Blk, Left Rear Spkr, Negative
9- Green, Left Rear Spkr, Positive
10Black, Ground
11Purple/Blk, Right Rear Spkr, Negative
12Purple, Right Rear Spkr, Positive
1- |
Zone 2 |
Brown/Blk, Right Negative |
2- |
Zone 2 |
Brown, Right Positive |
3- |
Zone 2 |
Pink/Blk, Left Negative |
4- |
Zone 2 |
Pink, Left Positive |
1- RGB Black +12v |
|
2- RGB Red GND |
|
3- RGB Green GND |
|
4- RGB Blue GND |
3 |
|
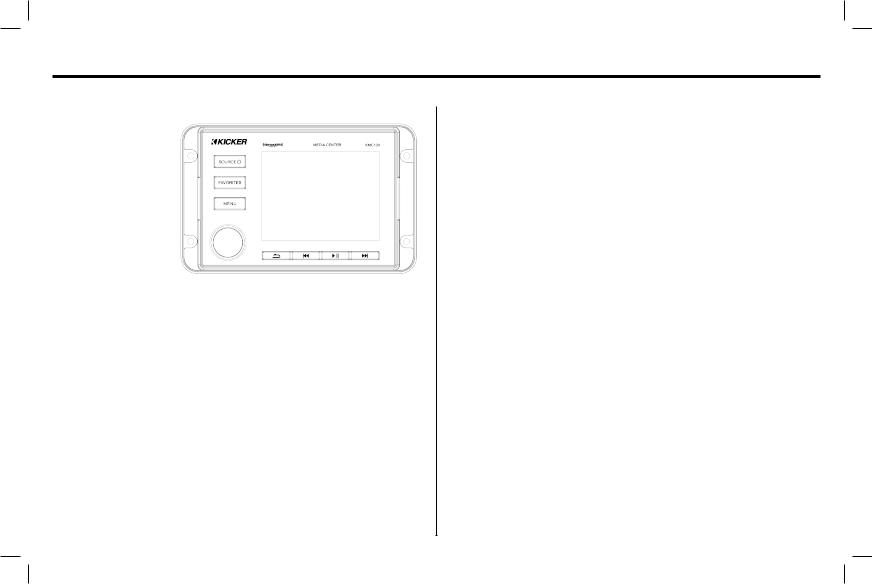
OPERATION
The button layout below will give you a quick overview of the button functionality.
BUTTONS: |
|
|
|
|
|
|
|
|
|
|
|
|
|
|
|
|
1 |
- Source |
1 |
|
|
|
|
|
|
|
|
|
|
|
|
|
|
2 |
- Favorites |
|
|
|
|
|
|
|
|
|
|
|
|
|
|
|
3 |
- Menu |
2 |
|
|
|
|
|
|
DISPLAY |
|
|
|
|
|||
|
|
|
|
|
|
|
|
|
|
|||||||
4 |
- Back/Return |
3 |
|
|
|
|
|
|
|
|
|
|
||||
5 |
- Seek/Tune Down |
|
|
|
|
|
|
|
|
|
|
|
|
|
|
|
|
|
|
|
|
|
|
|
|
|
|
|
|
|
|||
6 |
- Play/Pause |
|
|
|
|
|
|
|
|
|
|
|
|
|
|
|
7 |
- Seek/Tune Up |
|
|
|
|
|
|
|
|
|
|
|
|
|
|
|
8 |
- Volume Knob |
|
|
|
|
|
|
|
|
|
|
|
|
|
|
|
|
|
|
|
|
|
|
|
|
|
|
|
|
||||
|
|
|
|
|
|
|
|
|
|
|
|
|
|
|||
|
|
8 |
4 |
5 |
6 |
7 |
|
|
||||||||
Function: |
|
|
|
|
|
|
|
|
|
|
|
|
How To: |
|
||
Power On |
|
|
|
Hold the Source (1) button for 2 seconds. |
|
|||||||||||
Power Off |
|
|
|
Hold the Source (1) button for 2 seconds. |
||||||||||||
Volume Up |
|
|
|
|
|
|
|
Turn the knob (8) clockwise. |
||||||||
Volume Down |
|
|
|
|
|
Turn the knob (8) counter-clockwise. |
||||||||||
Seek Up |
|
|
|
|
|
|
|
Press Seek Up (7) once. |
|
|||||||
Seek Down |
|
|
|
|
|
|
|
Press Seek Down (5) once. |
||||||||
Tune Up |
|
|
|
|
|
|
|
Hold down Seek Up (7). |
||||||||
Tune Down |
|
|
|
|
|
|
|
Hold down Seek Down (5). |
||||||||
Enter/Select |
|
|
|
|
|
Press the Knob (8) inward once. |
||||||||||
Pause/Play |
|
|
|
|
|
|
|
Press Play/Pause (6) once. |
||||||||
Mute |
|
|
|
|
|
|
|
Press Play/Pause (6) once. |
||||||||
Back |
|
|
|
|
|
|
|
|
|
Press Back (4) once. |
||||||
KMC100 Settings MENU
To enter the Settings Menu : Hold the MENU (3) button for 2 seconds.
Rotate the knob to scroll between menu items and press enter on knob to select.
Available Settings are:
Day/Night:
The Day/Night feature allows you to change the color scheme from Day Mode to Night Mode. The unit is defaulted to auto switch when your lights are turned on. In order for the unit to automatically switch between day and night modes, the orange illumination wire must be connected. You can also set the unit to stay in either Day mode or Night mode by rotating the knob and selecting the desired setting.
Dimmer:
The Dimmer allows you to adjust the brightness of the screen, and buttons. You can adjust the brightness from 0 to +12.
Low Battery Alert:
The Low Battery Alert setting allows you to turn ON/OFF the Low Battery Alert. When set to ON, if the unit drops below 10.5V, the unit will display a visual and audible alert warning that your batteries need charged.
Tuner:
Allows you to change the region for the tuner.
Your available options: USA, EUROPE
4
OPERATION
KMC100 Settings MENU Cont.
Zone 2:
The Zone 2 feature gives you the ability to have a secondary volume control. Within Zone 2 there are 4 additional settings:
ON/OFF:
Allows you to turn the 2nd Zone volume control ON and OFF.
Control:
Allows you to select which connection is controlled by the Zone 2 volume.
a.Internal PowerZone 2 internal channels are controlled by Zone 2 volume. Zone 2 RCA is controlled by Zone 1 volume.
b.PreampZone 2 RCA is controlled by the Zone 2 volume. Zone 2 internal
channels are controlled by Zone 1 volume.
c. BothZone 2 internal channels and Zone 2 RCA are controlled by Zone 2 volume.
Absolute/Relative:
The Absolute and Relative setting for Zone 2 change the behavior of the Zone 2 volume control with regard to the main zone volume.
a.RelativeWhen the main zone volume is increased or decreased, Zone 2 volume will adjust up or down accordingly.
b.AbsoluteWhen the main zone volume is increased or decreased, Zone 2
volume will remain at the same level until adjusted independently.
NAMING:
Allows you to change the Zone 2 name.
Your available options: Zone 2, Tower, Transom, Cockpit, Interior.
High Pass Crossover:
Adjusts the high-pass crossover for internal channels and Front, Rear, Zone 2 RCA outputs.
Your available options: OFF, 50Hz, 80Hz, 120Hz.
Loudness:
Turns the loudness setting ON/OFF.
Voltmeter:
Turns the voltmeter display ON/OFF.
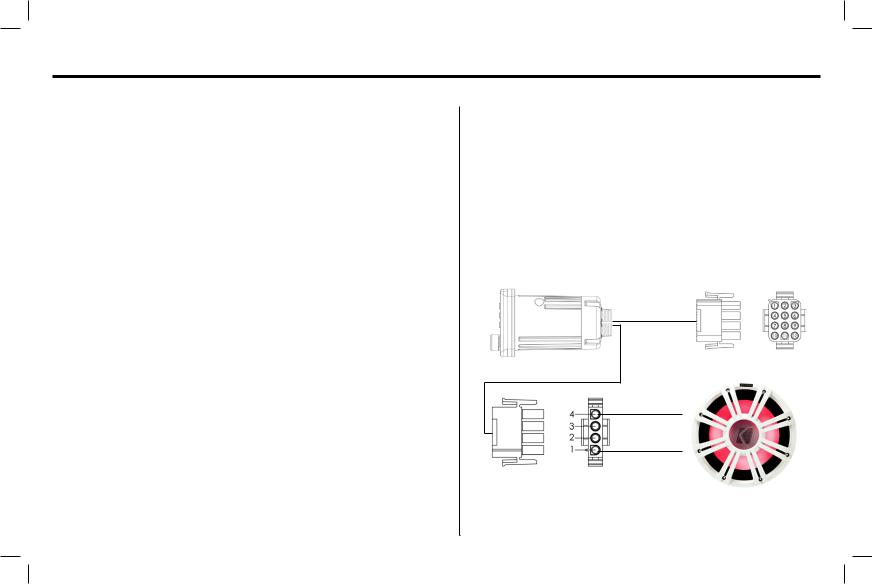
Subwoofer Direct:
When the Subwoofer Direct setting is turned ON, Zone 2 internal channels become a low-passed bridgeable subwoofer output to run a subwoofer without requiring an additional amplifier. (example below)
+
-
1- Zone 2 Brown/Blk, Right Negative
2- Zone 2 Brown, Right Positive
3- Zone 2 Pink/Blk, Left Negative
4- Zone 2 Pink, Left Positive
5
 Loading...