

Page 1
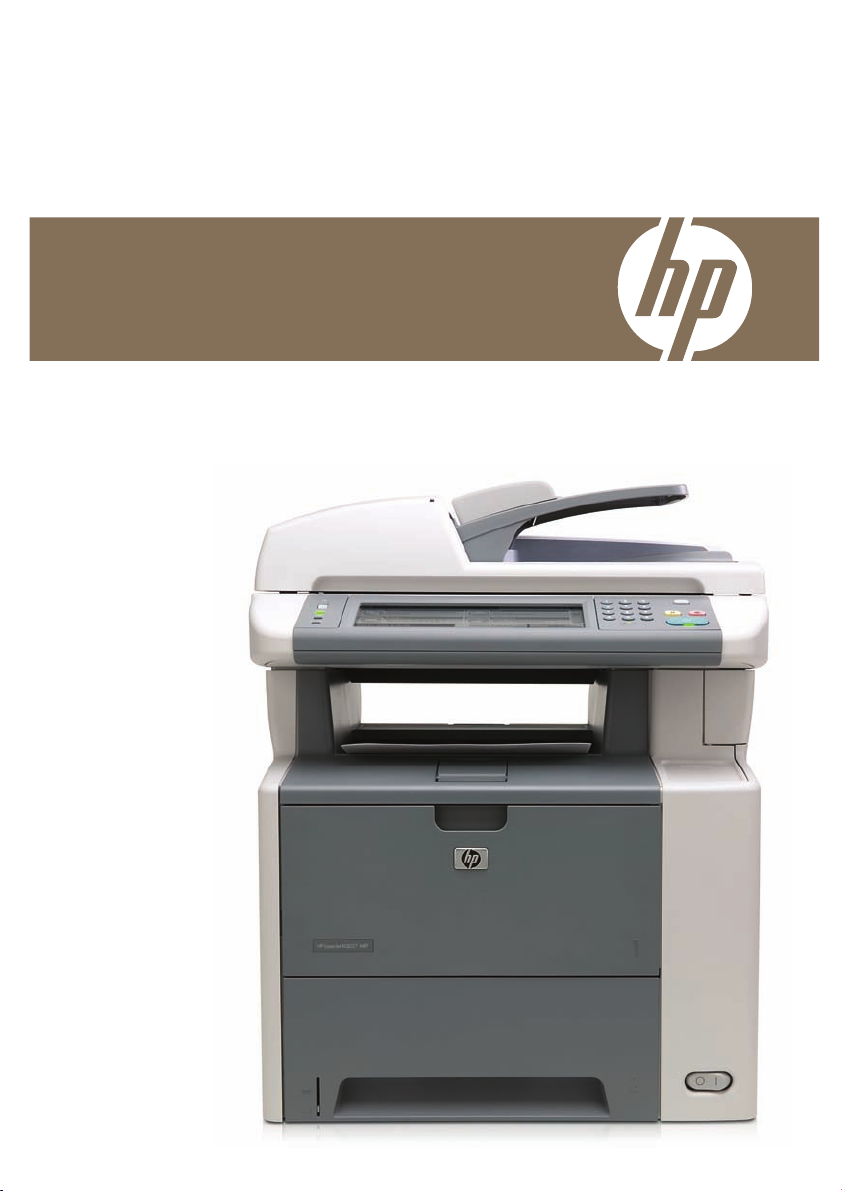
HP LaserJet M3027x MFP
ck Reference Guide
Qui
Page 2

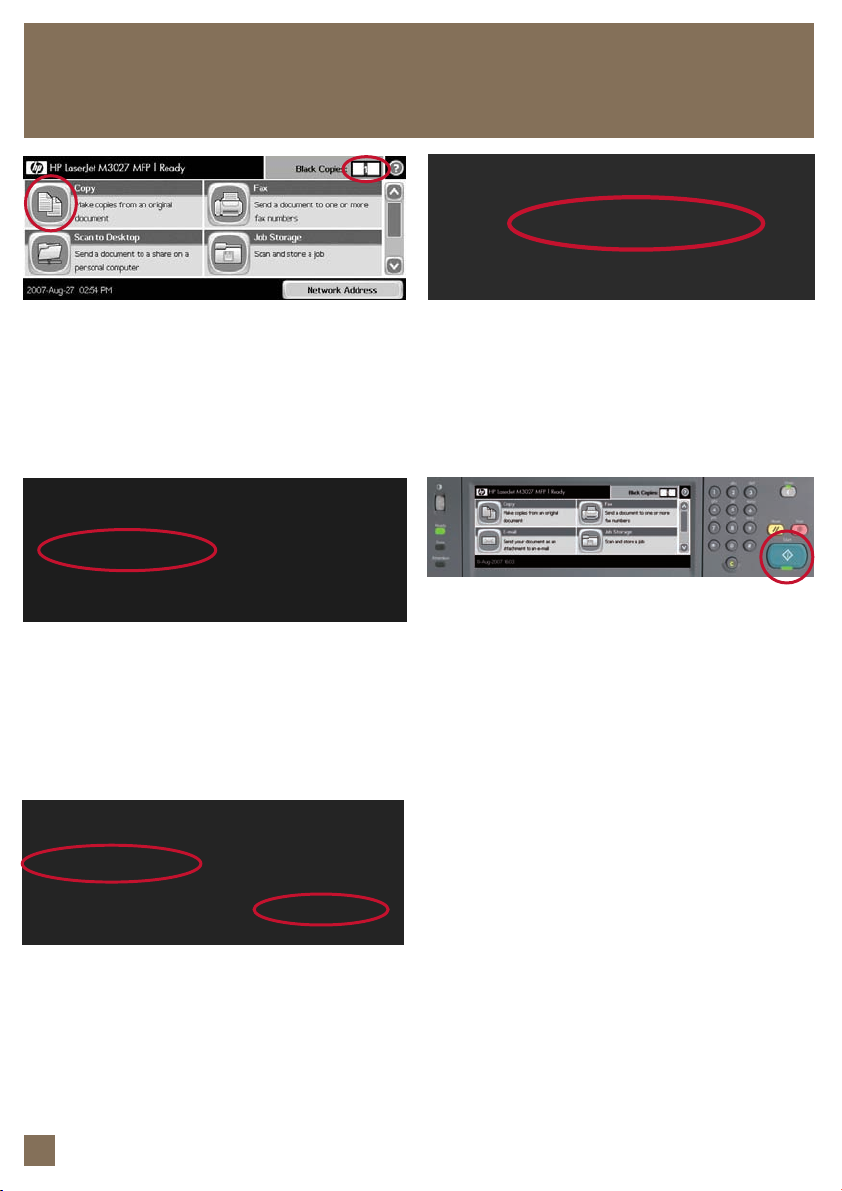
Quick reference summary
Pg 1
Pg 2
Pg 3
Pg 4
Pg 5
I want to:
Make black & white copies
Copy a 2 sided original
(duple
x)
Copy Different Media
Scan to Desktop
Send to E-mail
Steps to take:
Load originals face up in the ADF or face down on the glass
and to
uch the Copy icon. Enter number of copies desired on
the Copies icon. Press Start.
Load 2 sided originals face up in the ADF. Touch Copies icon
nter number of copies desired and touch the Copy icon.
to e
Touch Sides icon and select desired output.
(1 sided or 2 sided) Touch Orientation icon to select
Portrait/Landscape. Press Start.
Load originals face up in the ADF or face down on the
glas
s and touch Copy icon. Select Optimize Text/Picture.
Select your media (Text, Printed Picture,or Photograph).
Alternatively, manually adjust the slider to optimize your
output. Press Start.
Load originals face up in the ADF or face down on the glass
uch Scan to Desktop icon. Select folder to save your
and to
document in. Touch File Name. Type in desired file name (test)
using screen keyboard. Touch OK. Touch More Options icon.
Select the settings you wish to change and touch Up Arrow
icon to go back to main screen. Touch Scan to Desktop icon
to start scanning.
Load originals face up in the ADF and touch the E-mail icon.
Touch From bar and input your name. Touch To bar. Input
recipient E-mail address. Touch Subject, input your subject and
touch OK. Touch Send E-mail icon on top.
Pg 6
Pg 7
Pg 8
Fax a document
Store a job Load originals face up in the ADF or face down on the glass
Retrieve a stored job Touch Job Storage icon. Select folders from list of folders on
Load originals face up in the ADF or face down on the glass.
Inpu
t fax number of recipients. Touch More Options icon to
change the default settings. Select any settings you like to
change and touch Up Arrow icon to exit to main screen. Press
Start.
and to
uch Job Storage icon. Select a folder and touch Create
to add a new folder. Touch Job Name bar. Type in Job Name.
Touch OK. Press Start.
the lef
t. Touch Retrieve. Select desired job from list and key in
PIN. Touch OK. Press Start.
Page 3

Make black-and-white copies
Step 1
Load originals face up in the ADF or face
dow
n on the glass and touch Copy icon.
Step 2
Enter number of copies desired on the Copies
co
n.
i
Step 3
Press Start.
1
Page 4
Copy a 2 sided original (duplex)
Step 1 Step 4
Load 2 sided originals face up in the ADF.
Touch Copies icon to enter number of copies
desired and touch the Copy icon.
Step 2
Touch Sides icon.
Select desired orientation (Portrait/Landscape).
If rotation of content is required on back copy,
select Rotate back side 180 degrees. Touch
OK.
Step 5
Press Start.
Step 3
Select desired output. (1 sided or 2 sided)
Touch Orientation icon to select Portrait/
Landscape.
2
2
Page 5

Copy Different Media
Note: You could change the copy settings when making copies of photographs, printed pictures and others different
Step 1
Load your originals face up in the ADF or face
down on the glass and touch Copy icon.
media to ensure optimum print quality.
Step 3
Select your media (Text, printed picture or
photograph). Alternatively, manually adjust
from the slider to optimize your output.
Step 4Step 2
Press Start.Select Optimize Text/Picture.
3
Page 6

Scan to Desktop
Note: The s
can-to-desktop feature allows MFP users to scan documents and images from the MFP to a shared folder on
each user’s PC desktop with the push of a panel button. Using the “HP Scan Wizard” will help you create a new
shared folder connected to your MFP and program the “scan-to-desktop” button on your MFP control panel with
your shared folder name of choice. Future documents scanned from the MFP with the “scan-to-desktop
ser must ensure
be saved in this folder automatically.
U
Step 1
Load originals face up in the ADF or face
n on the glass and touch Scan to Desktop
dow
icon.
vice has the latest firmware loaded.
the de
Step 4
Touch More Options icon.
” bu
ton will
t
Step 2
Select folder to save document in. Touch File
e.
Nam
Step 3
Type in desired file name (test) using keyboard
reen. Touch OK.
sc
2
4
Step 5
Select any settings you wish to change. Touch
ow icon to go back to main screen. Touch
up arr
Scan to Desktop icon to scan.
Step 6
Select Yes to save current settings or No to exit.
Page 7

Send to E-mail
Note: To
uching this button scans the document and sends an e-mail file to the provided e-mail addresses.
Step 1
Load originals face up in the ADF, touch the
E-mail i
con.
Step 2
Touch From bar and input your name. Touch
bar.
To
Step 4
Touch Subject on the right.
Step 5
Input Subject (test) and touch OK.
Step 3
Input recipient E-mail address.
Step 6
Touch Send E-mail icon on top.
5
Page 8

Fax a document
Step 1
Load originals face up in the ADF or face
n on the glass. Touch Fax icon.
dow
1234567
Step 2
Input fax number of recipients. Touch More
Options
icon to change the default settings.
Step 3
Select any settings you like to change. Touch
row to exit to main screen.
up ar
Step 4
Press Start.
2
6
6
Page 9

Store a job
Step 1 Step 4
Load originals face up in the ADF or face
dow
n on the glass and touch Job Storage
icon.
Step 2
Select a folder or touch Create to add a new
folder.
Type in job name (Invoice). If no PIN is required,
touch OK. Press Start. If PIN is required, proceed
to Step 5.
Step 5
Touch PIN to print icon to activate lock function
for this job. Enter desired PIN and touch OK.
Press Start.
Step 3
Touch Job Name bar.
7
Page 10

Retrieve a stored job
Step 1 Step 4
Touch Job Storage icon. Select desired job from list.
Step 2
Select folder from list of folders on far left.
Step 3
Touch Retrieve.
2
7
6
8
Step 5
Key in PIN and touch OK.
Step 6
Press Start.
Page 11

Page 12

©2007 Hewlett- Packard Company. The information contained herein
is sub
ject to change without notice. The only warranties for HP products
and services are set forth in the express warranty statements accompanying
such products and services. Nothing herein should be construed as
constituting an additional warranty. HP shall not be liable for technical
or editorial errors or omissions contained herein. Microsoft and Windows
are U.S. registered trademarks of Microsoft Corporation. Intel and Xeon
are trademarks or registered trademarks of Intel Corporation or its
subsidiaries in the United States and other countries.
 Loading...