

Page 1

Service Tests and Utilities
Introduction 4-2
Diagnostics - Self Test 4-2
Service Tests (Diagnostics) 4-3
Entering the Service Tests Menu 4-4
Ink Supply Station 4-6
Carriage Movement 4-8
Paper Advance Test 4-10
Service Utilities 4-1 3
Entering the Service Utilities Menu 4-14
EEROM Setup 4-16
Turn Drive Roller 4-21
Unlock Carriage 4-22
Prime Tubes 4-23
Change Cutter 4-24
Change Ink Tubes 4-25
Printer Inform ation 4-26
4
4
HP DesignJets 500 and 800 Series Printers Service Manual
4-1
Page 2

Service Tests and Utilities
PH
O
N
E
S
U
PPO
R
T
Introduction
This chapter explains how to use the built-in Service Tests and
Service Utilities and what to do if any of the Service Tests fail. If
possible, always perform a Service Test on the component that you
are about to replace, just to make sure that is the component that has
failed. If the test on that component passes, there is no need to
replace it.
Phone Support
In certain circumstances, a Call Agent can try and troubleshoot the
Printer by requesting the Customer to perf orm a Service T es t via the
phone. Using this process, it can be determined whether the Printer
requires any on-site maintenance.
Diagnostics - Self Test
Initialization Sequences
Whenever the Printer is switched ON, it automatically performs a
series of internal self tests and mechanical initialization sequences.
If any of the parts fail, a system error will appear and you should
consult Chapter 2 - Sys te m Error Codes.
Entering Service Menu at Power Up - Only for Onsite Repair
If the Printer fails to initialize completely because of a System Error
and you need to use the Service Menu (Service Tests and Utilities),
the Printer can be powered up in Service Mode by pressing the Up
and Enter keys while switching the Printer ON. This will give you
access to some of the Service Tests and Utilities without having to
complete the System Initialization (if you perform some of the tests,
they will need to initialize the relevant part of the System).
4-2
HP DesignJets 500 and 800 Series Printers Service Manual
Page 3

Service Tests (Diagnostics)
The following is a list of all internal Service T es ts ava ilable in the
Printer. Instructions for entering the Service Tests menu are given
on Page 4-4.
1 Ink Supply Station ⇒ Page 4-6
The purpose of this test is to verify the operation of the Ink Supply
Station. A failure of the out-of-ink sensors or the springs in the Ink
Supply Station will eventually damage the Printheads because the
Printer will try to pump ink from an empty Ink Cartridge stall,
which will cause the Printhead to dry-fire.
2 Carriage Movement ⇒ Page 4-8
The purpose of this test is to verify the movement of the scan-axis
components at several speeds. This test checks for the following
problems:
n
Friction problems with worn out slider rod or Carriage Bushings.
Service Tests and Utilities
n
Blockage due to problems with the Service Station.
n
Problems with encoder sensing.
3 Paper Advance ⇒ Page 4-10
The purpose of this test is to identify whether there is too much
friction in the paper-axis drive system which is caused by defects
with the Transmission Gears, Drive Roller or the Paper-Axis Motor.
4 Troubleshooting ⇒ Page 6-4
The Printer contains an internal Troubleshooting procedure which
helps you to diagnose and resolve the possible source of any Image
Quality or Line Quality defects. If Print Quality is poor at anytime,
the Troubleshooting procedure should be performed which will
determine whether the Printhead needs replacing (by marking it
with an exclamation mark) or not after performing various levels of
recovery actions.
HP DesignJets 500 and 800 Series Pr inters Service Manual
4-3
Page 4
Service Tests and Utilities
Entering the Service Tests Men u
NOTE In order to enter the Service Utility Men u, please refer t o the
instructions on Page 4-14.
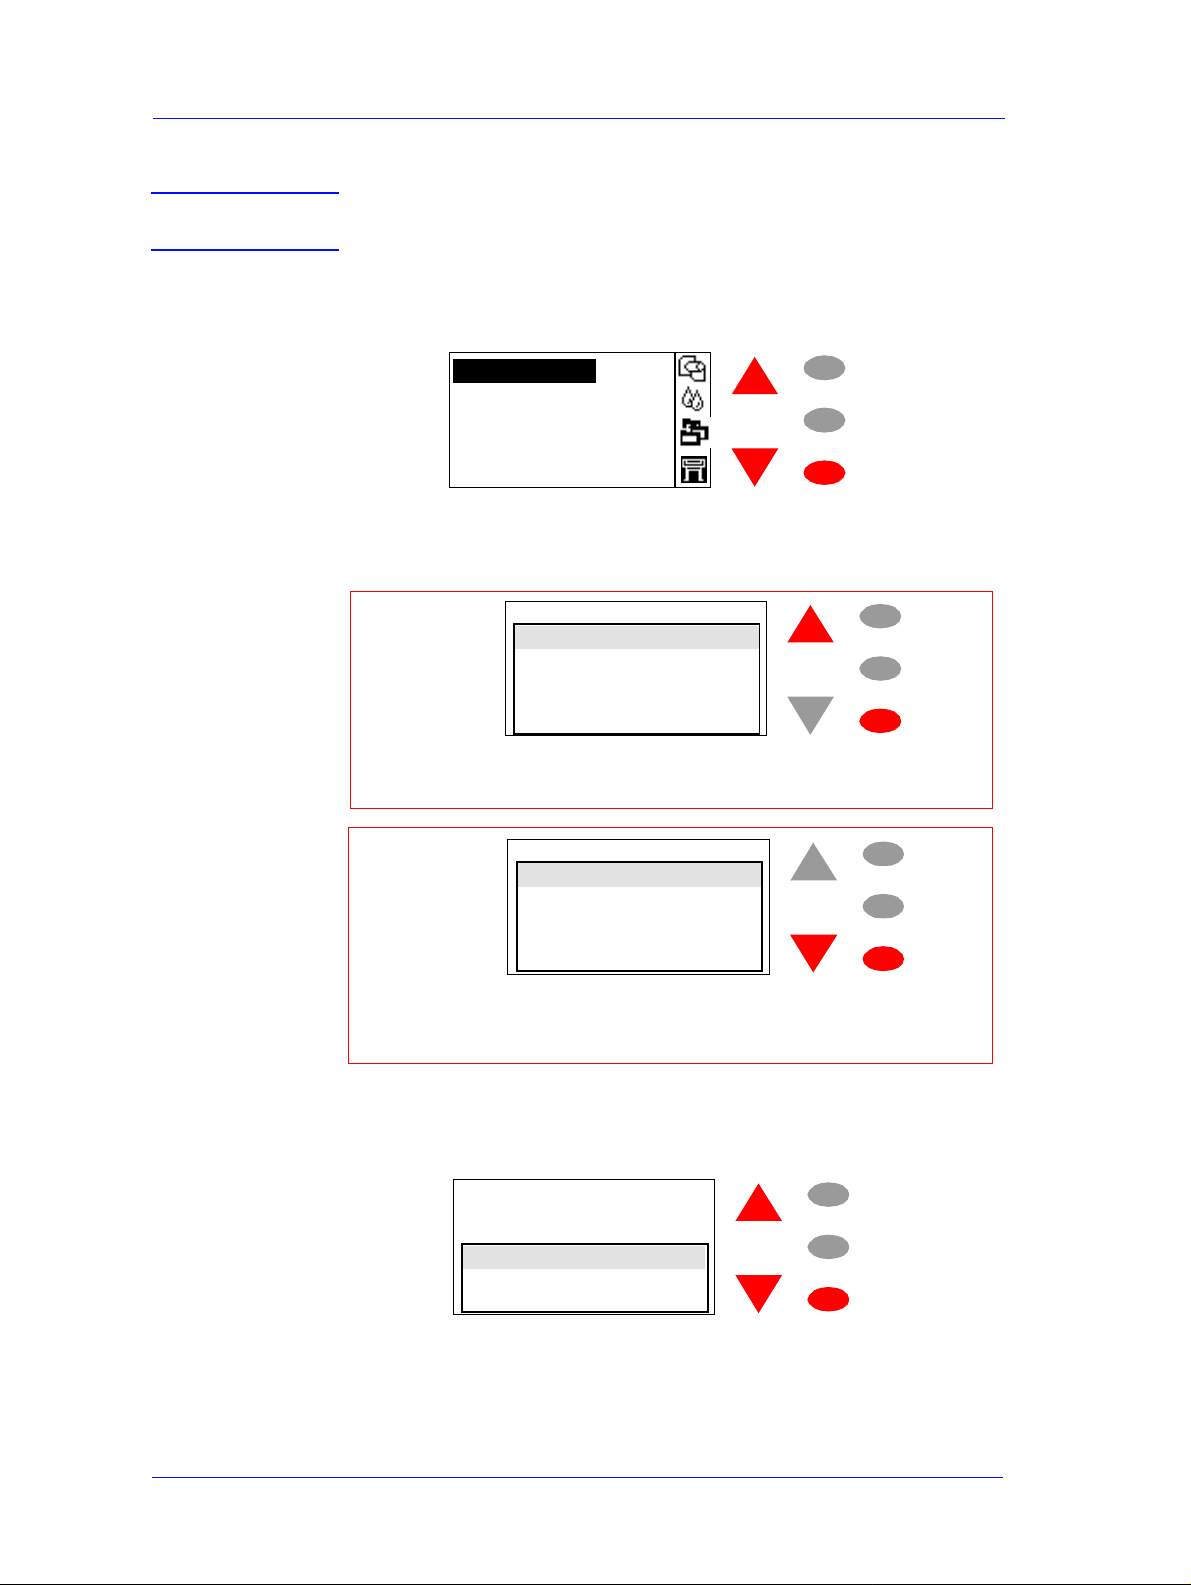
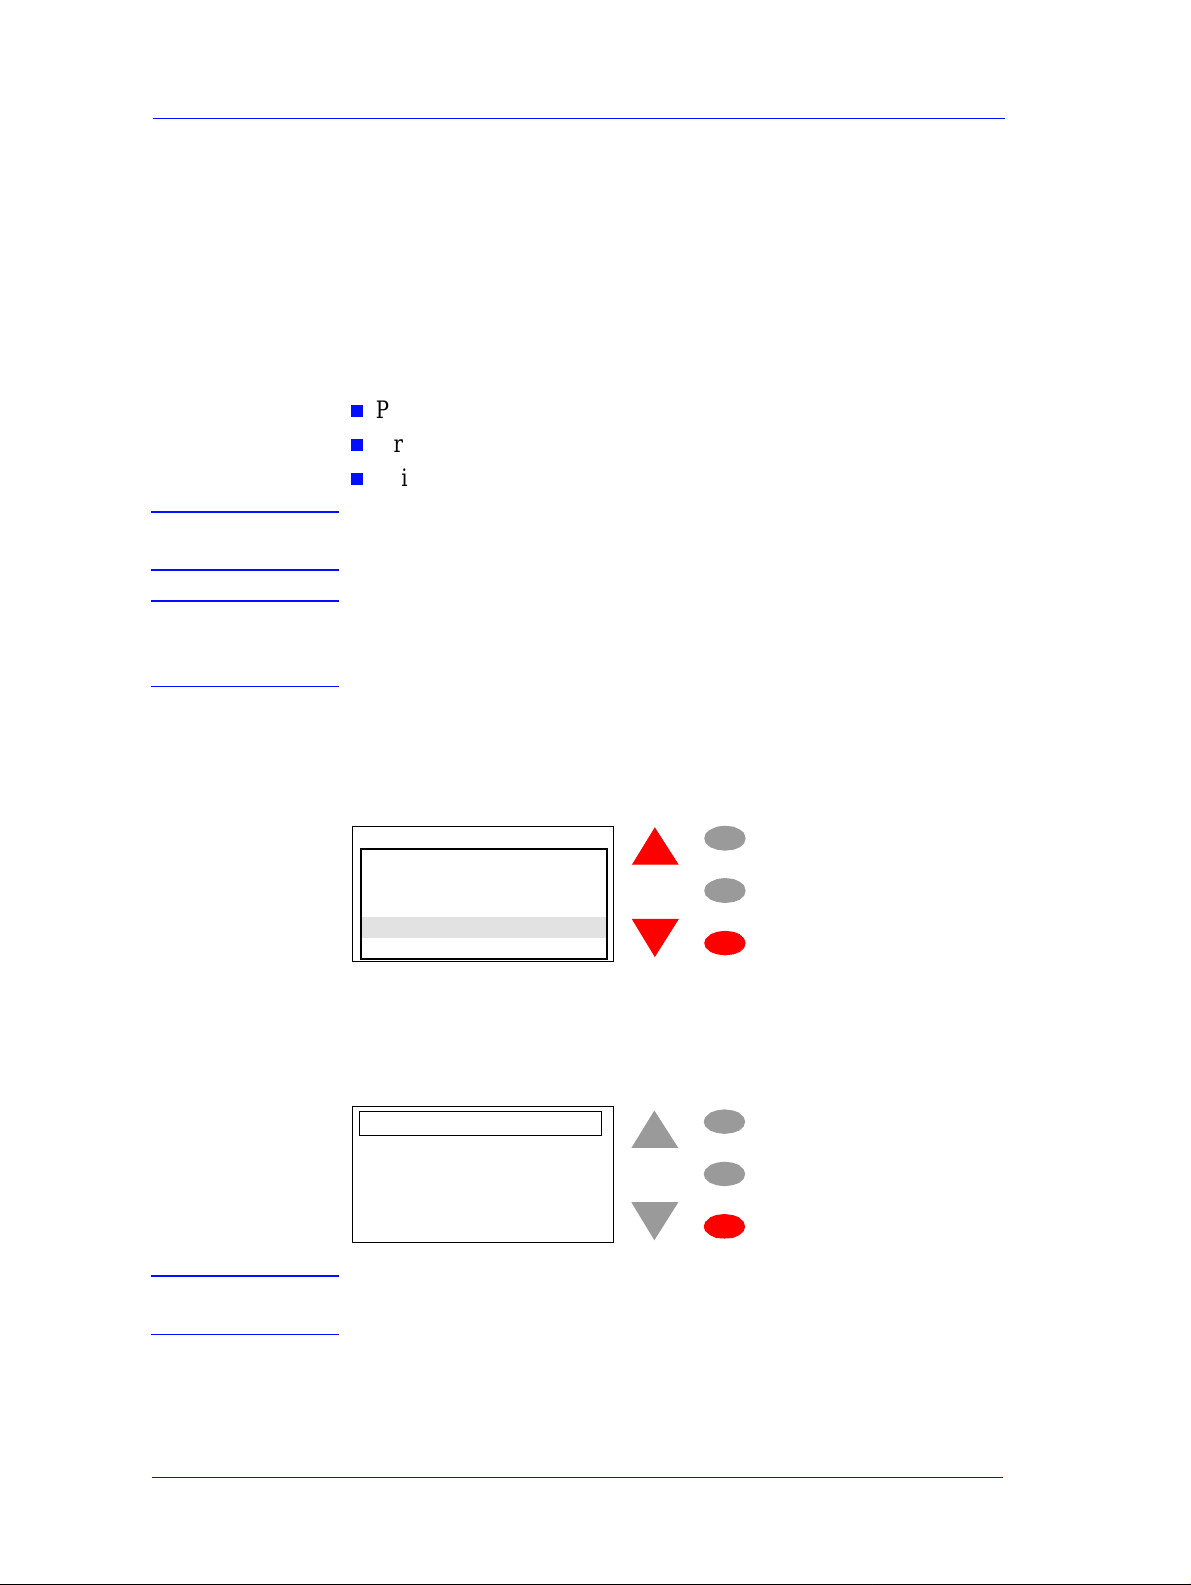
1 Press the ↑ or ↓ key until the front panel displays the
then press Enter
.
Set-up menu
Press ENTER for
Set-up menu
Setup Menu and
Menu
Back
Enter
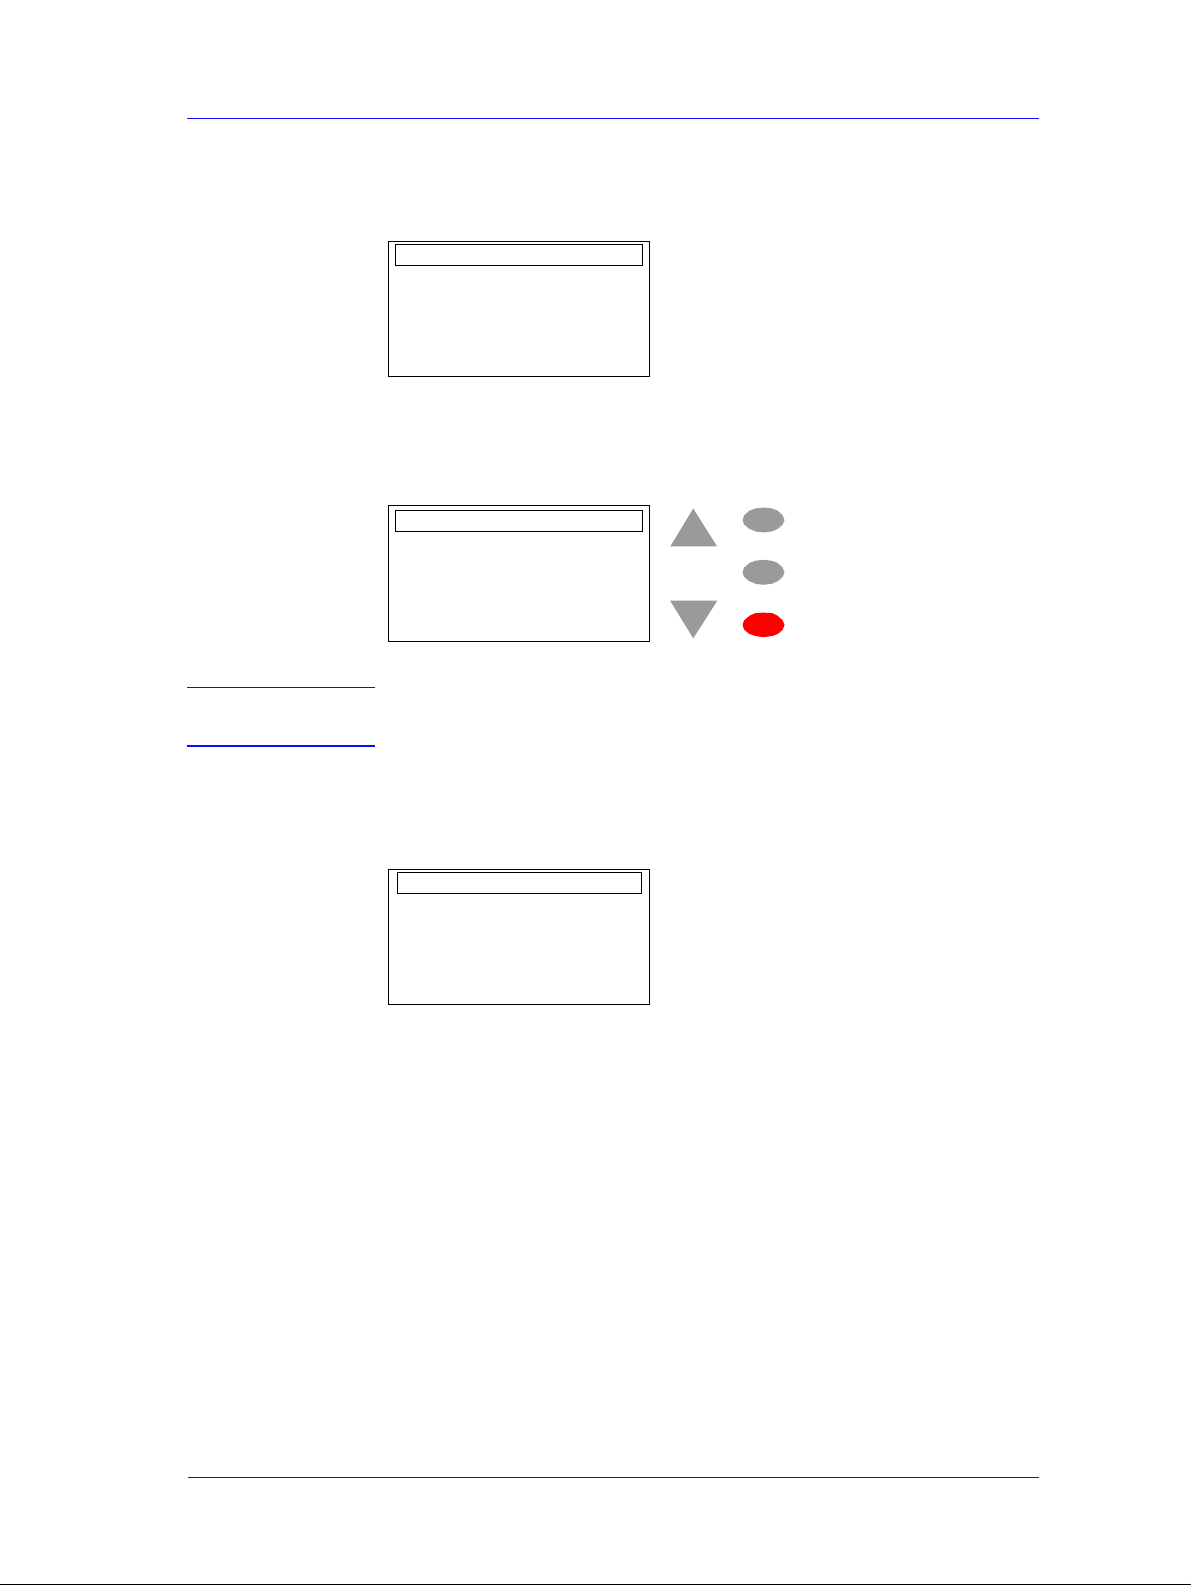
2 Once inside the Setup Menu, Press the following key combination
to access the special Se rvice Menu.
O
PH
Set-up menu
Printe r in fo rmation
R
I
A
P
E
R
E
T
I
S
-
N
PPO
U
S
E
N
O
I/O set-up
Front panel
Altitude = 0-1000 m.
Log
For On-site Engineers, press the Up and Enter keys
to access t h e com p lete list of Service Tests.
Set-up menu
T
R
Printer information
I/O set-up
Front panel
Altitude = 0-1000 m.
Log
Menu
Back
Enter
Menu
Back
Enter
4-4
For Call Agents who will request the User to perfo rm
certain troubleshooting actions, press the Down and Enter
keys to access a limited list of Service Tests.
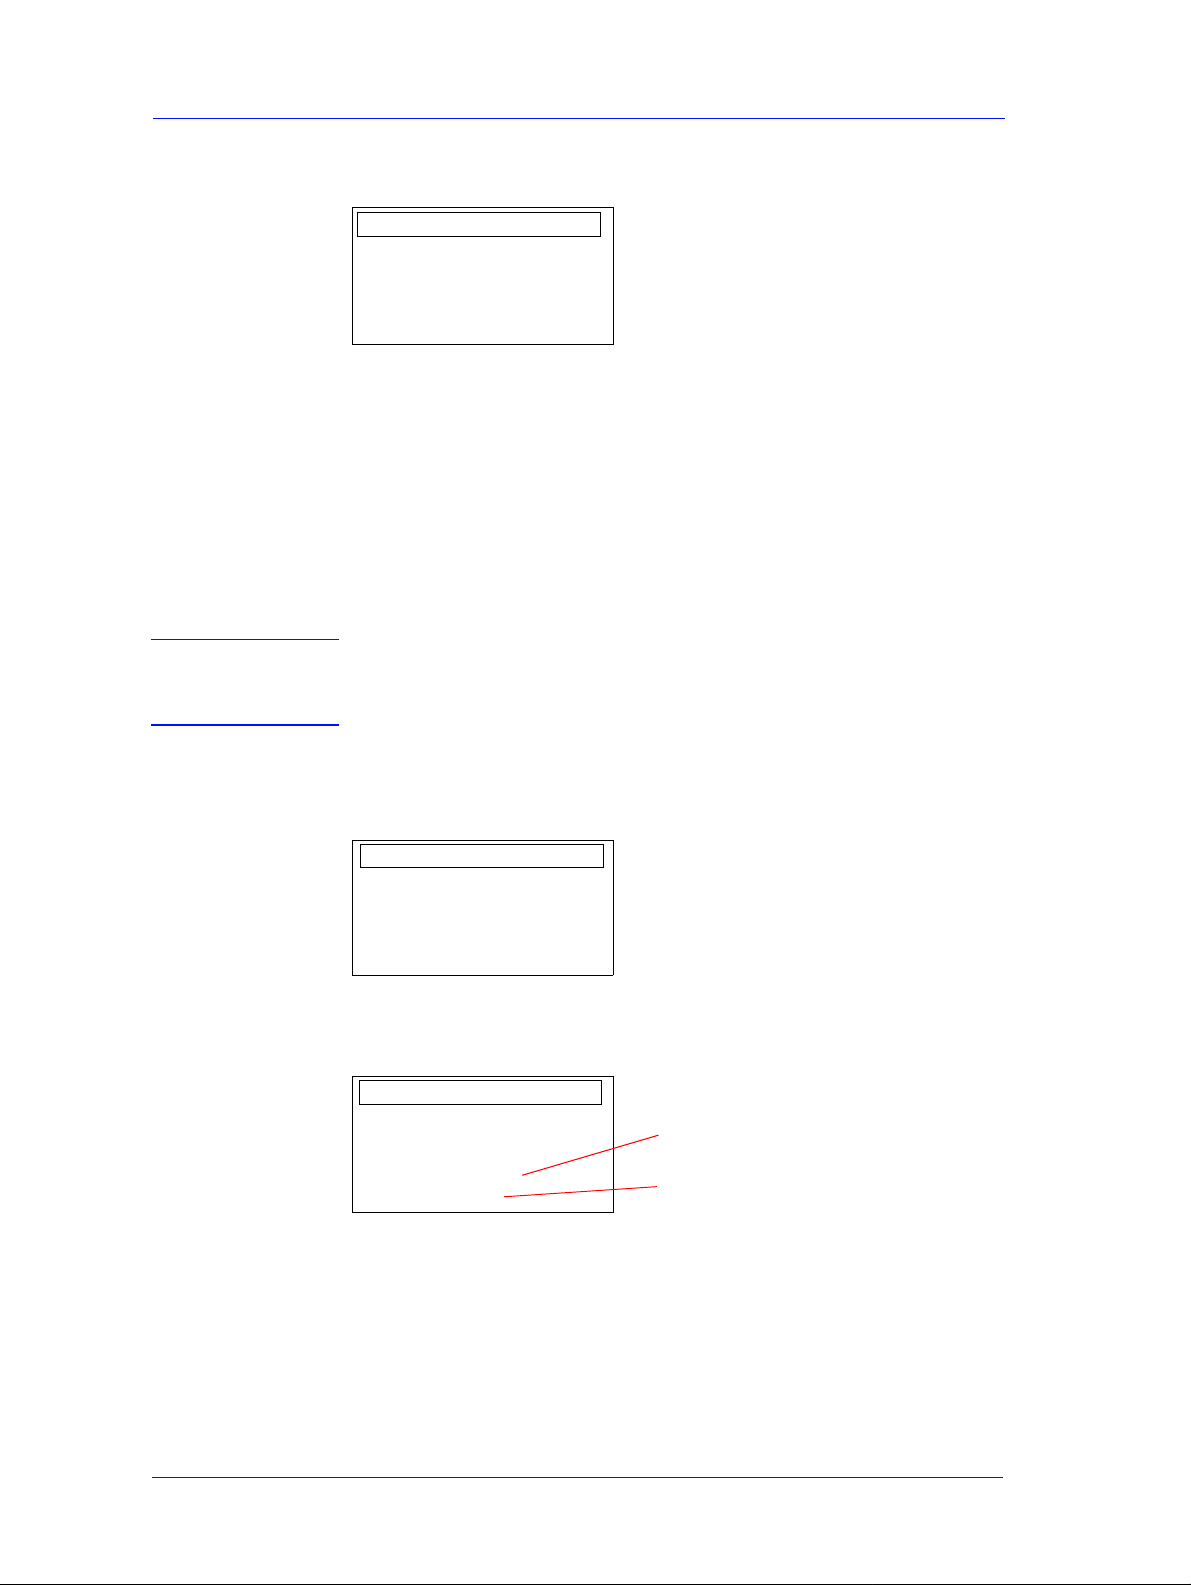
3 Once inside the Service Tools Menu, press the ↑ or ↓ key until the
front panel displays Service Tests and then press Enter.
Service tools
Service tests
Service cal ibrations
Servic e u tilities
HP DesignJets 500 and 800 Series Printers Service Manual
Menu
Back
Enter
Page 5

Service Tests and Utilities
4 Press the Enter key to begin a specific test when the required
Service Test is highlighted.
Service tests
Troubleshooting
Aeroso l F an te st
Ink Supply Station
Paper advance test
Carriage movement test
Menu
Back
Enter
HP DesignJets 500 and 800 Series Pr inters Service Manual
4-5
Page 6

Service Tests and Utilities
PH
O
N
E
S
U
PPO
R
T
Ink Supp ly S tation
The purpose of this test is to verify the operation of the Ink Supply
Station. A failure of the out-of-ink sensors or the springs in the Ink
Supply Station will eventually damage the Printheads because the
Printer will try to pump ink from an empty Ink Cartridge stall,
which will cause the Printhead to dry-fire.
NOTE This Service Test can be perf ormed by the End User with the
guidance of a HP Support person via the phone.
WARNING IF POSSIBLE ALWAYS PERFORM THIS TEST BEFORE
REPLACING THE INK SUPPLY STATION. IF THIS TEST
PASSES, DO NOT REPLACE THE INK SUPPLY STATION.
Perform the Ink Supply Station test as follows:
1 In the Service Tests submenu, scroll to "Ink Supply Station" and
press Enter.
Service tests
Troubleshooting
Aeroso l F an te st
Ink Supply Station
Paper advance t est
Carriage m ovem ent test
Menu
Back
Enter
2 Once the test starts, the following message will appear on the Front
Panel. Open the Ink Cartridge door and remove ALL the Ink
Cartridges:
ISS Test
Remove all the ink
cartridges
4-6
HP DesignJets 500 and 800 Series Printers Service Manual
Page 7
Service Tests and Utilities
3 Once all the Ink Cartridges are removed the Printer will check the
Ink Supply Station. During this short period, the following message
will be displayed:
ISS Test
Please wait.
Checking
4 If the Printer detects all the out-of-ink signals, the Ink Supply
Station has passed the test and the following me ssage will appear on
the Front Panel:
ISS Test
Test result OK.
INK SUPPLY STATION OK.
Press EN T E R to ret u rn t o
menu
Menu
Back
Enter
WARNING IF THIS TEST PASSES, DO NOT REPLACE THE INK
SUPPLY STATION.
5 If the Printer does not detect all the out-of-ink signals then the Ink
Supply Station must be faulty and the following message will
appear on the Front Panel:
ISS Test
Test result 22:10
Faulty INK SUPPLY
STATION
Call HP representative
In this case, to resolve the problem, try the following:
1 Replace the Ink Supply Station Assembly ⇒ Page 8-48.
HP DesignJets 500 and 800 Series Pr inters Service Manual
4-7
Page 8
Service Tests and Utilities
PH
O
N
E
S
U
PPO
R
T
Carriage Movement
The purpose of this test is to verify the movement of the scan-axis
components at several speeds. This test checks for the following
problems:
n
Friction problems with worn out slider rod or Carriage Bushings.
n
Blockage due to problems with the Service Station.
n
Problems with encoder sensing.
NOTE This Service Test can be perf ormed by the End User with the
guidance of a HP Support person via the phone.
WARNING IF POSSIBLE ALWAYS PERFORM THIS TEST BEFORE
REPLACING THE CARRIAGE ASSEMBLY. IF THIS TEST
PASSES, DO NOT REPLACE THE CARRIAGE ASSEMBLY.
Perform the Carriage Movement test as follows:
1 In the Service Tests submenu, scroll to "Carriage movement" and
press Enter.
Service tests
Troubleshooting
Aerosol Fan test
Ink Supply Station
Paper advance test
Carriage movement te st
Menu
Back
Enter
2 The test will start and the following message will appear on the
Front Panel:
Carriage movement
Carriage movement te st
Moving Carriage.
Pleas e w ait
3 Once the Printer has completed the test it will analyze the data
received while performing the test. Once the data has been
analyzed, the following message will appear on the Front Panel:
Carriage movement
Carriage movement test
Menu
Back
Ready to display results.
Press ENTER
4-8
HP DesignJets 500 and 800 Series Printers Service Manual
Enter
Page 9
Service Tests and Utilities
4 If you press Enter, the Front Panel will display a list of the
different results you can view. You can make your selection using
the arrow keys and press Enter to view the selection.
Test results. Select item
for more information
PWM
Speed offset
Stabilization distance
Menu
Back
Enter
5 If you selected PWM, the Front Pane l will dis pla y the re s ults of the
PWM test:
PWM results
Average value of the PWM
Average: XXX
Std dev: X
St andard deviation value of
the PWM
6 If you selected Speed offset, the Front Panel will display the re sults
of the Speed offset:
Speed offset results
Average value of the speed of fset
Average (ips ): X
Std dev (ips): X
Sta ndard deviation value of
the speed of fset
7 If you selected Stabilization distance, the Front Panel will display
the results of the Stabiliza tion distance:
Stabilization distance
results
Stabilizat. dist. (mm): XX
HP DesignJets 500 and 800 Series Pr inters Service Manual
4-9
Page 10
Service Tests and Utilities
PH
O
N
E
S
U
PPO
R
T
Paper Advance Test
The purpose of this test is to identify whether there is too much
friction in the paper-axis drive system which is caused by defects
with the Transmission Gears, Drive Roller or the Paper -Axis Motor .
This test should be performed when a Paper-Axis shutdown occurs
which is not caused by a paper jam.
The Paper Advance test will perform the following tests:
n
Paper-Axis Motor test.
n
Drive Roller Encoder-Sensor test.
n
Drive Roller test.
NOTE This Service Test can be perf ormed by the End User with the
guidance of a HP Support person via the phone.
WARNING IF POSSIBLE ALWAYS PERFORM THIS TEST BEFORE
REPLACING PAPER-AXIS COMPONENTS. IF THIS TEST
P ASSES, DO NOT R EPLACE ANY P APER-AXI S COMPONENTS.
Perform the Paper Advance test as follows:
1 In the Service Te sts submenu, scroll to "Paper Advance test" and
press Enter.
Service tests
Troubleshooting
Aerosol Fan test
Ink Supply Station
Paper advance test
Carriage movement te st
Menu
Back
Enter
2 The test will first check if the Paper-Axis Motor is working by
moving it slightly backwards and forwards. If this test passes, the
following message will be displayed (press Enter to continue to the
next stage of the test):
Paper Advance test
Paper-a xi s m o to r test
passed.
Press ENTER to continue
Menu
Back
Enter
WARNING IF THIS TEST PASSES, DO NOT REPLACE THE PAPER-
AXIS MOTOR.
4-10
HP DesignJets 500 and 800 Series Printers Service Manual
Page 11

Service Tests and Utilities
3 If the test fails while checking the Paper-Axis Motor , then the
following message will be displayed:
Paper Advance test
System error 41:10
Paper-a xi s m o to r failed
In this case, to resolve the problem, replace the Paper-Axis Motor
⇒ Page 8-84.
4 If the Paper-Axis Motor test passes, the Printer will try to read the
Drive Roller Encoder-Sensor while moving the Paper-Axis Motor.
If the Printer can read the signals from the Encoder-Sensor, then the
test has passed and the following message will be displayed (press
Enter to continue to the next stage of the test):
Paper Advance test
Roller encoder sensor
test passed.
Press ENTER to continue
Menu
Back
Enter
WARNING IF THIS TEST PASSES, DO NOT REPLACE THE DRIVE
ROLLER ENCODER-SENSOR.
5 If the Printer has problems reading the signal from the Drive Roller
Encoder-Sensor, then the test has failed and the following message
will be displayed:
Paper Advance test
System error 56:10
Roller encoder sensor
failed
In this case, to resolve the problem, replace the Drive Roller
Encoder Sensor ⇒ Page 8-38.
HP DesignJets 500 and 800 Series Pr inters Service Manual
4-11
Page 12
Service Tests and Utilities
6 It is possible that while performing this test, a Paper-Axis shutdown
occurs, in which case the following message will be displayed:
Paper Advance test
System error 81:11
Paper-axis shutdown
In this case, to resolve the problem, try the following:
1 Open the Window and check for any visible obstacles that could be
restricting the movement of the Drive Roller.
2 Try cleaning the Drive Roller using the Turn Drive Roller service
utility ⇒ Page 4-21. Also try cleaning the Drive Roller Gears.
3 Replace the Drive Roller ⇒ Page 8-86.
4 Replace the Gear Assemblies ⇒ Page 8-92.
WARNING Only replace one component at a time and try the Service Test
again before replacing anoth er component. Using this procedu re
you will be able to determine exactly which component failed.
5 If the Drive Roller Encoder-Sensor test passes, the Printer will try
turning the Drive Roller and the following message will appear on
the Front Panel:
Paper Advance test
Moving Drive Roller.
Please wait
6 Once the test is completed, the results will be displayed on the front
panel:
Test results
Average value of the PWM
Average PWM: XX
Std dev PWM: X
Sta ndard deviation value of
the PWM
4-12
HP DesignJets 500 and 800 Series Printers Service Manual
Page 13

Service Utilities
The following is a list of all internal Service Utilities available in the
Printers. Instructions for entering the Service Utilities menu are
given on Page 4-14.
1 EEROM Setup ⇒ Page 4-16
The purpose of this Service Utility is to modify identification
parameters such as serial and model numbers, as well as the Font
Type. This only needs to be performed when EEROM failures
cannot be recovered where both the current EEROM (located in the
Main PCA) and the backup EEROM (located in the Ink Supply
Station) contain false values or because both of them have failed.
2 Turn Drive Roller ⇒ Page 4-21
The purpose of this Service Utility is to rotate the Drive Roller in
order to clean it.
3 Unlock Carriage ⇒ Page 4-22
Service Tests and Utilities
The purpose of this Service Utility is to unlock the Carriage
Assembly which is normally locked by the Service Station in order
to cap the Printheads. Once unlocked, the Carriage Assembly can
then be moved freely along the Printer by hand.
4 Prime Tubes ⇒ Page 4-23
The purpose of this Service Utility is to prime the Ink Supply Tubes
after they have been replaced (or if a situation arises where you need
to force the priming procedure).
5 Chang e Cutter ⇒ Page 4-24
The purpose of this Service Utility is to move the Cutter Assembly
to a position where it can be replaced.
6 Change Ink Tubes ⇒ Page 4-25
The purpose of this Service Utility is to move the Carriage
Assembly to a position where it makes the removal of the Ink
Supply Tubes much easier.
7 Pri n ter Inf o rmat i on ⇒ Page 4-26
The purpose of this Utility is the following:
n
Report basic parameters for call qualification.
n
Identify potential problems.
HP DesignJets 500 and 800 Series Pr inters Service Manual
4-13
Page 14

Service Tests and Utilities
Entering the Service Utilities Menu
1 Press the ↑ or ↓ key until the front panel displays the Setup Menu a nd
then press Enter
.
Set-up menu
Press ENTER for
Set-up menu
Menu
Back
Enter
2 Once inside the Setup Menu, Press the following key combination
to access the special Se rvice Menu
Set-up menu
Printer informatio n
R
I
A
O
PH
P
E
R
E
T
I
S
-
N
PP
U
S
E
N
O
I/O set-up
Front panel
Altitude = 0-1 000 m .
Log
For On-site Engineers, press th e Up a nd En ter keys
to access the complete list of Service Tests.
Set-up menu
T
R
Printer infor mation
O
I/O set-up
Front panel
Altitude = 0-1000 m.
Log
.
Menu
Back
Enter
Menu
Back
Enter
For Call Agents who will request the User to perform
certain troublesho oting actions , press the Down and Enter
keys to access a limited list of Servi ce Tests.
3 Once inside the Service Tools Menu, press the ↑ or ↓ key until the
front panel displays Service Utilities and then press Enter.
Service Menu
Service tests
Service cal ibrations
Servic e u tilities
Menu
Back
Enter
4-14
HP DesignJets 500 and 800 Series Printers Service Manual
Page 15

Service Tests and Utilities
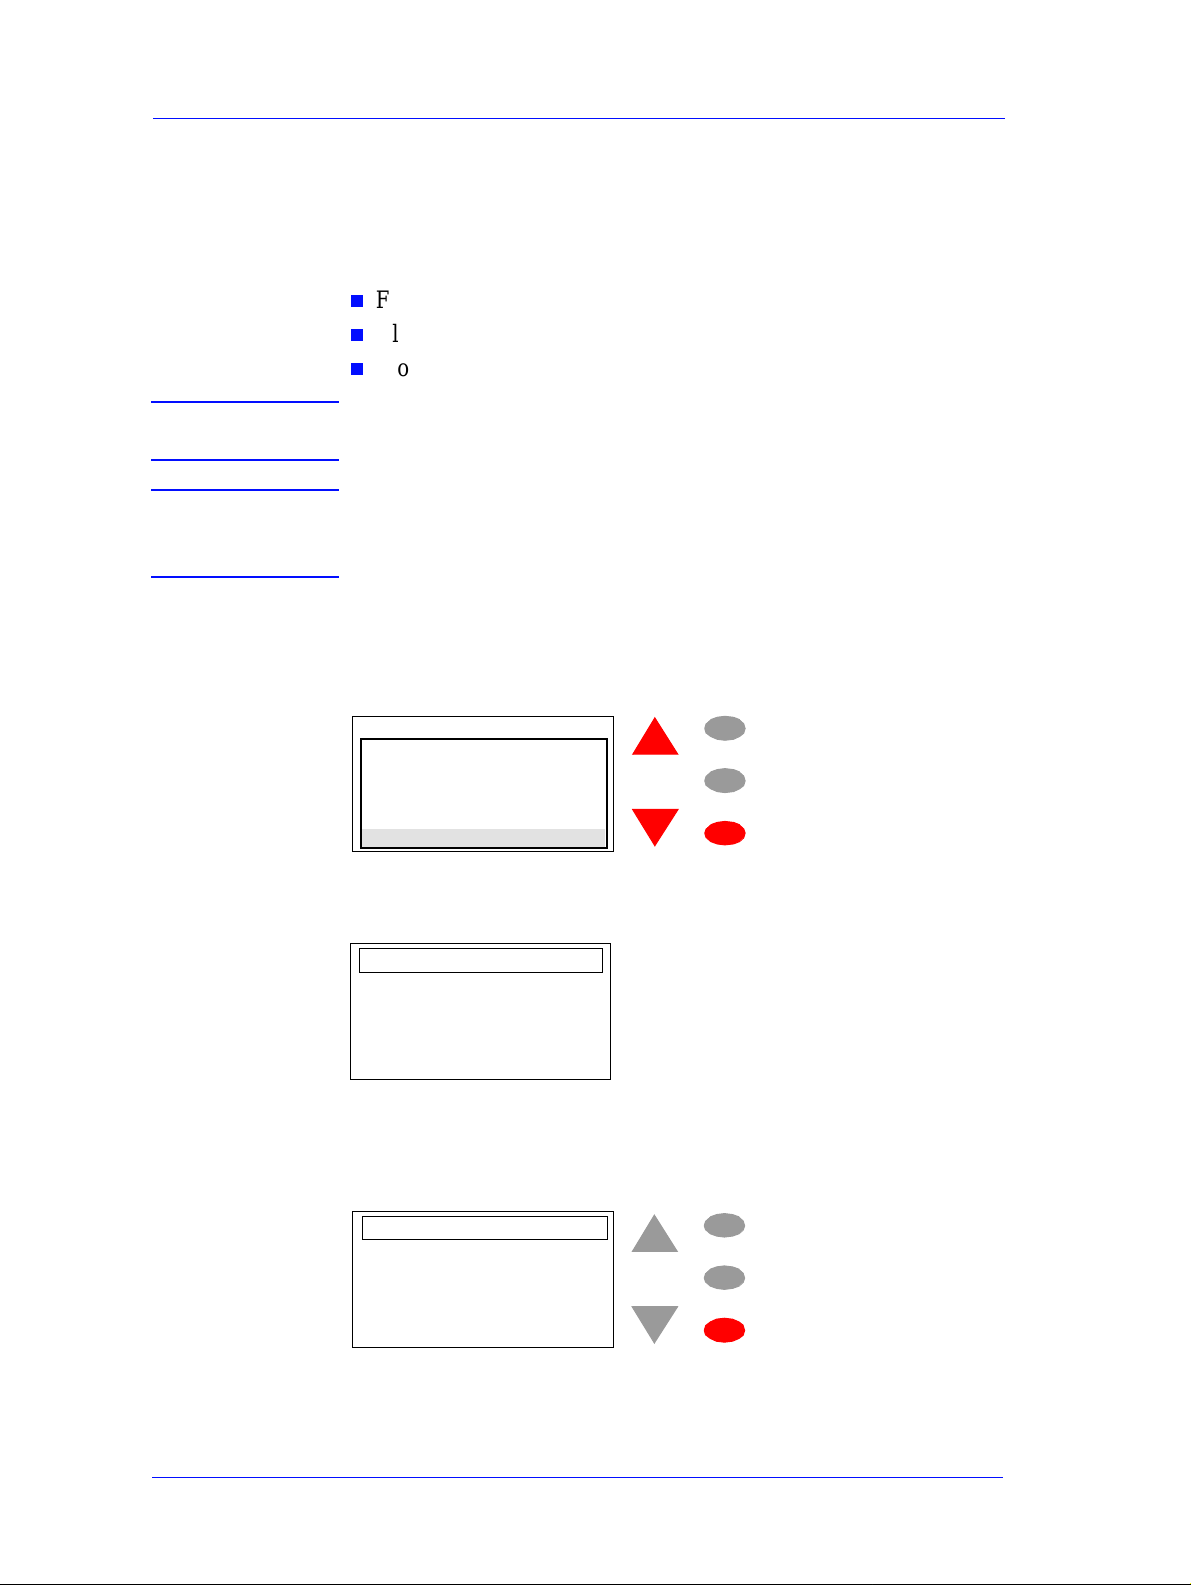
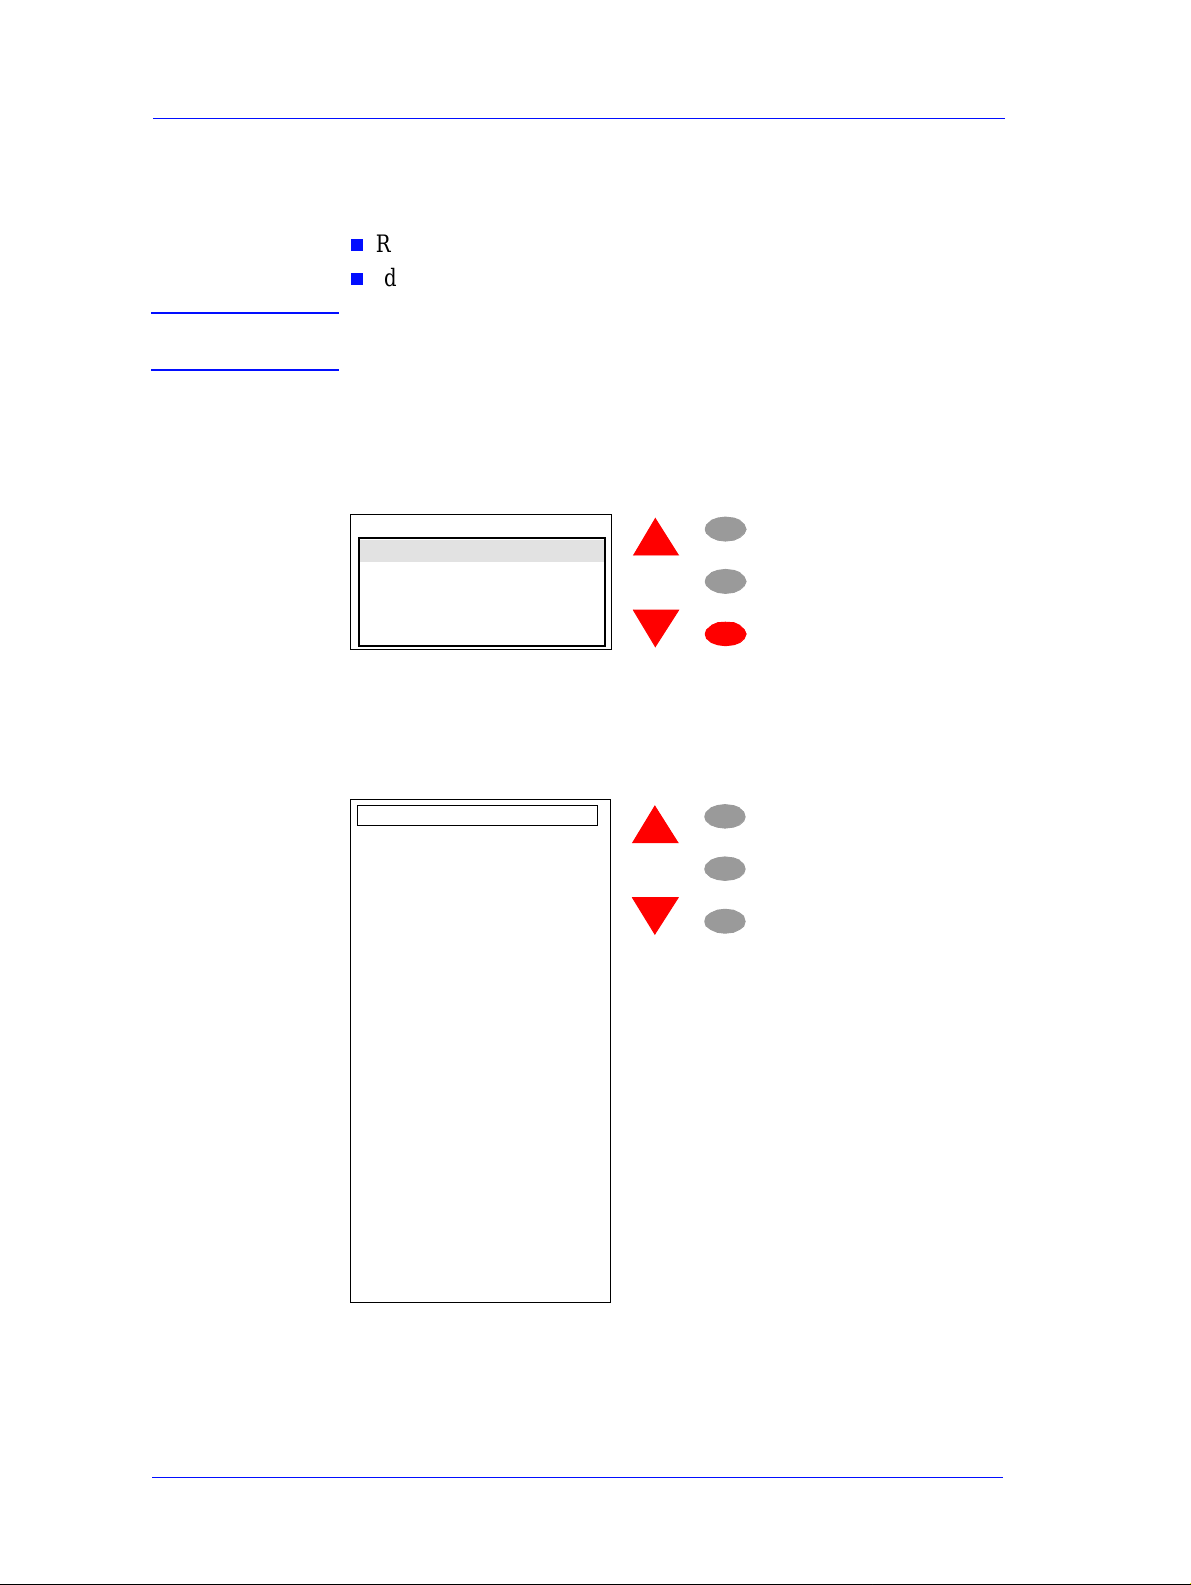
4 Press the Enter key to begin a specific utility when the required
Service Utility is highlighted.
Servic e ut il ities
Change ink tubes
Unlock Carriage
Turn Drive Roller
Prime tubes
EEROM Setup
Menu
Back
Enter
HP DesignJets 500 and 800 Series Pr inters Service Manual
4-15
Page 16

Service Tests and Utilities
EEROM Setup
The purpose of this Service Utility is to modify identification
parameters such as serial and model numbers, as well as the Font
Type. This only needs to be performed when EEROM failures
cannot be recovered where both the current EEROM (located in the
Main PCA) and the backup EEROM (located in the Ink Supply
Station) contain false values or because both of them have failed.
Also, you can use this utility to reset the usage counters for parts
that have been replaced in order to correctly reflect the true usage of
the relevant parts.
WARNING After any change in the E EROM, switch the Printer OFF and
ON again in order to ensure that the change takes effect in all the
subsystems of the Printer.
Perform the EEROM Setup as follows:
1 In the Service Utilities submenu, scroll to "EEROM Setup" and
press Enter.
Servic e u tilities
Change ink tubes
Unlock Carriage
Turn Drive Roller
Prime tubes
EEROM Setup
Menu
Back
Enter
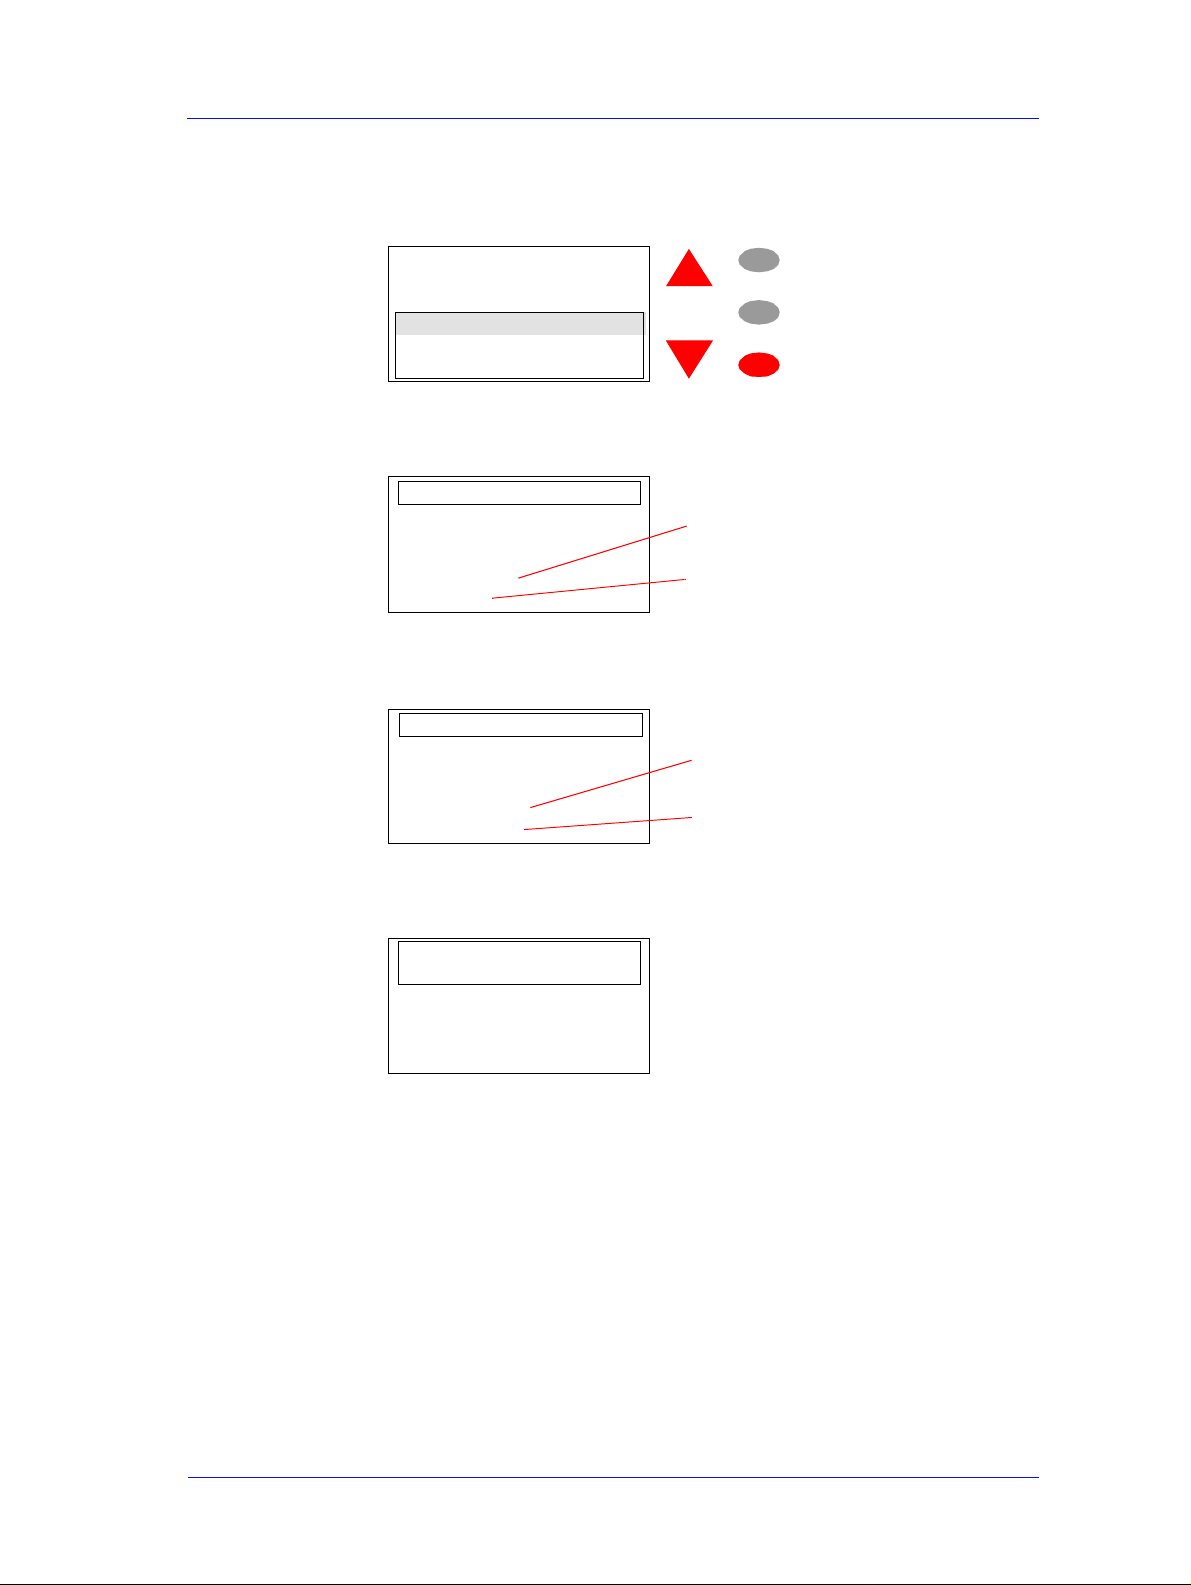
2 The Printer will display a list of EEROM Setup options. You can
make your selection using the arrow keys and press Enter to view
the selection.
EEROM Setup options
Model number
Serial number
Font type
Reset usage counter
Reset to de fa u lt
Menu
Back
Enter
If you want to select the Model Number
a If you want to select the Model number, then you should select
"Model number" and press Enter. A list of all the printer model
numbers available will appear on the front panel. The current
model selected will have the symbol √ next to the model number.
Use the arrow keys to scroll through the selections, and press
Enter to make the selection. Once the selection is made the
4-16
HP DesignJets 500 and 800 Series Printers Service Manual
Page 17

Service Tests and Utilities
symbol √ will appear next to the selected model number. To
return to the EEROM setup options menu, press Back.
Select model number
C7769B
C7770B
C7779B
C7780B
C7779C
√
Menu
Back
Enter
If you want to select the Serial Number
a If you want to select the Serial number, then you should select
"Serial number" and press Enter. The following information will
be displayed on the front panel. You will need to use the arrow
keys to scroll through the complete list because the front panel
only allows 6 lines to be displayed at one time.
Enter serial number
Current: ESA80035674
New: _
0
1
2
3
4
5
6
7
8
9
A
B
C
D
E
F
ES
SG
Ä
Backspace
Current Serial Number
encod ed into the E E R O M
Digits of the serial number
that you will be selecting
will appear here
Use the arrow keys to scroll
through the list of digits and
press ENTER to select the
ones that you require in order
to make the new se rial
number
Selecting this will delete the
last digit selected
b Use the arrow keys to scroll through the list of digits. Once the
digit that you require is highlighted, press Enter to select it and it
will appear in the New line.
Select serial number
Current: ESA80035674
New: ESB75_
5
6
7
HP DesignJets 500 and 800 Series Pr inters Service Manual
Menu
Back
Enter
4-17
Page 18

Service Tests and Utilities
c Once you have entered the last digit of the new serial number, the
front panel will display the following message:
Serial number
Serial number entered is
ESB7531008
Press ENTER to confirm
or BACK to correct
Menu
Back
Enter
d If you press Enter, the new serial number will be stored in the
EEROM and the Printer will return to the EEROM setup options
menu. If you press Back, the previous screen will be displayed
and the last digit of the new serial number will be deleted. You
now have the opportunity to modify the new serial number.
Enter serial number
Current: ESA80035674
New: ESB753100_
0
1
2
Menu
Back
Enter
If you want to change the Font Type
a If you want to change the Font Type to Japanese, then you should
select "Font type" and press Enter. The following message will
be displayed on the front panel asking you to confirm whether
you want to change the font to Japanese. Select YES and press
Enter if you want to change to Japanese. Select NO and press
Enter if you don’t want to change the font type to Japanese.
Do you want to set font
type to Japanese?
YES √
NO
Menu
Back
Enter
NOTE If the Printer is not a DesignJet 800PS, or if the Printer does not
detect a formatter, the Printer will not allow you to enter this
utility and will display the following message on the front panel.
Font ty p e setting is n ot
available for this type of
printer
Press BACK or ENTER to
return to menu
4-18
HP DesignJets 500 and 800 Series Printers Service Manual
Page 19

Service Tests and Utilities
If you want to Reset the Usage Counter
NOTE You should only reset the usage counter for a certain component
when it has been replaced by a new one. Never reset the usage
counter for a component when it has not been replaced.
a If you want to reset some of the parameters of the usage counter
(to consult the usage counters ⇒ Page 4-26), then you should
select "Reset usage counter" and press ENTER. The following
information will be displayed on the front panel. Y ou will need to
use the arrow keys to scroll through the complete list because the
front panel only allows 6 lines to be displayed at one time. Select
the usage counter that you want to reset and then press Enter.
Reset usage count er
Scan axis usage:
Paper axis usage:
Serv. Station usage:
Spittoon usage:
Pinch-lift usage
Cutter usage:
Carriage usage:
Ink usage:
Menu
Back
Enter
b Once you make a selection (for example Scan axis usage), the
following message will appear on the Front Panel. Press Enter if
you want to proceed with resetting the counter or press Cancel if
you want to exit without resetting the counter:
Reset usage counter
Scan axis usa g e:
Press ENTER to continue
or CANCEL to quit
Menu
Back
Enter
c To check if the relevant usage counter has been reset, enter the
Printer Information utility ⇒ Page 4-26.
HP DesignJets 500 and 800 Series Pr inters Service Manual
4-19
Page 20

Service Tests and Utilities
If you want to Re se t the EE R OM to the Default Values
NOTE The EEROM should only be reset if there is a major problem or
if the Electronics Module has been replaced by a reused one and
you need to reset the EEROM configuration. Also reset the
EEROM if the Printer does not have the correct Serial Number
after powering up.
a If you want to reset the EEROM to the default values, then you
should select "Reset to defaults" and press Enter. The following
message will appear on the Front Panel. Press Enter if you want
to proceed with resetting the EEROM or press Cancel if you
want to exit without resetting the EEROM:
Reset to de fa u lts
Press ENTER to continue
or CANCEL to quit
Menu
Back
Enter
NOTE After resetting t he EEROM to the defaul t values, you will n eed to
re-enter the Serial Number, Model Number and the Font Type
(without re-ente ring this in formatio n, the Printe r will NOT wo rk).
DO NOT SWITCH THE PRINTER OFF AND ON AGAIN
BEFORE RE-ENTERING THESE VALUES. Also you will need
to perform the Factory Advance Calibration.
4-20
HP DesignJets 500 and 800 Series Printers Service Manual
Page 21

Service Tests and Utilities
Turn Drive Roller
The purpose of this Service Utility is to rotate the Drive Roller in
order to clean it.
NOTE REMOVE THE MEDIA BEFORE PERFORMING THIS
OPERATION.
Perform the Turn Drive Roller utility as follows:
1 In the Service Utilities submenu, scroll to "Turn Drive Roller" and
press Enter.
Servic e u tilities
Change ink tubes
Unlock Carriage
Turn Drive Roller
Prime tubes
EEROM Setup
Menu
Back
Enter
2 Once the utility starts, the Drive Roller will begin to tur n slowly and
the following message will be displayed. Everytime the Drive
Roller completes a turn, the counter will increase by one.
Turning Drive Roller
turns 2
Press CANCEL to stop
3 If you want to stop the Drive Roller from turning, press Cancel and
the following message will appear on the front panel. Press Enter if
you want to return to the Service Utility menu or press Back if you
want to continue turning the Drive Roller.
Turning Drive Roller
Turning Drive Roller
stopped.
Press ENTER to finish
or BACK to resume
HP DesignJets 500 and 800 Series Pr inters Service Manual
4-21
Page 22

Service Tests and Utilities
Unlock Carriage
The purpose of this Service Utility is to unlock the Carriage
Assembly which is normally locked by the Service Station in order
to cap the Printheads. Once unlocked, the Carriage Assembly can
then be moved freely along the Printer by hand.
Perform the Unlock Carriage utility as follows:
1 In the Service Utilities submenu, scroll to "Unlock Carriage" and
press Enter.
Servic e u tilities
Change ink tubes
Unlock Carriage
Turn Drive Roller
Prime tubes
EEROM Setup
Menu
Back
Enter
2 Once the utility starts, the printer will begin to unlock the Carriage
Assembly and the following message will be displayed on the front
panel.
Unlock Carriage
Unlocking Carriage
Please wait...
3 Once the Carriage is unlocked (Printheads have been uncapped) the
following message will appear on the front panel:
Unlock Carriage
Carriag e unlocked
Power o ff th e pr in te r
to start the repair
NOTE The Carriage will remain uncapped until another action (e.g.
loading paper or replacing Printheads) is selected which r etu rns
the Printer to normal operation. Make sure you leave the
Carriage in a locked position once the repair is completed.
4-22
HP DesignJets 500 and 800 Series Printers Service Manual
Page 23

Service Tests and Utilities
Prime Tubes
This purpose of this Service Utility is to prime the Ink Supply Tubes
after they have been replaced (or if a situation arises where you need
to force the priming procedure).
Prime the tubes as follows:
1 In the Service Utilities submenu, scroll to "Prime tubes" and press
Enter.
Servic e u tilities
Change ink tubes
Unlock Carriage
Turn Drive Roller
Prime tubes
EEROM Setup
Menu
Back
Enter
2 Once the utility starts , the pr inter will dis play the following message
on the front panel. If you want to abort the Prime T ubes utility, press
Cancel and you will return to the Service Utility menu.
Prime tubes
Press ENTER to force
tube priming at next
powe r u p.
CANCEL to abort
3 If you press Enter, the following message will be displayed on the
Front Panel. You should switch the Printer ON and OFF in order to
start the priming process.
Prime tubes
Power off/on m a ch ine
to start tube priming
4 When you power On the Printer, the Printer will initialize and then
display the following message. You will need to remove the normal
Printheads and replace them with Start-up Printheads.
Open window and
remove normal
printhea ds to prepare
ink system
HP DesignJets 500 and 800 Series Pr inters Service Manual
4-23
Page 24

Service Tests and Utilities
Change Cutter
The purpose of this Service Utility is to move the Cutter Assembly
to a position where it can be replaced.
NOTE In order to actually replace the Cutter Assemb ly, refe r to Page
Perform the Change Cutter utility as follows:
1 In the Service Utilities submenu, scrol l to "Change cutter" and pres s
Enter.
Servic e u tilities
Change Cutter
Change ink tubes
Unlock Carriage
Turn Drive Roller
Prime tubes
2
The Carriage will move to the left hand side of the Printer, pick up
Menu
Back
Enter
the Cutter and move it to a position where the Cutter can be replaced.
8-32
.
4-24
HP DesignJets 500 and 800 Series Printers Service Manual
Page 25

Service Tests and Utilities
Change Ink Tubes
The purpose of this Service Utility is to move the Carriage
Assembly to a position where it makes the removal of the Ink
Supply Tubes much easier.
NOTE In order to actually replace the Ink Supply Tubes, refer to Page
8-60.
Perform the Change Ink Tubes utility as follows:
1 In the Service Utilities submenu, scroll to "Change Ink Tubes" and
press Enter.
Servic e u tilities
Change ink tubes
Unlock Carriage
Turn Drive Roller
Prime tubes
EEROM Setup
Menu
Back
Enter
2 Once the utility starts , the pr inter will dis play the following message
on the front panel. If you want to abort the Change Ink Tubes utility ,
press Cancel and you will return to the Set-up menu.
Change ink tubes
Press ENTER to continue
or CANCEL to quit
3 If you press Enter, the Carriage will move to a position where you
change the Ink Supply Tubes and the following message will be
displayed on the Front Panel. Y ou should switch the Printer OFF
before starting to change the Ink Supply Tubes.
1. Swit ch of f th e machi ne
2. Refer to the Service
Manual to replace
tubes
NOTE The next time the Printer is switched ON, it will automatically
start the Priming process.
HP DesignJets 500 and 800 Series Pr inters Service Manual
4-25
Page 26
Service Tests and Utilities
Printer Information
The purpose of this Utility is the following:
n
Report basic parameters for call qualification.
n
Identify potential problems.
NOTE Some of the parameters can be reset to zero by using the
EEROM Setup utility (⇒
Check the Printer Information as follows:
1 In the Service Utili tie s submenu, s croll to "Printer Information" a nd
press Enter.
Page
4-16).
Servic e u tilities
Printe r in fo rmati on
Printh ead information
Error log
Printheads
Altitude = 0-1000 m.
Menu
Back
Enter
2 The Printer will display the following information on the front
panel. You will need to use the arrow keys to scroll through the
complete list because the front panel only allows 6 lines to be
displayed at one time.
Printer Informati on
Model Number: C7779C
Serial No:
ESA0B001023
Servic e ID : 11280
Engine F/W:
X.XX.XX
Formatter F/W : X.XX.XX
Hard disk F/W: X.XX.XX
Paper usage: 315 in
2
8 m
Ink used:
Black 6 cc
Cyan 4 cc
Magenta 4 cc
Yellow 3 cc
Scan axis u sage: 21%
Pape r ax is usag e : 23%
Serv. Station usage: 19%
Spitto on usage: 12%
Pinch-Lif t usage: 10%
Cutter usage: 26%
Carriage usage: 12%
Ink usage: 2%
2
Menu
Back
Enter
4-26
HP DesignJets 500 and 800 Series Printers Service Manual
Page 27

Service Tests and Utilities
Each parameter of the Printer Information is explained as follows:
n
Model Number
- This identifies the model type of the Printer and
should be the same number as printed on the Serial Number label
(located at the back of the Printer). If the Model Number on the front
panel does NOT match the number on the label, then use the EEROM
setup (⇒ Page
n
Serial Number - The Serial Number should be the same number
4-16
) utility to set the correct model number .
as printed on the Serial Number label (located at the back of the
Printer). If the Model Number on the front panel does NOT
match the number on the label, then use the EEROM setup utility
(⇒ Page
n
Service ID
4-16) to set the correct model number.
- This number id e ntifie s the da te whe n the Pr inter was
bought since it encodes the date when the first print was sent to the
Printer. This way the end of warranty period can easily be
determined without needing a proof of purchase from the customer.
The Service ID format is
since 1990 and
DDD
YYDDD
, where YY is the ac t ual year
is the number of actual days since January 1st.
How to calculate the Service ID from a calendar date:
YY = calendar year - 1990 (e.g.: 1998 = (1998 - 1990) = 08; 2001
= (2001 - 1990) = 11)
DDD = (Calendar month - 1) x 30 + Calendar day or 30 if the day
is 31 (e.g.: Oct. 10th = (9 x 30 + 10) = 280; Dec. 31st = (11 x 30
+30) = 360
How to convert the Service ID into a calendar date:
Year = YY + 1990 (e.g.: 08 = (08 + 1990) = 1998; 11 = (11 +
1990) = 2001)
Date = DDD divided by 30, plus on e if there is a remainder , gives
you the month. The remainder gives you the day of the month
(e.g. 280 (280/30 = 9 + 1 = 10) = October 10th; 360 = (360/30 =
12) = December 30th)
n
Engine F/W - The current version of the Fi rmware being used by
the Printer and the date that it was updated.
n
Formatter F/W - The current version of the Firmware being
used by the Formatter (if it is installed).
n
Hard disk F/W - The current version of the Firmware being used
by the Hard Disk (only if the Formatter is installed).
n
Paper usage - The amount of media used by the Printer.
n
Ink usage - The amount of Ink used by the Printer.
n
Scan axis usage
- Num ber of Scan-Axi s cycles repr esented as a
percentage over the maximum number of Scan-Axis cycles that the
HP DesignJets 500 and 800 Series Pr inters Service Manual
4-27
Page 28

Service Tests and Utilities
Printer is designed to support. If the percentage is
more than
and the Printer is experiencing problems then try the following:
1 Apply Lubricant to the Drive Roller.
2
Replace the Carriage Assembly (including the Belt) ⇒ Page
3 Replace the Scan-Axis Motor ⇒ Page 8-29.
n
Paper axis usage
- Number of Paper-Axis movements represented as
a percentage over the maximum number of Paper-Axis movements
that the Printer is designed to support. If the percentage is
more than
100% and the Printer is experiencing problems the n try the fo llowing:
1 Replace the Paper-Axis Motor ⇒ Page 8-84.
n
Service St ation us age - Number of Service Station cycles
represented as a percentage over the maximum number of
Service Station cycles that the Printer is designed to support. If
the percentage is more than 100% and the Printer is
experiencing problems then try the following:
1 Replace the Service Station ⇒ Page 8-52.
n
Spittoon usage - Number of drops spitted into the Spittoon (on
the left hand side of the Printer) represented as a percentage over
the maximum number of drops allowed by the Spittoon. If the
percentage is more than 100% and the Printer is experiencing
problems then try the following:
100%
8-78
.
1 Replace the Spittoon ⇒ Page 8-23.
n
Pinch-lift usage
- Number of Pinch-lift cycles represented as a
percentage over the maximum number of cycles that the Printer is
designed to support. If the percentage is
more than
100% and the
Printer is experiencing problems then try the following:
1 Replace the Pinch-Lift Mechanism ⇒ Page 8-67.
n
Cutter usa ge
- Number of times the Cutter has been used rep resented
as a percentage over the max imu m num ber of times that the Printer is
designed to support. If the percentage is
more than
100% and the
Printer is experiencing problems then try the following:
1 Replace the Cutter Assembly ⇒ Page 8-32.
n
Carriage usage
- Number of Printhead insertions in the Carriage stall
where the most Printheads have been inserted represented as a
percentage over the maximum numb er of Printhead insertions that the
Printer is designed to support. If the percentage is
more than
100%
and the Printer is experiencing problems then try the following:
1 Replace the Carriage Assembly ⇒ Page 8-78.
4-28
HP DesignJets 500 and 800 Series Printers Service Manual
 Loading...