

Hilti POS 15, POS 18 Original Operating Instructions

POS 15/18
Kurzanleitung de
Quick-start guide en
Guía rápida es
Pikaopas fi
Guide de démarrage rapide fr
Guida rapida it
Korte handleiding nl
Manual de instruções pt
Краткое руководство ru
Kort instruktion sv
Printed: 26.09.2014 | Doc-Nr: PUB / 5199516 / 000 / 00
1
2
Printed: 26.09.2014 | Doc-Nr: PUB / 5199516 / 000 / 00
3
ORIGINAL OPERATING INSTRUCTIONS
POS 15/18 total station
It is essential that the operating instructions
are read before the tool is operated for the
first time.
Always keep these operating instructions together with the tool.
Ensure that the operating instructions are
with the tool when it is given to other persons.
Contents Page
1 General information 13
2Description 14
3 Technical data 14
4 Safety instructions 16
5Firststeps 18
6 Adjustment 22
7 Care and maintenance 23
8Disposal 23
9 Manufacturer’s warranty 24
10 FCC statement (applicable in US) / IC
statement (applicable in Canada) 24
11 EC declaration of conformity (original) 24
1 These numbers refer to the illustrations. You can
find the illustrations at the beginning of the operating
instructions.
In these operating instructions, the designation “the tool”
always refers to the POS 15 or POS 18.
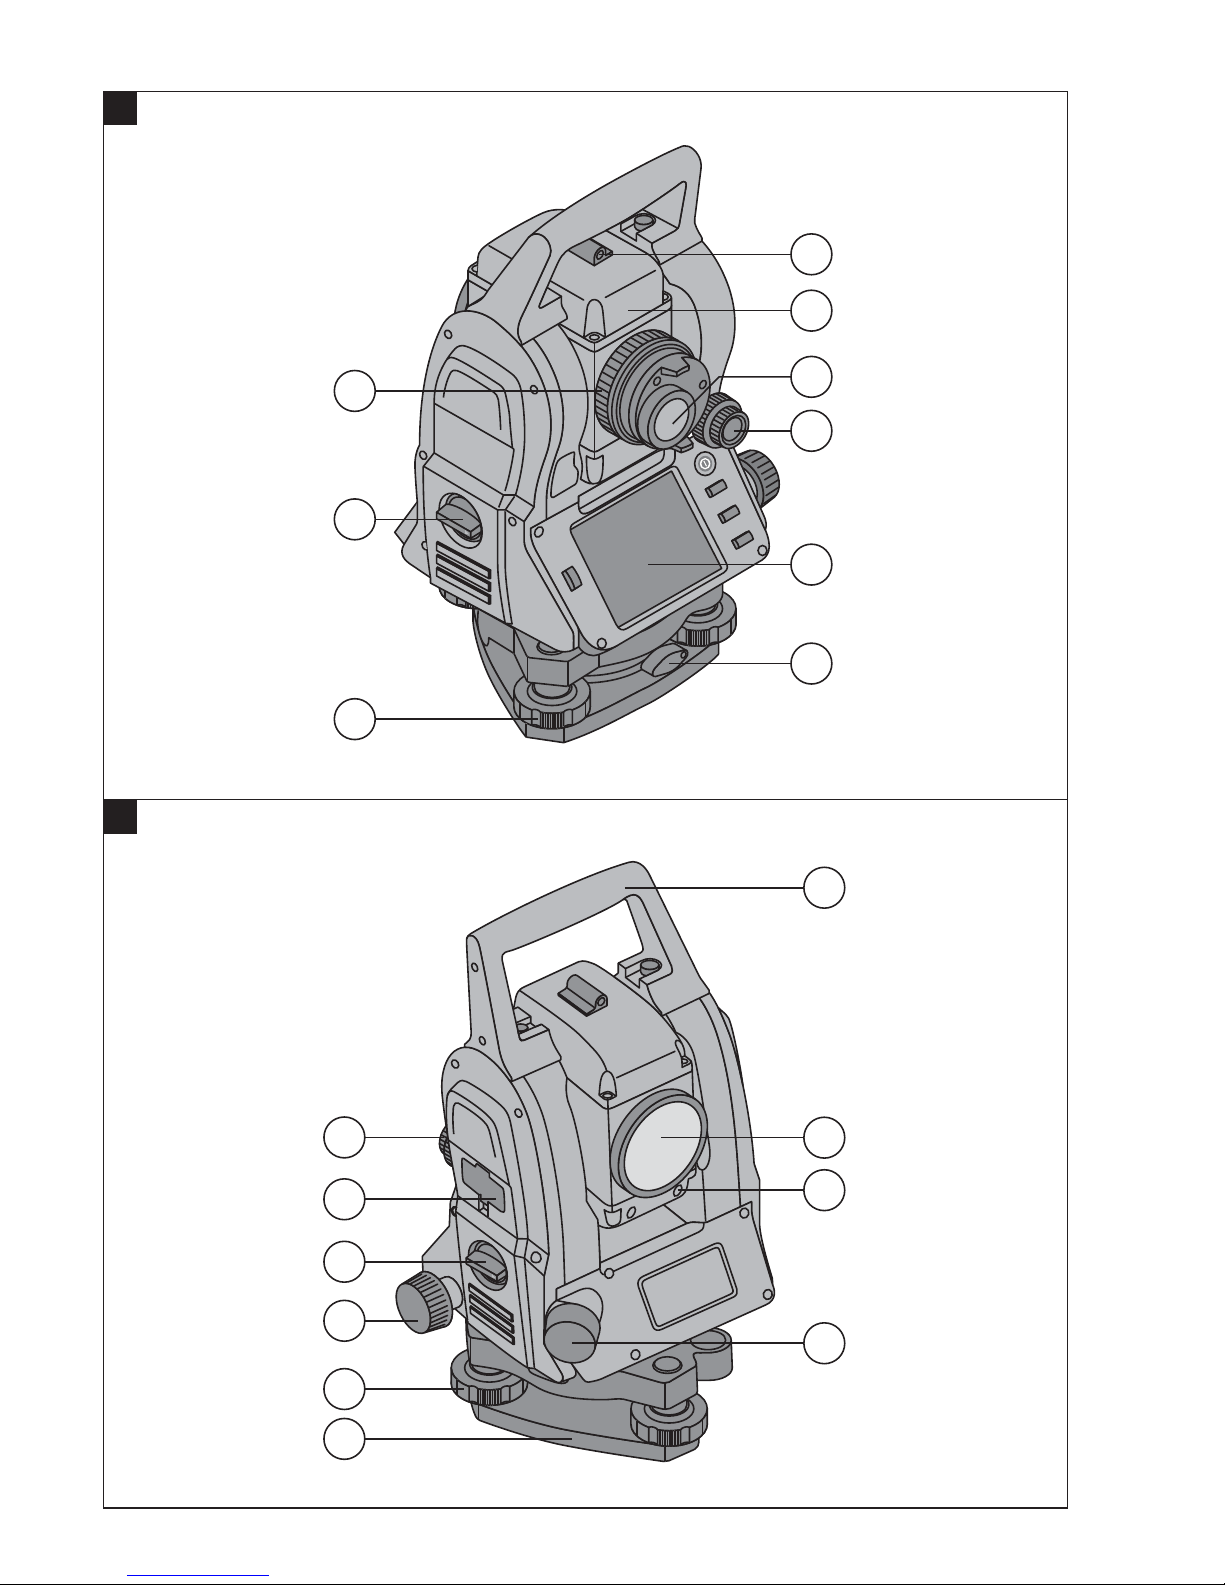
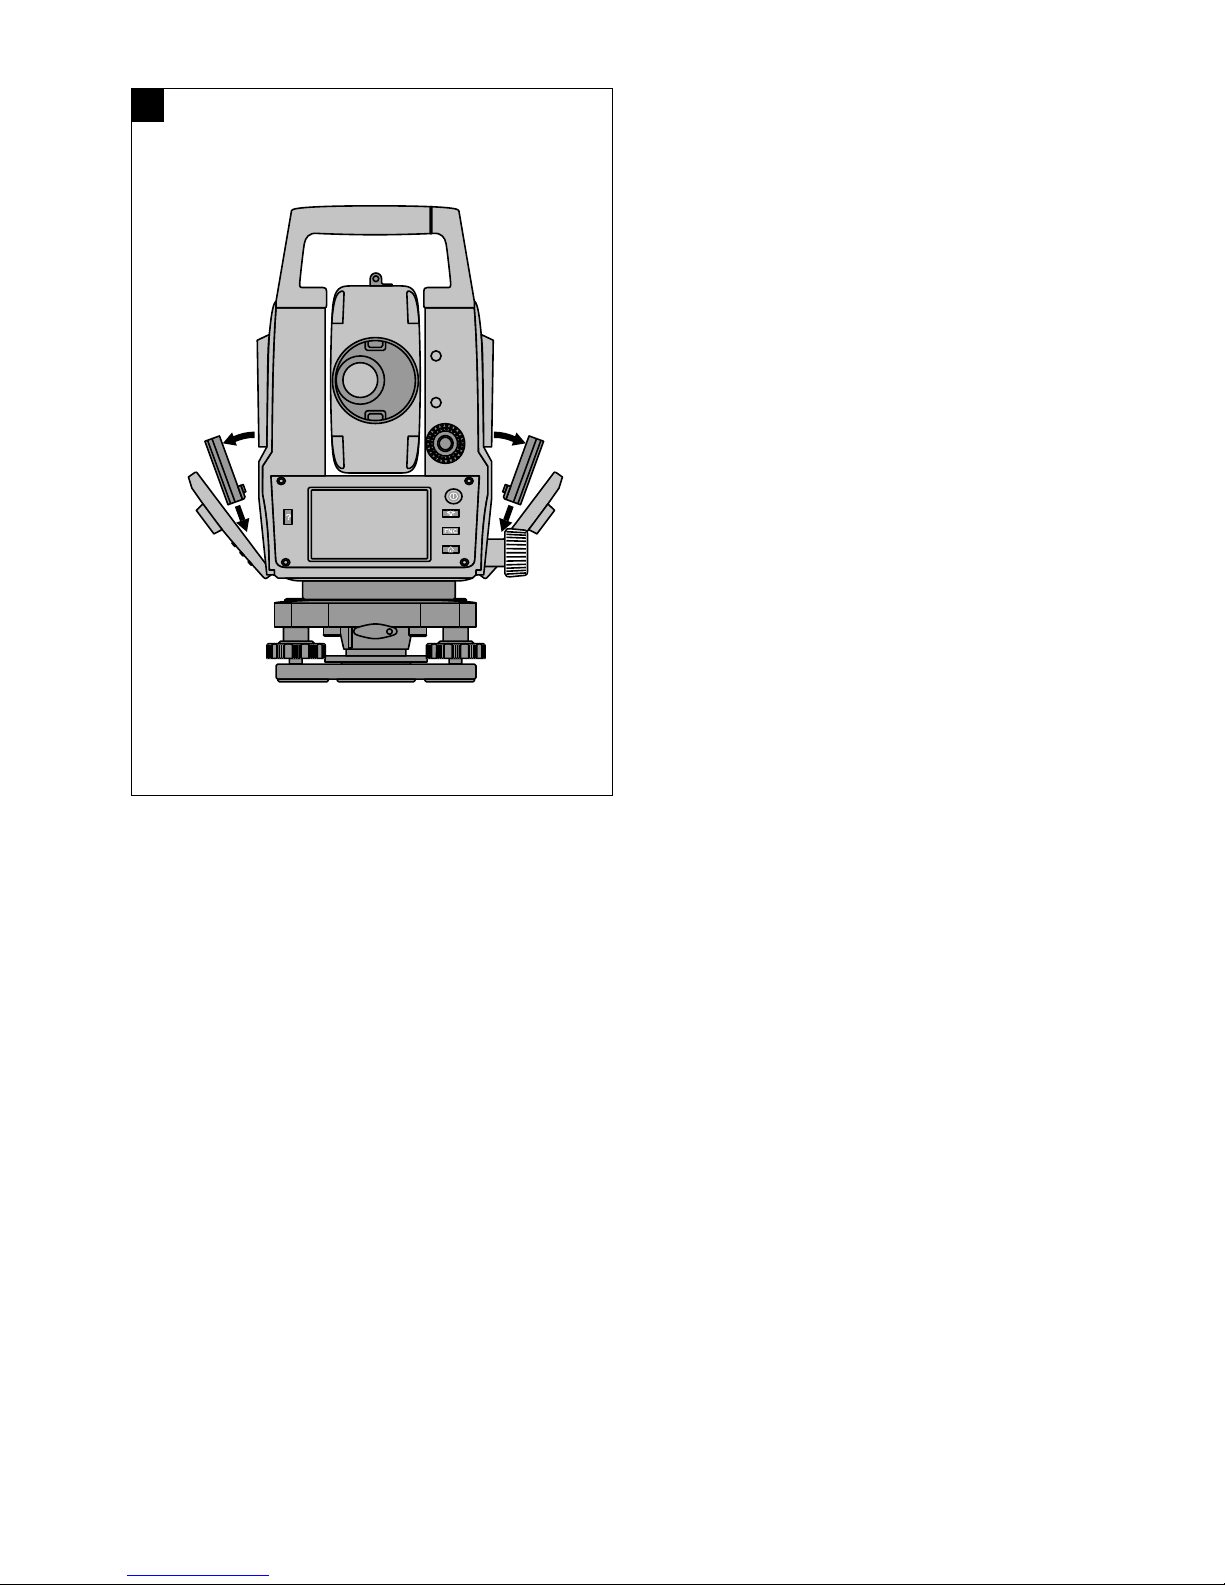
Rear casing section 1
Left battery compartment with cover retaining
@
screw
Tribrach footscrew
;
Tribrach lock
=
Touch screen control panel
%
Focussing knob
&
Eyepiece
(
Telescope with laser distancer
)
Alignment sight (sighting aid)
+
Vertical drive
§
Front casing section 2
Vertical drive
/
USB interface connectors (small and large)
:
Right battery compartment with cover retaining
·
screw
Horizontal drive
$
Tribrach footscrew
£
Tribrach
|
Laser plummet
¡
Guide light
Q
Objective lens
W
Carrying handle
E
en
1 General information
1.1 Safety notices and their meaning
DANGER
Draws attention to imminent danger that will lead to
seriousbodilyinjuryorfatality.
WARNING
Draws attention to a potentially dangerous situation that
could lead to serious personal injury or fatality.
CAUTION
Draws attention to a potentially dangerous situation that
could lead to slight personal injury or damage to the
equipment or other property.
NOTE
Draws attention to an instruction or other useful information.
1.2 Explanation of the pictograms and other
information
Symbols
Read the
operating
instructions
before use.
Do not turn
the screw
General
warning
Returning
materials for
recycling
Do not look
into the
beam.
13
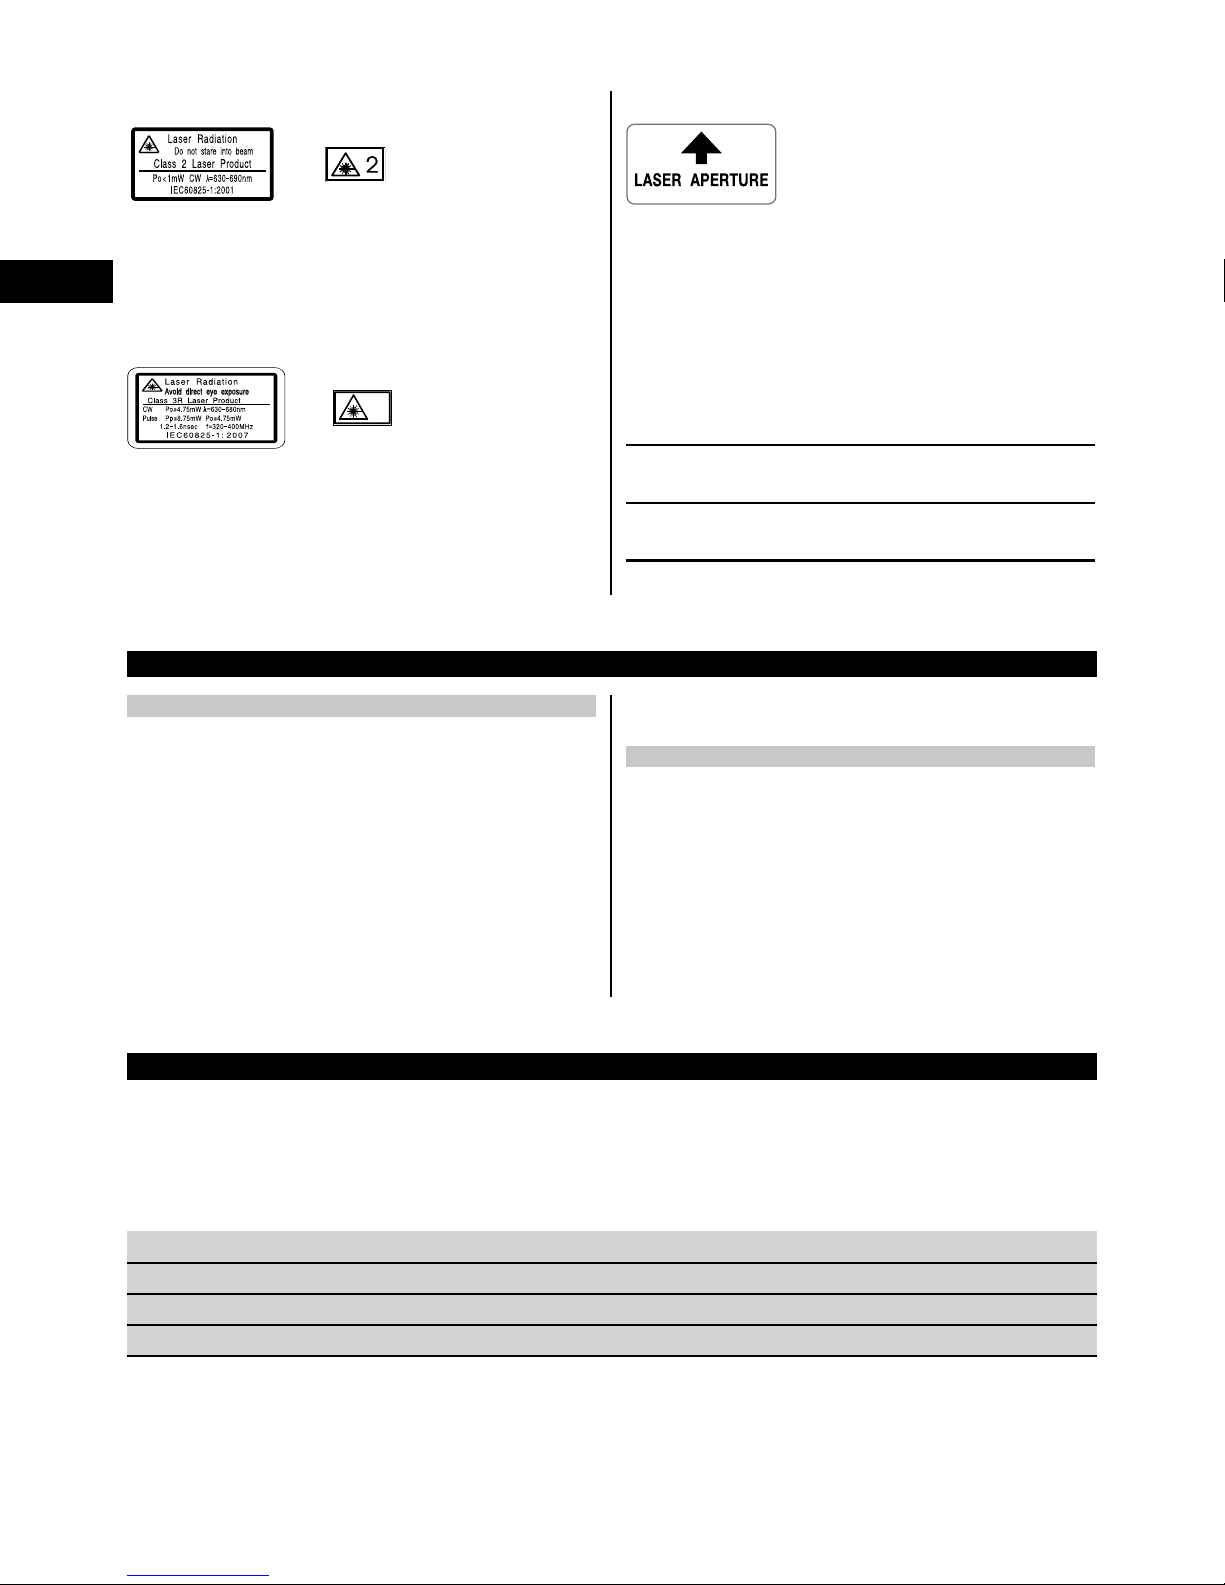
Symbol for Laser Class II / Class 2
Laser exit aperture
en
Laser class II
according to
CFR 21, § 1040
(FDA)
Laser Class
2in
accordance
with IEC/EN
60825‑1:2007
Symbol for Laser Class III / Class 3
3R
Laser class II
according to
CFR 21, § 1040 (FDA)
Do not look
into the
beam with
the naked
eye or with
optical
instruments.
2 Description
2.1 Use of the product as directed
The tool is designed for measuring distances and directions, calculating target positions in 3 dimensions and
the values derived from these positions and for laying
out points using given coordinates or values relative to a
control line.
To avoid the risk of injury, use only genuine Hilti accessories and insert tools.
Observe the information printed in the operating instructions concerning operation, care and maintenance.
Take the influences of the surrounding area into account.
Donotusetheappliancewherethereisariskoffireor
explosion.
Laser exit aperture
Location of identification data on the tool
The type designation and serial number can be found on
thetypeidentificationplateonthetool.Makeanoteof
this data in your operating instructions and always refer
to it when making an enquiry to your Hilti representative
or service department.
Type:
Generation: 01
Serial no.:
Modification of the tool is not permissible.
2.2 Description of the tool
The POS 15/18 total station can be used to determine the
exact position of objects or points. The tool is equipped
with horizontal and vertical circles with digital graduation,
two electronic levels (compensators), a coaxial laser distancer incorporated in the telescope and an electronic
processor system for calculating and saving data.
Hilti PROFIS Layout, a PC application from Hilti, can be
used to transfer data in both directions between the total
station and a PC, for data processing and for exporting
data to other systems.
3 Technical data
Right of technical changes reserved.
NOTE
The only difference between the two tools is their angle measurement accuracy.
Telescope
Telescope magnification 30x
Shortest target distance 1.5 m (4.9 ft)
Telescope angle of view 1° 20': 2.3 m / 100 m (7.0 ft / 300 ft)
Objective lens aperture 45 mm (1.8")
14
 Loading...