


GIGABYTE GA-EP45-DQ6, GA-EP45-DS3R, GA-EP45T-DS3R, GA-EP45-UD3P, GA-EG45M-DS2H Owner's Manual
...Table of Contents
TPM Configuration Procedure ....................................................................................... |
2 |
||
1. |
Configuring the System BIOS .................................................................................... |
2 |
|
2. |
Installing the Infineon TPM Driver and the GIGABYTE Ultra TPM Utility .................. |
3 |
|
3. |
Initializing the TPM Chip ............................................................................................. |
4 |
|
|
3.1. |
Easy Mode ......................................................................................................................... |
4 |
|
3.2. |
Advanced Mode ................................................................................................................ |
6 |
4. |
Configuring the GIGABYTE Ultra TPM Utility .......................................................... |
16 |
|
- 1 -
TPM Configuration Procedure
To enable the TPM, follow the steps below in sequence:
1.Configuring the system BIOS
2.Installing the Infineon TPM driver and the GIGABYTE Ultra TPM utility
3.Initializing the TPM chip
4.Configuring the GIGABYTE Ultra TPM utility
1.Configuring the System BIOS
To use the TPM functionality, first enter the system BIOS Setup to activate the TPM chip.
Step 1:
As the computer starts, enter BIOS Setup and go to the Security Chip Configuration menu. The following screen will appear. To activate the TPM chip, set Security Chip to Enabled. It's recommended that you use the Clear Security Chip item to clear the TPM chip as well.
 Encrypted files will become inaccessible after the TPM chip is cleared. Be sure to back up the encrypted files first.
CMOS Setup Utility-Copyright (C) 1984-2008 Award Software
Security Chip Configuration
Security Chip |
|
[Enabled] |
|
|
Item Help |
Clear Security Chip |
[Enter] |
|
Menu Level` |
||
Security Chip State |
Enabled/Activated |
|
|
||
KLJI: Move |
Enter: Select |
+/-/PU/PD: Value |
F10: Save |
ESC: Exit |
F1: General Help |
F5: Previous Values |
F6: Fail-Safe Defaults |
|
F7: Optimized Defaults |
||
Step 2:
After finishing the settings, press <F10> to save changes and then exit the BIOS Setup program.
- 2 -

2.Installing the Infineon TPM Driver and the GIGABYTE Ultra TPM Utility
To use GIGABYTE's Ultra TPM, ensure that the Infineon TPM driver and the GIGABYTE Ultra TPM utility have been installed in your system.
Method 1:
Insert the GIGABYTE motherboard driver disk. "Xpress Install" will automatically scan your system and list all the drivers that are recommended for installation. Click the Install All button. "Xpress Install" will install all of the selected drivers, including the Infineon TPM driver and the GIGABYTE Ultra TPM utility.
Method 2:
To individually install the Infineon TPM driver and the GIGABYTE Ultra TPM utility, go to the Install Single Items menu and click the Install buttons on the right of the Infineon TPM Driver and GIGABYTE Ultra TPM items.
Install the Infineon TPM driver. |
Install the GIGABYTE Ultra TPM utility. |
- 3 -
3.Initializing the TPM Chip
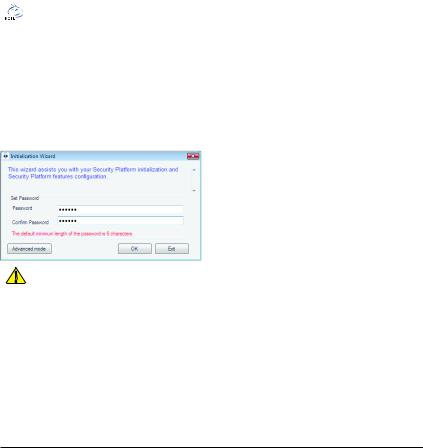
After configuring the system BIOS and installing the driver software, a small Infineon Security Platform icon  (This icon indicates that the Infineon Security Platform is not yet initialized.) will appear in your system tray. Double-click the icon to enter "Easy Mode" (refer to the instructions in Section 3.1) or select "Advanced Mode" (refer to the instructions in Chapter 3.2) and then begin to initialize and configure the Infineon Security Platform.
3.1.Easy Mode
Double-click the Infineon Security Platform icon  in the system tray to launch the GIGABYTE Initialization Wizard, which is the "Easy Mode" of the Security Platform. "Easy Mode" is an easy-to-use user interface of the Security Platform that allows users to quickly initialize the TPM chip and set up a Personal Secure Drive (PSD).
• "Easy Mode" simplifies the configuration procedure of the Infineon Security Platform initialization and its functions. To make further settings, please select "Advanced Mode."
•"Easy Mode" provides the "File and folder encryption with Personal Secure Drive (PSD)" settings only. To use the "File and folder encryption with Encryption File System (EFS)" or "Secure e-mail" functions, please select "Advanced Mode."
Step 1: Set up a Password
Launch the GIGABYTE Initialization Wizard. This wizard will request you to set up a password. After entering the password, click OK to begin the initialization of the Infineon Security Platform.
This password incorporates the functionalities of the "Owner Password", "User Password", "Emergency 
 Recovery Token Password" and "Password Reset Token Password" of the Infineon Security Platform. Be sure to memorize this password to administrate and use the Security Platform in the future. For details on the rules of the Infineon Security Platform passwords and their usage, please refer to the Infineon Security
Platform accompanying documentation.
- 4 -
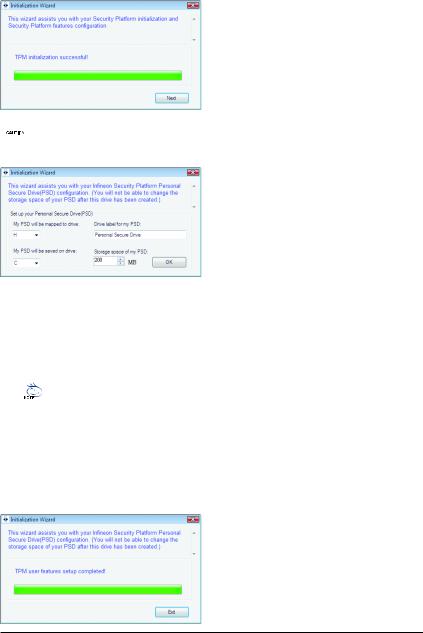
Step 2: Infineon Security Platform Initialization
Begin the initialization of the Infineon Security Platform. The "TPM initialization successful!" message appears upon completion of the initialization. Click Next to proceed with setting up a Personal Secure Drive (PSD).
 Do not log off, shutdown, enter a power-saving state, or unplug the power cord before the wizard has completed.
Step 3: Set up a Personal Secure Drive (PSD)
3-1. Specify a drive letter and label for your Personal Secure Drive
To specify the drive letter for your Personal Secure Drive, select an unused letter from the My PSD will be mapped to drive: drop-down list of available letters. To specify the drive label, enter the label in the Drive label for my PSD: box. The label should be no more than 32 characters in length.
3-2. Specify your Personal Secure Drive size and a local drive on which your Personal Secure Drive will be saved
Select a local drive from the My PSD will be saved on drive: drop-down list for saving your Personal Secure Drive and enter the Personal Secure Drive size in the Storage space of my PSD: box.
Your Personal Secure Drive size cannot be changed after setup, so please ensure that the size you
specify is large enough to meet your needs. Please note that you cannot use the full drive size, since the file system allocates some space. This depends on the operating system and may be significant for small drive sizes. Please also note that the maximum PSD drive size is limited:
The maximum PSD drive size on FAT16 volumes is 2 GB. The maximum PSD drive size on FAT32 volumes is 4 GB.
Step 4: Complete the Settings
Click Exit to complete the initialization of the TPM chip and setup of the Personal Secure Drive (PSD). You can then access the GIGABYTE Ultra TPM utility to set up a Portable User Key.
- 5 -
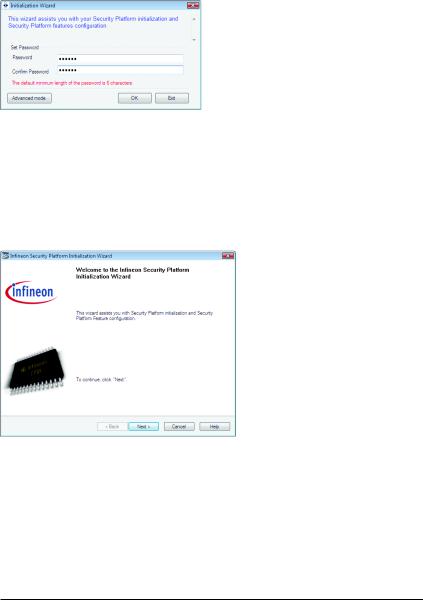
3.2.Advanced Mode
When the GIGABYTE Initialization Wizard is launched (by double-clicking the Infineon Security Platform icon  in the system tray), if you wish to configure further settings, click Advanced Mode to access the Infineon Security Platform Initialization Wizard.
A. Infineon Security Platform Initialization Wizard - Owner
Click Advanced Mode to launch the Infineon Security Platform Initialization Wizard. Follow the onscreen instructions to initialize the Security Platform Owner and to configure Security Platform Features (backup including Emergency Recovery, Password Reset, Enhanced Authentication, BitLocker). This wizard provides the basis for all further activities on the Infineon Security Platform.
A-1. When the Infineon Security Platform Initialization Wizard appears, click Next to continue.
- 6 -
 Loading...